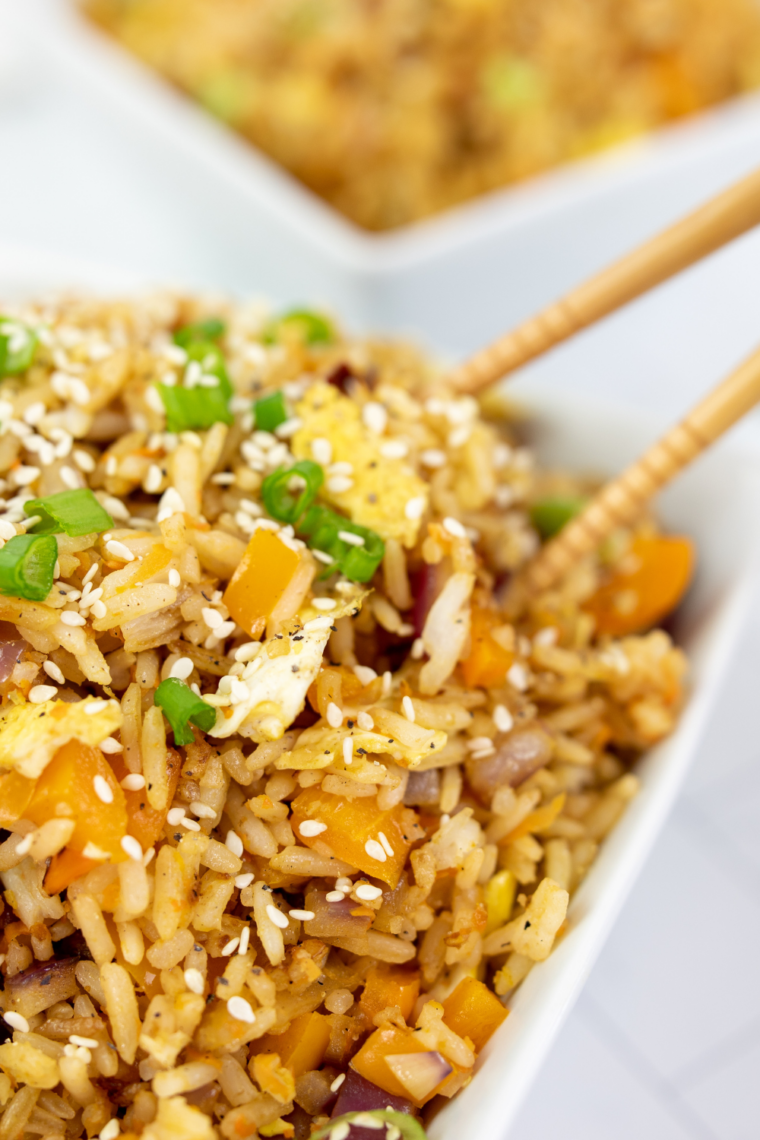
Restaurant-quality fried rice in under 15 minutes — charred, savory, and packed with wok-hei flavor right on your backyard griddle.
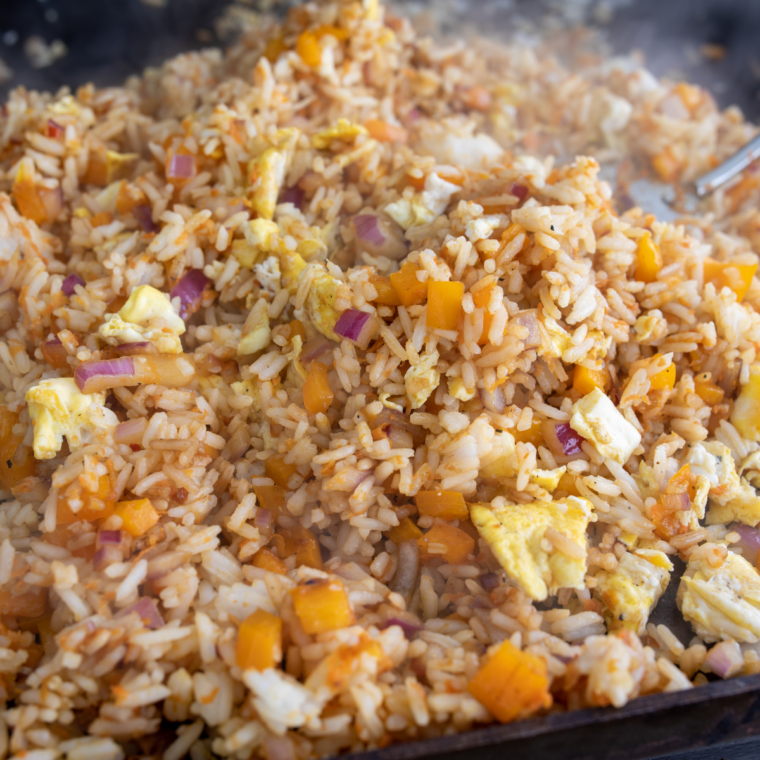
If you’ve ever been to a hibachi restaurant and wondered how they get that incredible smoky, slightly charred flavor on their fried rice, the secret isn’t a wok. It’s a flat-top griddle. And your Blackstone does it better than any pan you own.
High heat, a wide cooking surface, and the ability to spread and toss a massive batch all at once, this is the fried rice method that will ruin takeout for you forever. Let’s get into it.
Why the Blackstone beats every other method
A cast iron skillet can’t get enough surface area. A wok can’t hold more than two servings without steaming. The Blackstone’s massive flat surface lets your rice spread out into a thin layer, making full contact with the screaming-hot steel — that’s how you get wok-hei, the smoky, slightly caramelized flavor that separates great fried rice from soggy leftovers.
Pro Tip — The #1 Rule
Always use day-old cold rice. Freshly cooked rice has too much moisture and will steam and clump on the griddle. Spread leftover rice on a sheet pan and refrigerate uncovered overnight for the absolute best texture.
Ingredients
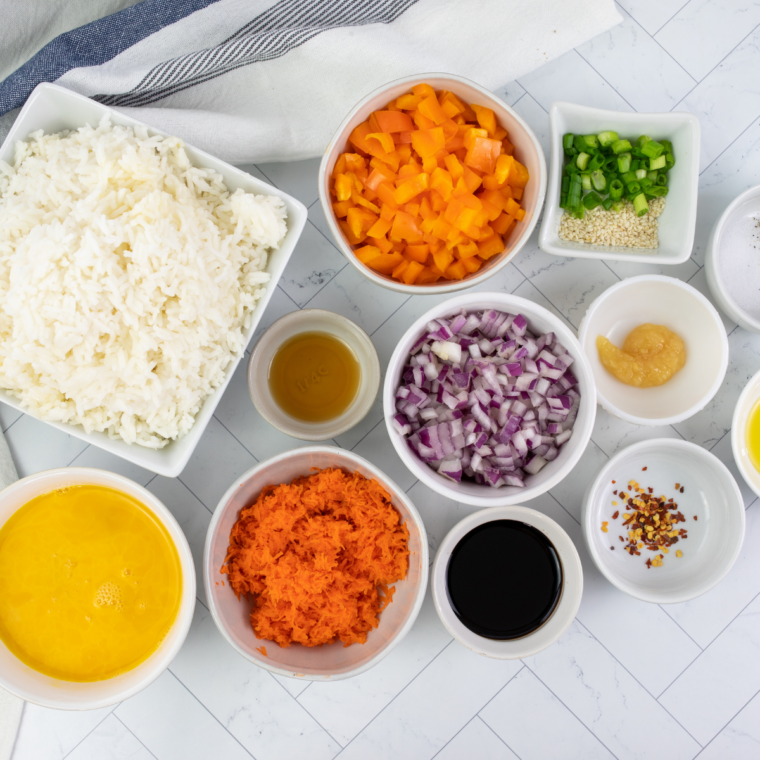
- Day-old jasmine rice: Chilled rice perfect for frying
- Butter: Salted butter used in stages
- Large eggs: Beaten eggs for quick scrambling
- Frozen peas & carrots: Thawed mixed vegetables blend
- Green onions: Thinly sliced fresh green onions
- Garlic: Minced garlic for bold flavor
- Soy sauce: Low-sodium soy sauce seasoning base
- Sesame oil: Toasted oil added for aroma
- Oyster sauce: Optional rich umami flavor boost
- Avocado or vegetable oil: Griddle oil for high heat cooking
Recipe Variations
- Hibachi Style: Add diced chicken or shrimp cooked on the griddle first, then finish with a drizzle of yum yum sauce
- Spam Fried Rice: Sear thinly sliced Spam until caramelized, dice, and fold into rice at the end.
- Kimchi Fried Rice: Swap peas and carrots for chopped kimchi and add gochujang for heat
- Veggie Loaded: Use bell peppers, broccoli, mushrooms, corn, or edamame, all pre-chopped for fast cooking
Step-by-step instructions
Step 1: Turn all burners to high and let the griddle preheat for 10 full minutes. You want the surface at 450–500°F. Flick a few water drops on it, they should evaporate instantly and skip across the surface. Spread a thin layer of avocado oil across the cooking zone.
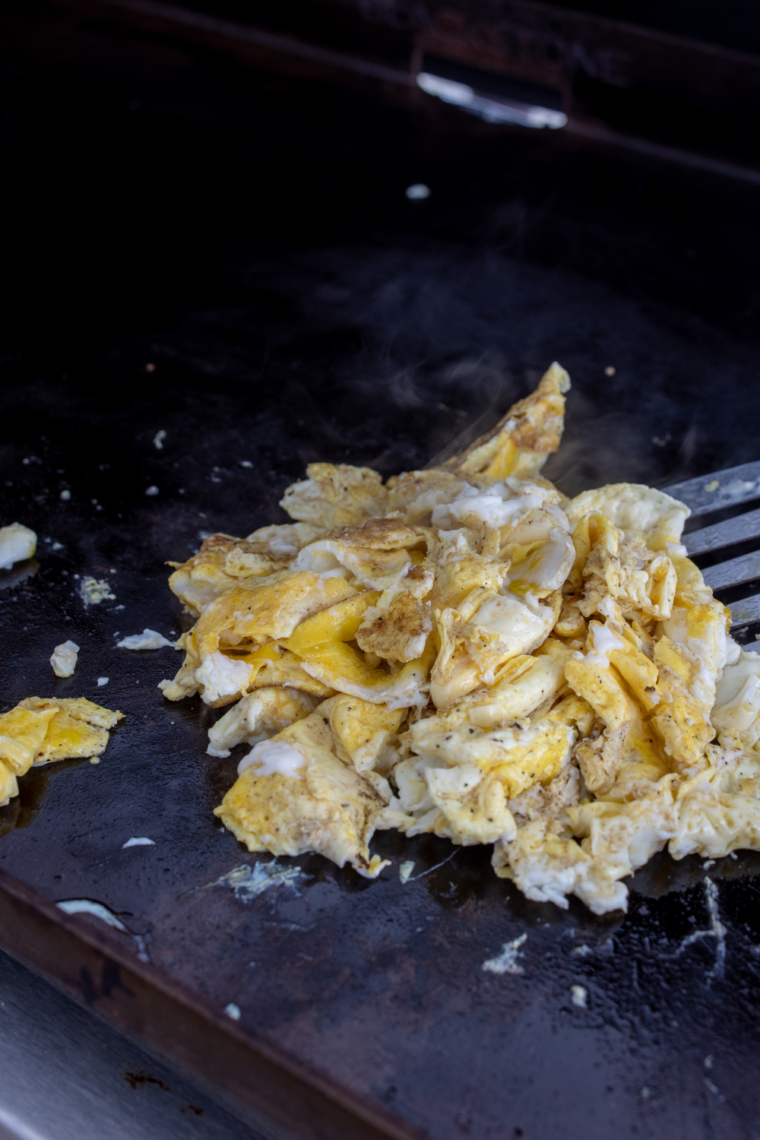
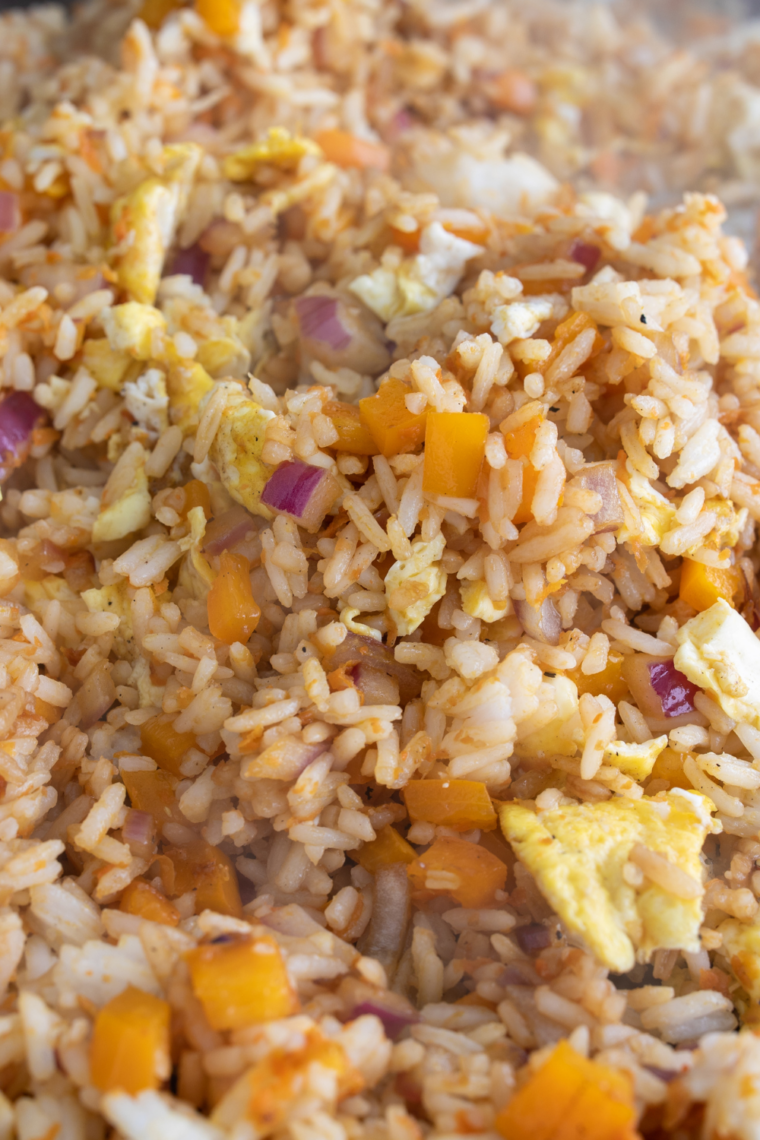
Step 2: Add 1 tablespoon of butter to one side of the griddle. Pour in your beaten eggs and scramble them quickly. They should cook in about 60 seconds. Break them into small pieces, push them to the edge of the griddle to stay warm, and don’t overcook, they’ll finish in the rice later.
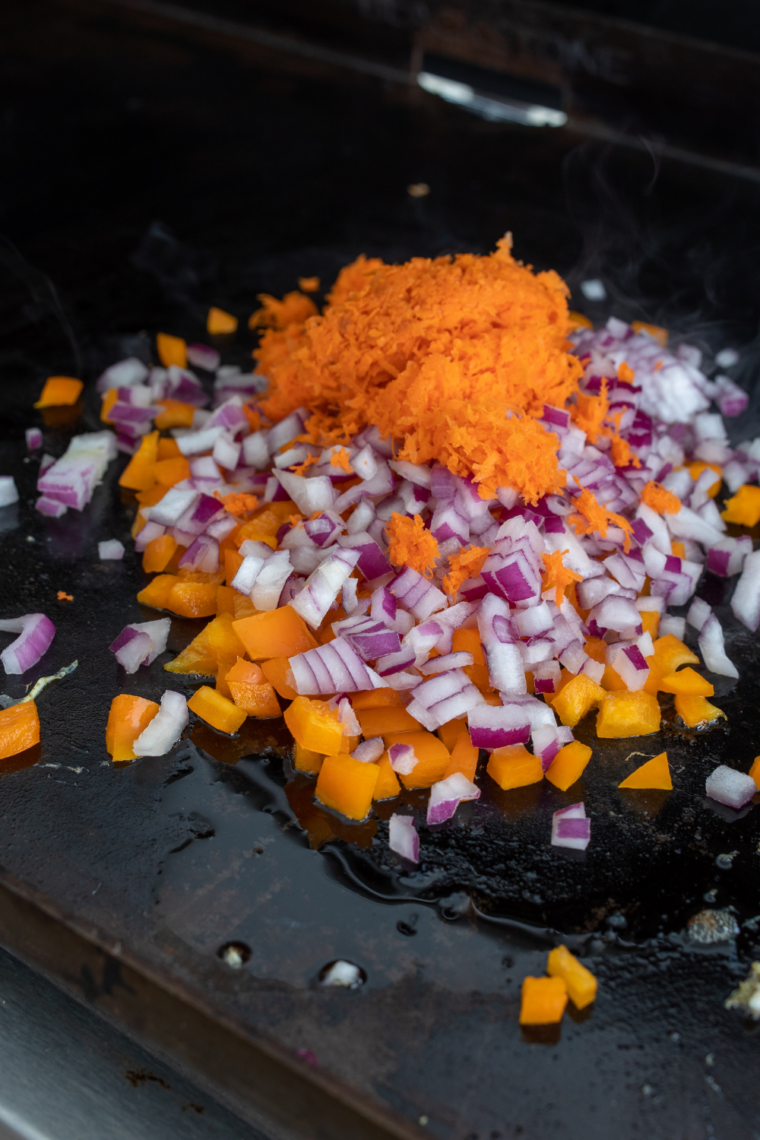
Step 3: Add another tablespoon of butter to the center of the griddle. Toss in your peas and carrots and let them cook undisturbed for 1–2 minutes to get a little char on them. Add the garlic and stir for 30 seconds until fragrant. Don’t let the garlic burn — move it around.
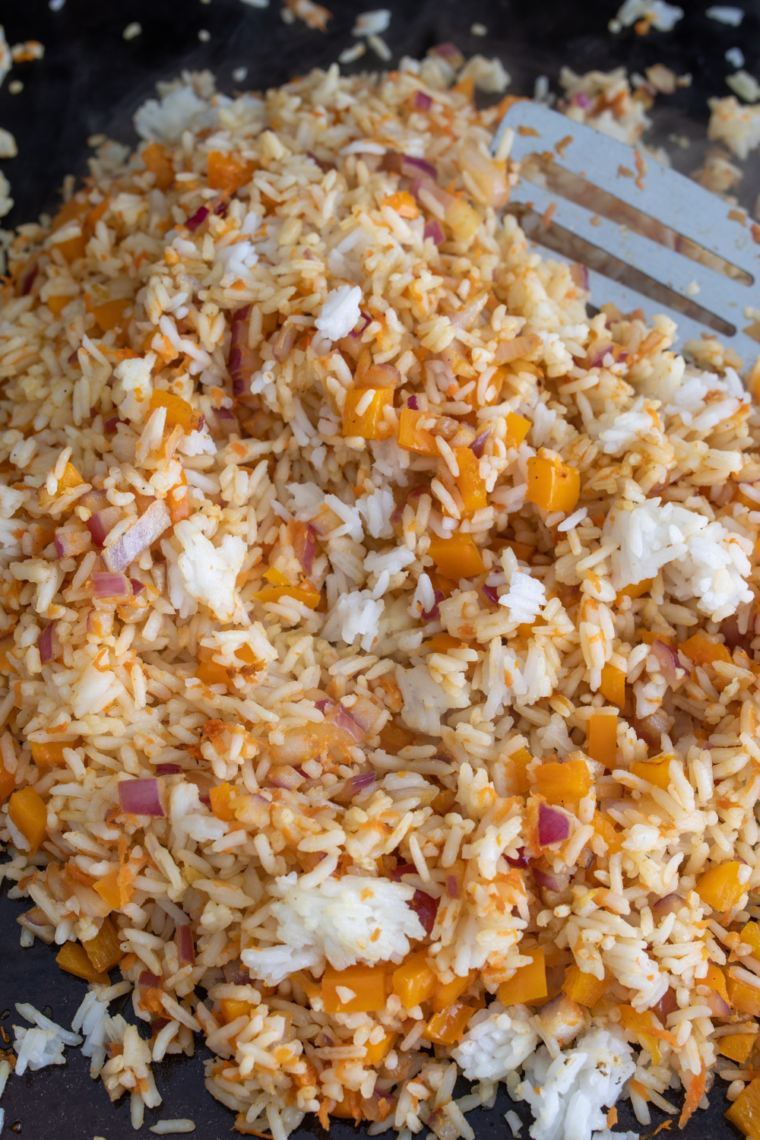
Step 4: Add your final tablespoon of butter, then dump your cold rice across the griddle in a single, wide layer. Use your spatulas to press it down firmly against the hot surface. Let it sit undisturbed for 90 seconds, this is where the char develops. Then flip sections, press again, and repeat.
Step 5: Drizzle soy sauce and oyster sauce evenly over the rice. Toss and fold everything together, the eggs, vegetables, and rice, working quickly across the whole surface. Taste and adjust seasoning. The soy sauce should be fully absorbed, not pooling.
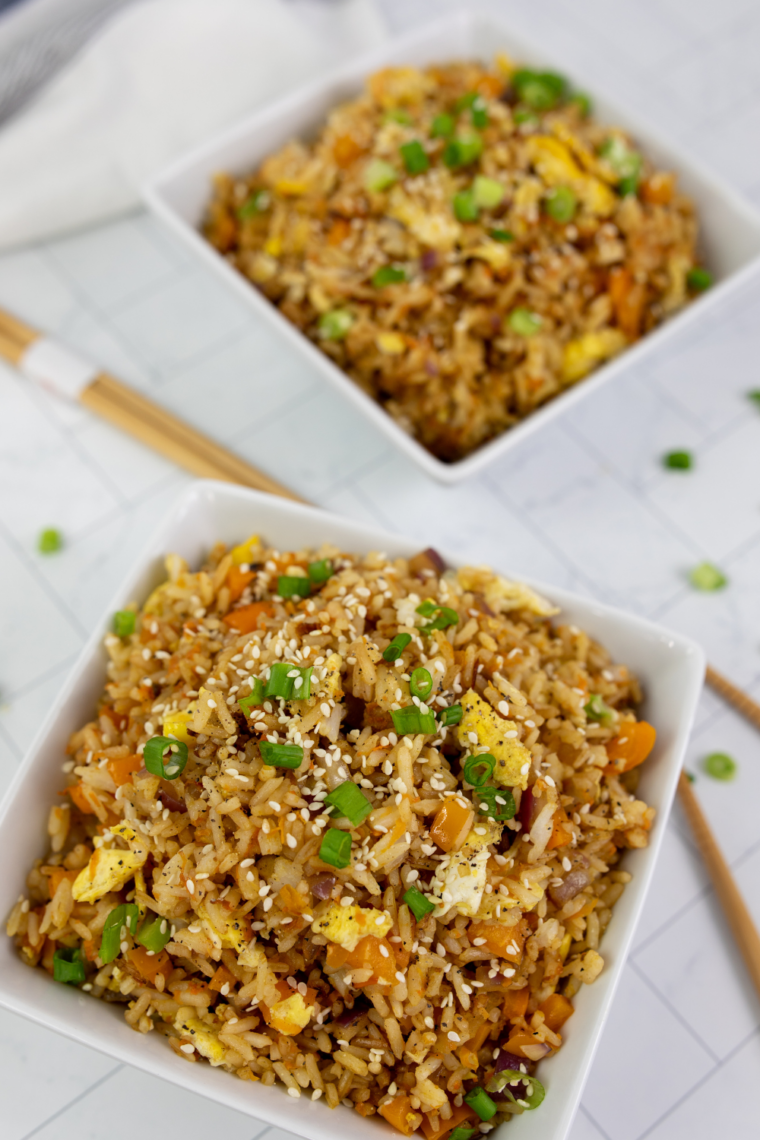
Step 6: Pull the griddle off heat (or turn it down). Drizzle sesame oil over the top — never add it while cooking on high heat or the flavor burns off. Scatter green onions over everything. Serve directly from the griddle into bowls. It does not wait well.
Griddle Tip — Don’t Crowd, Don’t Rush
Resist the urge to constantly stir the rice. Letting it sit on the hot surface undisturbed is how you get that coveted golden crust. Use two large metal spatulas — one to scrape and flip, one to hold the rice in place as you work in sections.
Frequently asked questions
Can I use freshly cooked rice? You technically can, but the results won’t be as good. Spread fresh rice on a sheet pan and freeze for 20–30 minutes before cooking to dry it out enough. Day-old is still the gold standard.
What temperature should the Blackstone be? 450–500°F is the sweet spot. If your griddle isn’t hot enough, the rice will steam instead of char. If you don’t have a thermometer, do the water droplet test — drops should jump and skitter, not just sizzle in place.
Can I make this without butter? Yes — swap butter for avocado oil or even lard. Butter adds a richness that works incredibly well here, but it’s not essential. Don’t use olive oil at this temperature; it’ll smoke aggressively.
What type of rice works best? Long-grain jasmine rice is the classic choice. Medium-grain also works well. Avoid sticky or sushi rice — the starch level makes it clump badly on the griddle, even if it’s cold.
How do I store and reheat leftovers? Store in an airtight container in the fridge for up to 3 days. Reheat on the Blackstone (the best way) or in a skillet on high heat with a splash of water. Microwave works in a pinch but kills the texture.
More Blackstone Recipes
- Blackstone Pork Chops
- Easy Blackstone Hot Dogs
- Blackstone Green Beans
- BLACKSTONE GRIDDLE FROZEN FRENCH FRIES
- BLACKSTONE SIRLOIN STEAK RECIPE
- EASY BLACKSTONE GRIDDLE SCRAMBLED EGGS
- BLACKSTONE GRIDDLE SAUSAGE PATTIES
- BLACKSTONE CHICKEN STIR FRY
- EASY BLACKSTONE FRIED EGGS RECIPE
- BLACKSTONE CHEX PARTY MIX
- BLACKSTONE APPLE CIDER DONUTS
Don’t Forget To Pin!
Share Your Creations! Are you active on Facebook? Join our Air Fryer Recipes Group, where hundreds of thousands of Air Fryer enthusiasts gather and share your photos! I’m always thrilled to see what you’ve made. For those on Instagram, don’t forget to tag me @forktospoon – I can’t wait to admire your culinary adventures!

The Only Blackstone Fried Rice Recipe You’ll Ever Need
Description
Ingredients
- 3 cups day-old jasmine rice, cooked & refrigerated overnight
- 3 tablespoons butter, salted, divided
- 3 large eggs, beaten
- 1 cup frozen peas & carrots, thawed
- 3 green onions, thinly sliced
- 3 cloves garlic, minced
- 4 tablespoons soy sauce, low-sodium preferred
- 1 tbsp sesame oil, toasted
- 1 tbsp oyster sauce, optional but highly recommended
- Avocado or vegetable oil, for the griddle surface
Instructions
- Turn all burners to high and let the griddle preheat for 10 full minutes. You want the surface at 450–500°F. Flick a few water drops on it — they should evaporate instantly and skip across the surface. Spread a thin layer of avocado oil across the cooking zone.
- Add 1 tablespoon of butter to one side of the griddle. Pour in your beaten eggs and scramble them quickly. They should cook in about 60 seconds. Break them into small pieces, push them to the edge of the griddle to stay warm, and don’t overcook — they’ll finish in the rice later.
- Add another tablespoon of butter to the center of the griddle. Toss in your peas and carrots and let them cook undisturbed for 1–2 minutes to get a little char on them. Add the garlic and stir for 30 seconds until fragrant. Don’t let the garlic burn — move it around.
- Add your final tablespoon of butter, then dump your cold rice across the griddle in a single, wide layer. Use your spatulas to press it down firmly against the hot surface. Let it sit undisturbed for 90 seconds — this is where the char develops. Then flip sections, press again, and repeat.
- Drizzle soy sauce and oyster sauce evenly over the rice. Toss and fold everything together — the eggs, vegetables, and rice — working quickly across the whole surface. Taste and adjust seasoning. The soy sauce should be fully absorbed, not pooling.
- Pull the griddle off heat (or turn it down). Drizzle sesame oil over the top — never add it while cooking on high heat or the flavor burns off. Scatter green onions over everything. Serve directly from the griddle into bowls. It does not wait well.
Equipment
- Blackstone
- Cooking Oil
Nutrition
Share this recipe
We can’t wait to see what you’ve made! Mention @forktospoon or tag #forktospoon!