There’s a specific week in late summer when the tomato plants stop being a hobby and start being a problem. You’ve made the salsa. You’ve eaten BLTs until the roof of your mouth gave out. And there’s still a five-gallon bucket on the counter.
This is the recipe for that week.
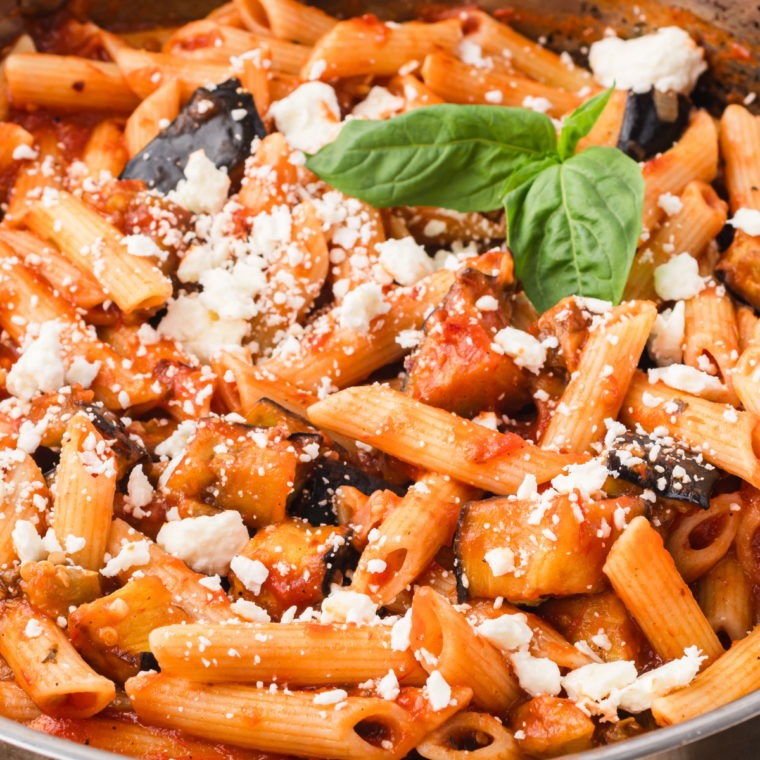
Everything goes onto two sheet pans — tomatoes, onions, whole garlic cloves, olive oil, salt — and the oven does the work. Forty minutes later the tomato sugars have caramelized against the hot metal, the garlic has gone sweet and jammy, and you blend the whole pan, juices and all, into a sauce with a depth no stovetop simmer reaches in under three hours.
It also freezes beautifully, which is the entire point. Six pounds of tomatoes yields about 6 to 7 cups of finished sauce — two dinners plus a little extra, banked for a January weeknight.
And if you’re not staring down a bucket? There’s a full air fryer method below that makes about a cup and a half in under 20 minutes. Same flavor, one dinner, no oven.
Why roast instead of simmer?
A stovetop sauce cooks tomatoes in their own water. A roasted sauce cooks the water off.
That difference matters more than any ingredient you could add. Dry heat above about 300°F triggers browning reactions that simmering physically cannot reach — a wet pot stalls out at 212°F and stays there. Roasting drives the cut faces of the tomatoes well past that, so the natural sugars caramelize and the flavor concentrates instead of diluting.
Practically, it means:
- Less watery sauce, without an hour of reduction
- Sweetness without sugar, because you’re concentrating what’s already in the fruit
- Sweet, mellow garlic instead of the sharp bite raw garlic keeps when it hits hot oil — the same transformation that makes roasted garlic worth making on its own
- No babysitting. No stirring, no scorched pot bottom
It also forgives mediocre tomatoes. Roasting is exactly what you do with a pale, underwhelming supermarket tomato in March.
Ingredients
For complete ingredients and quantities, plus nutritional information, scroll down to the printable recipe card at the bottom of the post.
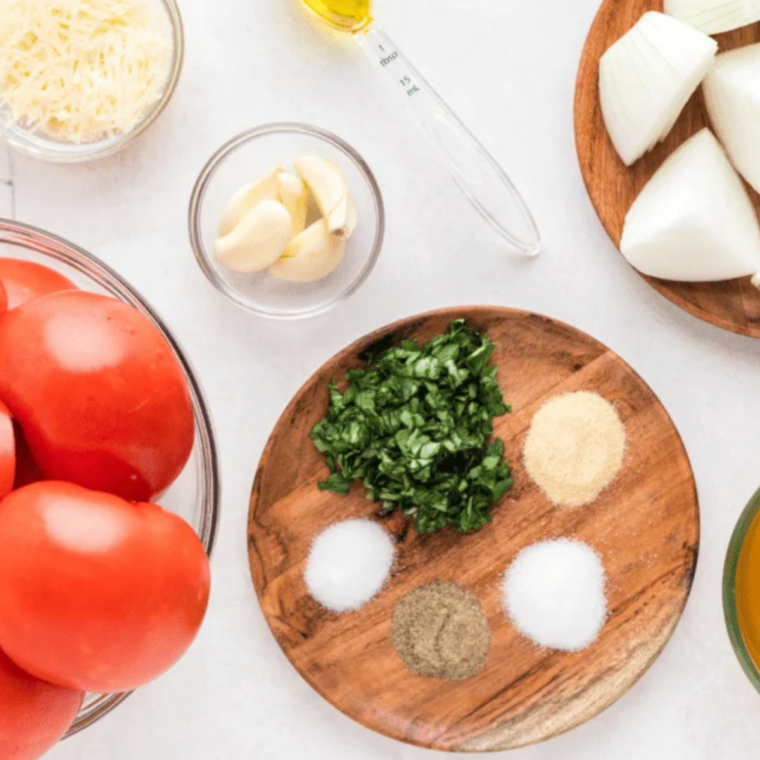
- Fresh tomatoes — Any ripe variety, or a mix. See the breakdown below.
- Yellow onions — Quartered. They caramelize at the edges and add sweetness that balances the tomato acid. White onions work; sweet onions like Vidalia can tip the sauce sugary.
- Garlic — Whole cloves, not minced. Minced garlic burns bitter at this temperature; whole cloves roast to a sweet paste. Bagged pre-peeled cloves are a legitimate time-saver, and if you’ve made air fryer roasted garlic or keep garlic confit in the fridge, a few spoonfuls of either can go straight into the blender at the end.
- Olive oil — This isn’t just for the pan. Fat carries the fat-soluble flavor compounds and the lycopene, and it’s a real part of the sauce’s body. Don’t cut it.
- Italian seasoning — Basil, oregano, and thyme already in one jar. Your own blend works just as well.
- Salt — Plus more to finish, and you’ll want it. This is the ingredient people under-use; see the troubleshooting section below.
- Black pepper — Freshly ground if you have it.
Worth adding if you have it
- Tomato paste, 2 tablespoons, tossed in with the oil. It roasts alongside everything else and adds a concentrated glutamate backbone.
- Anchovy fillets, 2–3. They dissolve completely. No one will taste fish; everyone will notice the sauce is better. If this makes you nervous, it’s still the single highest-leverage ingredient on this list.
- One carrot, roughly chopped. The traditional Italian answer to acidic tomatoes — it balances the sharpness with real sweetness instead of just dumping sugar in. It roasts down the same way garlic roasted carrots do.
- Parmesan rind, dropped in while the sauce reheats. Fish it out before serving.
- Fresh basil, added at the blender, not the oven. Roasted basil turns black and bitter.
- A splash of balsamic vinegar, which does for this sauce what it does for balsamic herbed roasted tomatoes — sharpens and deepens at the same time.
- Red pepper flakes, 1/4 to 1/2 teaspoon.
Which tomatoes should you use?
Short answer: whatever’s ripe. Long answer, because it changes your technique:
Roma and plum tomatoes — The default for sauce, deservedly. Dense flesh, low juice, few seeds, thick walls. They give the thickest sauce with the least effort. They’re also the most acidic of the three, so taste before deciding whether it needs balancing.
Cherry and grape tomatoes — Underrated here. High sugar, thin skins, minimal seeds, and they blister and burst into something almost candied. Don’t halve them — leave them whole and they’ll pop on their own. Cut the roast to 20–25 minutes; they burn far faster than large tomatoes. A sauce made entirely from cherry tomatoes needs no sugar at all. (If you’ve made air fryer roasted cherry tomatoes, you already know how fast they go from blistered to charred.)
Slicing tomatoes (Beefsteak, Big Boy, most heirlooms) — Juicy, seedy, thin-walled. Perfectly usable, but they’ll give a looser sauce. Halve them, squeeze the seed pockets out over the sink, and give them a shake before they hit the pan. You’ll lose 15 minutes and gain a sauce that clings to pasta instead of pooling under it.
A mix of all three is genuinely best, and it’s usually what the garden hands you anyway. The romas bring body, the cherries bring sweetness, the slicers bring juice for the blender.
How To Make
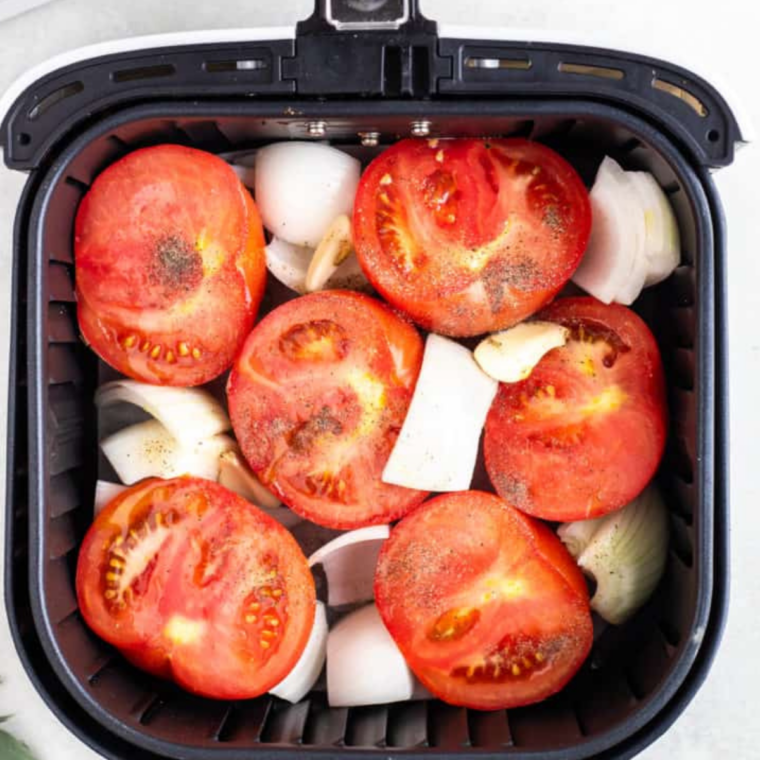
Step 1: Preheat to 400°F, about 3 minutes. Air fryers run hotter and faster than the dial suggests — the standard conversion is roughly 25°F below your oven temp and about 20% less time. That’s why this is 400°F when the oven version is 425°F.
Step 2: Toss and load — straight into the basket. Combine tomatoes, onion, garlic, oil, and seasonings in a bowl, then spread them in the basket in a single layer, romas cut-side up. No pan, no foil, no liner.
You might expect to lose the juices through the perforated floor, but you don’t really. Roasting drives water off as steam rather than pooling it, romas are the driest, densest tomato you can buy to begin with, and a halved tomato sitting cut-side up holds its juice in the cup rather than running it out. Whatever does drip is a small price for what you get in exchange: air moving under the tomatoes as well as over them, which is exactly what produces the browning this sauce is built on. Put a solid pan down there and you’ve turned your air fryer back into a small, slow oven.
Don’t stack. A crowded basket steams just like a crowded sheet pan, except faster and with worse airflow.
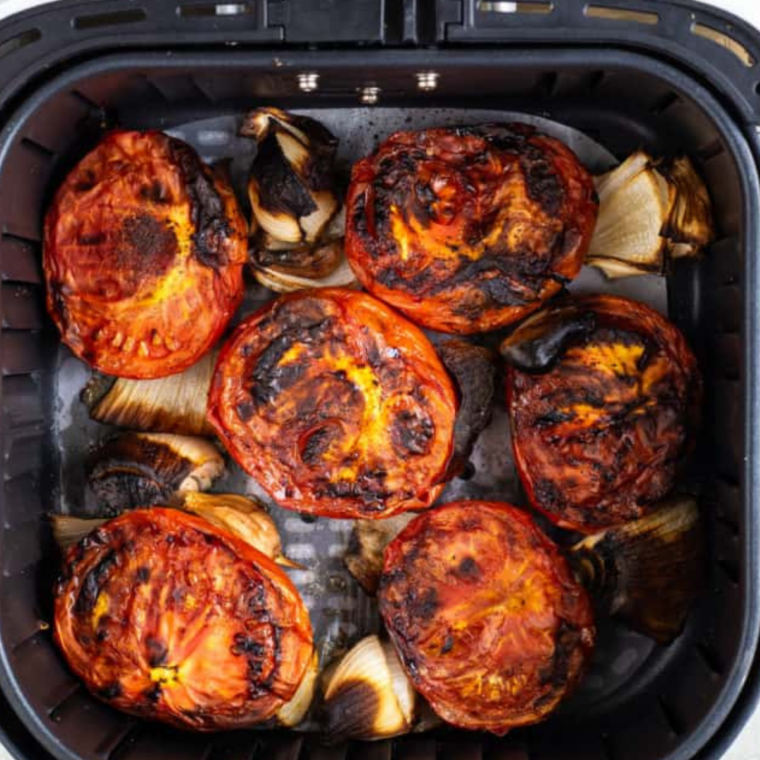
Step 3: Cook
| Tomato type | Time at 400°F |
|---|---|
| Roma / plum (halved) | 15–18 min |
| Cherry / grape (whole) | 12–15 min |
| Slicing tomatoes (halved, seeded) | 18–22 min |
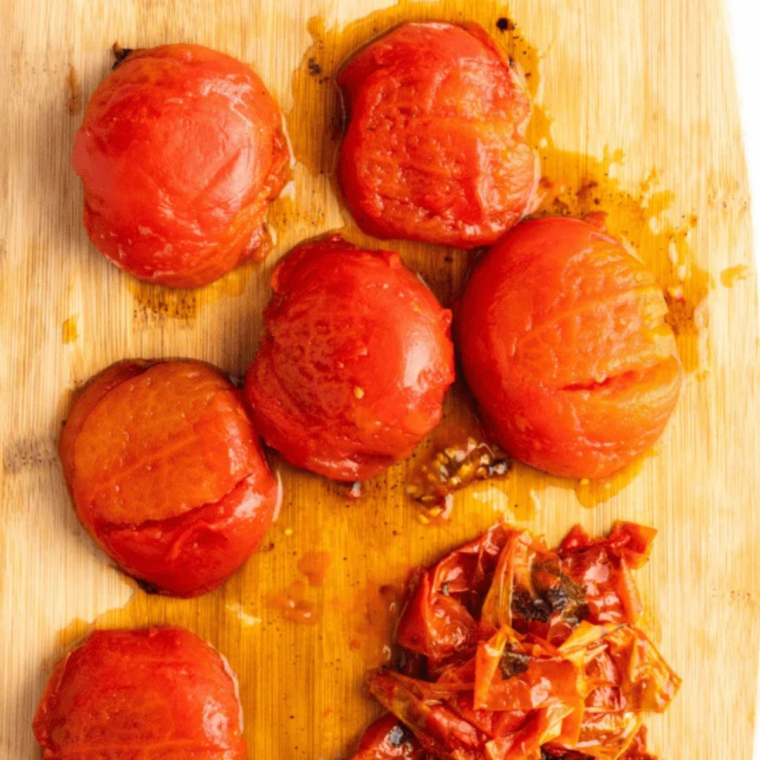
Shake or stir at the halfway mark. Start checking at the low end — the gap between blistered and scorched is a couple of minutes here, much narrower than in an oven. You’re looking for the same signals: split, wrinkled skins, browned edges, onions charring at the tips.
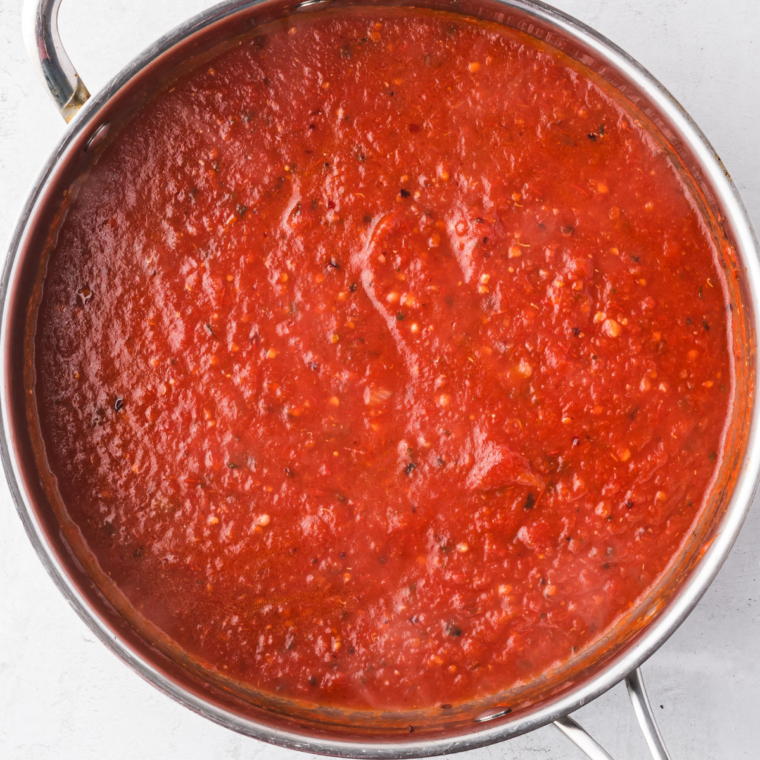
Step 4: Cool 5 minutes, then blend. Tip the whole basket into a bowl and scrape out anything clinging to it. An immersion blender straight into the bowl is easiest at this size. Season to taste using the section below.
Recipe Tips and Notes
- If it smokes, oil is dripping onto the drawer floor. Add a tablespoon of water to the drawer beneath the basket. It stops the smoke without touching the food.
- Want the garlic sweeter still? Roast it separately first using the air fryer roasted garlic method, then add it at the blender. It’s an extra step, and it’s noticeable.
- Oven-style air fryers (the countertop box kind) fit a small sheet pan and handle nearly double the volume. Same temp, add 3–5 minutes.
- Dual-basket models: run both, but they’re separate ovens — don’t assume they finish together. Check each.
- Multi-cookers like the Ninja Speedi work on the air fry setting; treat the times above as a starting point and check early.
- Expect a thicker sauce. Aggressive convection drives off more water than a conventional oven, so you may want a splash of pasta water at the end.
- Scaling up by running batches works fine, but four rounds in the air fryer takes longer than one round in the oven and produces the same amount. The oven wins on anything past about 3 pounds.
“It tastes flat.” Here’s why.
This is the most common complaint about homemade tomato sauce, and it’s almost never the recipe’s fault. Work through these in order:
It needs more salt than you think. Six pounds of tomatoes is a lot of raw material, and 1 1/2 teaspoons is only a starting point. Add another 1/2 teaspoon, stir, taste. Repeat. Nine times out of ten this is the whole problem. Under-salted tomato sauce reads as “watery” and “missing something” even when nothing else is wrong.
It’s too acidic. Taste for a sharp, metallic bite at the back of your tongue. Fixes, in order of preference: a chopped roasted carrot blended in, a teaspoon of honey, or 1–2 tablespoons of sugar. Add a little at a time. A pinch of baking soda (1/8 teaspoon) neutralizes acid chemically and works in a pinch, but it foams and it flattens brightness if you overdo it.
It has no umami. Tomatoes are naturally high in glutamates, but roasting alone doesn’t always get there. Stir in grated parmesan, a spoonful of tomato paste, a splash of soy sauce or fish sauce, or those anchovies. A few chopped air fryer sun dried tomatoes work beautifully here too — they’re concentrated tomato flavor with the water already gone. This is what separates a sauce that’s fine from a sauce people ask about.
It’s too thin. Pour it into a wide pan and simmer uncovered 15–20 minutes. Wide pan, not tall pot — surface area drives evaporation.
It’s too rich or dull. It needs acid back, not more of anything else. A squeeze of lemon or a splash of red wine vinegar at the end wakes the whole thing up. Fresh basil does similar work.
Season the sauce warm. Cold sauce tastes blander than it is, and you’ll oversalt chasing a flavor that’s really just temperature.
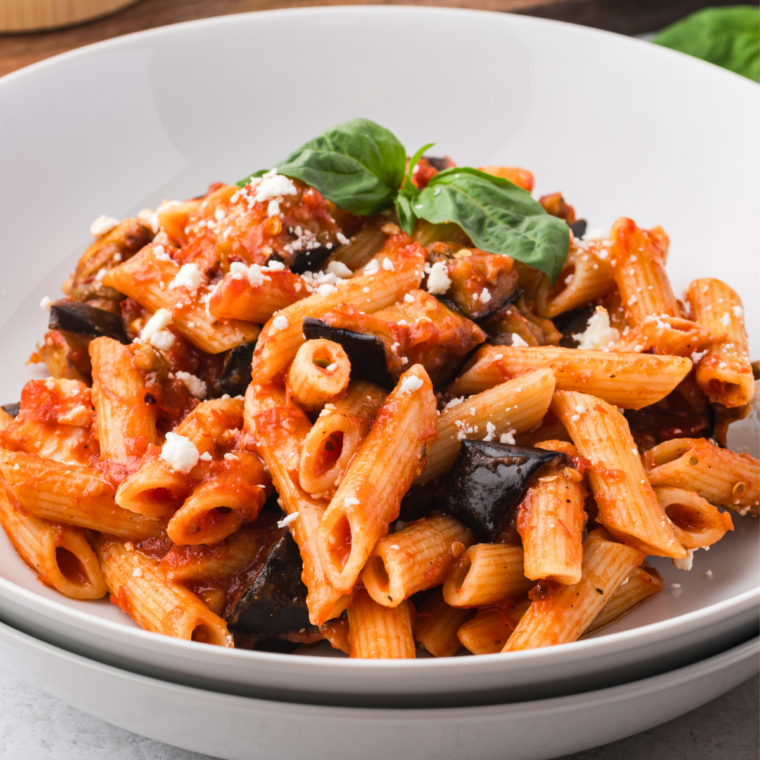
How much sauce does this make?
About 6 to 7 cups — roughly 48 to 56 ounces, a little under two quarts.
That’s two standard 24-ounce freezer bags with some left for dinner. It sauces about 2 pounds of dry pasta.
Yield swings with your tomatoes:
| Tomato type | Approximate yield from 6 lbs |
|---|---|
| Roma / plum | 5–6 cups (thickest) |
| Mixed varieties | 6–7 cups |
| Slicing / heirloom | 7–8 cups (thinnest — reduce if you want body) |
A useful rule for scaling: roughly 1 cup of finished sauce per pound of tomatoes, before any reduction. The air fryer batch above follows the same math — 1 1/2 pounds in, about 1 1/2 cups out.
Freezing (the right way)
Freezing is the correct storage method for this sauce, and it’s excellent at it.
- Cool completely. Room temperature, not warm. Warm sauce in the freezer raises the temperature around it and partially thaws whatever’s nearby.
- Portion it. 24 ounces is one pasta dinner for four. Portioning now means you’re not chiseling at a frozen brick in February.
- Bag it flat. Zip-top freezer bags, air pressed out, laid flat on a sheet pan until solid. They freeze faster, stack like files, and thaw in a fraction of the time. Rigid containers work — leave an inch of headspace for expansion.
- Label with contents, volume, and date. You will not remember.
Freezer life: up to 12 months. Quality is best in the first 6. It’s safe indefinitely at 0°F, but the flavor slowly dulls.
Refrigerator: 4 to 5 days in an airtight container.
To use: thaw overnight in the fridge, or go straight into a saucepan over low heat from frozen. Reheat until steaming. Thin with a few tablespoons of pasta water; thicken with a 15-minute uncovered simmer.
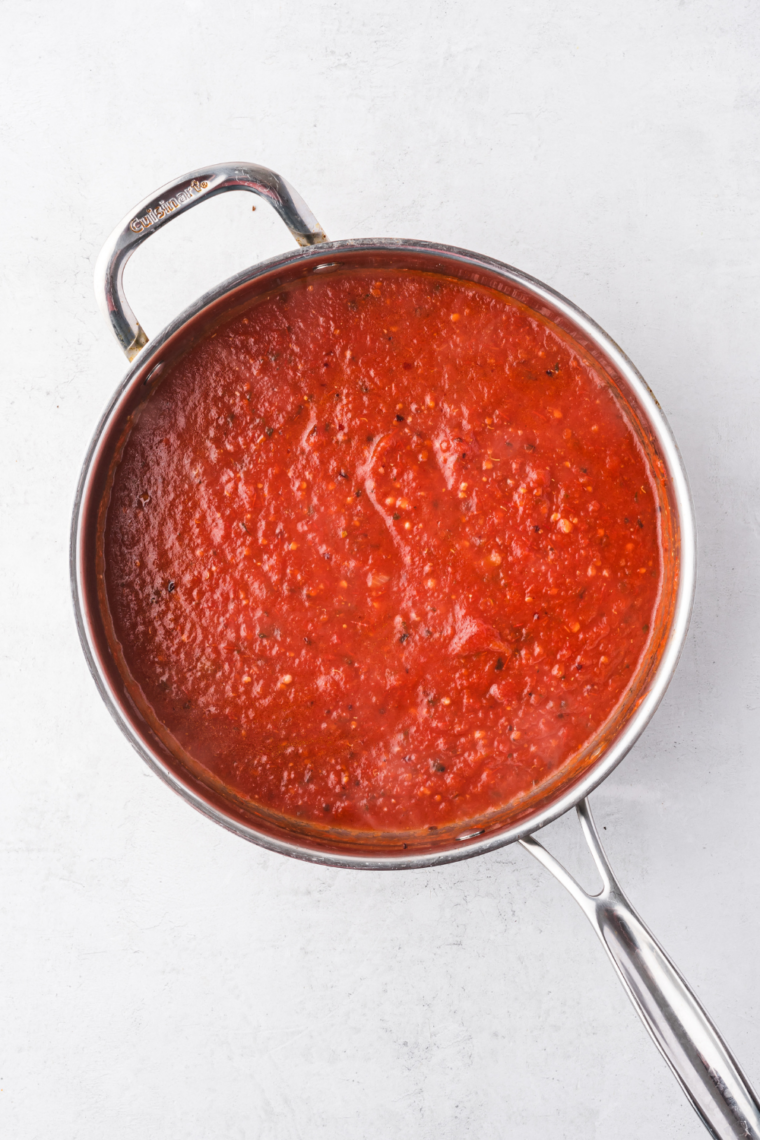
Can this recipe be canned?
Not as written — please don’t. This is worth understanding rather than just taking on faith, because it’s a genuine safety issue and not caution for its own sake.
Tomatoes sit right on the pH borderline (around 4.6) where Clostridium botulinum becomes a real concern. Modern tomato varieties are frequently less acidic than that line. This recipe then adds three onions, a half cup of garlic, and a third cup of oil — all low-acid ingredients that push the pH further into the danger zone. Blending also makes it dense, which changes how heat penetrates the jar during processing. Botulism toxin is odorless, tasteless, and invisible; you cannot inspect a jar and tell.
You’ll sometimes see the advice “just add citric acid to each jar.” It’s well-meant and incomplete. Acidification is one variable; tested processing time, jar size, and method are others, and they’re determined together by lab testing of a specific formulation. This formulation hasn’t been tested.
What to do instead:
- Freeze it. No pH math, no risk, better flavor retention anyway.
- Can a tested recipe. The National Center for Home Food Preservation (nchfp.uga.edu) and the USDA Complete Guide to Home Canning publish free, lab-validated tomato sauce recipes with specified acidification and processing times. Follow one exactly.
If you want shelf-stable sauce, use a recipe designed to be shelf-stable. Use this one for the freezer.
How to serve it
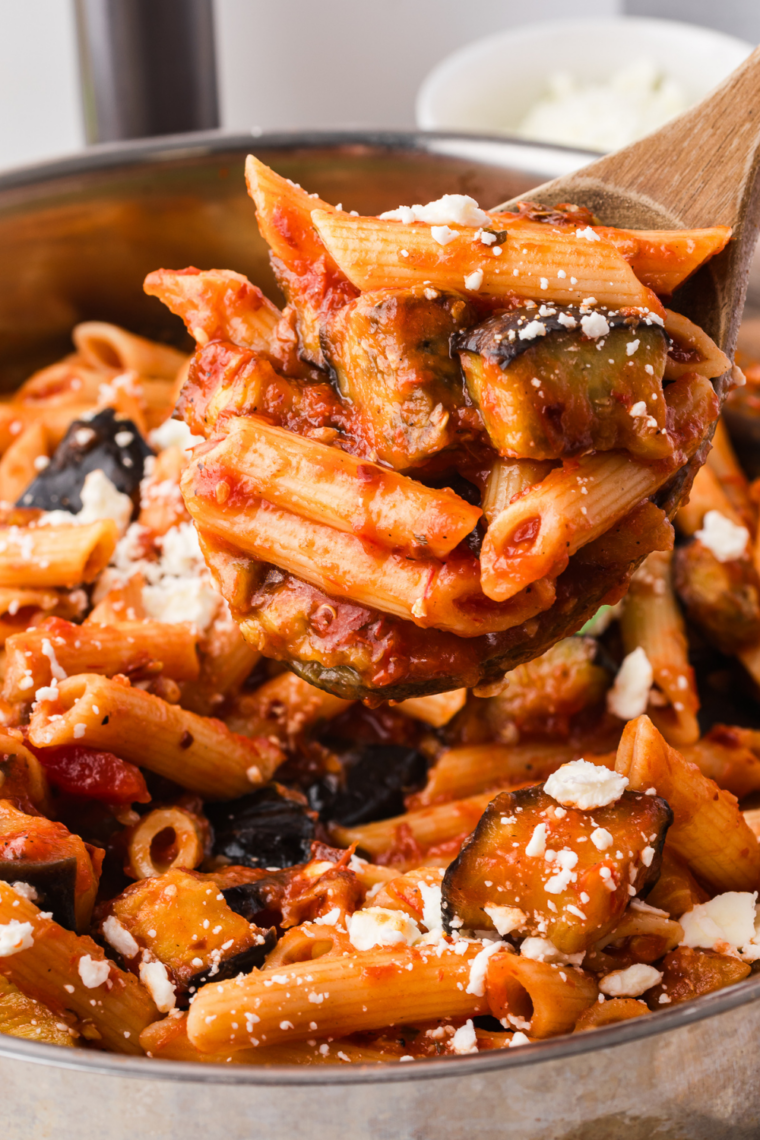
Thaw, heat until steaming, and toss with hot pasta straight from the pot — with a splash of the starchy pasta water, which is what makes sauce cling instead of slide. Finish with parmesan and torn basil, and put air fryer garlic toast on the table to get the last of it out of the bowl.
It’s a serious upgrade anywhere you’d otherwise open a jar:
- Air fryer spaghetti and meatballs — the meatballs crisp in the air fryer while the pasta boils, and this sauce ties it together
- Air fryer ricotta meatballs, simmered right in a pan of it
- Olive Garden copycat meatballs, spooned over
- Meat sauce — brown a pound of Italian sausage or ground beef, add sauce, simmer 10 minutes
- Lasagna, baked ziti, or any red-sauce casserole
- Pizza sauce — reduce it thick first
- Shakshuka — crack eggs into a simmering pan of it
- Braising liquid for chicken thighs
FAQ
Can I use canned tomatoes? You can, but you’d be roasting away the point. This recipe exists to handle fresh tomatoes. If you’re using canned, drain them well and cut the roast to 25 minutes — or just make a stovetop sauce.
Do I have to peel the tomatoes? No. The skins blend in. Peel for a silkier texture, skip it for less work and more fiber. Roasted skins slip off with almost no effort if you go that route.
Can I make this in an air fryer? Yes — about a quarter of the size, roughly 1 1/2 pounds of tomatoes for 1 1/2 cups of sauce, in 12–18 minutes at 400°F. Straight into the basket, no pan needed. Full method and timing chart above. For a full six-pound batch, use the oven.
Why whole garlic cloves instead of minced? Minced garlic has enormous surface area and scorches to bitterness in a 425°F oven long before the tomatoes are done. Whole cloves roast slowly into something sweet and mellow — the same principle as roasting garlic in the air fryer.
Can I double it? Yes, but only with four pans and the oven space to run them properly. Crowded pans steam. Two batches beats one crowded one.
My sauce is watery. Did I do something wrong? Probably not — you likely used juicy slicing tomatoes. Simmer it uncovered in a wide pan for 15–20 minutes. Next time, seed the tomatoes first.
Can I skip the onions? Yes. You’ll lose sweetness and body, and you’ll likely want the carrot or sugar to compensate.
More ways to use up the tomatoes
If the bucket’s still full after this:
- Air Fryer Salsa — roasted tomatoes, jalapeños, and garlic, charred and smoky
- Air Fryer Roasted Tomato Soup — the same roast, pointed at a different dinner
- Air Fryer Sun Dried Tomatoes — low and slow, and they keep for months
- Air Fryer Roasted Cherry Tomatoes — five minutes, endlessly useful
- Air Fryer Balsamic Herbed Roasted Tomatoes — a side dish, not a sauce
- Air Fryer Parmesan Tomatoes — crispy, cheesy, gone in minutes
- Air Fryer Roasted Potatoes and Tomatoes — one basket, whole side dish
Roasted Tomato Pasta Sauce
Description
Ingredients
- 6 lbs fresh tomatoes, cored and halved (leave cherry/grape whole)
- 3 medium yellow onions, quartered
- 1/2 cup peeled garlic cloves, whole
- 1/3 cup olive oil
- 1 tbsp Italian seasoning
- 1 1/2 tsp salt, plus more to taste
- 1/2 tsp black pepper
- 2 tbsp tomato paste, optional
- 2 anchovy fillets, optional
- 1 carrot, chopped
- 1 tbsp sugar, optional
- 1 tbsp basil, optional
- 1 tsp red pepper flakes, optional
Instructions
Oven Instructions:
- Heat oven to 425°F.
- Divide tomatoes, onions, and garlic between two rimmed sheet pans in a single layer. Place halved tomatoes cut-side up.
- Drizzle with olive oil; sprinkle with Italian seasoning, salt, and pepper. Add optional tomato paste, anchovies, or carrot now.
- Toss gently to coat, then spread back into an even layer.
- Roast 35–45 minutes, until tomato edges brown, skins wrinkle and lift, and onion edges char slightly. Rotate pans halfway if using one oven. Cherry/grape tomatoes: 20–25 minutes.
- Cool 10 minutes. Remove skins if desired.
- Scrape everything — including all pan juices — into a blender. Add fresh basil now if using. Blend smooth, or pulse for a chunkier sauce.
- Season to taste while warm: salt first, then sugar or honey if acidic, then vinegar or lemon if flat.
- Serve over hot pasta with a splash of pasta water, or cool completely and freeze.
Air Fryer Instructions:
- Quarter the recipe: 1 1/2 lbs roma tomatoes (halved), 1 small onion, 6–8 garlic cloves, 1 1/2 tbsp olive oil, 3/4 tsp Italian seasoning, 1/2 tsp salt. Toss, then spread in a single layer directly in the air fryer basket, cut-side up — no pan or liner. Cook at 400°F: 15–18 min for halved romas, 12–15 min for whole cherry/grape, 18–22 min for halved slicers. Shake halfway. Cool 5 minutes, tip everything into a bowl, blend, and season to taste.
- To freeze: Cool to room temperature. Portion into labeled freezer bags (24 oz per bag). Press out air, seal, freeze flat. Keeps 12 months; best within 6.
Equipment
- 2 rimmed sheet pans
- Blender, food processor, or immersion blender
Nutrition
Share this recipe
We can’t wait to see what you’ve made! Mention @forktospoon or tag #forktospoon!