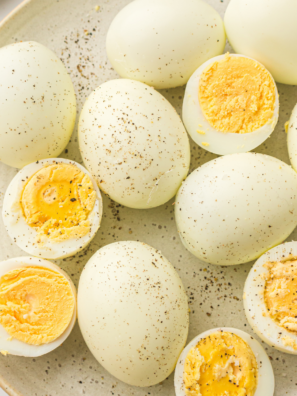
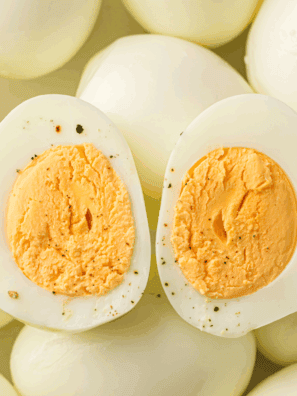
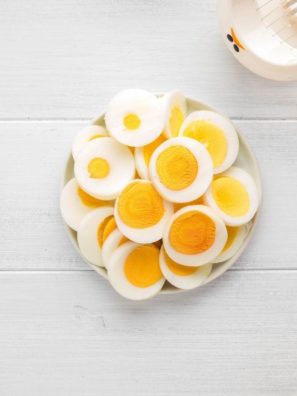
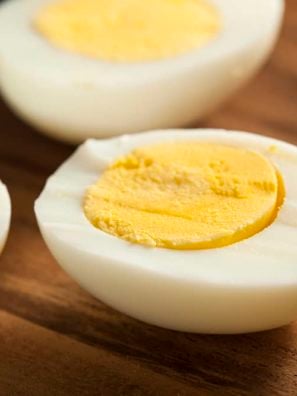
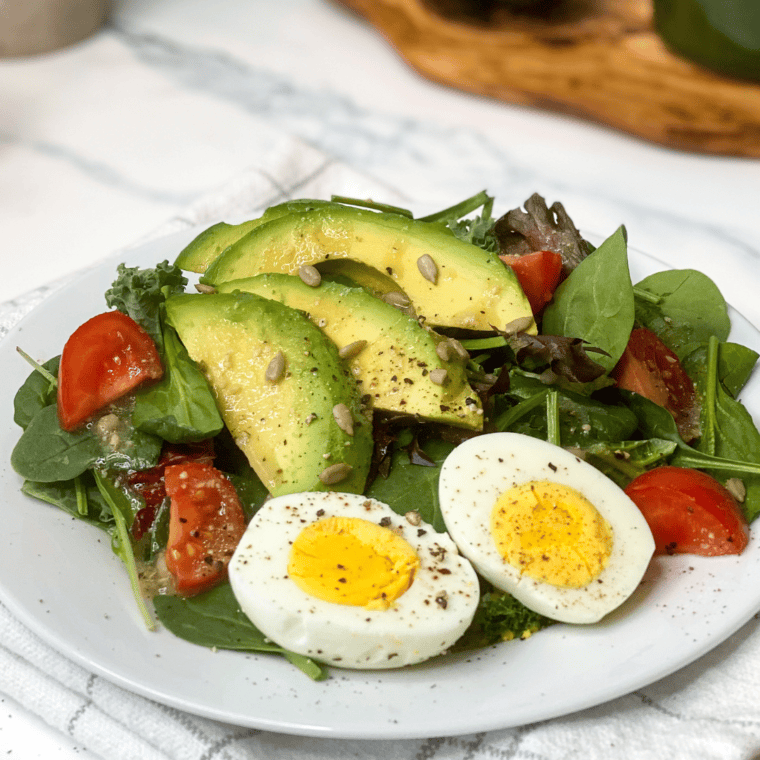
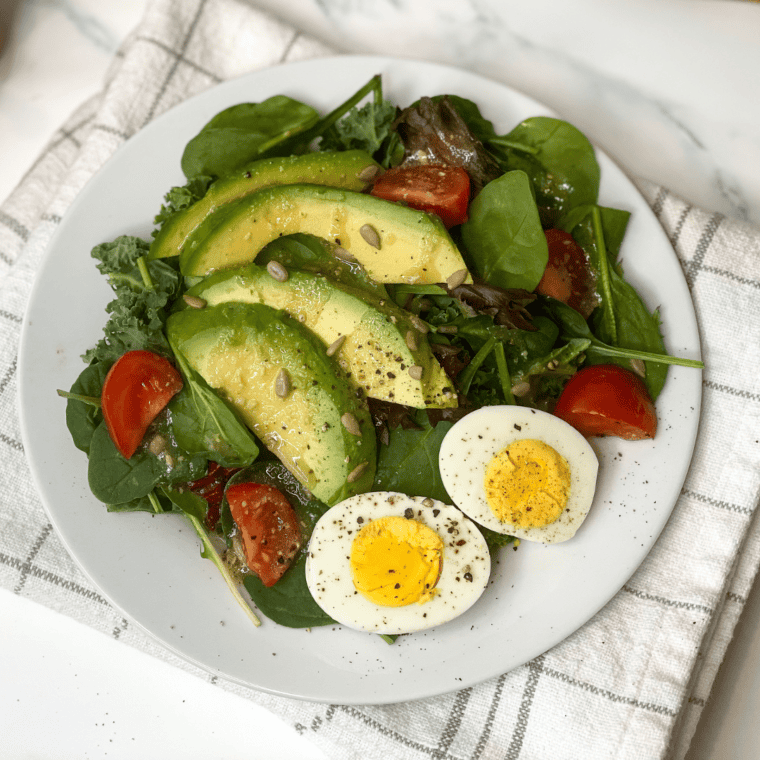
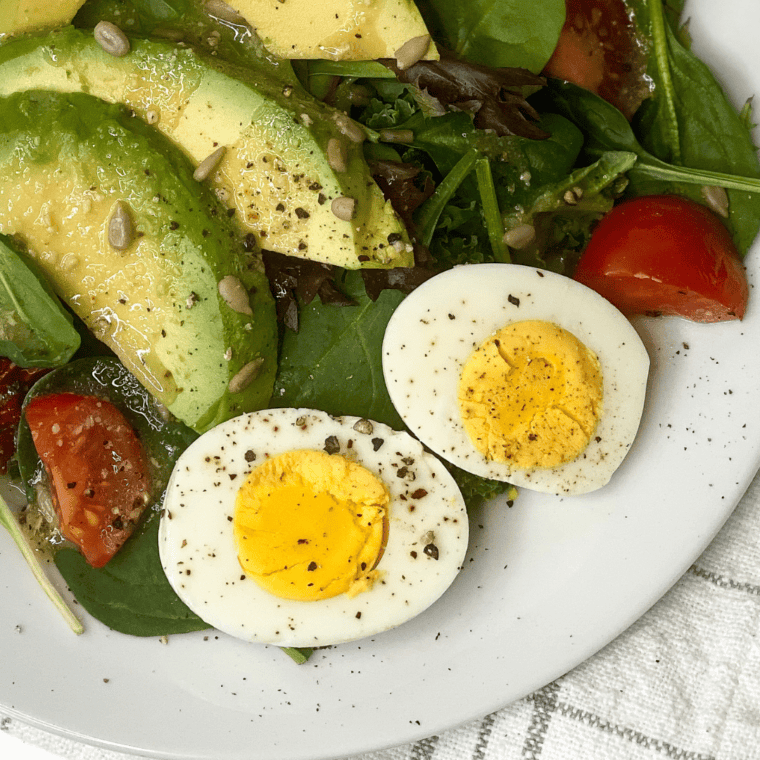
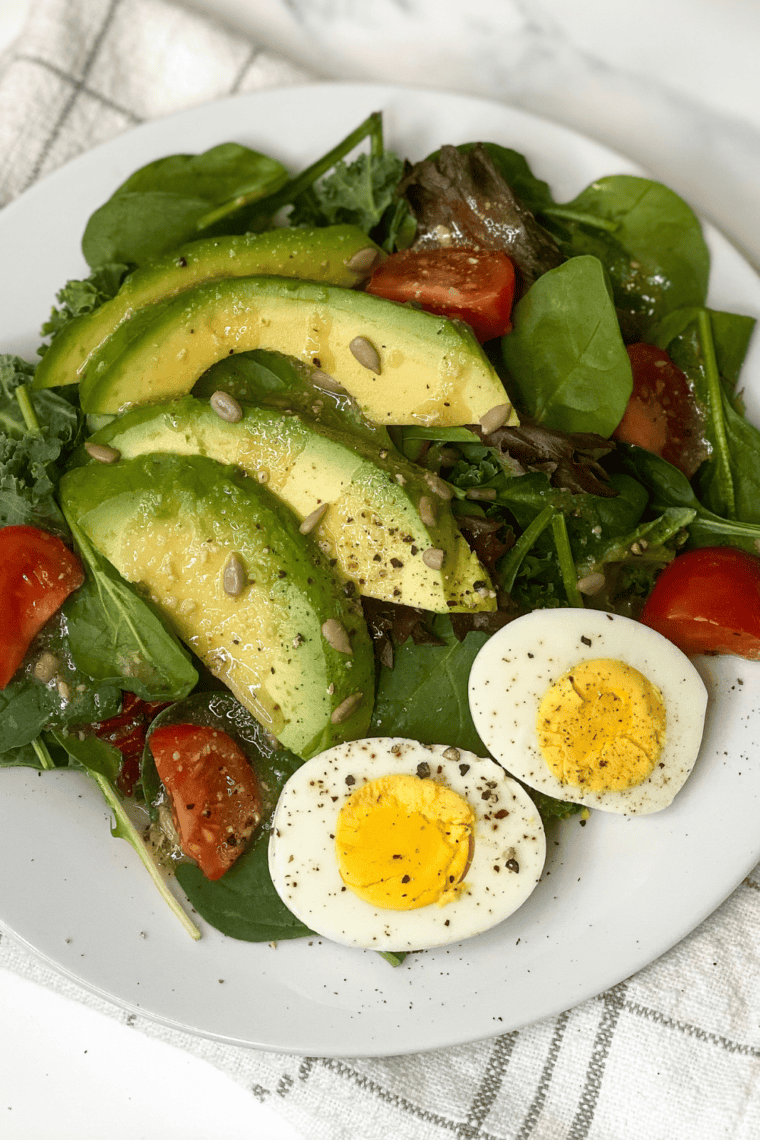
Make perfectly cooked, easy-to-peel hard-boiled eggs every time with the Ninja Foodi using the 5-5-5 method. In just 5 minutes of pressure cooking, 5 minutes of natural release, and 5 minutes in an ice bath, you’ll get tender whites, creamy yolks, and hassle-free peeling—ideal for breakfast, meal prep, or snacking!

Making hard-boiled eggs has never been easier than with the Ninja Foodi! Using the simple 5-5-5 method—5 minutes of pressure cooking, 5 minutes of natural release, and 5 minutes in an ice bath—you’ll get perfectly cooked eggs every time with tender whites and creamy yolks.
Say goodbye to frustrating peeling, and enjoy hassle-free eggs that are perfect for breakfast, snacks, salads, or meal prep.
Try my recipe for Ninja Foodi Chicken Wings, Ninja Foodi Fried Chicken, Ninja Foodi Mac and Cheese, and even Ninja Foodi Chicken Breasts. And don’t forget to check out all of my Ninja Foodi Recipes.
Why You Will Love This Recipe!
- Perfectly Cooked Every Time – Achieve tender whites and creamy yolks with no guesswork.
- Hassle-Free Peeling – Say goodbye to stubborn shells sticking to your eggs.
- Quick and Simple – Ready in just 15 minutes using the 5-5-5 method.
- Versatile – Perfect for breakfasts, salads, snacks, or meal prep.
- Consistent Results – Ninja Foodi ensures every batch comes out perfectly, every time.
Ingredients Needed
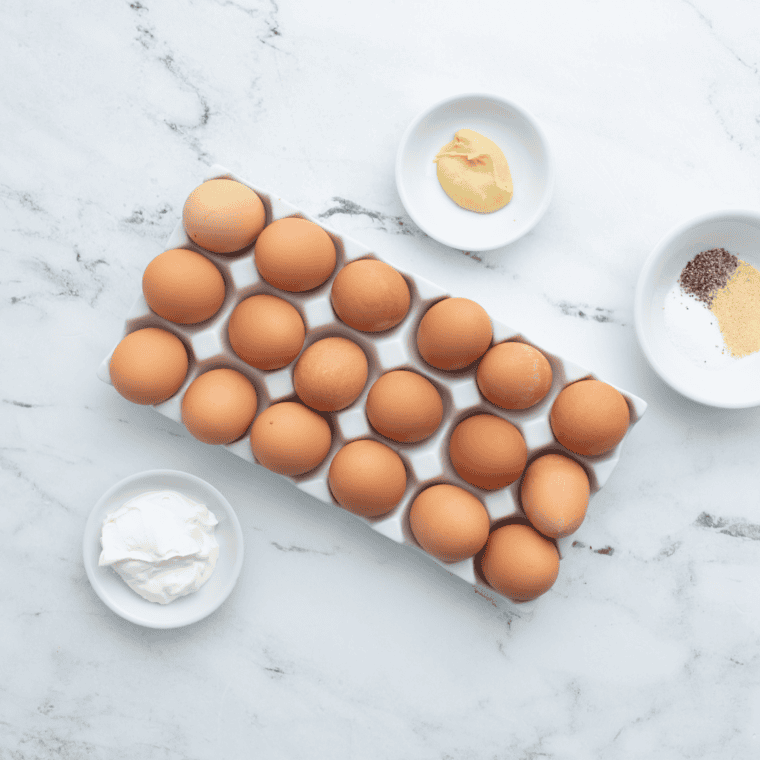
- Large eggs – Fresh, high-quality eggs for perfectly cooked hard-boiled eggs.
- Ice cold water – Ice water bath to stop cooking instantly.
How To Make Easy Peel Ninja Foodi Hard-Boiled Eggs (5-5-5)
Step One: Pour 1 cup of water into the pot of your Ninja Foodi. Place eggs in the Ninja Foodi’s Crisp Basket.
Step Two: Close lid on the Ninja Foodi, making sure the valve is set to the ‘seal’ position. Select the ‘Pressure Cook’ function and set the timer. For soft-boiled eggs, set for 5 minutes; for firmer yolks but still soft, set for 7 minutes; and for fully hard-boiled eggs, set for 9 minutes.
Step Three: Start the pressure cooking cycle. The Ninja Foodi will take a few minutes to reach pressure before the timer starts counting down. Once the timer goes off, let the pressure release naturally for 5 minutes. Then, carefully turn the valve to ‘vent’ for quick release of any remaining pressure, which is a quick release.
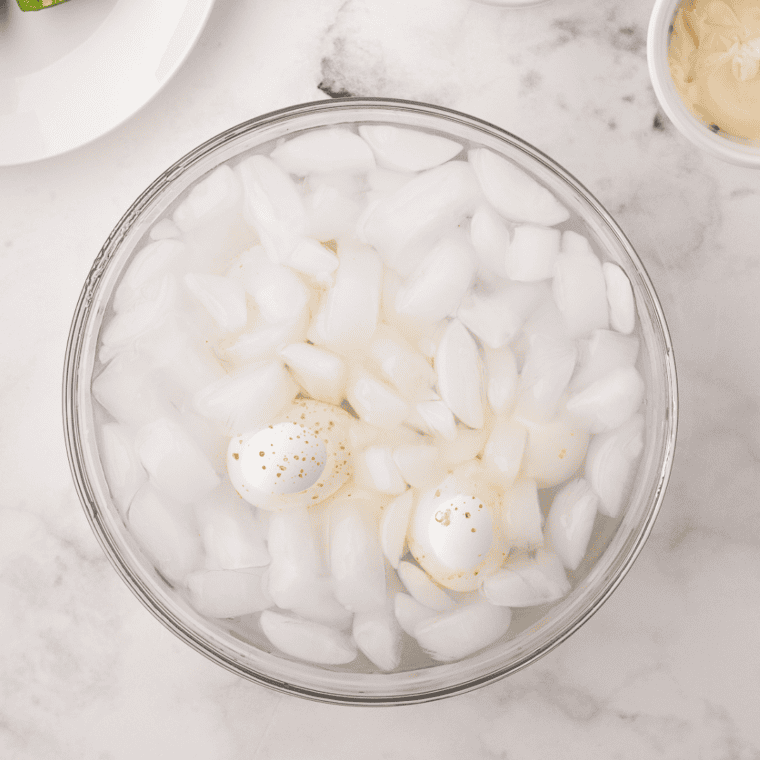
Step Four: Using tongs or a spoon, carefully remove the eggs from the Ninja Foodi and place them into a bowl of ice cold water. Let them sit for at least 5 minutes. This bowl of ice water stops the cooking process and makes the eggs easier to peel.
Easy Peel Ninja Foodi Hard-Boiled Eggs Recipe Tips
- Use Fresh Eggs Carefully – Slightly older eggs (7–10 days) peel more easily than very fresh ones.
- Don’t Skip the Ice Bath – Cooling eggs quickly stops the cooking process and makes peeling effortless.
- Adjust for Altitude – If you live at higher elevations, add 1–2 minutes to the pressure cooking time.
- Store Properly – Keep cooked eggs in an airtight container in the refrigerator for up to one week.
- Peel Under Water – Peeling eggs under running water or in a bowl of water helps remove stubborn shell bits.
Storing Instructions
Store your cooked Ninja Foodi hard-boiled eggs in an airtight container in the refrigerator for up to one week. Keep them unpeeled until ready to eat to maintain freshness and make peeling easier.
More Easy Egg Recipes
- Air Fryer Easter Eggs
- Air Fryer Egg Salad Sandwiches
- Instant Pot 5-5-5 Method Perfect Hard Boiled Egg
- Ninja Foodi Grill Blueberry Muffins
- Instant Pot Potato Salad
Easy Peel Ninja Foodi Hard-Boiled Eggs Recipe Faqs
What does the 5-5-5 method mean? The 5-5-5 method refers to 5 minutes of pressure cooking, 5 minutes of natural release, and 5 minutes in an ice water bath for perfect eggs every time.
Can I use fresh eggs for this method? Slightly older eggs (about 7–10 days) peel more easily than very fresh eggs, but fresh eggs can still work.
How long can I store cooked eggs? Store hard-boiled eggs in an airtight container in the refrigerator for up to one week.
Can I peel the eggs immediately after cooking? It’s best to cool them in an ice water bath first to make peeling easier and prevent overcooking.
Can I double or triple this recipe? Yes! Just make sure not to overcrowd the Ninja Foodi basket so the eggs cook evenly.
More Easy Ninja Foodi Recipes
- ninja foodi possible cooker pro peanuts
- ninja foodi beef stew
- ninja foodi hamburgers
- ninja foodi mashed potatoes
- ninja foodi possible slow cooker pro cranberry meatballs
Don’t Forget To Pin!
Share Your Creations! Are you active on Facebook? Join our Air Fryer Recipes Group, where hundreds of thousands of Air Fryer enthusiasts gather and share your photos! I’m always thrilled to see what you’ve made. For those on Instagram, don’t forget to tag me @forktospoon – I can’t wait to admire your culinary adventures!
Easy Peel Ninja Foodi Hard-Boiled Eggs (5-5-5)
Description
Ingredients
- 6 large eggs
- 1 bowl ice cold water
Instructions
- Add 1 cup of water to the pot of your Ninja Foodi.
- Arrange the eggs on the Ninja Foodi rack or in a steamer basket. Set them in a single layer to ensure even cooking.
- Secure the pressure cooker lid on the Ninja Foodi. Make sure the pressure release valve is set to ‘seal’.
- Select the ‘Pressure Cook’ function.
- Set the timer based on your preferred doneness:
- Soft-boiled: 5 minutes (runny yolk)
- Medium-boiled: 7 minutes (partially set yolk)
- Hard-boiled: 9 minutes (fully set yolk)
- Start the cooking process. The device will take a few minutes to pressurize before the cooking time begins.
- After the timer goes off, allow natural pressure release for 5 minutes, then switch to quick release by moving the valve to ‘vent’.
- Use tongs to transfer the eggs from the Foodi to an ice water bath immediately to stop the cooking process. Let them cool in the bath for at least 5 minutes.
- Peel the eggs starting from the broader end. For easier peeling, you can roll the egg gently on a flat surface to crack the shell uniformly before starting
Equipment
- Ninja Foodi Pressure Cooker
- Tongs
Notes
- For easier peeling, use eggs that are a few days old rather than fresh from the store.
- Ensure the eggs are not cold from the refrigerator; if necessary, let them sit at room temperature for a few minutes before cooking.
Nutrition
Share this recipe
We can’t wait to see what you’ve made! Mention @forktospoon or tag #forktospoon!