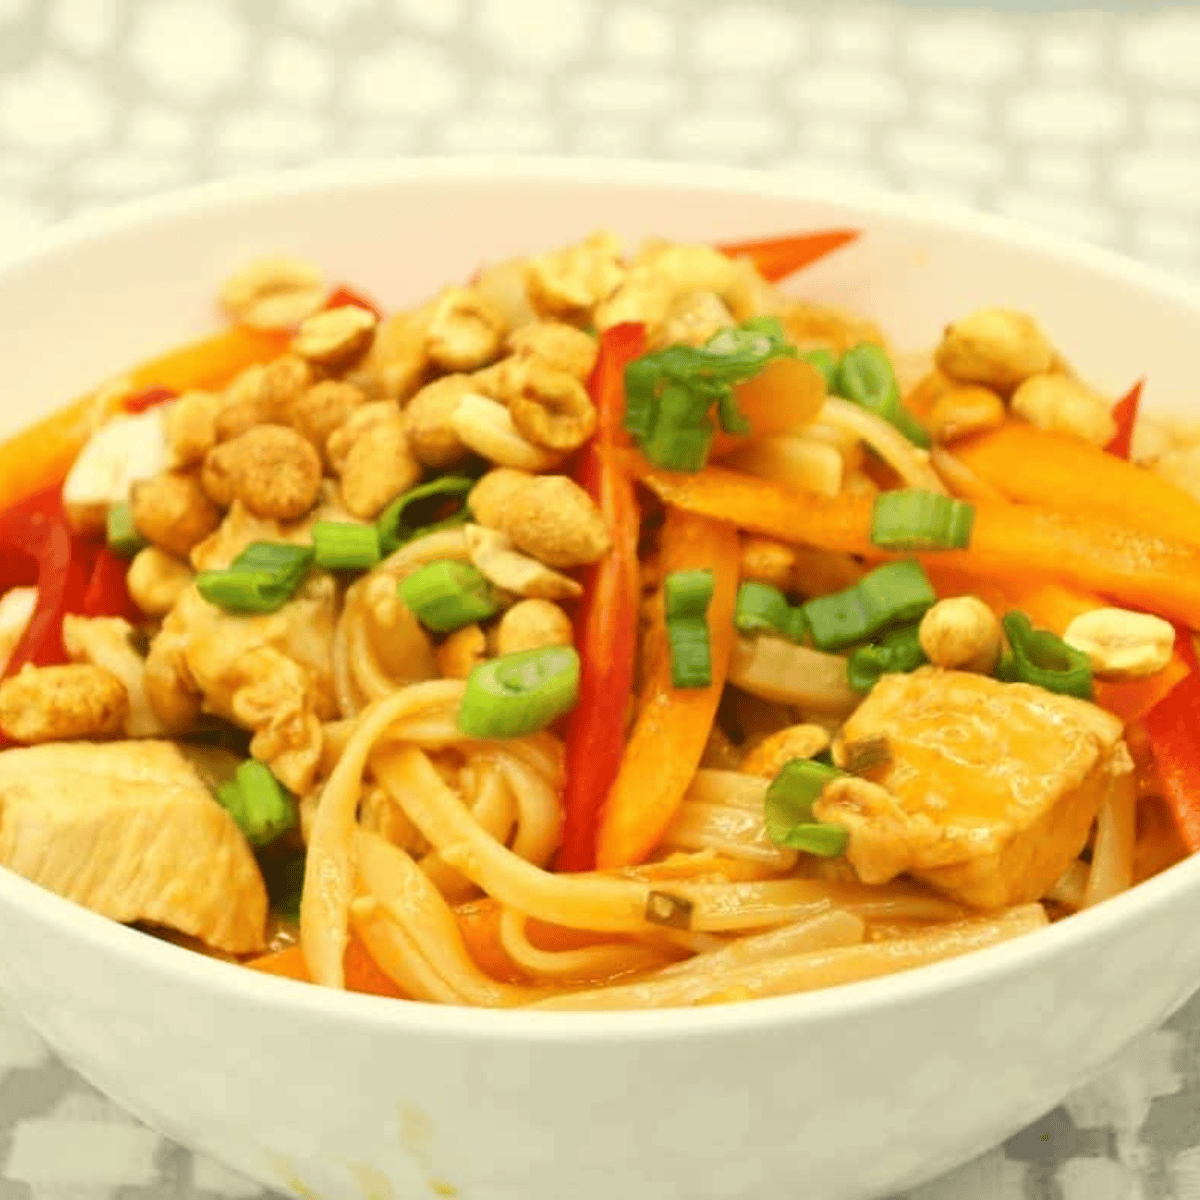
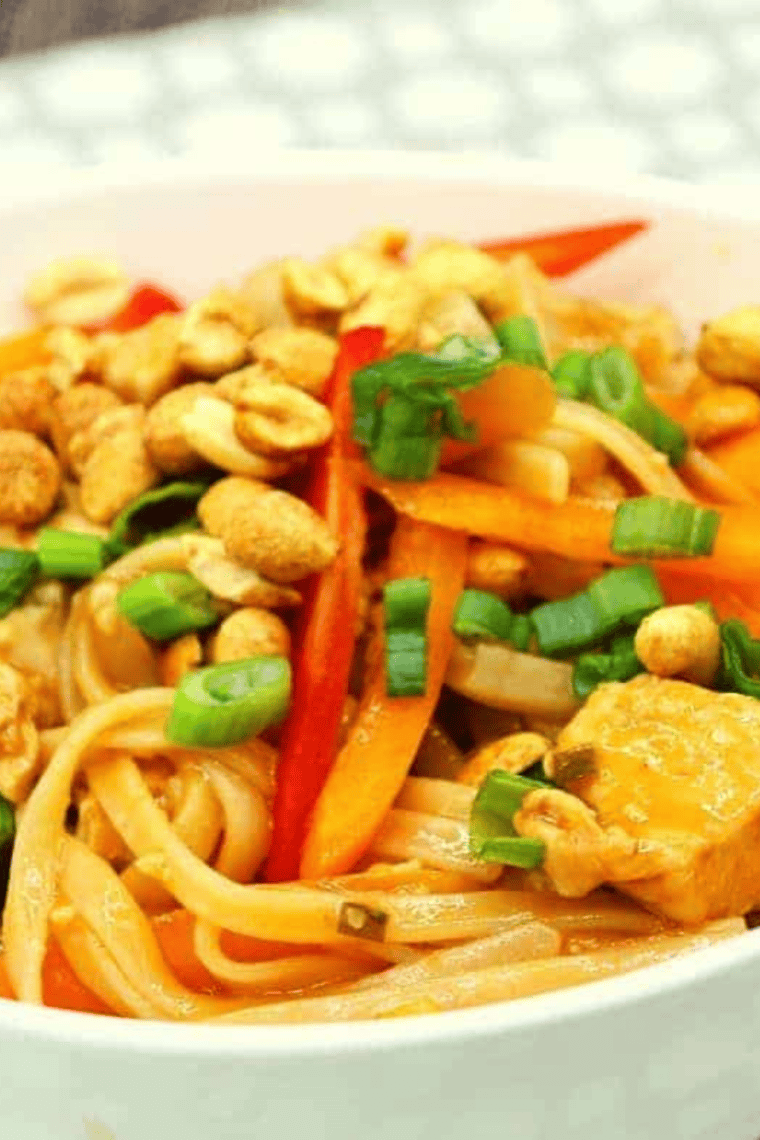
Ninja Foodi Chicken Pad Thai is the one-pot takeout swap I make when I want something better than delivery without dragging out a wok. The chicken, rice noodles, and sauce all cook together in the pressure cooker in 2 minutes, and the whole dinner lands on the table in about 25 minutes — including the chopping.
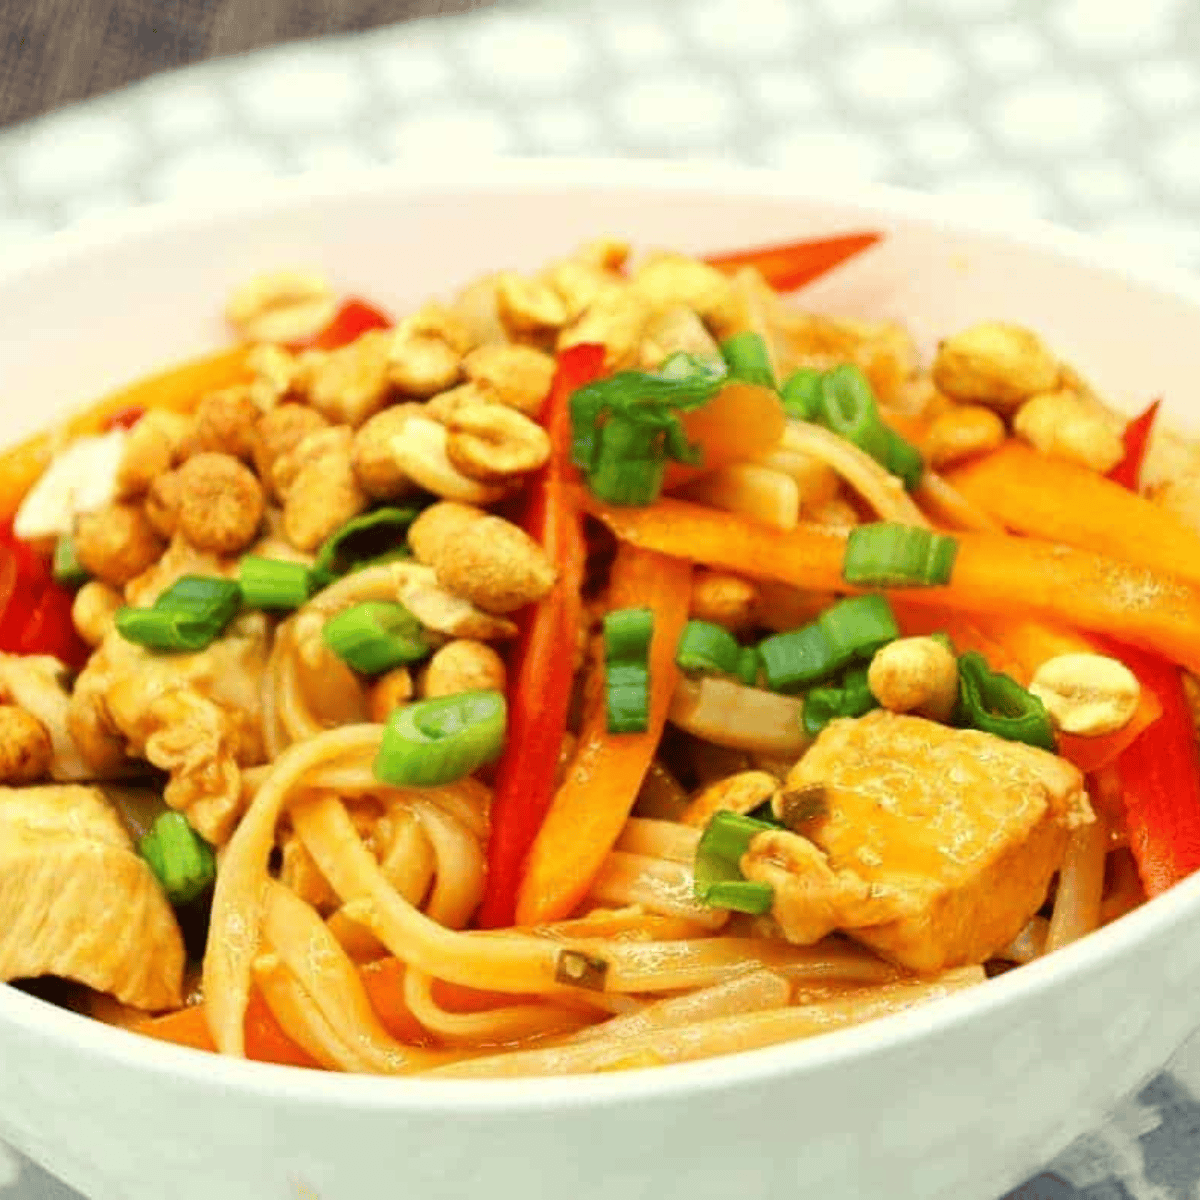
If you’ve never pressure-cooked noodles before, this is a good place to start. Rice noodles are thin enough that they soften almost instantly under pressure, which means no separate pot of boiling water, no draining, and no colander to wash. You get that signature sweet-savory-tangy pad thai flavor with crushed peanuts, scallions, and crisp bell pepper on top, and exactly one pot to clean.
Why You’ll Love This Ninja Foodi Pad Thai
Endlessly flexible. Swap the protein, the noodle, or the sauce depending on what’s in the pantry.
One pot, start to finish. Noodles cook right in the sauce, so nothing gets drained or dirtied.
Faster than delivery. About 25 minutes total, and most of that is hands-off.
Kid-friendly heat level. Nothing spicy unless you add it, which makes it an easy family dinner.
What Is Pad Thai?
Pad thai is a stir-fried rice noodle dish from Thailand, traditionally built on a sauce of tamarind, fish sauce, and palm sugar — sweet, salty, and sour all at once, finished with peanuts and lime. It’s usually made with chicken, shrimp, tofu, or a combination.
The heart of the dish is the noodle. Because rice noodles are made from rice flour rather than wheat, they’re thin, delicate, and cook far faster than pasta. Traditional recipes call for soaking them first and then stir-frying. In the Ninja Foodi, the pressure cooker does both jobs at once — the noodles hydrate and cook in the sauce in a single 2-minute cycle.
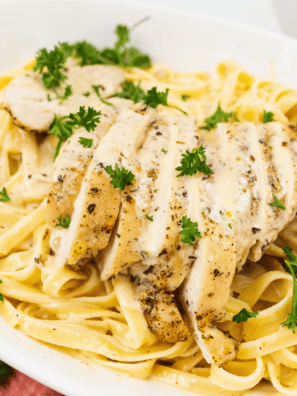
If you like the idea of cooking pasta and protein together in one pot, my Ninja Foodi Chicken Alfredo uses the same principle with a creamy sauce.
Ingredients You’ll Need
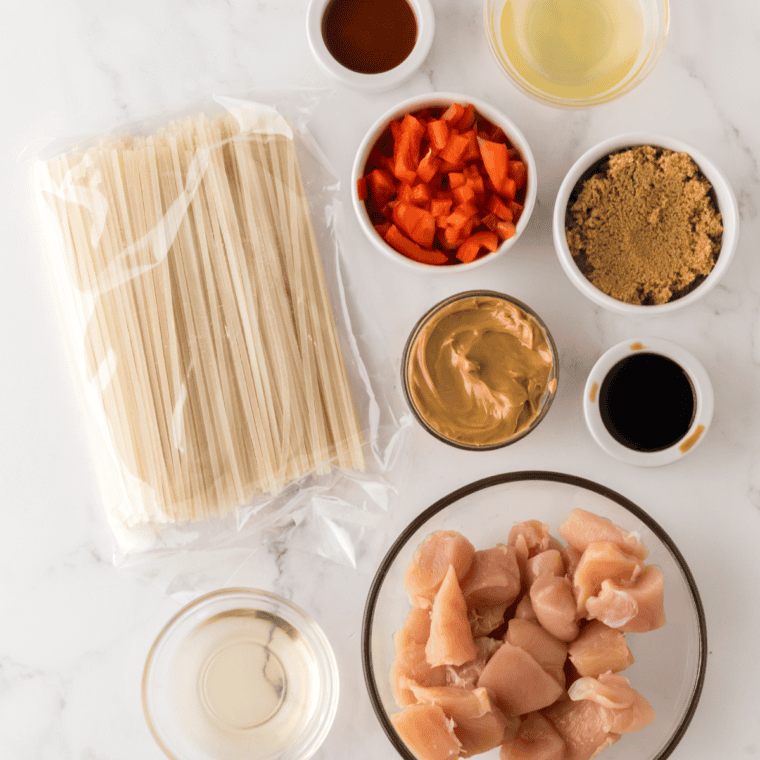
- Chicken breast: Diced into ½-inch pieces so it cooks through quickly. Boneless skinless thighs work beautifully here and stay juicier. Already have cooked chicken? See the shortcut in the FAQs below. Starting from frozen? Thaw it first using my Ninja Foodi frozen chicken breast method, then dice.
- Rice noodles: Look for flat pad thai–style rice noodles, sometimes labeled rice sticks. Width matters more than brand; see the noodle section below.
- Pad thai sauce: Bottled sauce is the fast route. Brands vary wildly in sweetness and salt, so taste yours before you commit. Scratch version below.
- Soy sauce: Adds depth and salt. Use tamari or coconut aminos to keep it gluten-free.
- Garlic: Fresh minced is worth it here, but jarred works in a pinch.
- Olive oil: Or any neutral oil. Peanut oil is more traditional and adds a nice background flavor.
- Bell peppers: Red and yellow, sliced thin and stirred in at the end so they stay crisp.
- Scallions and peanuts: Non-negotiable garnishes. This is where the texture comes from.
How To Make Ninja Foodi Chicken Pad Thai
Step One: Brown the chicken. Set the Foodi to Sauté on High, add the olive oil, and cook the diced chicken with the garlic for 3 to 4 minutes, stirring, until the outside is no longer pink. You are not cooking it through here — you’re building flavor. This step is what separates a good pad thai from a bland one, and it’s worth the four minutes.
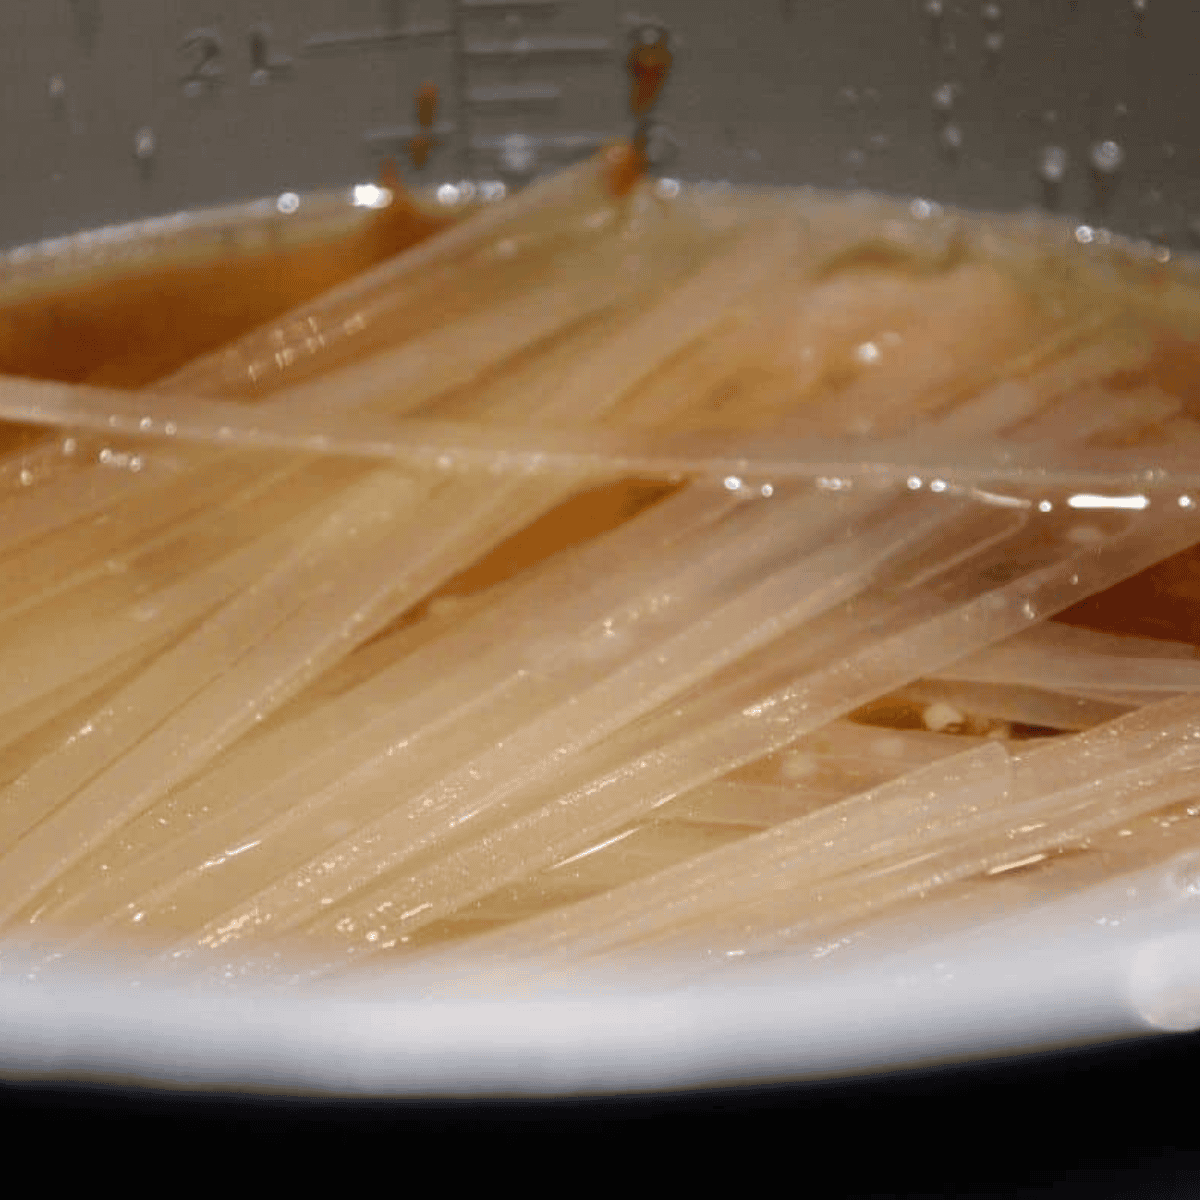
Step Two: Add everything else. Turn off Sauté. Add the soy sauce, pad thai sauce, water, and rice noodles. Press the noodles down with a silicone spatula until they’re fully submerged. If the liquid doesn’t cover them, add water a few tablespoons at a time until it just barely does. Uncovered noodles come out hard and chalky — this is the number one thing that goes wrong.
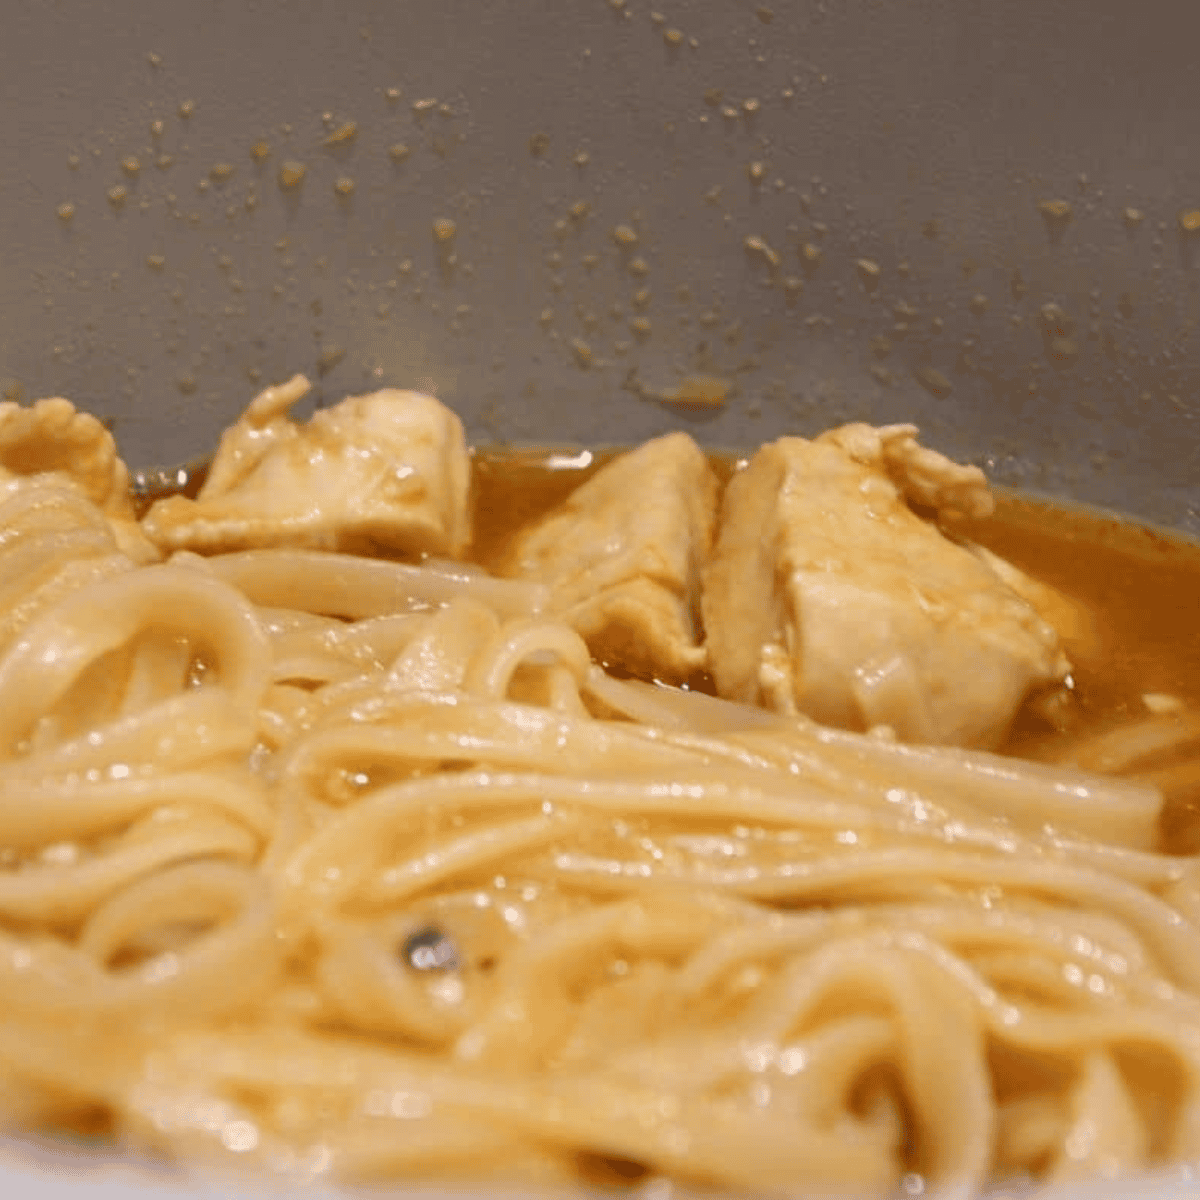
Step Three: Pressure cook 2 minutes. Lock on the pressure lid and set the valve to Seal. Double-check the valve. Set to High Pressure for 2 minutes.
Step Four: Quick release immediately. The second the timer beeps, do a quick release. Do not walk away and do not let it sit on Keep Warm — even one extra minute of residual heat will take the noodles past al dente.
Step Five: Rest, then finish. Open the lid and let the pot sit uncovered for 2 to 3 minutes. The sauce looks thin at first and thickens as it cools — resist the urge to add anything. Stir, then fold in the sliced bell peppers and peanuts. Check the chicken hits 165°F with a thermometer.
Step Six: Serve. Ladle into bowls and top with extra scallions, crushed peanuts, a lime wedge, and fresh cilantro if you like it.
Choosing The Right Noodles
This is where most pressure cooker pad thai goes sideways.
- Flat rice noodles (rice sticks), medium width — the standard choice, and what this timing is built around. 2 minutes, quick release.
- Thin rice vermicelli — cooks even faster and turns to mush easily. Drop to 1 minute and quick release.
- Brown rice noodles — sturdier and need more time. Try 3 minutes and expect a chewier bite.
- Spaghetti or linguine — works in a pinch, but it’s a different dish. Use half the box’s package time minus 1 minute.
If your noodles came out hard: they weren’t fully submerged. Add ¼ cup water, close the lid, and pressure cook 1 more minute.
If your noodles came out mushy: either the release wasn’t immediate or the noodles were thinner than called for. Next time, drop to 1 minute.
Homemade Pad Thai Sauce
Bottled sauce is genuinely convenient and I use it on busy nights. But if you want the real tamarind tang, whisk this together instead of the ½ cup of bottled sauce:
- 3 tablespoons tamarind paste (or concentrate)
- 3 tablespoons fish sauce
- 3 tablespoons brown sugar or palm sugar
- 1 tablespoon rice vinegar
- 1 teaspoon sriracha, optional
Whisk until the sugar dissolves and add it exactly where the bottled sauce goes. It’s sharper and less sweet than most jarred versions, which is closer to what you’d get at a good Thai restaurant.
Tips For The Best Ninja Foodi Chicken Pad Thai
- Seal the valve. Every time. A vented lid means the liquid boils off and the noodles scorch.
- Don’t skip the rest. Two minutes uncovered is what turns thin liquid into sauce.
- Add the peppers at the end. Pressure-cooked bell pepper is limp. Stirred in after, it stays bright and crisp.
- Taste before salting. Bottled pad thai sauces range from mildly seasoned to very salty. Salt at the table, not in the pot.
- Add a scrambled egg for authenticity. Push the finished noodles to one side, set the pot to Sauté, and scramble two eggs in the empty half before folding everything together.
- Bean sprouts and lime. A handful of raw bean sprouts and a squeeze of lime at serving are what make it taste like takeout.
Which Ninja Foodi Models Work For This Recipe
Ninja has released a lot of machines under the Foodi name, and they don’t all pressure cook. Here’s where this recipe lands on each.
Original Ninja Foodi (two-lid models, OP-series): Yes, no changes. This is the machine with the separate attached crisping lid and a removable pressure lid. Use the pressure lid, seal the valve, 2 minutes, quick release. You never need the crisping lid for this recipe.
Ninja Foodi with SmartLid (OL501, OL601, OL701 and similar): Yes, with one extra step. These have a single lid and a slider that switches between Pressure, Steam Crisp, and Air Fry modes. Slide the SmartLid Slider all the way to Pressure before you close the lid — if it’s parked in Air Fry or Steam Crisp, the unit won’t build pressure and your noodles will scorch on the bottom. Timing is otherwise identical.
Ninja Foodi SMART XL with the auto-steam release: Yes. Set it to release automatically the moment the cycle ends rather than choosing natural release. Fast release is what keeps the noodles from going soft. If your model has the integrated probe, you can skip the thermometer check in Step Five.
8-quart models: Yes, and you have room to double it. Larger pots take a little longer to come to pressure, but the 2-minute cook time doesn’t change.
Ninja Speedi: No pressure function on this one, so the recipe won’t work as written. Cook the chicken on Sear/Sauté, then add the sauce and pre-soaked rice noodles and stir on Sauté until the noodles soften and absorb the sauce, about 4 to 5 minutes. My Ninja Speedi Teriyaki Chicken is a better fit if you want a recipe built for that machine.
Ninja Combi: Also no pressure cooking — it runs on Combi-Steam. Use the same sauté-and-soak workaround above.
Ninja Foodi PossibleCooker and PossibleCooker Pro: No pressure function. These are slow cooker and stovetop-style units, so use them like a large sauté pan: brown the chicken, add the sauce, and stir in soaked noodles at the end. See my Ninja Foodi Possible Cooker Pro Garlic Chicken for how that machine handles chicken.
Not sure which model you own? Check the sticker on the back or the bottom of the unit for the code — anything starting with OP or OL pressure cooks, and you’re good to go. Browse the rest of my Ninja Foodi recipes by machine.
Variations
- Shrimp pad thai — Skip the sauté step and stir raw peeled shrimp in after the quick release. The residual heat cooks them in about 3 minutes.
- Vegetarian or vegan pad thai — Use extra-firm tofu instead of chicken, swap soy sauce for a vegan brand, and check your pad thai sauce label, since most contain fish sauce. In the scratch sauce, replace fish sauce with additional soy sauce plus a splash of rice vinegar.
- Extra vegetables — Shredded carrot, snow peas, or napa cabbage all work stirred in at the end. If you like the sauce-and-veg-and-protein formula, my Ninja Foodi Chicken Egg Roll Bowls and Easy Ninja Foodi Chicken Stir Fry run on the same idea.
- Turn up the heat — Chili flakes, sriracha, or a spoonful of chili crisp stirred in at the end.
How To Store and Reheat
Storing: Keep leftovers in an airtight container in the fridge for 2 to 3 days. Past that the noodles soften noticeably.
Reheating: Microwave in a bowl until warmed through, or reheat in a skillet with 2 tablespoons of water so the noodles don’t dry out. If you have extra sauce, add a spoonful — reheated rice noodles absorb liquid and go dry fast. Finish with fresh peanuts and scallions to bring the texture back.
Freezing: I don’t recommend it. Rice noodles break down in the freezer and thaw grainy.
Frequently Asked Questions
Will raw chicken cook through in only 2 minutes? Yes, when it’s diced small and browned first. Between the sauté step, the 8 to 10 minutes the pot takes to come to pressure, and the 2-minute cycle, ½-inch pieces cook fully. Check with an instant-read thermometer for 165°F before serving — if it’s short, run Sauté for another minute or two.
Can I use already-cooked chicken? Absolutely, and it’s faster. Skip the sauté step entirely, sauté just the garlic in the oil for 30 seconds, then add everything including the cooked chicken and pressure cook for 2 minutes. Leftover Ninja Foodi roast chicken is perfect for this.
Can I make this in an Instant Pot or another pressure cooker? Yes. Any electric pressure cooker works with identical timing — sauté, then 2 minutes on High Pressure with an immediate quick release. Browse more Instant Pot recipes here.
Why is my sauce watery? It always looks watery when the lid comes off. Let the pot sit uncovered for 2 to 3 minutes and it will thicken as the noodles finish absorbing liquid. If it’s still loose after that, run Sauté on Low for 1 to 2 minutes with the lid off.
Is this gluten-free? It can be. Rice noodles are naturally gluten-free — swap the soy sauce for tamari or coconut aminos and check the label on your bottled pad thai sauce.
Can I double the recipe? Yes, but don’t fill the pot past the max line, and add the liquid proportionally so the noodles stay covered. Keep the cook time at 2 minutes.
What should I serve with it? It’s a full meal on its own. If you’re feeding a crowd, spring rolls or a cucumber salad round it out nicely.
More Ninja Foodi Chicken Recipes
- Easy Ninja Foodi Chicken Fajitas — another 30-minute weeknight dinner
- Easy Ninja Foodi Lemon Chicken — bright, simple, pantry ingredients
- Easy Crispy Ninja Foodi Fried Chicken — golden and crunchy without deep frying
- Ninja Foodi Whole Chicken — pressure cook, then air crisp
- Easy Ninja Foodi Slow Cooker BBQ Chicken — set it in the morning, shred it at dinner
For everything else the appliance can do, head to my Ninja Foodi recipe collection, or plan the whole week with my weekly meal plan.
Ninja Foodi Chicken Pad Thai
Description
Ingredients
- 2 tablespoons olive oil
- 2 large boneless skinless chicken breasts, about 6 ounces each, diced into ½-inch pieces
- 2 teaspoons garlic, minced
- 3 tablespoons soy sauce, or tamari for gluten-free
- ½ cup pad thai sauce
- 1½ cups water, plus more as needed
- 7 ounces flat rice noodles
- ½ cup red bell pepper, thinly sliced
- ½ cup yellow bell pepper, thinly sliced
- 2 scallions, sliced
- ½ cup peanuts, roughly chopped
- Lime wedges and fresh cilantro, for serving (optional)
Instructions
- Set the Ninja Foodi to Sauté on High. Add the olive oil, diced chicken, and minced garlic. Cook 3 to 4 minutes, stirring, until the outside of the chicken is no longer pink. Turn off Sauté.
- Add the soy sauce, pad thai sauce, water, and rice noodles. Press the noodles down with a silicone spatula until fully submerged. If the liquid doesn’t cover them, add water a few tablespoons at a time until it just does.
- Lock on the pressure lid and turn the valve to Seal. Pressure cook on High for 2 minutes.
- As soon as the timer beeps, do a quick release. Do not let the pot sit on Keep Warm.
- Remove the lid and let the pot rest uncovered for 2 to 3 minutes — the sauce will thicken as it sits. Stir well.
- Fold in the sliced bell peppers and chopped peanuts. Check that the chicken reads 165°F on an instant-read thermometer.
- Serve in bowls topped with scallions, extra peanuts, lime wedges, and cilantro.
Equipment
- Ninja Foodi
- Silicone spatula
- Instant-read thermometer
Notes
- Fully submerged noodles are essential. Uncovered noodles cook up hard.
- Thin rice vermicelli needs only 1 minute; brown rice noodles need about 3.
- The sauce looks thin when the lid comes off and thickens during the rest.
- For a more authentic finish, scramble 2 eggs on Sauté and fold them in at the end.
Nutrition
Share this recipe
We can’t wait to see what you’ve made! Mention @forktospoon or tag #forktospoon!