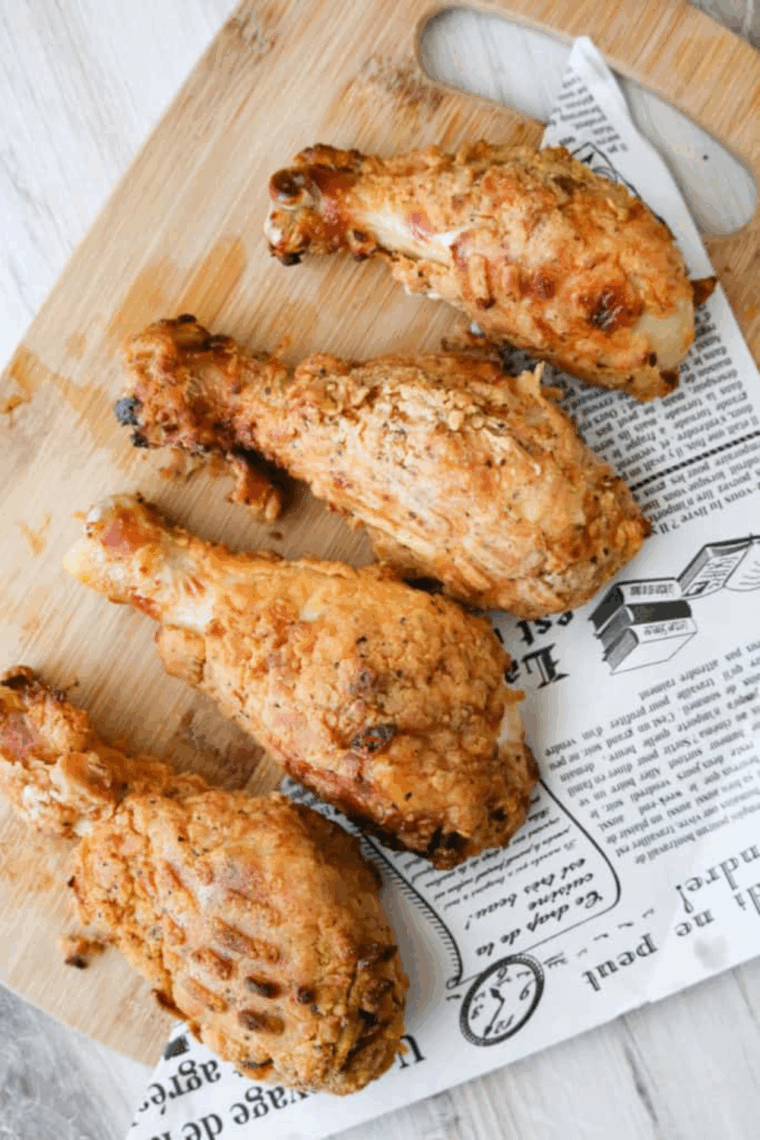
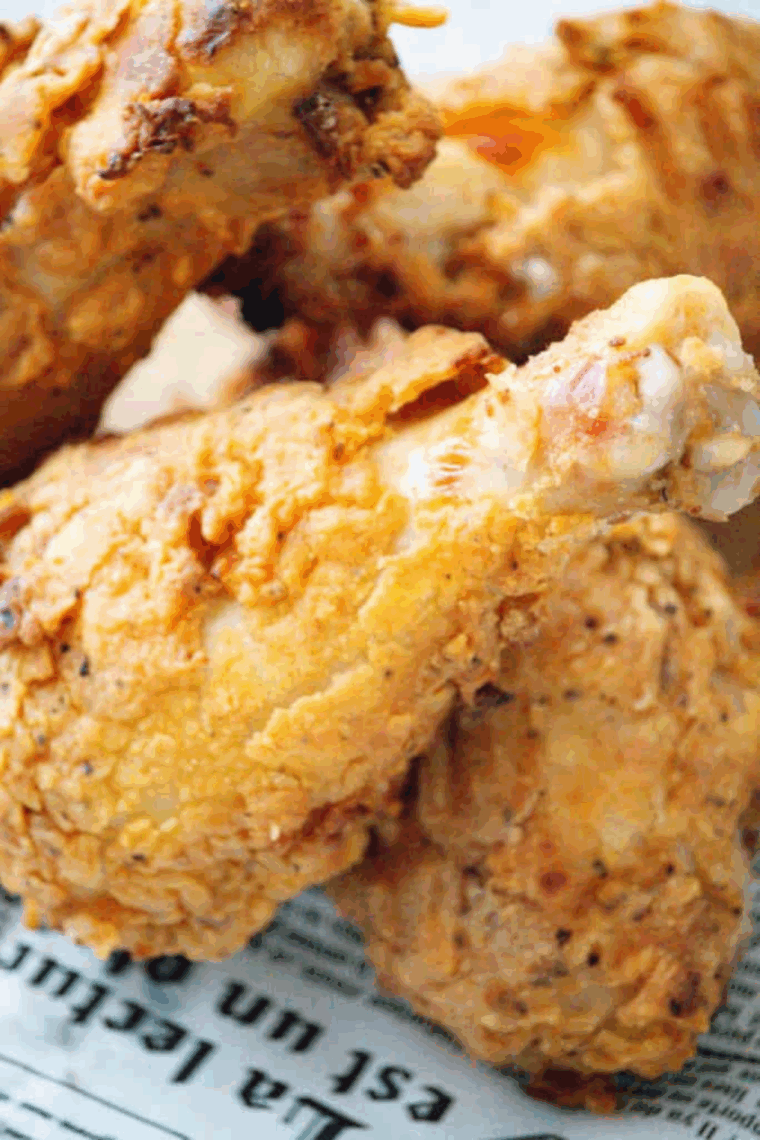
This Easy Crispy Ninja Foodi Fried Chicken comes out golden, crunchy, and perfectly juicy every time. It’s a quick, foolproof way to enjoy classic fried chicken without the mess of deep frying.
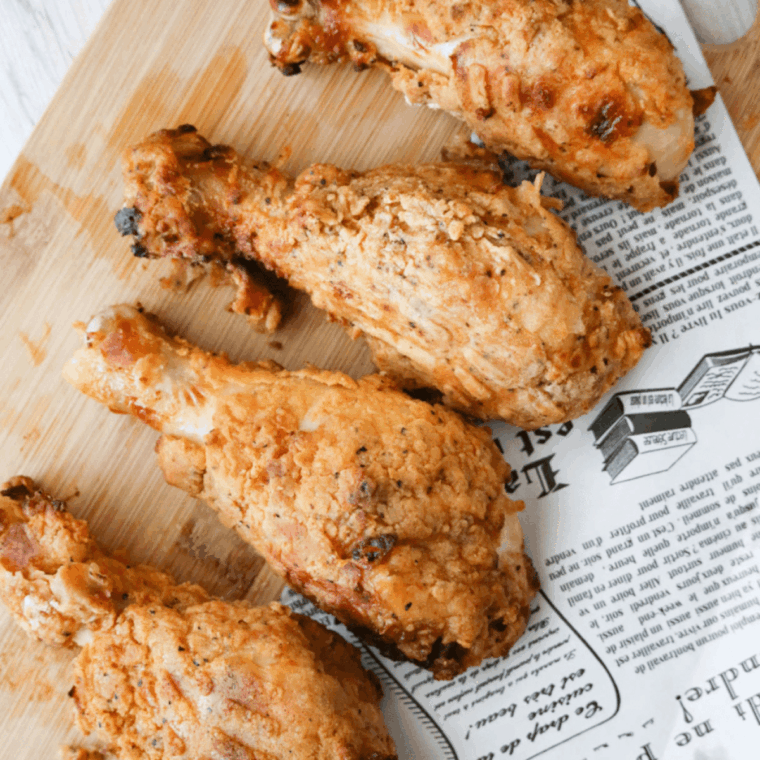
Get ready for perfectly crispy, juicy fried chicken without the hassle of a deep fryer.
This Easy Crispy Ninja Foodi Fried Chicken recipe uses the air fryer function to deliver golden, crunchy chicken in a fraction of the time, making it a weeknight favorite that’s sure to impress the whole family.
Why You Will Love This Recipe!
- Crispy perfection: Achieves golden, crunchy coating without deep frying.
- Juicy inside: Locks in moisture for tender, flavorful chicken.
- Quick and easy: Ready in a fraction of the time of traditional fried chicken.
- Family-friendly: A hit with kids and adults alike.
- Minimal cleanup: No oil splatters or heavy frying mess.
Ingredients Needed
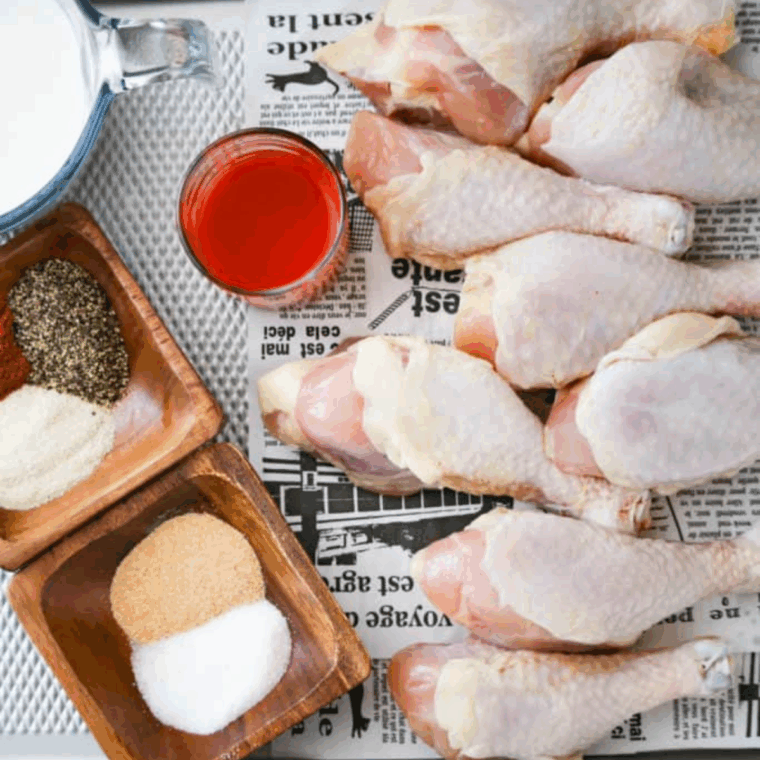
- Chicken: You can use chicken legs, drumsticks, breasts, or wings. Any uncooked chicken part will work in this recipe.
- Buttermilk: This will give you a tremendously moist fried chicken.
- All-Purpose Flour: I you want to make this recipe gluten-free, you can use gluten-free all-purpose flour.
- Cornstarch and Baking Powder: This will help crisp up your fried chicken.
- Seasoning Mix: Hot Sauce, Smoked Paprika, Onion Powder, Garlic Powder, Kosher Salt, Black Pepper
- Olive Oil: Use any high-heat oil, such as avocado oil, grapeseed oil, or extra virgin olive oil.
How To Make Easy Crispy Ninja Foodi Fried Chicken
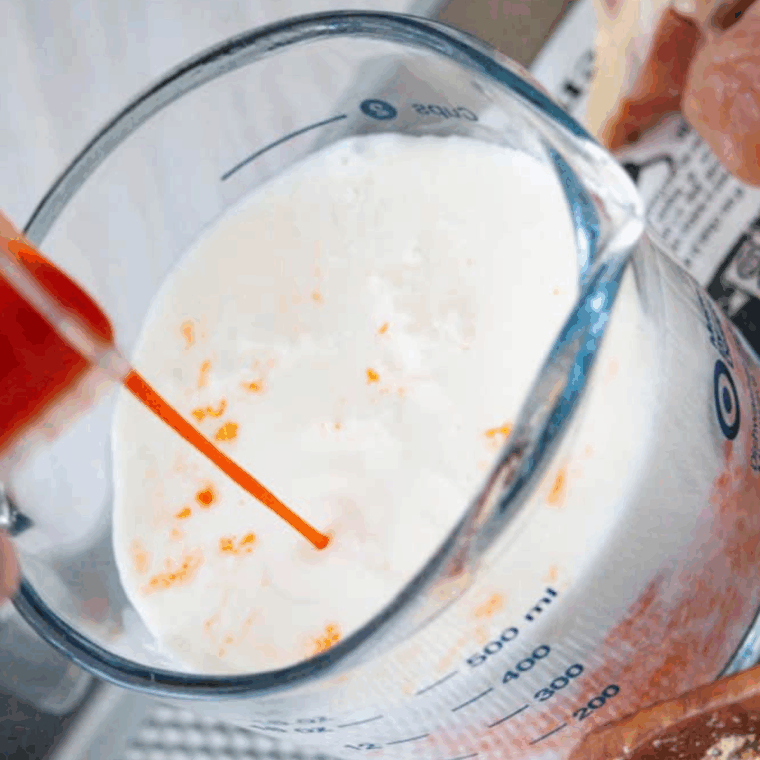
Step One: Pat the chicken dry with paper towels. In a shallow bowl, mix smoked paprika, onion powder, garlic powder, salt, and pepper. In a large bowl, combine hot sauce and buttermilk, then stir in half of the seasoning mixture.
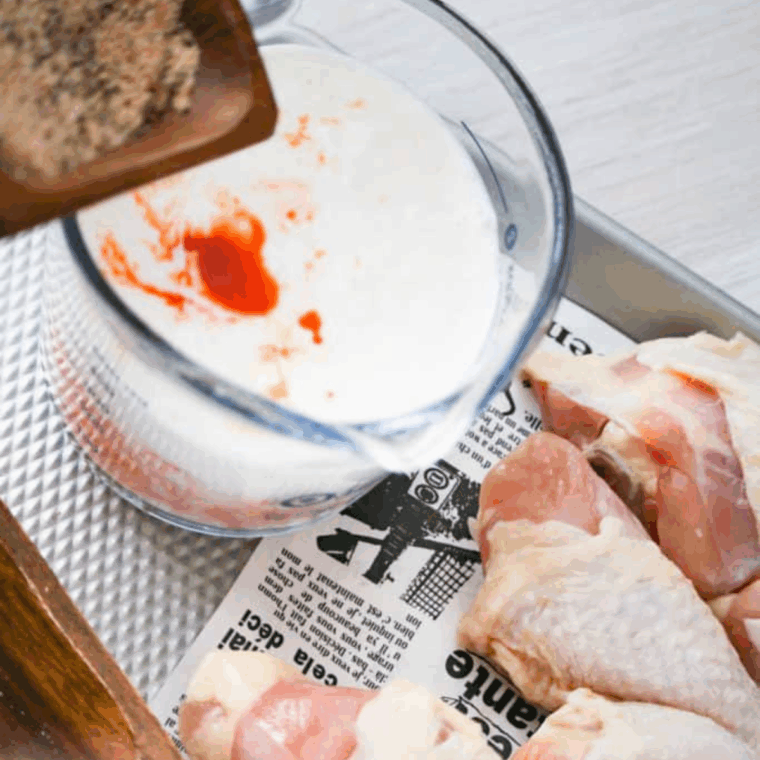
Step Two: Pour the buttermilk mixture into a large resealable bag, add the chicken, and seal. Let the chicken marinate for 1–2 hours, or overnight for extra flavor and tenderness.
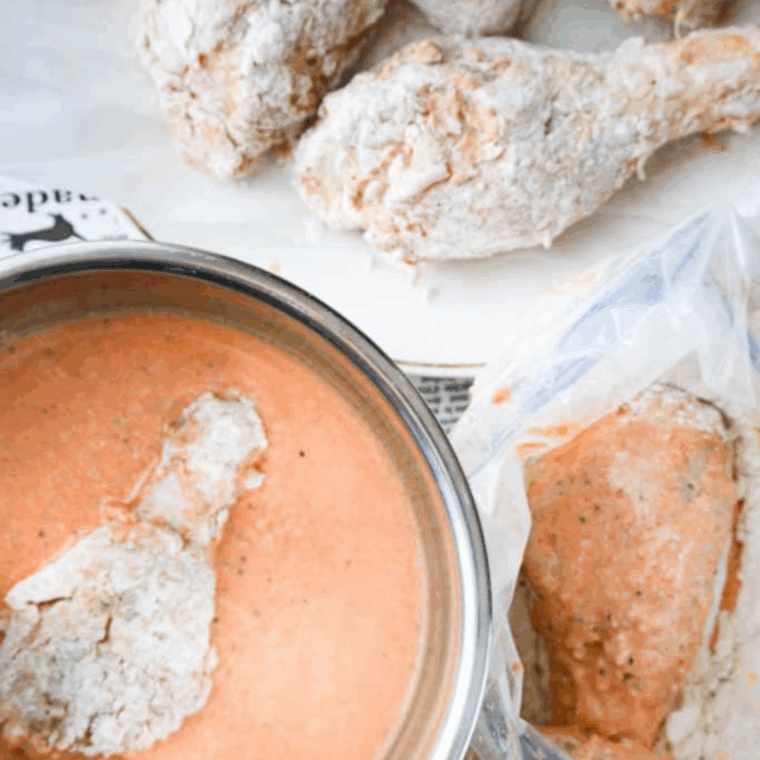
Step Three: In a large bowl, combine cornstarch, baking powder, and the remaining seasoning mix. Remove the chicken from the buttermilk brine, letting excess drip off, then coat each piece in the flour mixture. Place on a wire rack or baking sheet, dip back into the brine, and dredge again in the flour mixture for an extra-crispy coating.
Step Four: Preheat the Ninja Foodi to 360°F. Arrange the chicken on the trivet or air fryer basket, cover with the lid, and cook for 20 minutes, flipping halfway through. For extra crispy results, brush with olive oil or lightly spray with cooking spray. Remove the chicken once it reaches an internal temperature of 165°F.
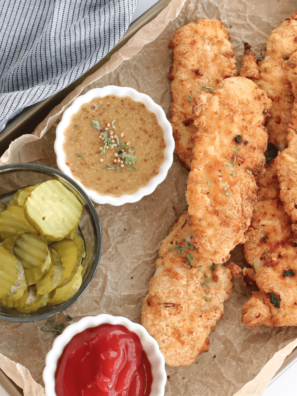
Step Five: Serve with a dipping sauce or with additional seasonings.
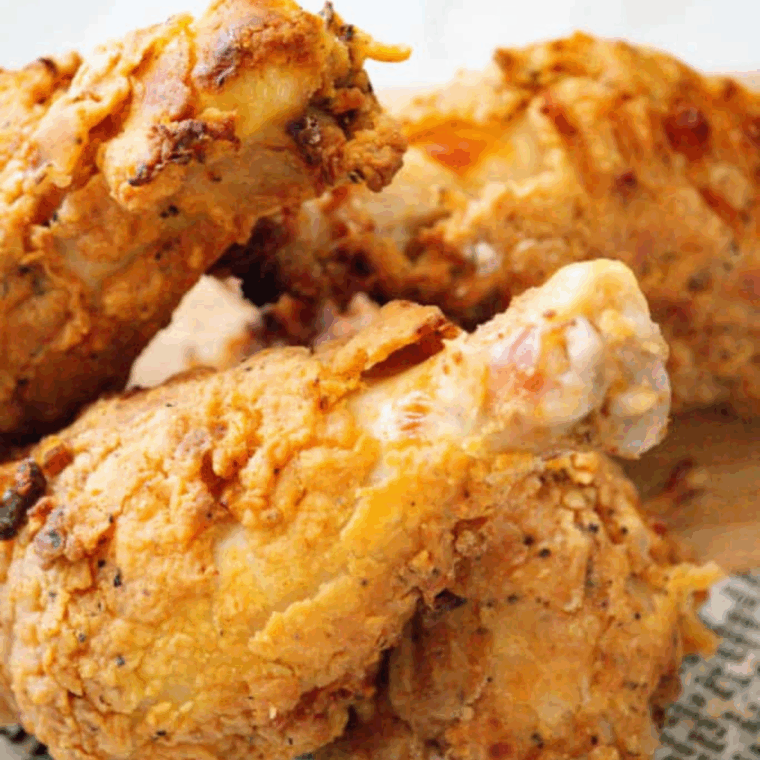
Crispy Ninja Foodi Fried Chicken Recipe Tips
- Pat chicken dry: Removing excess moisture ensures a crispy coating.
- Double dredge for crunch: Dip in brine or buttermilk, then flour twice for maximum crispiness.
- Don’t overcrowd: Leave space between pieces in the Ninja Foodi for even cooking.
- Use a meat thermometer: Check that the internal temperature reaches 165°F for safe, juicy chicken.
- Optional oil spray: Lightly brushing or spraying the chicken helps achieve a golden, crunchy crust.
Storing Instructions
- Refrigerator: Store cooled fried chicken in an airtight container for up to 4 days.
- Reheating: Reheat in the Ninja Foodi, oven, or air fryer at 320°F for 3–5 minutes to restore crispiness.
- Freezing: Wrap cooked chicken pieces individually in foil or freezer-safe bags and freeze up to 2 months. Thaw in the fridge before reheating.
Easy Crispy Ninja Foodi Fried Chicken Recipe Faqs
Can I use chicken thighs or wings instead of breasts? Yes! Adjust cooking time depending on the size and thickness of the pieces.
Do I need to flip the chicken halfway? Flipping ensures even browning and crispiness, but smaller pieces may not require it.
Can I make this gluten-free? Absolutely! Use gluten-free flour or cornstarch in place of regular flour for the coating.
How do I store leftovers? Keep cooled chicken in an airtight container in the fridge for up to 4 days.
Can I reheat without losing crispiness? Yes! Reheat in the Ninja Foodi or air fryer at 320°F for a few minutes to restore crunch.
What To Serve With Ninja Foodi Fried Chicken
One popular side dish for fried chicken is mashed potatoes. This indulgent combination of mashed potatoes, butter, and milk can perfectly accompany the fried chicken. Another popular side is coleslaw. The crisp cabbage combined with a creamy dressing provides a great contrast in texture to the fried chicken.
Consider adding air fryer green beans or air fryer roasted vegetables to your plate for veggies. These sides are flavorful and will add some much-needed nutrients to the plate. Roasted vegetables such as carrots, onions, and mushrooms are a great way to add some extra flavor.
Finally, no meal is complete without some delicious air fryer garlic bread on the side. Air Fryer Cornbread or air fryer biscuits are excellent choices that pair perfectly with fried chicken. They provide a great way to soak up all the delicious juices from the chicken and add an extra layer of flavor.

More Air Fryer Recipes
- Air Fryer French Fries
- Air Fryer Chicken Tenders
- Air Fryer Chicken Thighs
- Air Fryer Chicken Nuggets
- Air Fryer Chicken Drumsticks
- Ninja Crispi Easy Breakfast Casserole
Share Your Creations! Are you active on Facebook? Join our Air Fryer Recipes Group, where hundreds of thousands of Air Fryer enthusiasts gather and share your photos! I’m always thrilled to see what you’ve made. For those on Instagram, don’t forget to tag me @forktospoon – I can’t wait to admire your culinary adventures!
Don’t Forget To Pin!
Easy Crispy Ninja Foodi Fried Chicken Recipe
Description
Ingredients
Fried Chicken Brine:
- 1 1/2 cup buttermilk, see recipe below for buttermilk
- 1/4 cup hot sauce
Seasoning Mix/Seasoning Blend:
- 1 tablespoon smoked paprika
- 1 tablespoon onion powder
- 1 tablespoon garlic powder
- 1 tablespoon kosher salt, or sea salt
- 1 tablespoon black pepper
Chicken:
- 2-3 pounds chicken, drumsticks, legs, breast or wings
Flour Mixture:
- 1 1/2 cups all-purpose flour
- 1/2 cup cornstarch
- 1 teaspoon baking powder
Other:
- 1/8 cup olive oil, or cooking spray
Instructions
- Start by using a paper towel, and dry the 2-3 pounds chicken
- Add the 1 tablespoon smoked paprika 1 tablespoon onion powder, 1 tablespoon garlic powder, 1 tablespoon kosher salt, and 1 tablespoon black pepper in a shallow bowl.
- Add the 1/4 cup hot sauce and 1 1/2 cup buttermilk to a large bowl, and mix well until combined. Add in half of the seasonings.
- Pour your buttermilk mixture into a large resealable plastic bag, then place the chicken in the bag. Let soak for about 1-2 hours or even overnight.
- Add the 1/2 cup cornstarch 1 teaspoon baking powder, and the rest of the seasoning mix in a large bowl, and mix well. Remove the piece of chicken from the brine, drain, add your chicken legs, and coat the chicken. Finish breading the chicken, and set them on a wire rack or baking sheet.
- Then recoat the chicken with the brine and then dredge the chicken again in the 1 1/2 cups all-purpose flour mixture.
- Preheat the Ninja Foodi to 360 degrees F, place the chicken onto the trivet or the bottom of the air fryer, and then add the lid to the Ninja Foodi; set the cooking time for 20 minutes, flipping halfway during the cooking process. For the best results, brush the chicken's coating with 1/8 cup olive oil or spray it with cooking spray.
- Remove when the chicken's internal temperature reaches 165 degrees F, using a meat thermometer.
- Serve with a dipping sauce or with additional seasonings
Equipment
- Ninja Foodi, Crisp Basket, and Crisp Lid
- Tongs
Notes
- 1.5 cups of milk with 1.5 teaspoons of lemon juice or white vinegar
Nutrition
Share this recipe
We can’t wait to see what you’ve made! Mention @forktospoon or tag #forktospoon!

