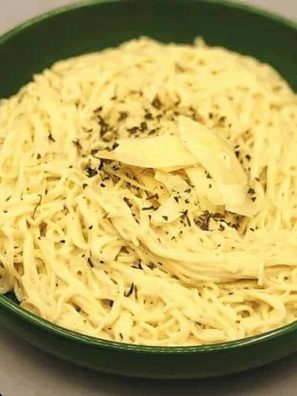
This Quick & Easy Instant Pot Rice-A-Roni is perfectly fluffy and full of savory flavor in minutes. It’s a simple, fuss-free side dish that pairs with just about any meal.

Rice-A-Roni is a classic side dish, and making it in the Instant Pot takes it from simple to effortless.
In just minutes, you get perfectly fluffy, flavorful rice without standing over the stove, making it ideal for busy weeknights or any time you want a reliable, tasty side with minimal effort.

Why You Will Love This Recipe!
- Fast and fuss-free: Ready in just minutes with minimal prep.
- Perfectly fluffy rice: The Instant Pot ensures ideal texture every time.
- Full flavor: Seasoned mix delivers that classic Rice-A-Roni taste.
- One-pot cooking: Minimal cleanup with no extra pans needed.
- Versatile side dish: Pairs perfectly with chicken, beef, seafood, or vegetables.
If you are looking for even more Instant Pot Side Dishes, some of my favorites are INSTANT POT COCONUT JASMINE RICE, INSTANT POT GARLIC BROWN RICE, INSTANT POT CHICKEN AND RICE, and INSTANT POT BROWN RICE.
Ingredients Needed
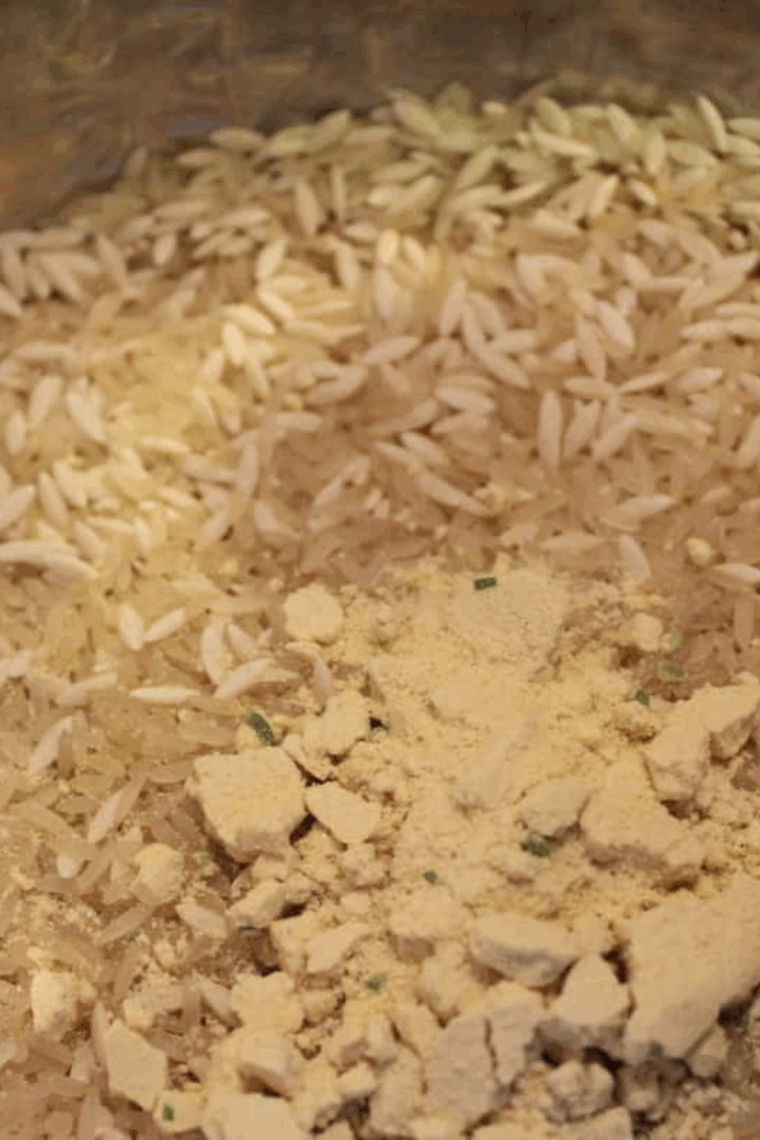
- Box of Rice-A-Roni: Prepackaged Rice-A-Roni mix for quick, flavorful side
- Butter: Adds richness and enhances the savory rice flavor
- Water: Provides moisture needed to cook rice perfectly
How To Make Quick & Easy Instant Pot Rice-A-Roni
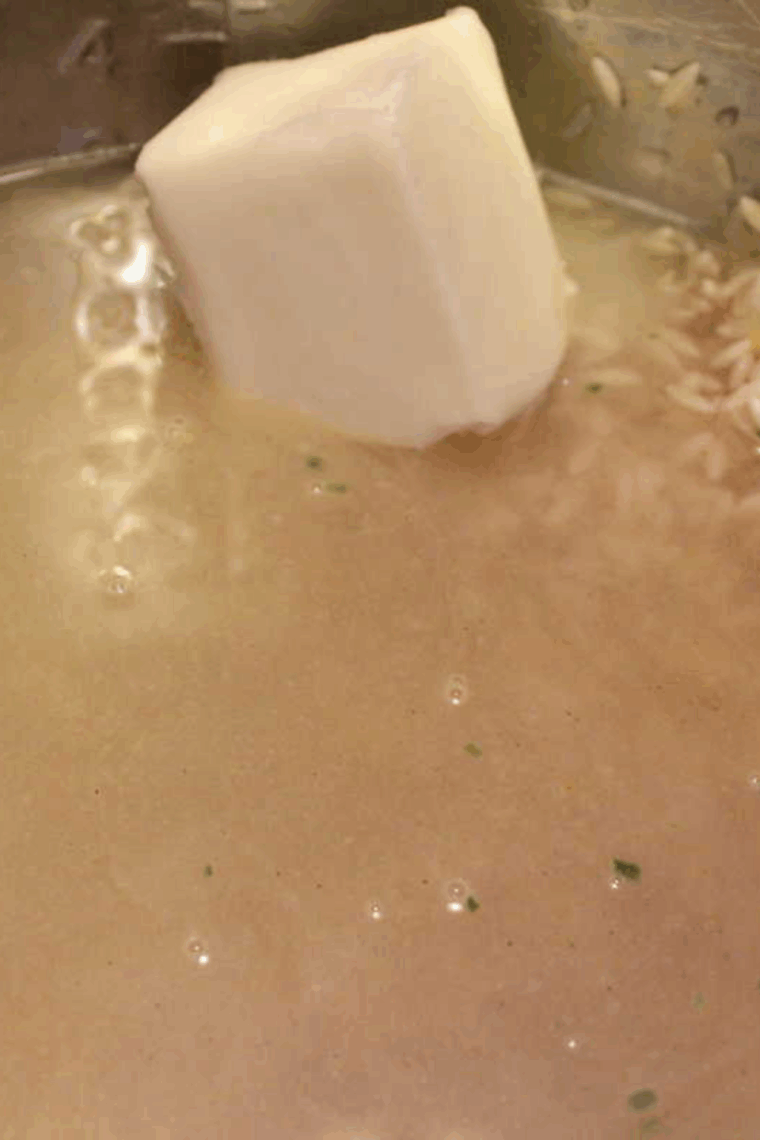
Step One: Pour the Rice-A-Roni mix, water, and butter into the Instant Pot. Stir gently to combine. Lock the lid in place and set the valve to Sealing.
Step Two: Set the Instant Pot to Manual or Pressure Cook on high for 6 minutes. When the cooking time is done, carefully perform a quick release to let the steam escape.
Step Three: Open the lid, fluff the rice with a fork, and serve hot.
Easy Instant Pot Rice-A-Roni Recipe Tips
- Use the seasoning packet: It gives that classic Rice-A-Roni flavor.
- Stir ingredients before cooking: Prevents rice from sticking to the bottom.
- Quick release: Ensures rice stays fluffy and not mushy.
- Add butter or oil: Enhances flavor and richness.
- Optional mix-ins: Add sautéed onions, garlic, or vegetables for extra flavor.
Storing Instructions
- Refrigerator: Store leftover rice in an airtight container for 3–4 days.
- Freezer: Freeze in a freezer-safe container for up to 2 months; thaw overnight in the fridge before reheating.
- Reheating: Reheat in the microwave or on the stovetop with a splash of water to maintain fluffiness.

Quick & Easy Instant Pot Rice-A-Roni Recipe Faqs
Can I use any flavor of Rice-A-Roni? Yes! All boxed flavors work the same way in the Instant Pot.
Can I use broth instead of water? Absolutely. Chicken, beef, or vegetable broth adds extra flavor.
Can I double the recipe? Yes, but make sure the total contents stay below the Instant Pot’s maximum fill line.
Do I need to use the seasoning packet? The seasoning packet gives the classic flavor, but you can adjust or skip for lighter seasoning.
Can I add vegetables or protein? Yes, stir in cooked chicken, shrimp, or sautéed vegetables after cooking for a complete meal.
How do I store leftovers? Refrigerate in an airtight container for 3-4 days or freeze for up to 2 months. Reheat with a splash of water to keep rice fluffy.
Can I use brown rice or other rice types? Brown rice can be used, but cooking times may vary and it may require extra water.
More Easy Instant Pot Rice Recipes
- INSTANT POT COCONUT JASMINE RICE
- INSTANT POT GARLIC BROWN RICE
- EASY INSTANT POT CHICKEN AND RICE
- INSTANT POT BROWN RICE
- INSTANT POT WILD RICE
Don’t Forget To Pin!
Share Your Creations! Are you active on Facebook? Join our Air Fryer Recipes Group, where hundreds of thousands of Air Fryer enthusiasts gather and share your photos! I’m always thrilled to see what you’ve made. For those on Instagram, don’t forget to tag me @forktospoon – I can’t wait to admire your culinary adventures!

Quick & Easy Instant Pot Rice-A-Roni
Description
Ingredients
- 1 package Rice-A-Roni, any type
- 4 tablespoons butter, unsalted
- 2 cups water
Instructions
- Pour the 1 package Rice-A-Roni mix, 2 cups water, and 4 tablespoons butter into the Instant Pot. Stir gently to combine.
- Lock the lid in place and set the valve to Sealing.
- Set the Instant Pot to Manual or Pressure Cook on high for 6 minutes.
- When the cooking time is done, carefully perform a quick release to let the steam escape.
- Open the lid, fluff the rice with a fork, and serve hot.
Equipment
- Instant Pot
- Ladle
Notes
Nutrition
Share this recipe
We can’t wait to see what you’ve made! Mention @forktospoon or tag #forktospoon!


Shay
This turned out really good. I used the rice a roni stir fried rice mix. The only thing I did different is i used a little less butter but that’s just personal preference. Thanks so much!
Laurie
I am glad you loved it, thank you for reading. It makes life so much easier.
Sharon Richard
I’m going to try this today. I am probably going to sauté it first so the pasta will be golden brown. Thanks for the recipe.
Laurie
Let me know how you like it, Laurie
Sharon
I cooked the pork chops first on sauté. Made a little gravy. Removed the chops and reserved the liquid. I sautéed the rice in a little butter and then cooked it on the rice setting for 12 minutes. I used the gravy from the chops as the liquid for the rice a Roni. I had to add a little water to bring it to 2 cups. It came out perfect.
Theresa Cook
I made this last night for supper in my Foodi and I used the broccoli cheddar kind, sauted two chicken breasts first, added all the rice ingredients on top and 2 1/4 water for 12 minutes, natural release for 10 minutes. It was so delicious.
Teeeray
If i wanted to add 2 frozen chicken breasts to it how long eould i set the timer for on the rice function?
dee
i have the same question as Teeeray what do i do if i want to add frozen chicken
Hannah
Glad to run across this! How much cooking time if I was using 5 boxes? I’m new to the IP world 🙂
Patricia Gallardo
I add beef and a couple of veggies to my rice a roni how much longer do you think it should cook?
Laurie
I would brown the meat first, just hit the saute button and let it brown on each side, then just run it on the 12 minutes, I think that should be enough, check the meat and make sure it’s done.
mohit kumar
Thanks for the recipe.
Going to make this in the upcoming days.