
Skip the boiling water and constant stirring — your Instant Pot can turn a box of Pasta Roni into a creamy, perfectly cooked side dish in about 10 minutes flat. With just 2 cups of water, a quick 4-minute pressure cook, and the seasoning packet you already have, this is the easiest way to make any flavor of Pasta Roni without scorching the pan or babysitting the stove.
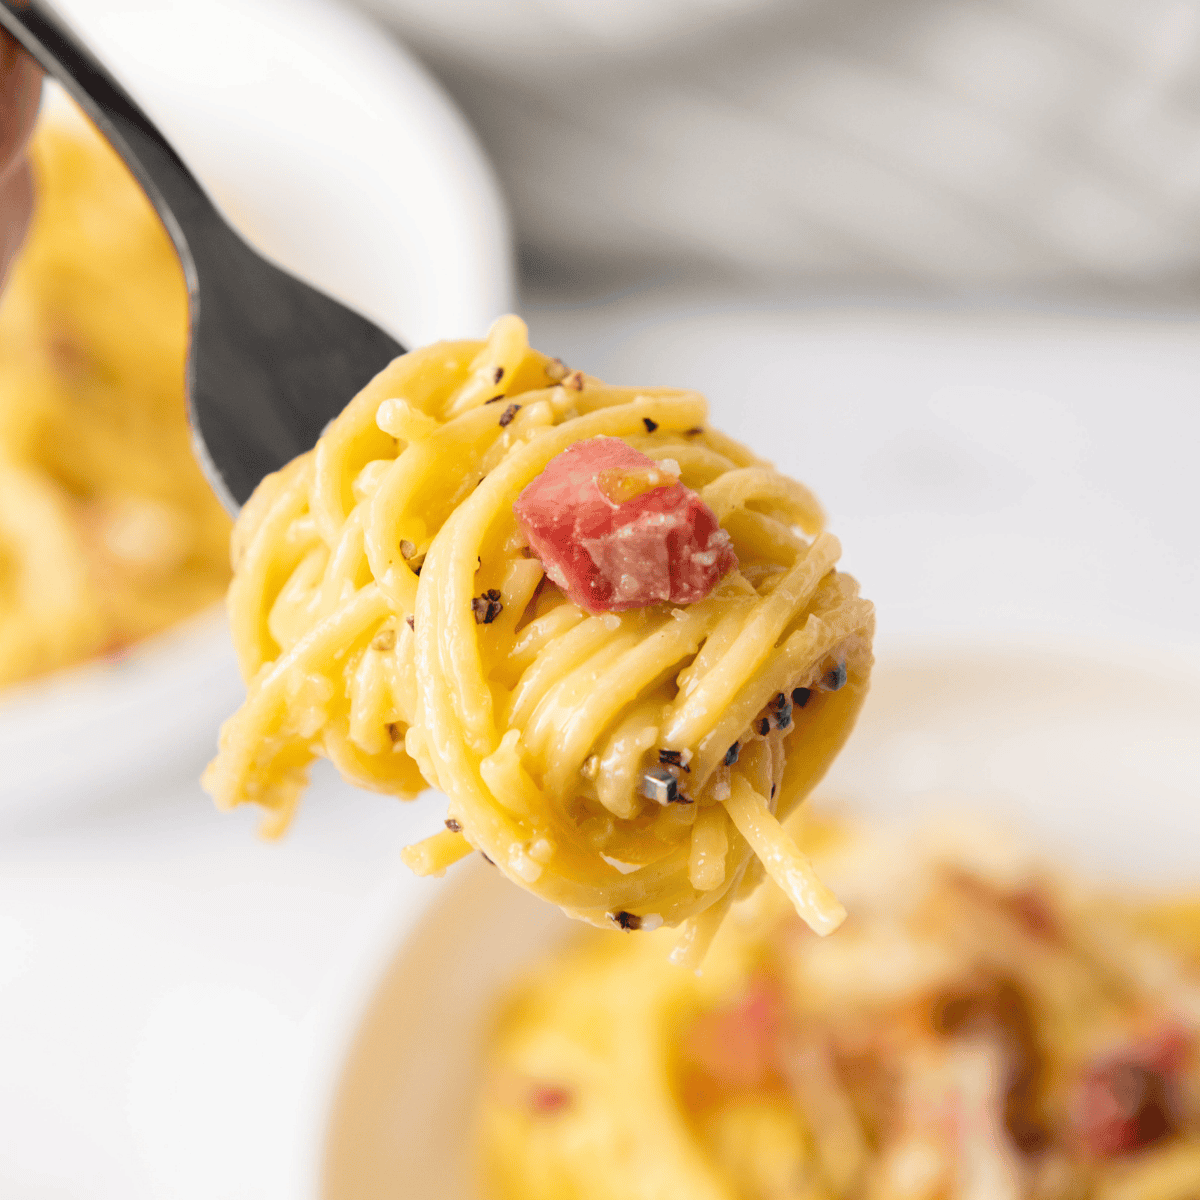
If you’ve ever stood at the stove stirring a box of Pasta Roni while it slowly comes to a simmer, hoping it doesn’t boil over, this post is for you. With the Instant Pot, you can have a perfectly cooked box of Pasta Roni — any flavor — on the table in about 10 minutes total, with only 4 minutes of actual pressure cooking. No boiling water, no babysitting, no scorched bottom of the pan.
I’ve been making boxed pasta in the Instant Pot for years (it started with our family-favorite Instant Pot Kraft Macaroni and Cheese) and Pasta Roni was the natural next step. After testing nearly every flavor on the shelf, here’s the exact method that works every single time — including the water-to-pasta ratio that keeps you from getting a burn notice.
Quick answer: Add 1 box of Pasta Roni, 2 cups of water, and 2 Tablespoons of butter to the Instant Pot. Pressure cook on HIGH for 4 minutes, quick release, then stir in ⅓ cup of milk and the seasoning packet. Done.
Why This Recipe Works
Pasta Roni was designed for the stovetop — you boil water, simmer the pasta in the seasoning, and stir constantly so it doesn’t stick. The Instant Pot version skips most of that. Three things make the pressure cooker method better than the box:
- You don’t have to watch it. Lock the lid and walk away.
- The pasta cooks evenly because the pressure forces moisture through every noodle at once.
- No sticky pan to scrub. Everything happens in the inner pot.
The trade-off: you have to use the right water ratio. Too little and you’ll get a burn notice; too much and the pasta turns soupy. The amounts below are dialed in for a standard 4.7–7 oz box of Pasta Roni in a 6-quart Instant Pot, Ninja Foodi, or any electric pressure cooker.
Ingredients
For one box of Pasta Roni (any flavor — White Cheddar, Parmesan, Garlic & Olive Oil Vermicelli, Shells & White Cheddar, Angel Hair with Herbs, Butter & Garlic, etc.):
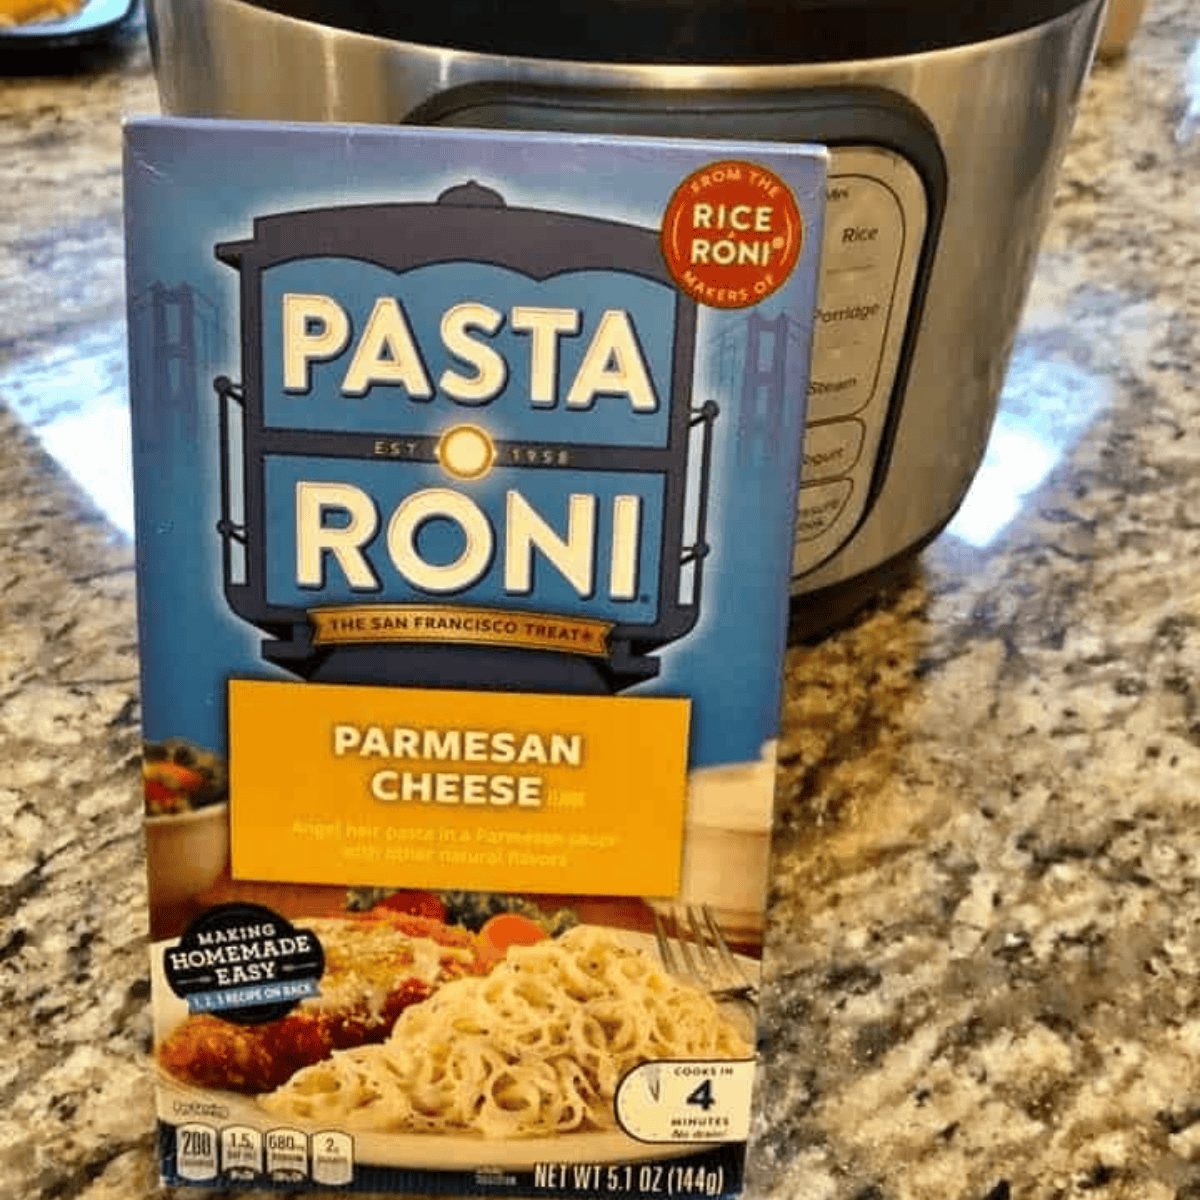
- 1 box Pasta Roni (4.7–7 oz, any flavor) — pasta and seasoning packet
- 2 cups water — enough to fully submerge the pasta without triggering a burn warning
- 2 Tablespoons butter — same amount the box calls for
- ⅓ cup milk — added at the end, not during pressure cooking
That’s it. The seasoning packet inside the box does all the flavor work.
A note on the milk: Don’t add milk before pressure cooking. Dairy curdles under pressure and the milk solids can scorch on the bottom of the pot and trigger the burn sensor. Always stir milk in at the end, off heat.
How to Make Pasta Roni in the Instant Pot
Step 1: Add pasta, water, and butter
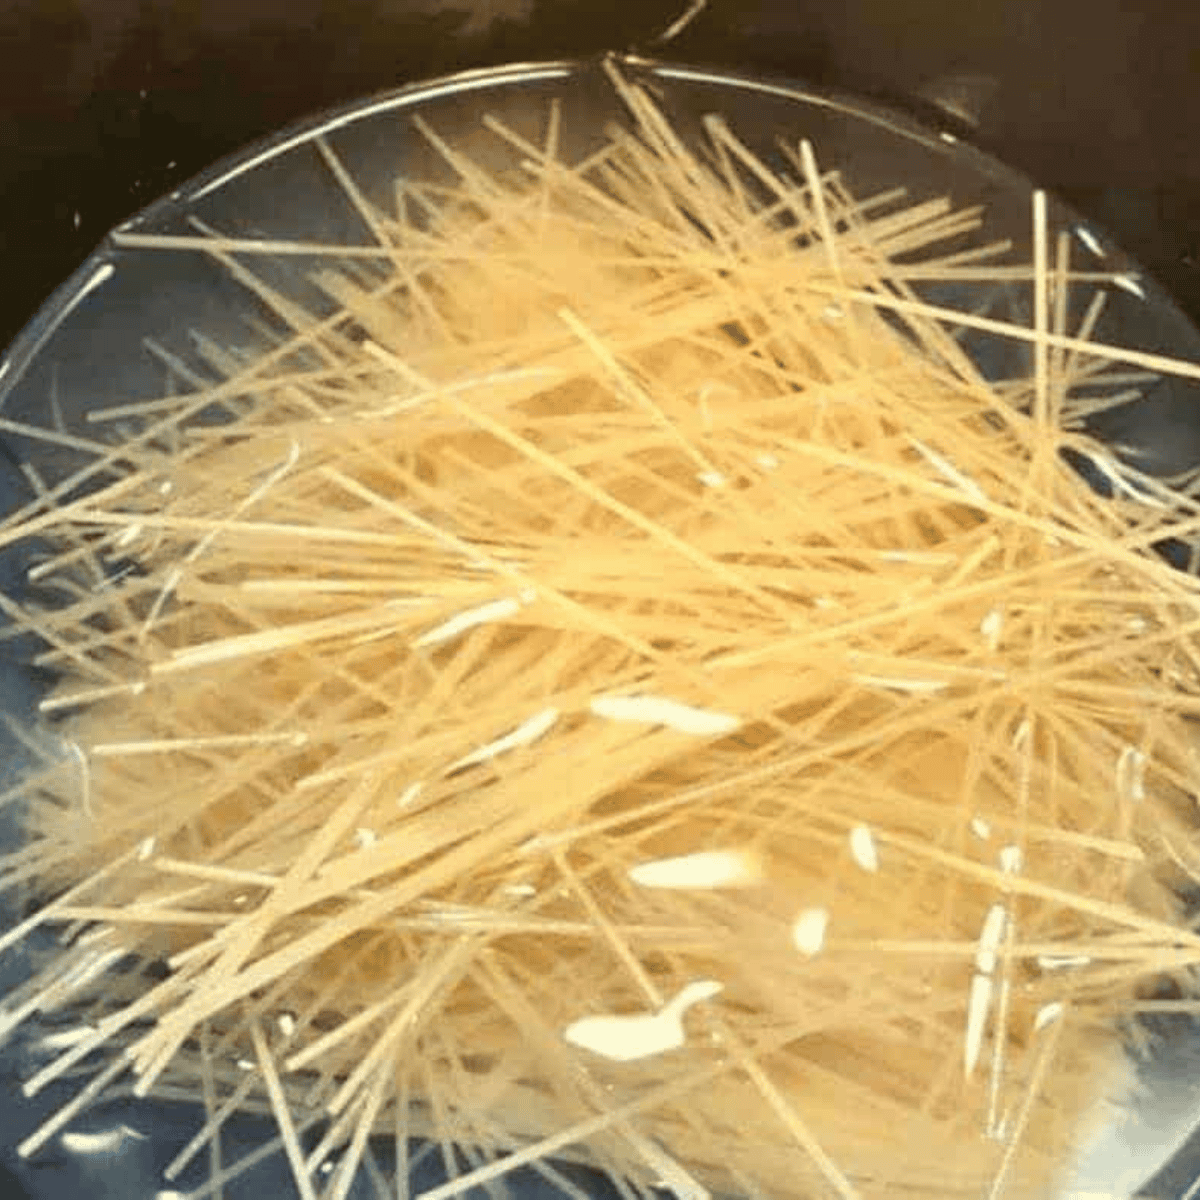
Pour the dry pasta from the box into the inner pot of your Instant Pot. Add 2 cups of water and 2 Tablespoons of butter. Do not add the seasoning packet yet, and do not add milk yet. For longer pasta shapes like the Vermicelli or Angel Hair varieties, break the noodles in half and stack them in a crisscross pattern. This prevents clumping during pressure cooking. Make sure all the pasta is submerged. Push it down with a spoon if needed.
Step 2: Pressure cook
Lock the lid in place and turn the valve to Sealing. Press Manual or Pressure Cook and set the timer to 4 minutes on HIGH pressure (see the chart below if you’re using a non-standard shape). The pot will take 5–7 minutes to come to pressure before the 4-minute timer starts counting down.
Step 3: Quick release
When the timer beeps, carefully move the valve to Venting for a quick release. Use a long-handled spoon or tongs and keep your hand to the side, not over the vent. Starchy steam can spit a little.
Step 4: Add seasoning and milk
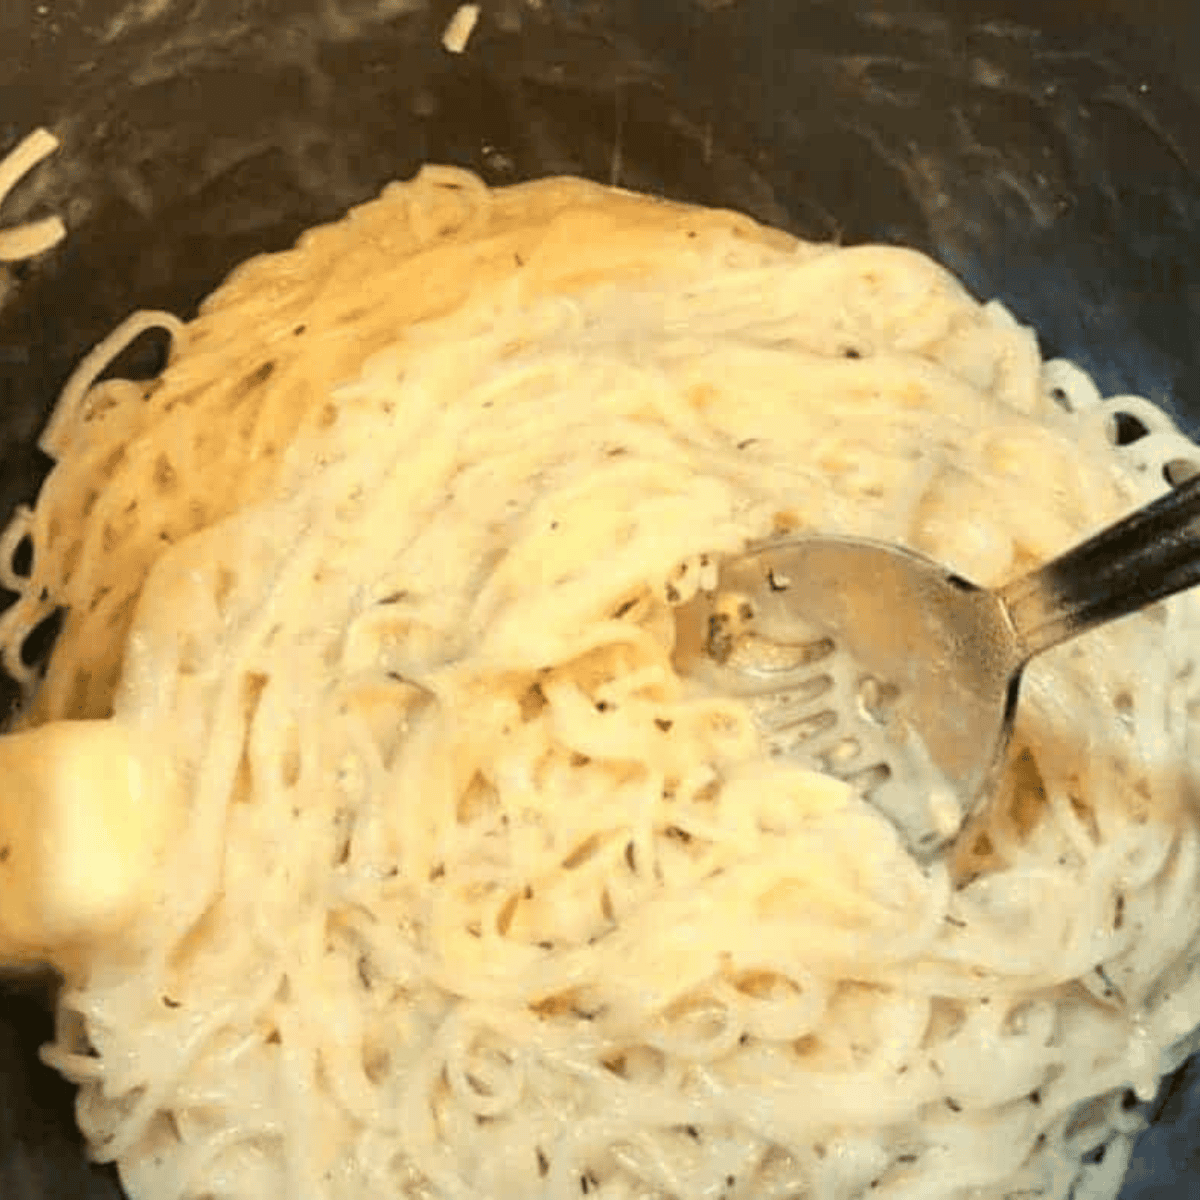
Open the lid. The pasta will look like it’s sitting in a small amount of cloudy liquid — that’s perfect. Sprinkle in the seasoning packet, pour in ⅓ cup of milk, and stir for about 30 seconds. The liquid will thicken into a creamy sauce as you stir.
Step 5: Rest and serve
Let the pasta sit, uncovered, for 2–3 minutes. The sauce continues to thicken as it cools slightly. Serve immediately.
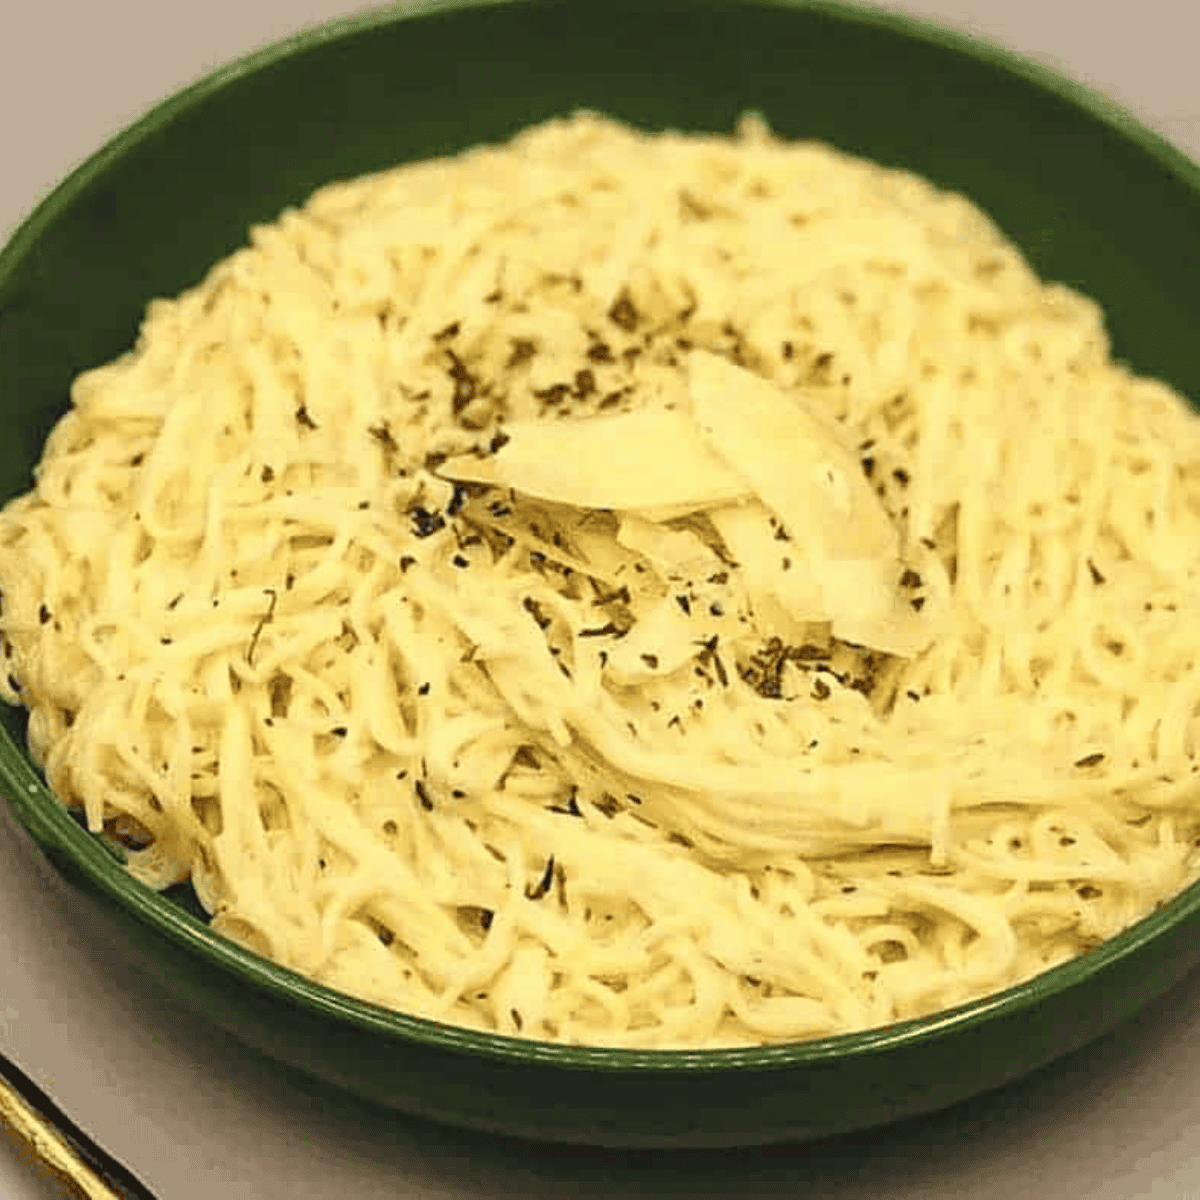
Pasta Roni Cook Times by Shape
Not every Pasta Roni uses the same pasta. Here’s a quick reference:
| Pasta Shape | Examples | Pressure Cook Time |
|---|---|---|
| Angel hair / Vermicelli | Angel Hair with Herbs, Garlic & Olive Oil Vermicelli | 2 minutes |
| Spaghetti-style | Butter & Garlic, Parmesan | 3 minutes |
| Shells | Shells & White Cheddar | 4 minutes |
| Rotini / Twists | Four Cheese, Nature’s Way | 4 minutes |
| Fettuccine | Fettuccine Alfredo | 4 minutes |
| Linguine | Chicken Linguine | 4 minutes |
When in doubt, use 4 minutes. If your pasta comes out slightly firmer than you like, increase by 1 minute next time. If it’s too soft, drop by 1 minute.
Troubleshooting
- My Instant Pot says BURN. The most common cause is too little liquid or starchy bits stuck to the bottom. Quick release the pressure, open the lid, and stir the pasta to lift anything off the bottom. Add another ¼ cup of water, lock the lid, and finish the cycle. Next time, make sure you stir the butter and pasta together before locking the lid so the noodles don’t stick to the bare metal.
- The pasta is too watery after cooking. Don’t drain it. Stir in the seasoning packet and let it rest uncovered for 3–5 minutes. The starches will absorb the remaining liquid and thicken into a sauce. If it’s still too thin after resting, set the pot to Sauté for 1–2 minutes while stirring.
- The pasta is undercooked / chalky on top. This means some pasta was sticking above the waterline during cooking. Stir, lock the lid, and cook for 1 more minute at high pressure. Next time, push the pasta fully under the water before sealing.
- The pasta is mushy. You probably cooked it too long for the shape. Use the cook-time chart above and quick release as soon as the timer beeps — don’t let it sit on Keep Warm.
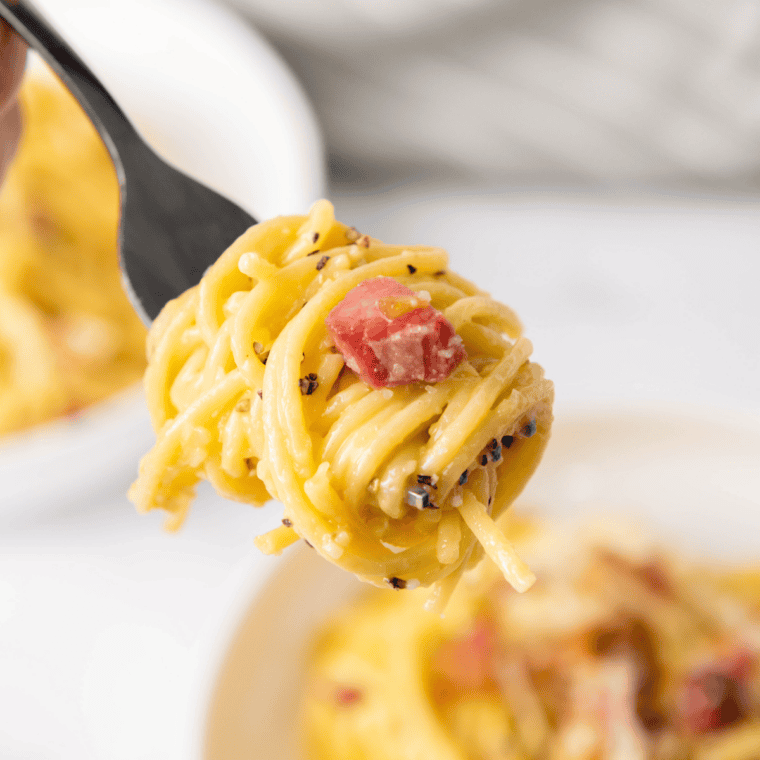
Best Pasta Roni Flavors for the Instant Pot
Every flavor works with this method, but some shine especially well under pressure:
- Parmesan — creamy, classic, kid-approved. Try our Instant Pot Copycat Parmesan Pasta Roni if you want to make it from scratch.
- Shells & White Cheddar — the cheese powder dissolves beautifully into the leftover starchy water.
- Angel Hair with Herbs — light, fast (only 2 minutes), pairs with grilled chicken.
- Butter & Garlic — the easiest weeknight side dish on the planet.
- Fettuccine Alfredo — surprisingly creamy from the box; add a sprinkle of fresh parmesan at the end.
Variations & Add-Ins
Once you’ve nailed the base recipe, Pasta Roni becomes a launchpad for a full meal:
- Add cooked chicken. Stir in 1 cup of diced rotisserie chicken at the end with the milk.
- Add frozen broccoli. Toss 1 cup of frozen florets in with the pasta before pressure cooking — they’ll cook in the same 4 minutes.
- Add browned ground beef. Sauté ½ pound of ground beef on the Sauté setting first, drain, then add pasta and water on top.
- Make it spicy. A pinch of red pepper flakes or a spoon of jarred jalapeños in the final stir.
- Make it richer. Swap the ⅓ cup milk for ⅓ cup half-and-half.
- Make it dairy-free. Use olive oil instead of butter, and unsweetened oat milk in place of the milk.
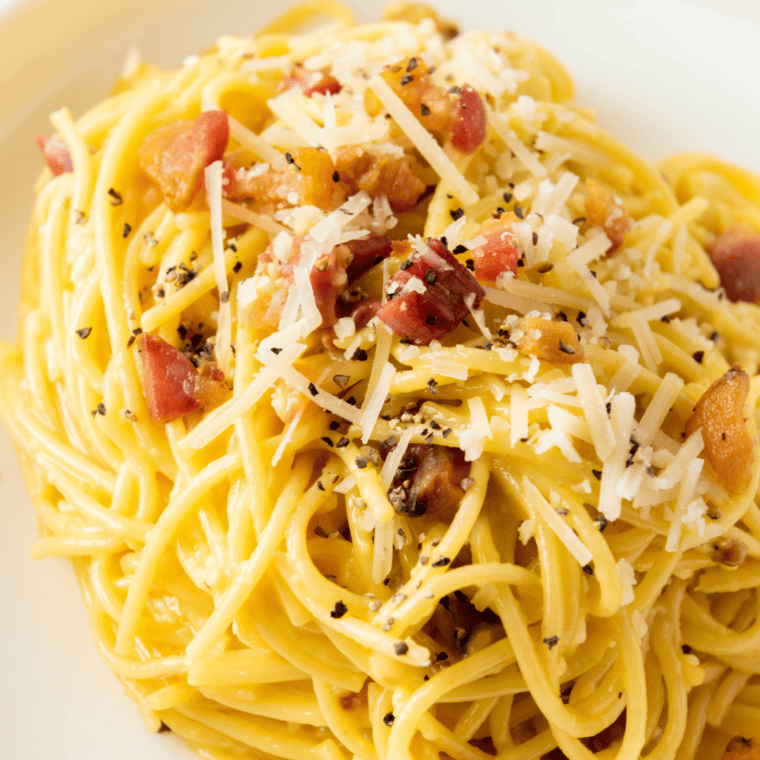
Storage & Reheating
Pasta Roni is best the day it’s made — the sauce thickens significantly as it cools and the pasta absorbs more liquid overnight. That said:
- Refrigerator: Up to 3 days in an airtight container.
- Reheating: Add a splash of milk or water (1–2 Tablespoons per serving) and microwave in 30-second intervals, stirring between. The extra liquid loosens the sauce.
- Freezing: Not recommended — the cheese and pasta texture suffer significantly.
Frequently Asked Questions
How long do you cook Pasta Roni in the Instant Pot? Cook Pasta Roni at HIGH pressure for 4 minutes for shells, rotini, fettuccine, and linguine shapes. Use 2 minutes for angel hair or vermicelli, and 3 minutes for spaghetti-style noodles. Quick release the pressure as soon as the timer beeps.
How much water do you use for Pasta Roni in the Instant Pot? Use 2 cups of water per box. This is enough to fully submerge the pasta and produce a creamy sauce after the seasoning packet is stirred in — without triggering the burn warning.
Can I use a Ninja Foodi or other pressure cooker? Yes. Any electric pressure cooker with a HIGH pressure setting works. The cook time stays the same; the come-to-pressure time may vary by 1–2 minutes depending on the model.
Can I double the recipe? Yes. Use 2 boxes of pasta, 3½ cups of water (not double — the pasta still only needs to be submerged), 4 Tablespoons of butter, and ⅔ cup of milk at the end. Cook time stays the same. Don’t fill the pot past the “Max” line.
Do I add the seasoning packet before or after pressure cooking? Always after. The dry seasoning contains salt and dairy solids that can scorch on the bottom of the pot and cause a burn warning.
Can I skip the milk? Yes, but the sauce will be thinner and less creamy. If you skip milk, reduce the water to 1¾ cups so the final dish isn’t watery.
Why does my Pasta Roni keep getting the burn notice? Three common causes: (1) you added the seasoning or milk before pressure cooking, (2) you didn’t stir the butter into the water before sealing, or (3) you used less than 2 cups of water. All three are fixable — see the Troubleshooting section.
Is this recipe gluten-free? No — standard Pasta Roni contains wheat. The Instant Pot method works with gluten-free boxed pasta of the same size, but reduce cook time by 1 minute since gluten-free pasta softens faster.
More Instant Pot Pasta Recipes You’ll Love
Instant Pot Copycat Parmesan Pasta Roni (from scratch)
Instant Pot Boxed Mac & Cheese (Kraft)
Quick & Easy Instant Pot Rice-A-Roni
Instant Pot Chicken Fajita Pasta
Instant Pot Ground Beef and Pasta
Did you make this recipe? Tag @forktospoon on Instagram or use #forktospoon — I love seeing what you cook!
Instant Pot Pasta Roni
Description
Ingredients
- 1 box Pasta Roni, 4.7–7 oz, any flavor
- 2 cups water
- 2 Tablespoons butter
- ⅓ cup milk, whole or 2%
Instructions
- Add pasta, water, and butter. Pour the dry pasta from the box into the inner pot of your Instant Pot. Add 2 cups of water and 2 Tablespoons of butter. Do NOT add the seasoning packet or milk yet. For long pasta shapes like Vermicelli or Angel Hair, break the noodles in half and stack them in a crisscross pattern to prevent clumping. Push the pasta down with a spoon so it's fully submerged.
- Pressure cook. Lock the lid in place and turn the valve to Sealing. Press Manual or Pressure Cook and set the timer to 4 minutes on HIGH pressure. The pot will take 5–7 minutes to come to pressure before the 4-minute timer starts counting down.
- Quick release. When the timer beeps, carefully move the valve to Venting to release the steam. Use a long-handled spoon or tongs and keep your hand to the side — never directly over the vent.
- Add seasoning and milk. Once the pin drops, open the lid. The pasta should be sitting in a small amount of cloudy liquid. Sprinkle in the seasoning packet, pour in ⅓ cup of milk, and stir for about 30 seconds until the sauce comes together.
- Rest and serve. Let the pasta sit, uncovered, for 2–3 minutes — the sauce will thicken as it cools slightly. Serve immediately.
Equipment
- 6-quart Instant Pot, Ninja Foodi, or electric pressure cooker,
- Measuring Cups
- Measuring spoons
- Long-handled wooden or silicone spoon
Notes
- Angel hair / Vermicelli: 2 minutes
- Spaghetti-style: 3 minutes
- Shells, rotini, fettuccine, linguine: 4 minutes
Nutrition
Share this recipe
We can’t wait to see what you’ve made! Mention @forktospoon or tag #forktospoon!
Georgia Cummons
Recipe turned out delicious! Thank you!