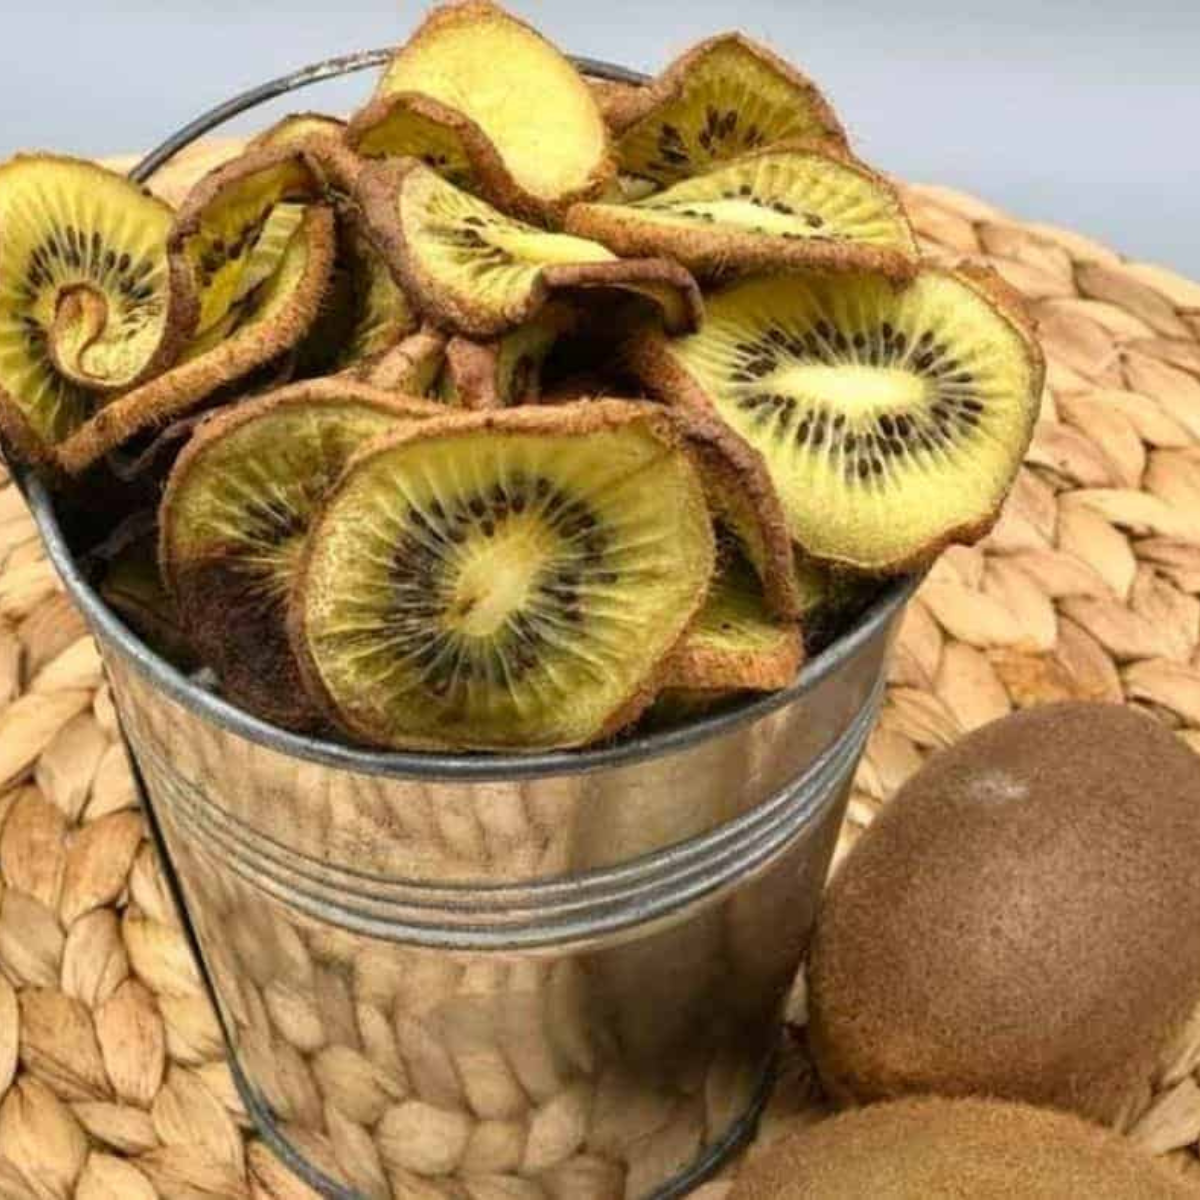
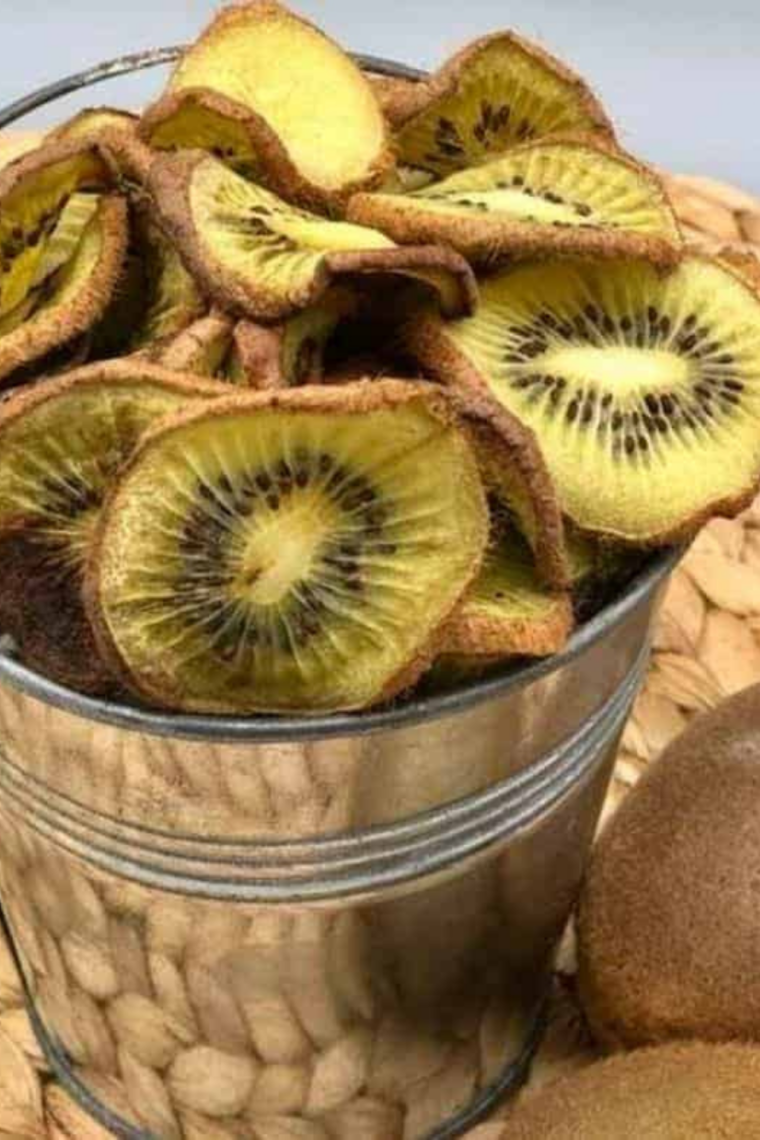
Air fryer kiwi chips are one of the prettiest snacks you can make at home — those bright green pinwheel slices with the little black seed ring look like stained glass once they dry out. They are naturally sweet, tart, and shatter-crisp, with no oil and no added sugar required.
But I want to be straight with you before you slice a single kiwi, because this is where most kiwi chip recipes online go wrong.
Kiwi is about 83% water. You cannot crisp it in five minutes at 330°F. What you get at high heat and short time is a warm, floppy, slightly browned fruit round — tasty, but not a chip. To get true crunch, you have to dehydrate the kiwi at a low temperature for a few hours, and your air fryer can absolutely do that.
So I’m giving you both methods below: the slow one that makes real chips, and the fast one that makes something else entirely (which is still worth making, just don’t call it a chip).
Why You’ll Love These Kiwi Chips
- No oil, no sugar needed. Ripe kiwi has plenty of natural sugar. Dehydrating concentrates it.
- Two ingredients, one of them optional. Kiwi, and a squeeze of lemon juice if you want to hold the color.
- They store for months. Fully dried kiwi chips keep in an airtight jar far longer than most homemade snacks.
- Kid-friendly and lunchbox-friendly. No refrigeration, no melting, no mess.
- Your air fryer already does this. If it has a dehydrate setting, great. If not, the lowest temperature setting works too.
The Two Methods, Explained
Before you pick one, here’s the honest difference:
| Dehydrate Method | Quick Method | |
|---|---|---|
| Temperature | 130°F (or lowest setting) | 330°F |
| Time | 4–6 hours | 6–8 minutes |
| Result | Crisp, snappy, shelf-stable chips | Warm, soft-chewy fruit rounds |
| Shelf life | Several months | Eat same day |
| Best for | Snacking, yogurt topping, gifting | Immediate dessert topping |
If you want something you can put in a jar and call a chip, use the dehydrate method. If you have ten minutes and want warm, jammy kiwi to spoon over ice cream, use the quick method. Both are below.
Ingredients
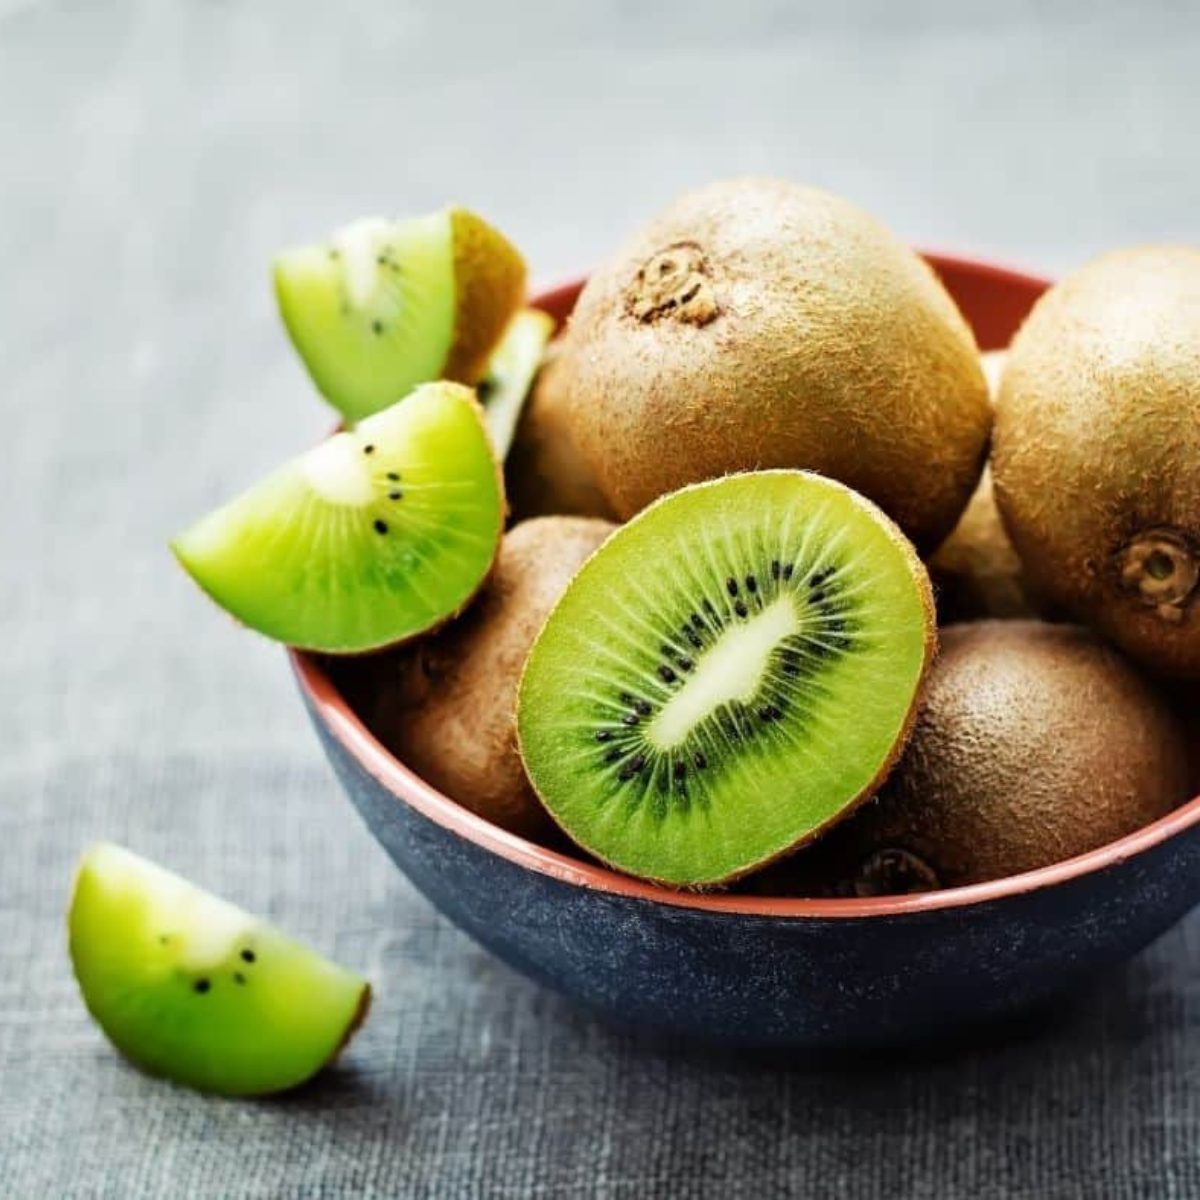
- Kiwi: Ripe but still firm. Soft, overripe kiwi turns to mush on the mandoline.
- Lemon Juice (Optional): To slow browning and brighten the flavor.
- Sugar (Optional): A light dusting if your kiwi is on the tart side.
- Cinnamon (Optional): A tiny pinch, more for aroma than flavor.
A note on green vs. gold kiwi: Gold kiwi is sweeter, less acidic, and dries to a prettier amber color. Green kiwi is tarter and keeps that classic pinwheel look. Both work. If you’re making these for someone who thinks kiwi is too sour, buy gold.
Peel or don’t peel? Kiwi skin is edible and it softens completely when dehydrated — you won’t feel the fuzz. Leaving it on saves time and adds fiber, and the dark rim actually looks good. Peel only if the fuzz bothers you, and use a spoon rather than a peeler so you don’t lose half the fruit.
Equipment
- A mandoline slicer. This is the one piece of equipment I’d call non-negotiable. Even slices dry evenly; uneven slices give you burnt edges and damp centers at the same time.
- A dehydrator rack, if your air fryer came with one. Racks let air move on both sides of the slice and cut the drying time noticeably.
- Parchment rounds with holes, only for the quick method, and only if you don’t have a rack.
Anyone who makes air fryer cinnamon apple chips already knows the mandoline lesson — same principle here, just with a wetter fruit.
How To Make Dehydrated Kiwi Chips In The Air Fryer
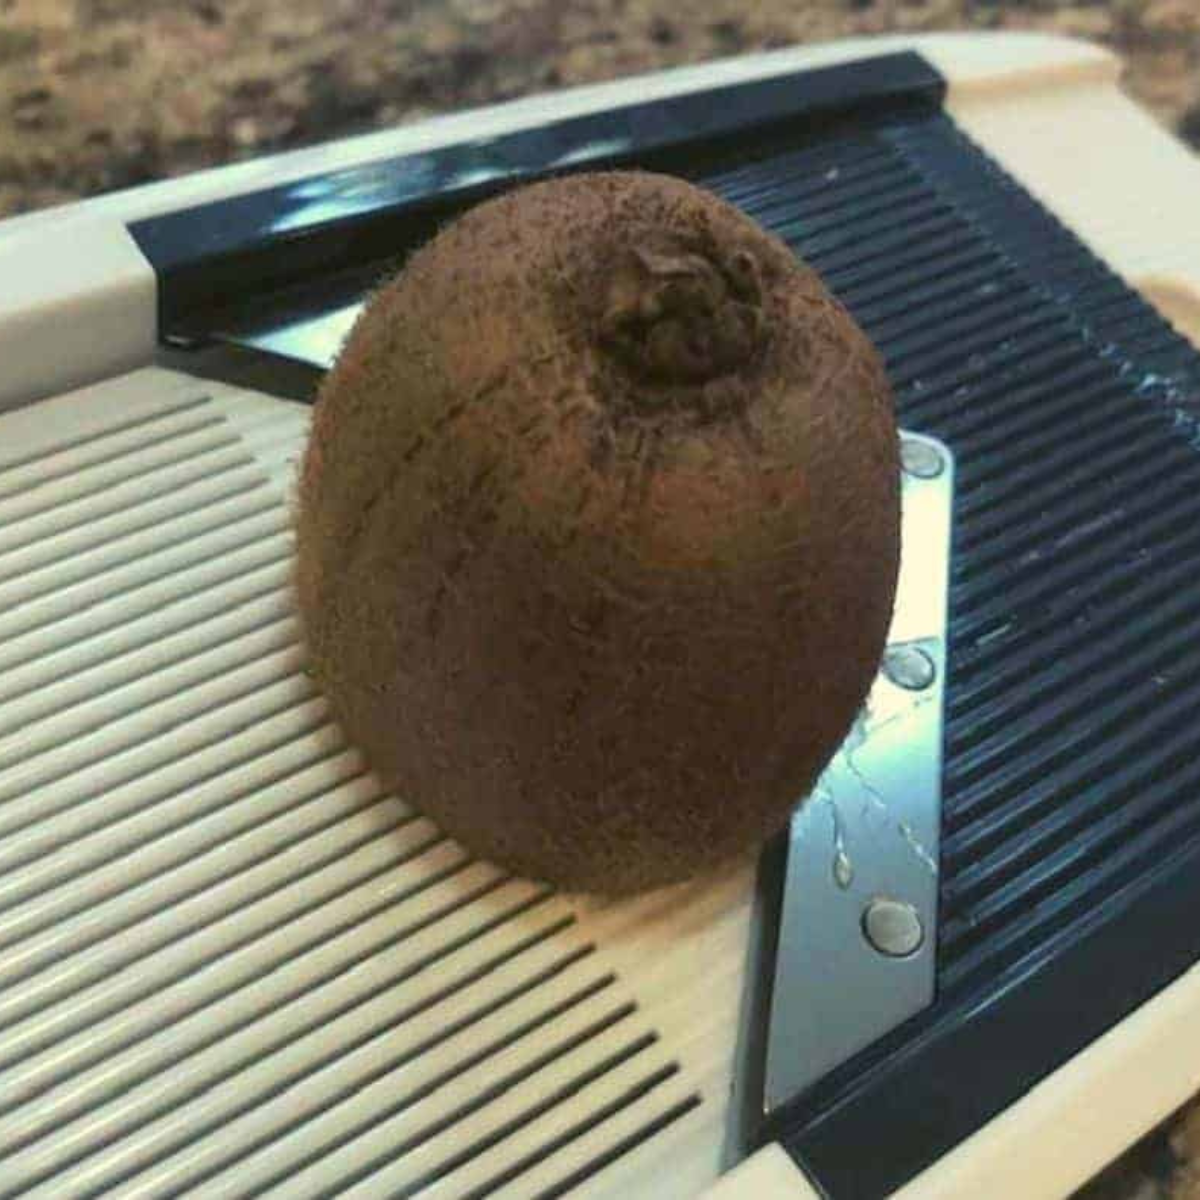
Step One: Slice thin and even. Rinse and dry the kiwi, trim off both ends, and run it through a mandoline at 1/8 inch (about 3mm). Thinner than that and the slices tear when you move them. Thicker and they turn leathery instead of crisp.
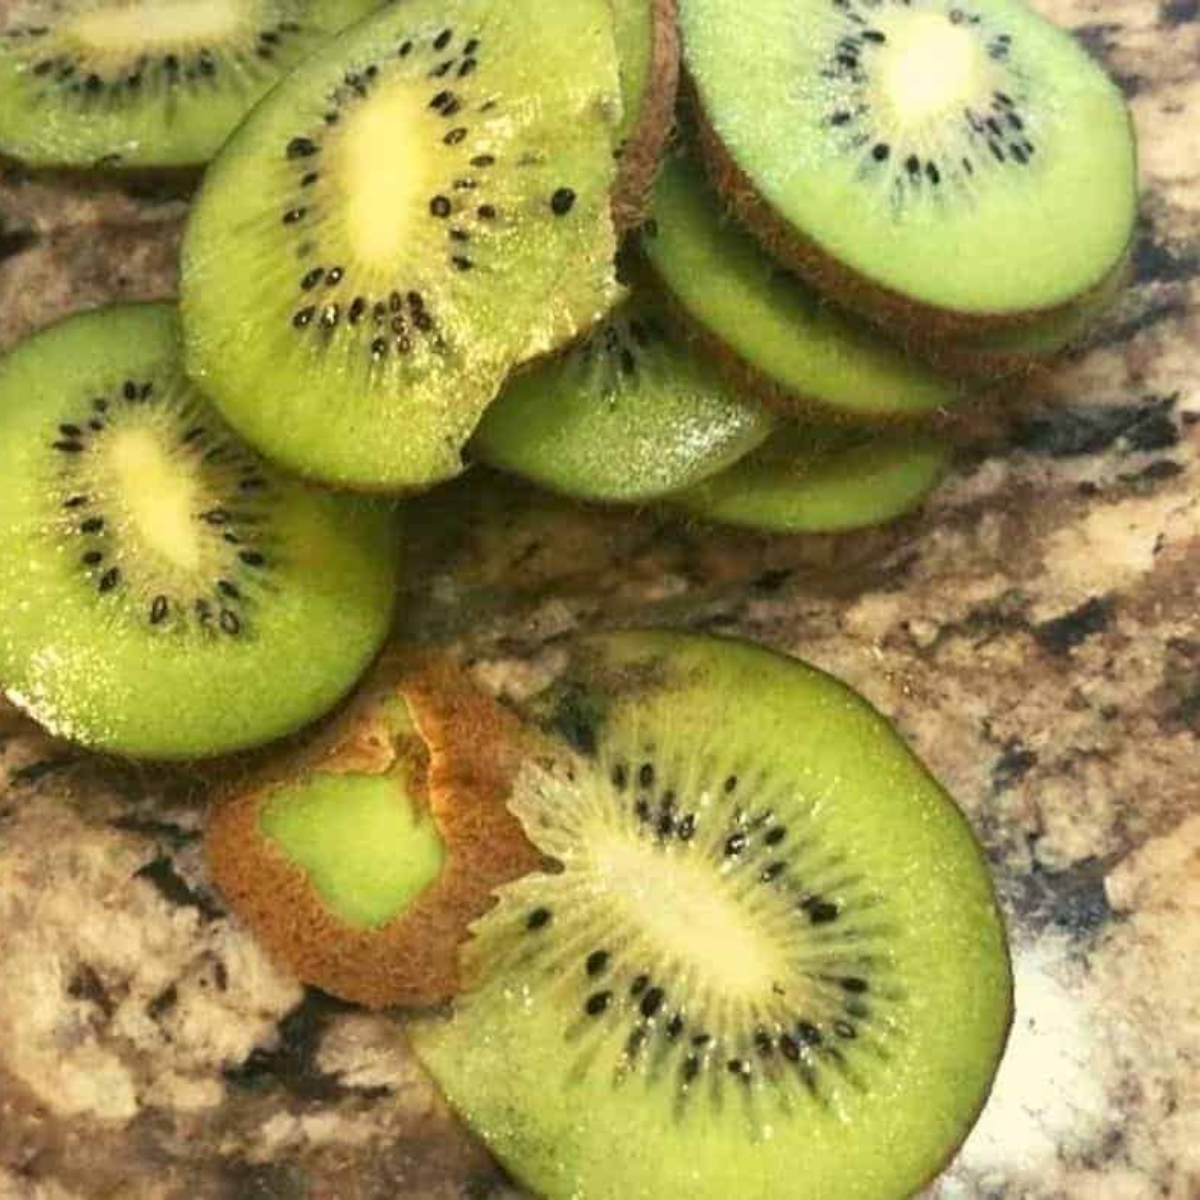
Step Two: Blot them. Lay the slices on a clean towel and press gently with a second towel. Surface moisture is the enemy here — every drop you remove now is time you save later.
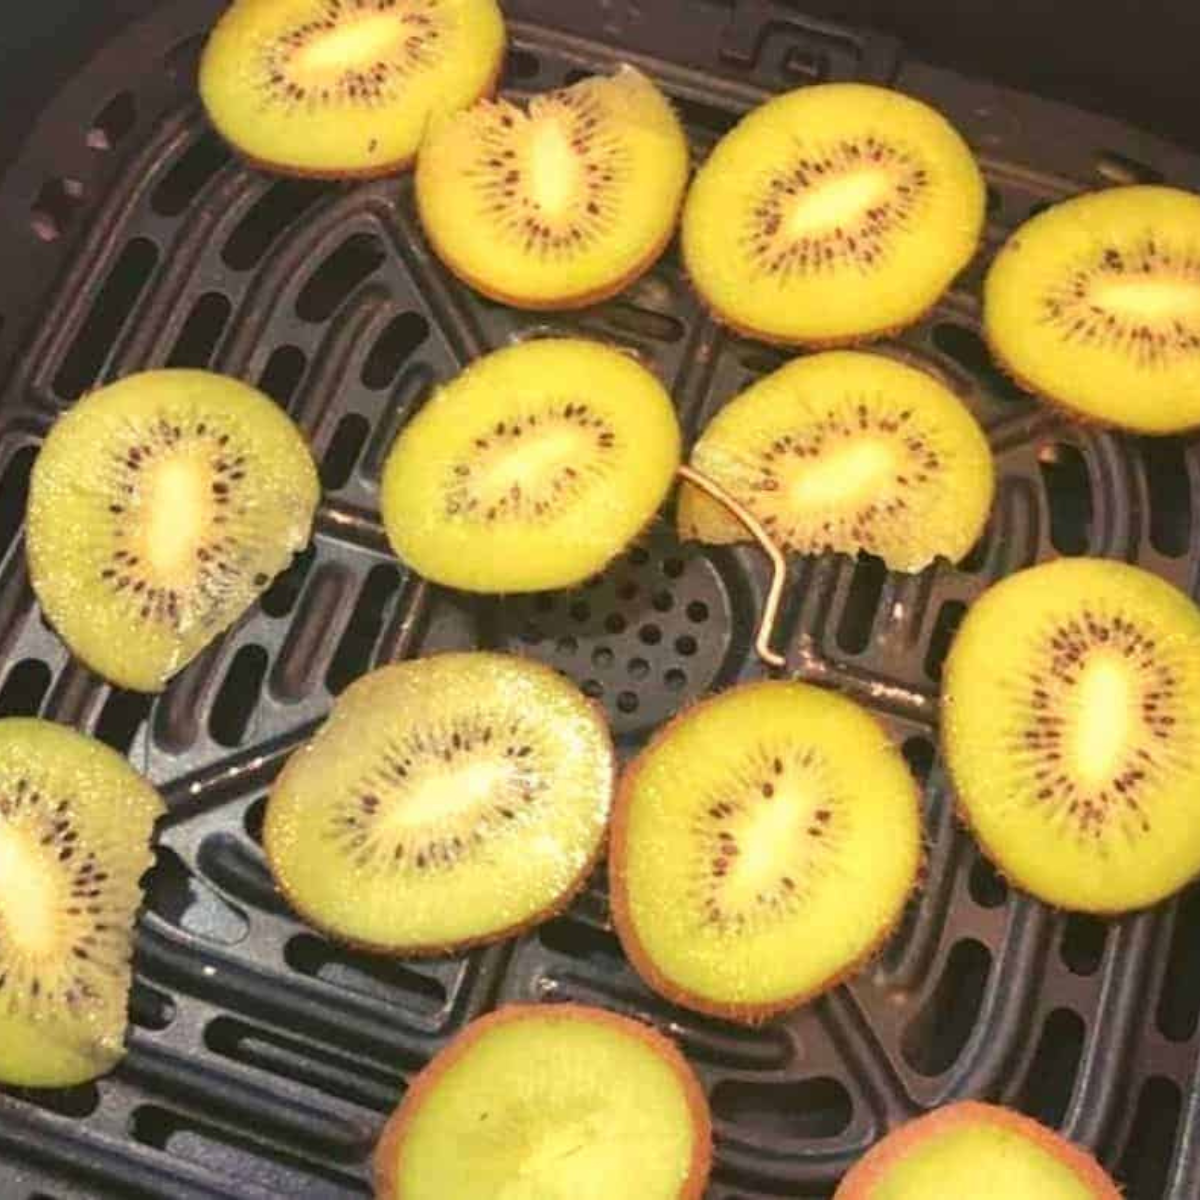
Step Three: Arrange in a single layer. No overlapping, no crowding. If you’re using racks, fill from the bottom up. If you’re using the basket, you’ll be working in batches, and that’s fine.
Step Four: Dehydrate. Set your air fryer to 130°F for 4 to 6 hours. If your air fryer doesn’t go that low, use the lowest temperature it offers — usually 170°F or 180°F — and check at the 90-minute mark, then every 30 minutes after that.
Step Five: Flip once. About halfway through, flip the slices. This prevents the underside from staying tacky.
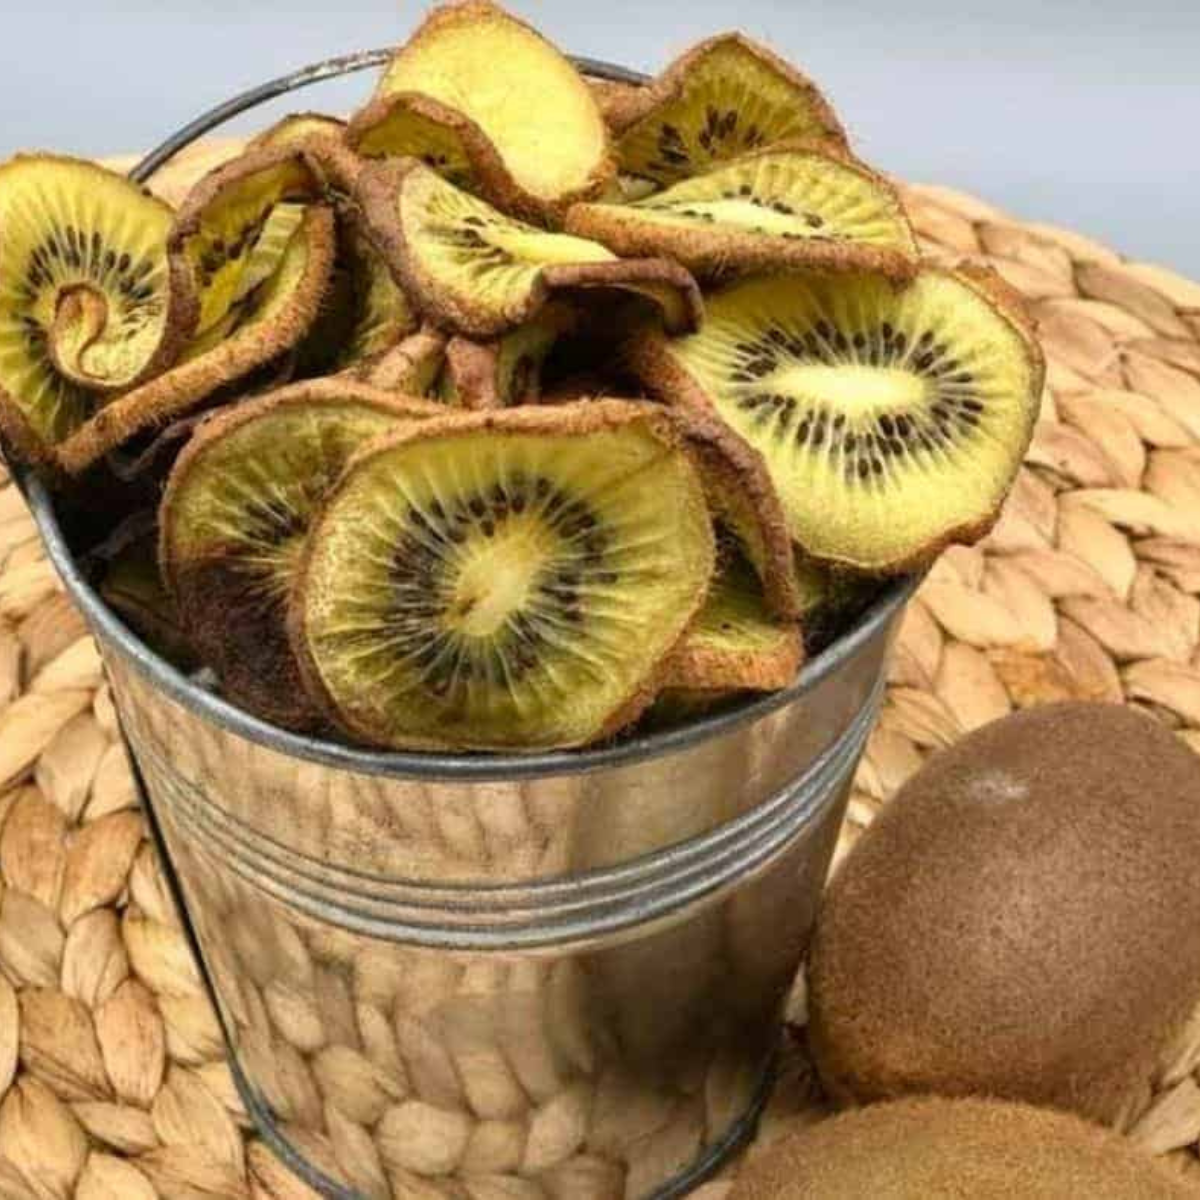
Step Six: Cool completely before you judge them. This is the step everyone skips. Kiwi chips come out of the air fryer slightly pliable and finish crisping as they cool. Give them 15 to 20 minutes on a wire rack before deciding whether they need more time.
How to tell they’re done: A cooled chip should snap cleanly, not bend. If it bends, it needs more time. If it’s sticky, it needs a lot more time.
How To Make Quick Air Fryer Kiwi (The Fast Version)
If you’re short on time, here’s the honest version of the fast method:
Slice the kiwi a little thicker — about 1/4 inch — arrange in a single layer, and air fry at 330°F for 6 to 8 minutes. Watch closely after minute five, because the natural sugars catch quickly at that temperature.
What you’ll get is soft, warm, caramelized kiwi with browned edges. It’s genuinely good — spoon it over yogurt, oatmeal, or vanilla ice cream. It just isn’t a chip, and no amount of extra minutes at 330°F will make it one. Past about eight minutes the edges scorch before the center dries.
This same short-cook, high-heat approach is what makes air fryer broiled brown sugar grapefruit and air fryer cinnamon bananas work so well — you’re caramelizing the fruit, not drying it.
Air Fryer Kiwi Time and Temperature Chart
| Air Fryer Type | Temperature | Time | Notes |
|---|---|---|---|
| Dehydrate setting | 130°F | 4–6 hours | Best texture, longest shelf life |
| Lowest setting (170–180°F) | 175°F | 2–3 hours | Check at 90 minutes |
| Basket fryer, no dehydrate | 200°F | 2–3 hours | Rotate the basket hourly |
| Fast method | 330°F | 6–8 minutes | Soft and caramelized, not crisp |
Air fryers vary more at low temperatures than high ones, so treat these as starting points and go by texture, not the clock.
Recipe Tips
- Ripe but firm. Press the kiwi gently — it should give slightly, like a peach that’s a day from perfect. Rock-hard kiwi is too sour; mushy kiwi won’t slice.
- Don’t stack. Overlapping slices fuse together and stay damp where they touch.
- Blot again mid-cook if you see beading moisture. It happens with very juicy kiwi.
- Run a full load. Since you’re already spending four hours, fill every rack. The chips keep for months, so there’s no reason to make three.
- Cool completely before storing. Warm chips release steam inside the jar and go soft overnight.
Troubleshooting
My chips came out chewy instead of crisp. Almost always under-drying. Put them back in for another 30 to 60 minutes and cool them fully before checking again.
They’re browning but still wet inside. Your temperature is too high. High heat cooks the outside and seals moisture in. Drop the temperature and extend the time.
They went soft the next day. Either they weren’t fully dry when jarred, or the container isn’t airtight. Return them to the air fryer for 20 to 30 minutes and store with a food-safe desiccant packet if you live somewhere humid.
They stuck to the rack. Kiwi sugar is sticky. A very light spritz of oil on the rack — not the fruit — solves it, or use perforated parchment.
They taste bitter. Usually the ends. Trim a little more off the stem end next time.
Recipe Variations
- Cinnamon-sugar kiwi chips: Dust lightly before drying, the way you would for air fryer cinnamon sugar pita chips.
- Tajín kiwi chips: Chili-lime seasoning on tart green kiwi is the sleeper hit of this whole post.
- Honey-brushed: Brush very lightly before drying. Note that honey extends the drying time and the chips stay slightly tacky.
- Mixed fruit chips: Dry kiwi alongside apple or banana slices. Just keep each fruit on its own rack, since they finish at different times.
- Vanilla kiwi: A whisper of vanilla powder before drying. Skip the extract — the alcohol flashes off and the liquid slows drying.
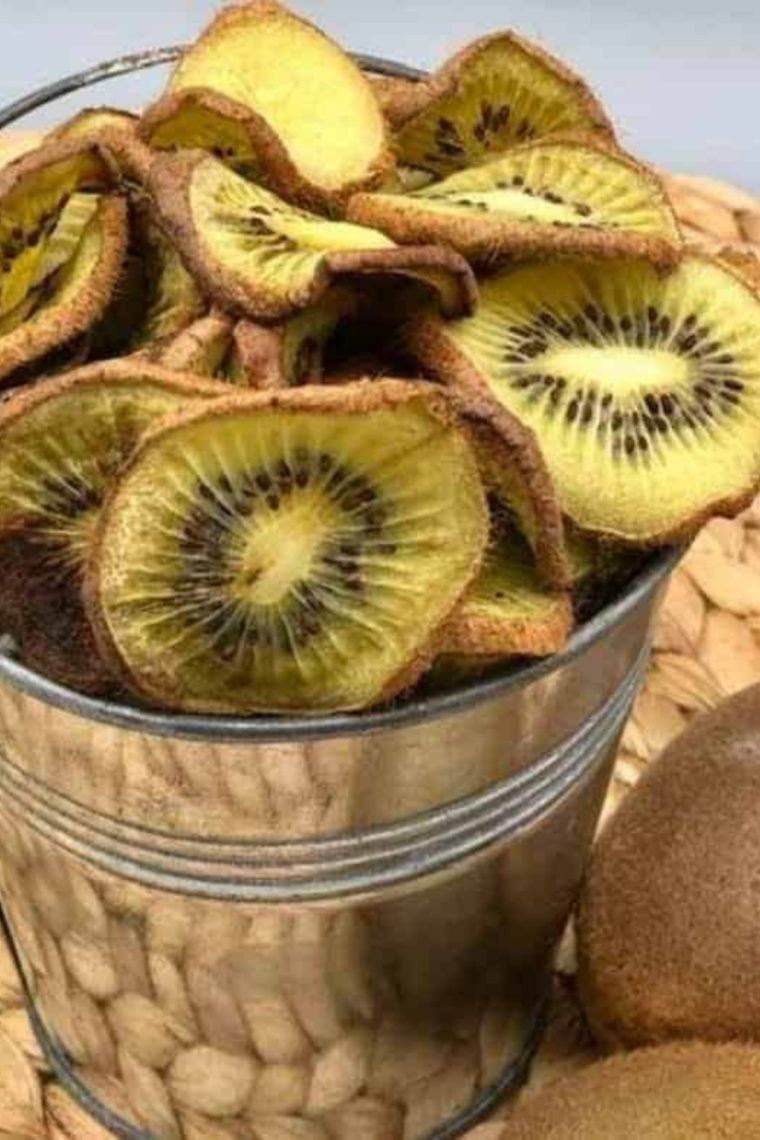
Storing Kiwi Chips
Cool the chips completely, then store in an airtight glass jar in a cool, dark cupboard.
- Fully dried and crisp: several months
- Slightly pliable / leathery: 2 to 3 weeks
- Quick method (soft): same day, refrigerated
Check the jar after 24 hours. If any condensation appears on the glass, the chips weren’t fully dry — spread them back out and give them another 30 minutes.
What To Do With Air Fryer Kiwi Chips
Eat them straight from the jar, obviously. Beyond that: crumble them over Greek yogurt or overnight oats, stir them into granola or trail mix, drop one into sparkling water as a garnish, or add them to a snack board alongside something salty. They’re especially good next to air fryer salami chips — the sweet-tart-salty contrast is excellent.
They also make a solid lunchbox addition, since they don’t need refrigeration and don’t bruise the way fresh fruit does.
Frequently Asked Questions
Can you dehydrate kiwi in an air fryer?
Yes. Any air fryer that reaches 130°F, or that has a dedicated dehydrate setting, will dry kiwi into true chips in about 4 to 6 hours. If your lowest setting is higher than that, it still works — you’ll just need to watch more closely, because the higher the temperature, the more likely the outside cooks before the inside dries.
Why aren’t my air fryer kiwi chips crispy?
The two usual causes are slices that are too thick and a temperature that’s too high. Aim for 1/8 inch and stay low. And always cool them completely before judging — kiwi chips firm up substantially as they come down to room temperature.
How thin should I slice kiwi for chips?
About 1/8 inch, or 3mm. A mandoline gets you there consistently in a way a knife realistically won’t.
Do I need to peel kiwi before dehydrating?
No. The skin is edible and softens completely during drying. Peeling is purely a preference.
Do I need to preheat the air fryer?
Not for the dehydrate method — the low temperature makes preheating irrelevant. For the quick 330°F method, a 3-minute preheat gives you more even browning.
Can I use frozen kiwi?
You can, but the results are noticeably worse. Freezing ruptures the cell walls, so thawed kiwi releases a lot of water and tends to dry into limp, dark slices. Thaw fully and blot aggressively if you’re going to try it.
How long do dehydrated kiwi chips last?
Several months in an airtight container, as long as they were fully crisp when you stored them. Any remaining moisture cuts that dramatically.
Are kiwi chips healthy?
They’re just dried fruit — no oil, no added sugar unless you add it. Dehydrating removes water but not sugar, so the sugar is more concentrated by volume than in fresh kiwi. They’re a whole-fruit snack, which is a reasonable thing to eat, but they’re not low-sugar.
Can dogs eat kiwi chips?
Plain, unsweetened kiwi is generally considered safe for dogs in small amounts, but skip any version with added sugar, cinnamon, or chili. Check with your vet before making it a regular treat.
Air Fryer Kiwi Chips
Description
Ingredients
- 4 large kiwi, peeled or unpeeled
- 1 teaspoon lemon juice, optional
- 1 teaspoon granulated sugar, optional
- 1/8 teaspoon ground cinnamon, optional
Instructions
- Rinse and dry the kiwi. Trim off both ends. Peel if desired.
- Using a mandoline, slice the kiwi into even 1/8-inch rounds.
- Blot the slices between clean towels to remove surface moisture. Toss with lemon juice and any optional sugar or cinnamon.
- Arrange in a single layer on dehydrator racks or in the air fryer basket, with no overlapping.
- Set the air fryer to 130°F and dehydrate for 4 to 6 hours. If your air fryer won’t go that low, use the lowest available setting and begin checking at 90 minutes.
- Flip the slices once at the halfway point.
- Transfer to a wire rack and cool completely, 15 to 20 minutes. The chips crisp as they cool.
- Store in an airtight container once fully cooled and crisp.
Equipment
- Air fryer with dehydrate setting or low-temperature option
- Mandoline slicer
- Dehydrator racks, optional
Notes
Nutrition
Share this recipe
We can’t wait to see what you’ve made! Mention @forktospoon or tag #forktospoon!