If you’ve ever been nervous about making fried chicken at home, Ina Garten’s Buttermilk Fried Chicken is the recipe that will change your mind. The Barefoot Contessa takes the guesswork out of it with a simple two-step method: an overnight buttermilk soak that keeps the chicken incredibly juicy, followed by a quick fry and an oven finish that guarantees every piece is cooked through without burning the crust.
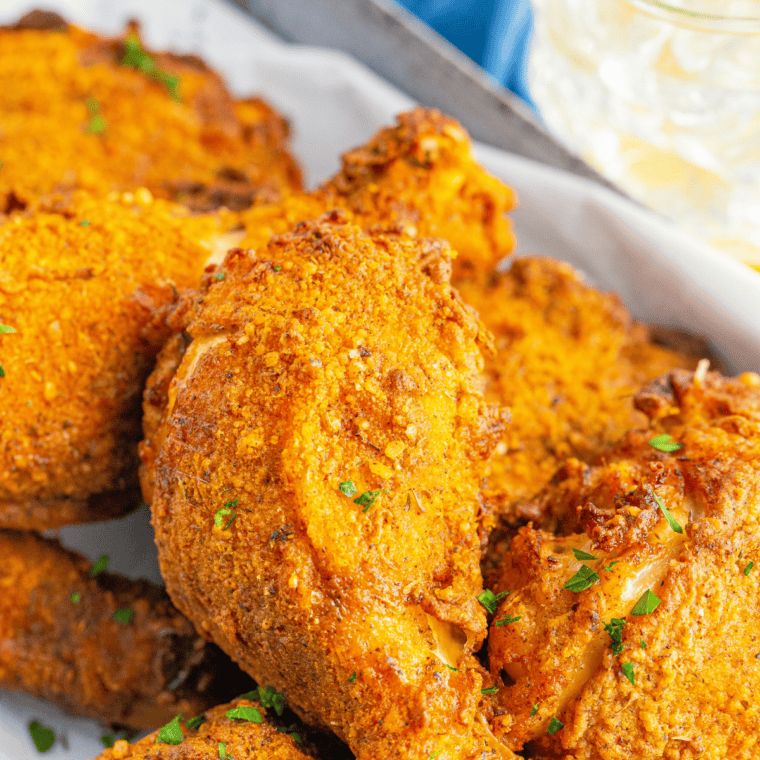
The result is fried chicken with a shatteringly crisp, golden coating and tender, flavorful meat all the way to the bone. It’s the kind of recipe that makes people think you’ve been frying chicken for years, even if it’s your first attempt.
I’ve made this Ina Garten fried chicken more times than I can count, and it has never let me down. Below you’ll find the full recipe, plus every tip I’ve picked up along the way for getting it perfect.
Why You’ll Love This Ina Garten Fried Chicken Recipe
- Foolproof method. Frying the chicken briefly on the stovetop and then finishing it in the oven means no more raw centers or burnt coating.
- Unbelievably juicy. The buttermilk soak works like a brine, tenderizing the chicken and seasoning it from the inside out.
- Make-ahead friendly. The chicken soaks overnight, so most of the work happens the day before.
- Crowd-pleaser. This is the recipe I pull out for Sunday dinners, picnics, potlucks, and game day.
- Simple pantry ingredients. Nothing fancy here: chicken, buttermilk, flour, and seasonings you already have.
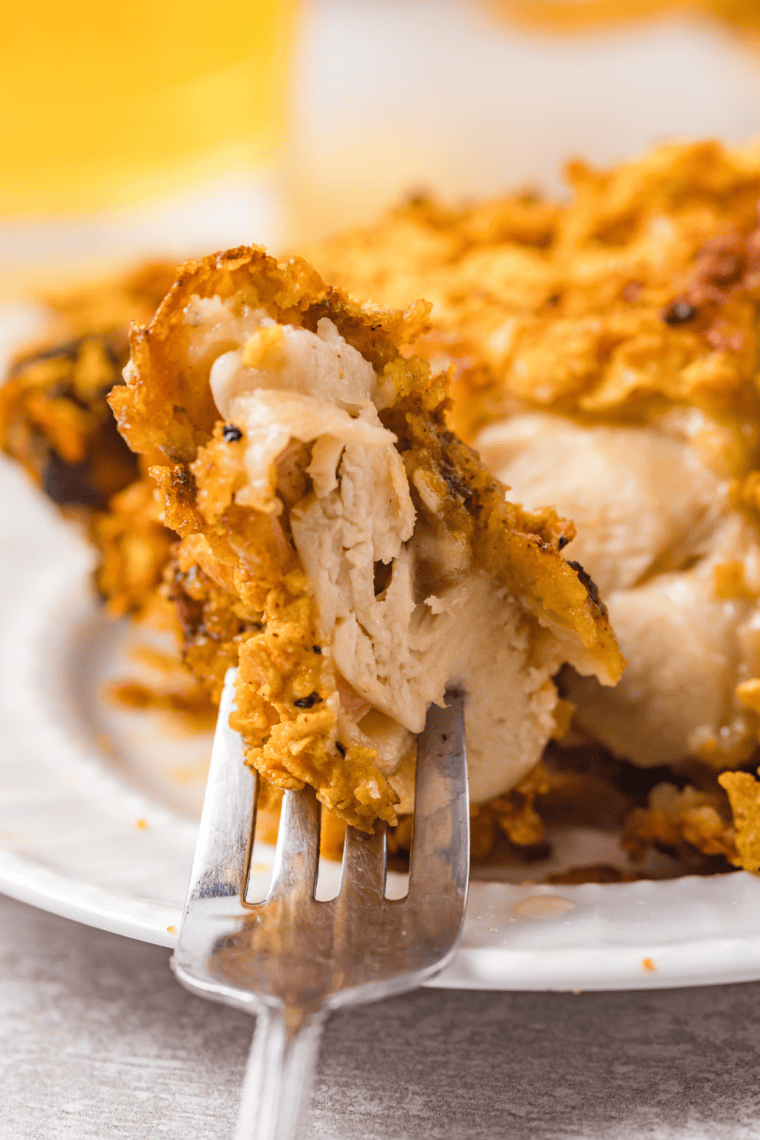
What Makes Ina’s Buttermilk Fried Chicken Different
Most fried chicken recipes ask you to cook the chicken entirely in hot oil, which means constantly monitoring the temperature and hoping the inside cooks before the outside gets too dark. Ina’s approach is smarter. She fries the chicken just long enough to build a crisp, golden crust, then transfers it to a baking sheet and lets the oven finish the job.
This gives you complete control. The crust stays perfectly golden, the meat cooks evenly, and you can fry in batches without worrying about the first batch getting cold or the last batch being underdone.
Ingredients for Ina Garten Buttermilk Fried Chicken
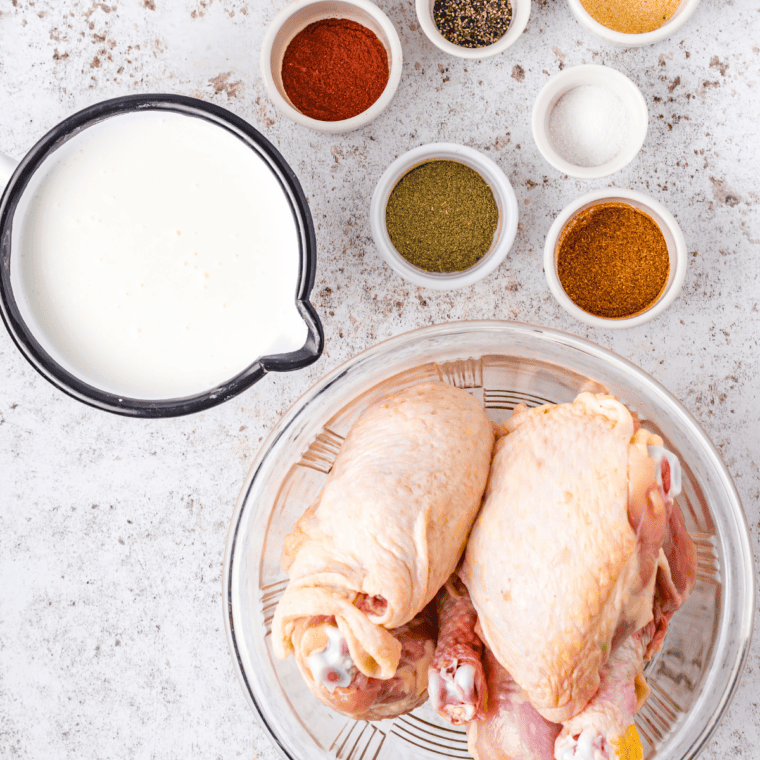
For the buttermilk soak:
- Bone-in, skin-on chicken pieces: Thighs, drumsticks, and breasts stay juicy while frying.
- Buttermilk: Tenderizes the meat and adds subtle tangy flavor.
- Kosher salt: Seasons the chicken deeply during the overnight soak.
- Black pepper: Freshly ground gives the best warm, peppery bite.
For the coating:
- All-purpose flour: Creates the crisp, golden crust on every piece.
- Kosher salt: Seasons the coating so the crust isn’t bland.
- Black pepper: Adds a gentle kick to the crunchy flour coating.
- Paprika: Optional, but gives beautiful color and mild smoky flavor.
For frying:
- Vegetable or canola oil: Neutral, high smoke point oil for clean frying.
A note on the chicken: bone-in, skin-on pieces are essential here. The bone keeps the meat moist and the skin crisps up beautifully under the flour coating. A mix of thighs, drumsticks, and breasts works well, or you can use all dark meat if that’s your preference.
How to Make Ina Garten Buttermilk Fried Chicken
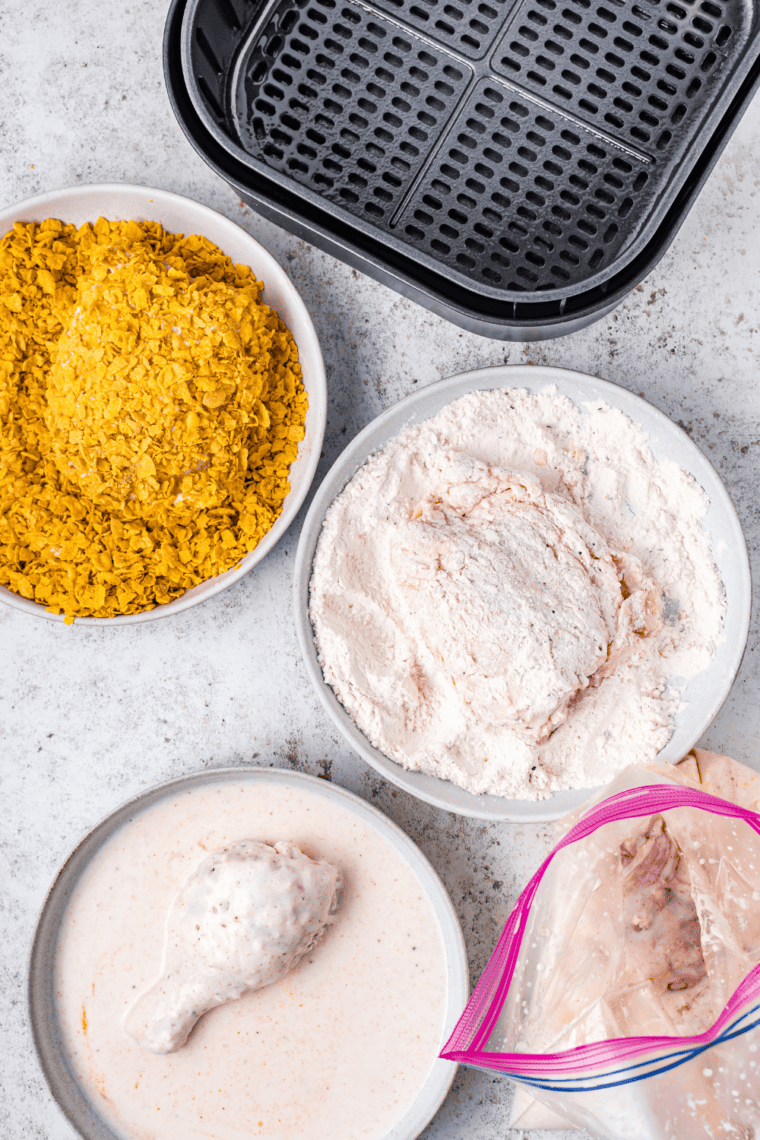
Step 1: Place the chicken pieces in a large bowl or a gallon-size zip-top bag. Pour the buttermilk over the top, add the salt and pepper, and stir or squeeze the bag to make sure every piece is coated. Cover and refrigerate overnight, or for at least 8 hours.
This overnight soak is where the magic happens. The acidity in the buttermilk gently tenderizes the meat while the salt seasons it deeply. Don’t skip this step or cut it short.
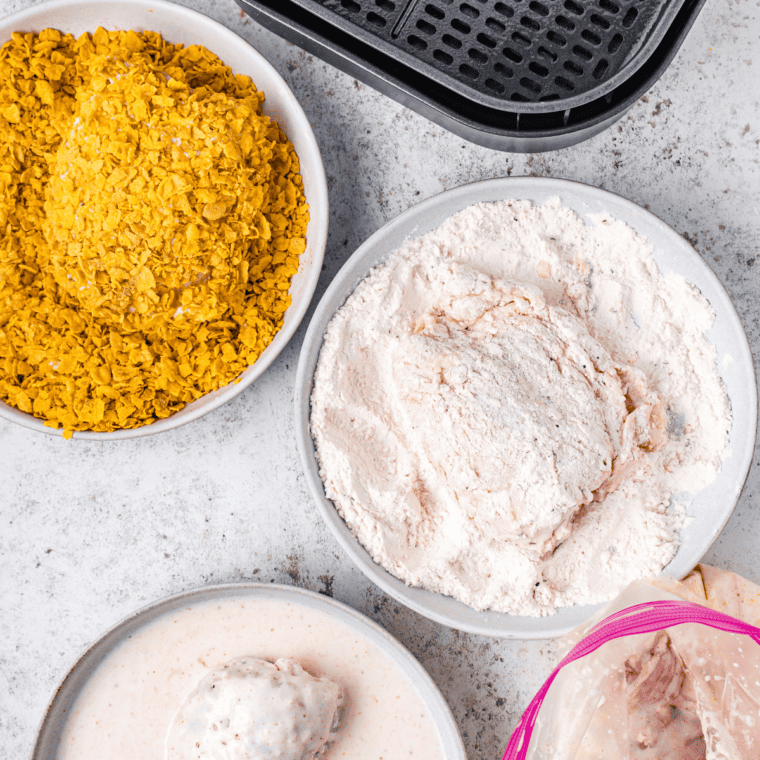
Step 2: When you’re ready to cook, preheat the oven to 350°F. In a shallow dish, whisk together the flour, salt, pepper, and paprika.
Step 3: Remove the chicken from the buttermilk one piece at a time, letting the excess drip off but leaving a thin coating clinging to the surface. Press each piece into the seasoned flour, turning to coat thoroughly on all sides. Set the coated pieces on a wire rack or baking sheet. Let the dredged chicken rest for 10 to 15 minutes before frying. This helps the coating adhere so it doesn’t slide off in the oil.
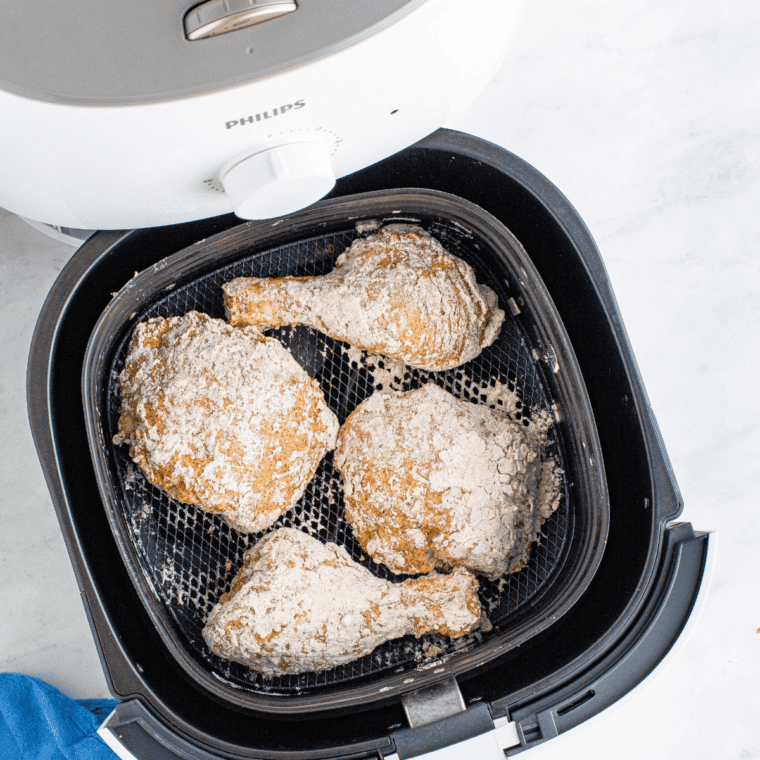
Step 4: Pour about 1 inch of oil into a large, heavy skillet or Dutch oven and heat it to 350°F. If you don’t have a thermometer, drop a pinch of flour into the oil; it should sizzle immediately. Working in batches so you don’t crowd the pan, carefully add the chicken pieces skin-side down. Fry for about 3 to 4 minutes per side, until the coating is deep golden brown. The chicken will not be cooked through at this point, and that’s exactly what you want.
Step 5: Transfer the fried chicken to a wire rack set over a baking sheet. Once all the chicken is fried, place the baking sheet in the preheated oven and bake for 30 to 40 minutes, until the chicken is cooked through and a thermometer inserted near the bone reads 165°F.
Step 6: Let the chicken rest for 5 minutes before serving. Sprinkle with a little flaky salt if you like, and serve hot, warm, or at room temperature.
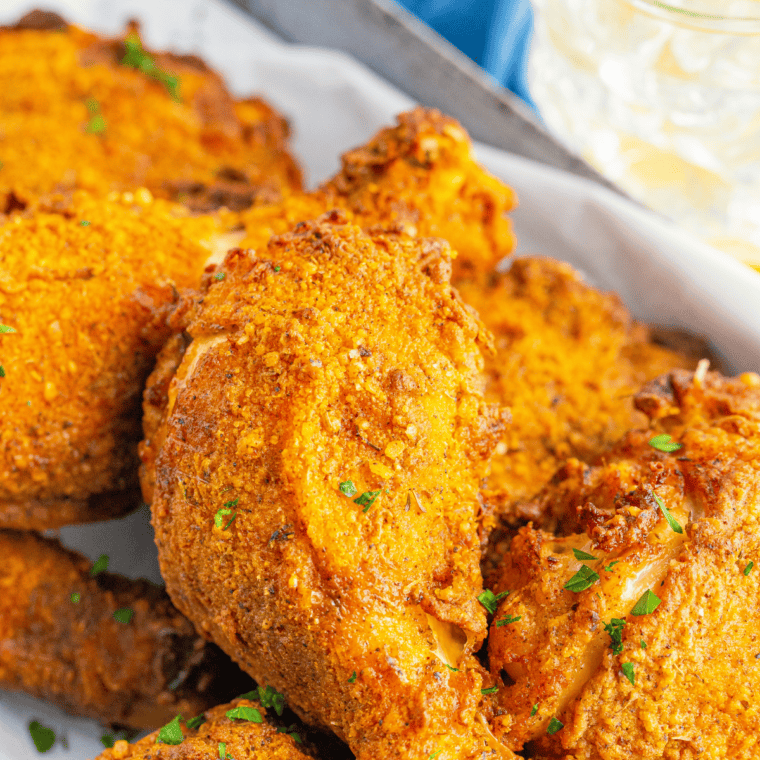
Tips for the Crispiest Fried Chicken
- Use a wire rack, not paper towels. Paper towels trap steam and soften the bottom of the crust. A wire rack lets air circulate so the chicken stays crisp all around.
- Keep the oil at 350°F. Too cool and the coating absorbs oil and turns greasy. Too hot and it browns before the crust sets. Adjust the heat between batches as needed.
- Don’t crowd the pan. Adding too many pieces at once drops the oil temperature. Fry in batches of 4 or 5 pieces.
- Pat the chicken dry before dredging. A light film of buttermilk is good; a dripping-wet piece makes the coating gummy.
- Season at every stage. Salt in the buttermilk, salt in the flour, and a pinch of flaky salt at the end give you chicken that’s seasoned through and through.
- Let the coated chicken rest before frying. Ten minutes on the counter helps the flour hydrate and cling to the chicken.
Variations to Try
- Spicy fried chicken: Add 1 to 2 teaspoons of cayenne pepper to the flour mixture, or stir a few tablespoons of hot sauce into the buttermilk soak.
- Herb fried chicken: Add 1 teaspoon each of dried thyme and garlic powder to the flour.
- Extra-crispy coating: Replace 1/2 cup of the flour with cornstarch for an even crunchier crust.
- Boneless version: Use boneless, skinless thighs and reduce the oven time to about 15 to 20 minutes.
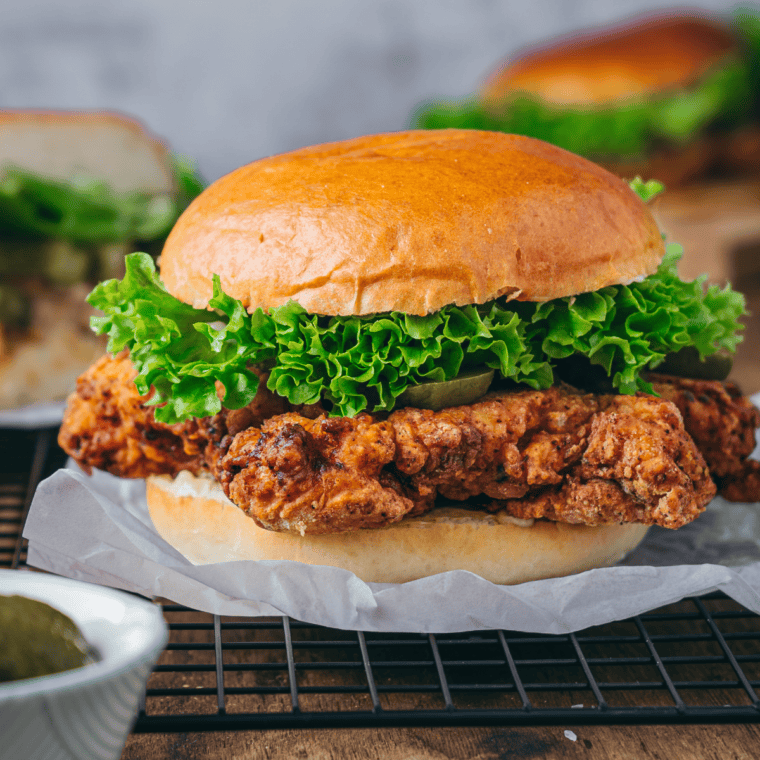
What to Serve with Buttermilk Fried Chicken
Fried chicken calls for classic Southern sides, and these are the ones I reach for every time:
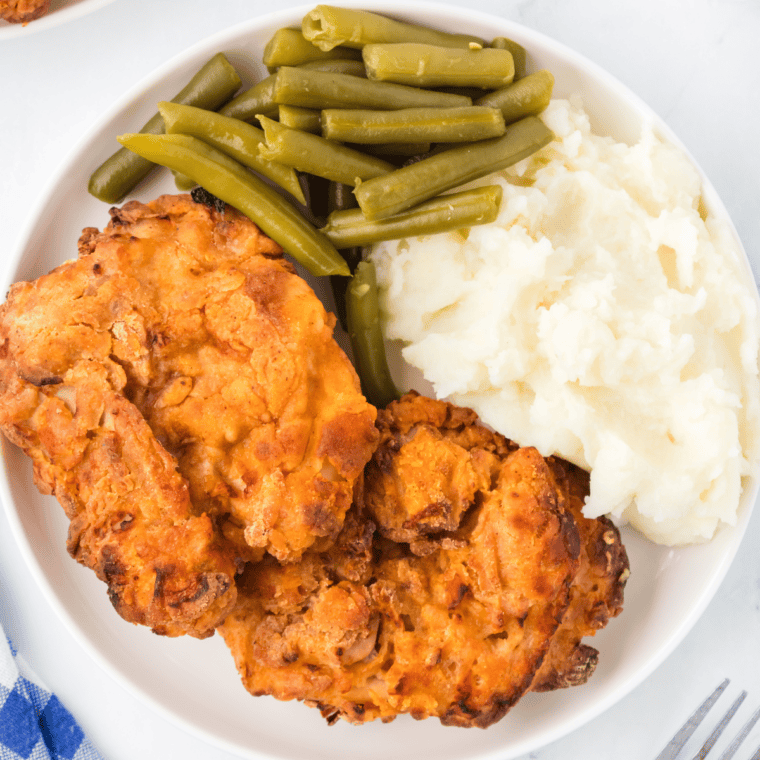
- A creamy Copycat KFC Coleslaw or, if you like it tangier, Cracker Barrel Coleslaw
- Cracker Barrel Mashed Potatoes for a hot side, or Air Fryer Potato Salad for a picnic
- Flaky Air Fryer Buttermilk Biscuits with honey butter
- Creamy Copycat KFC Macaroni and Cheese
- Buttery Air Fryer Corn on the Cob
- Crisp Air Fryer Green Beans and Potatoes or a simple garden salad
Make-Ahead, Storage, and Reheating
Make ahead: The chicken can soak in the buttermilk for up to 24 hours. You can also fry and bake the chicken a few hours before serving; it’s excellent at room temperature, which makes it perfect for picnics.
Storage: Store leftover fried chicken in an airtight container in the refrigerator for up to 3 to 4 days.
Reheating: Reheat in a 375°F oven or an air fryer at 350°F for 10 to 15 minutes, until hot and crisp. Avoid the microwave, which makes the coating soggy.
Freezing: Cooked fried chicken freezes well for up to 3 months. Thaw overnight in the fridge and reheat in the oven.
Frequently Asked Questions
Do I really need to soak the chicken overnight? Yes, if you want the juiciest result. Eight hours is the minimum; overnight is ideal. In a pinch, even 2 to 4 hours will make a noticeable difference.
Can I make this without buttermilk? You can make a quick substitute by stirring 1 tablespoon of lemon juice or white vinegar into 1 cup of milk and letting it sit for 5 minutes. Real buttermilk gives the best flavor and texture, though.
What oil is best for frying chicken? Any neutral oil with a high smoke point works: vegetable, canola, or peanut oil are all good choices.
Can I use an air fryer? This recipe is designed for oil frying, but you can air fry the dredged chicken at 375°F for 25 to 30 minutes, flipping halfway and spraying with oil. The crust won’t be quite as crisp, but it’s still delicious.
Why is my coating falling off? Usually because the chicken was too wet when dredged, or it went into the oil before the coating had time to set. Let the excess buttermilk drip off, and rest the dredged chicken for 10 minutes before frying.
Can I double the recipe? Absolutely. Just fry in more batches and use two baking sheets in the oven, rotating them halfway through.
More Ina Garten Chicken Recipes
If you love this buttermilk fried chicken, try these other Barefoot Contessa favorites:
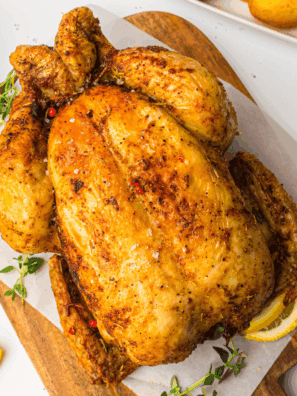
- Easy Ina Garten Perfect Roast Chicken Recipe
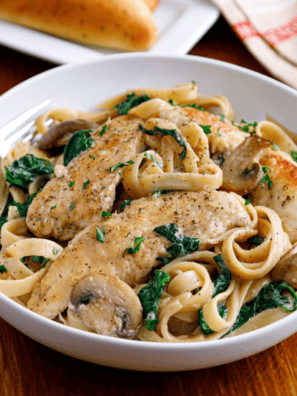
- Barefoot Contessa Chicken Marsala Recipe
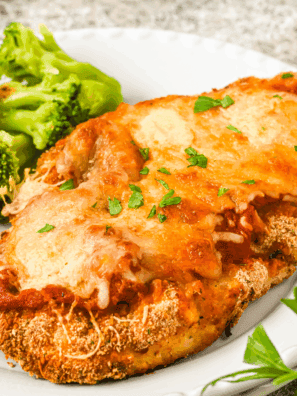
- Easy Barefoot Contessa Chicken Parmesan
- Barefoot Contessa Chicken Divan Recipe
- Barefoot Contessa Cornish Hen Recipe
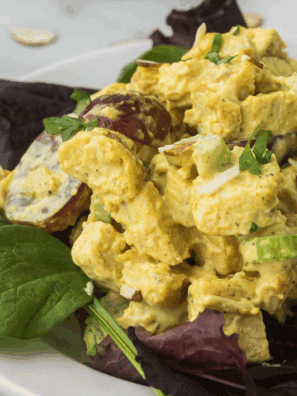
- Easy Ina Garten’s Curried Chicken Salad Recipe
Ina Garten Buttermilk Fried Chicken
Description
Ingredients
Buttermilk Soak
- 4 to 5 pounds bone-in, skin-on chicken pieces
- 1 quart buttermilk
- 2 tablespoons kosher salt
- 1 teaspoon freshly ground black pepper
Coating
- 2 cups all-purpose flour
- 1 tablespoon kosher salt
- 1 tablespoon freshly ground black pepper
- 1 teaspoon paprika, optional
Frying
- Vegetable oil, enough for 1 inch in the pan
Instructions
- Soak the chicken: Place chicken in a large bowl or zip-top bag. Add buttermilk, 2 tablespoons salt, and 1 teaspoon pepper. Toss to coat, cover, and refrigerate at least 8 hours or overnight.
- Preheat: Heat oven to 350°F. Set a wire rack over a baking sheet.
- Mix the coating: In a shallow dish, whisk together flour, 1 tablespoon salt, 1 tablespoon pepper, and paprika.
- Dredge: Lift each piece from the buttermilk, let excess drip off, and press into the seasoned flour until fully coated. Place on the wire rack and rest 10 minutes.
- Fry: Heat 1 inch of oil in a large heavy skillet to 350°F. Fry chicken in batches, 3 to 4 minutes per side, until golden brown. Return to the wire rack.
- Bake: Transfer the rack and baking sheet to the oven and bake 30 to 40 minutes, until the internal temperature reaches 165°F.
- Rest and serve: Let rest 5 minutes, sprinkle with flaky salt if desired, and serve.
Equipment
- Large bowl or gallon zip-top bag
- Shallow dish for dredging
- Large cast iron skillet or Dutch oven
- Wire rack and baking sheet
- Instant-read thermometer
Notes
- Chicken can soak up to 24 hours.
- Use a wire rack, not paper towels, to keep the crust crisp.
- Keep oil at 350°F and fry in batches so the temperature doesn’t drop.
- Store leftovers in the refrigerator up to 4 days. Reheat in a 375°F oven or air fryer to re-crisp.
- For spicy fried chicken, add 1 to 2 teaspoons cayenne to the flour.
Nutrition
Share this recipe
We can’t wait to see what you’ve made! Mention @forktospoon or tag #forktospoon!