Pumpkin pie bites are the easiest dessert on your holiday table, and they start with a store-bought pie. Two ingredients, twelve minutes of work, and not one second of oven time. You cut circles out of a chilled pumpkin pie, top each one with whipped cream, and set them out on a board — and every single person at the party asks where you bought them.
The first time I made these, someone told me it felt illegal. It isn’t. It’s just a shape.
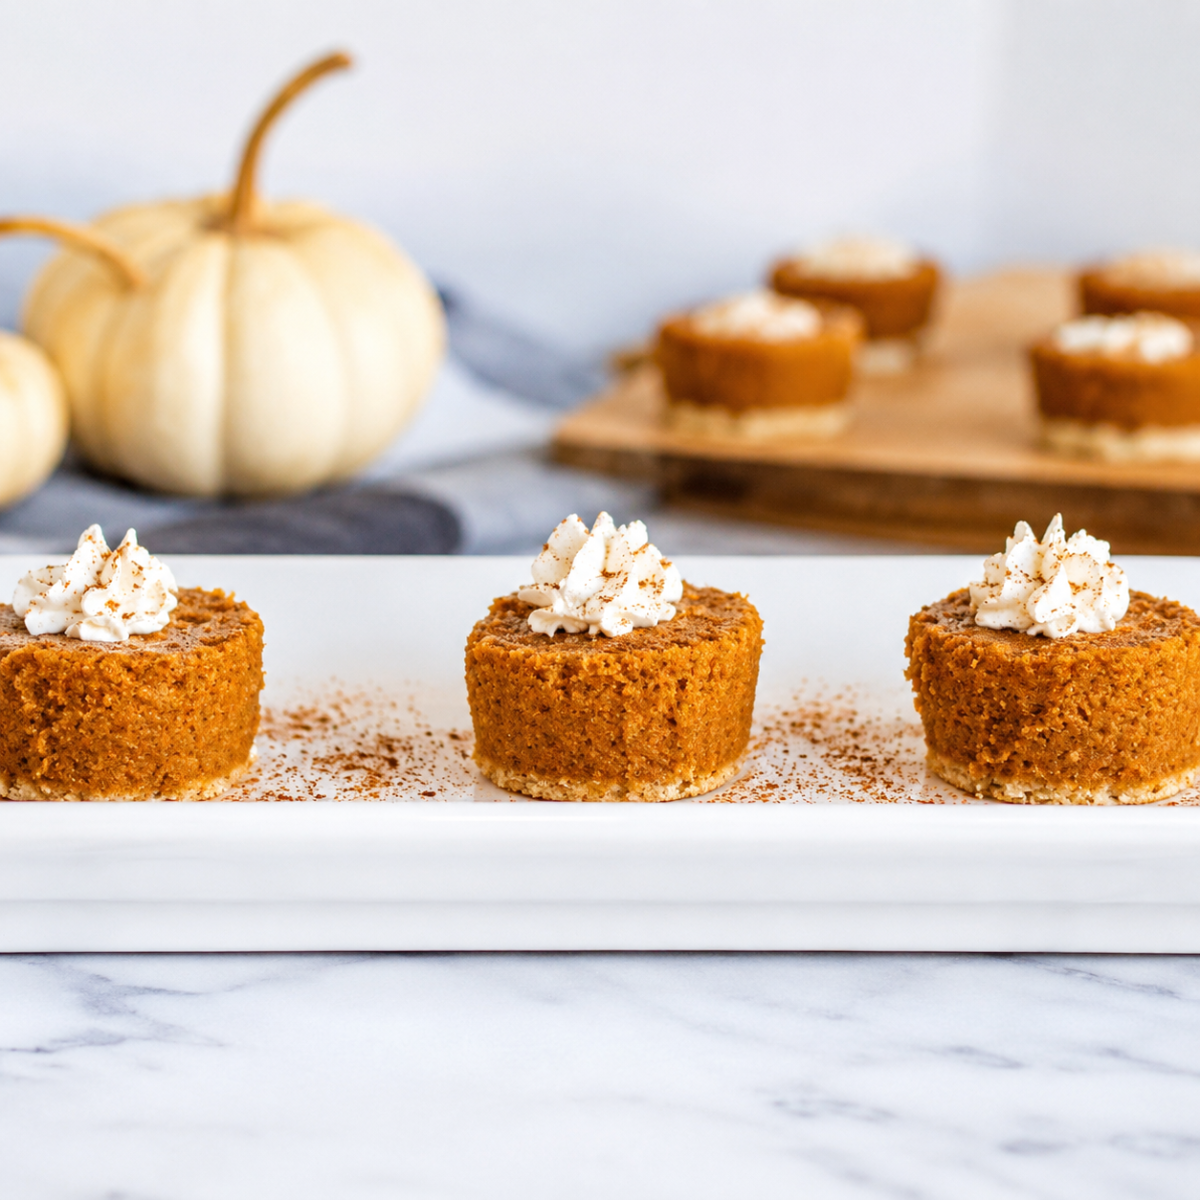
But there’s a version of this recipe floating around that’s two sentences long, and if you follow it you’ll end up with smeared orange sides, a shattered crust, and filling glued inside your cookie cutter. I’ve made these enough times to know exactly why that happens and exactly how to stop it. The fix takes 45 minutes and it’s the whole ballgame.
If you’d rather bake a pumpkin pie from scratch to cut up, I don’t blame you — my Instant Pot Pumpkin Pie sets up beautifully firm and cuts cleaner than most grocery store pies. But the point of this recipe is that you don’t have to.
Why You’ll Love These Pumpkin Pie Bites
- Kids can do the cutting. It’s exactly as satisfying as it looks.
- Two ingredients. Pie. Whipped cream. That’s your entire shopping list.
- No oven, no mixer, no bowl. Enormous on Thanksgiving, when the oven is fully booked.
- 12 minutes of active work. Most of it is pressing a cutter down.
- Make them two days ahead. They hold better on day two than day one.
- They travel. Cut at home, top on arrival.
Why This Works (One Minute of Food Science)
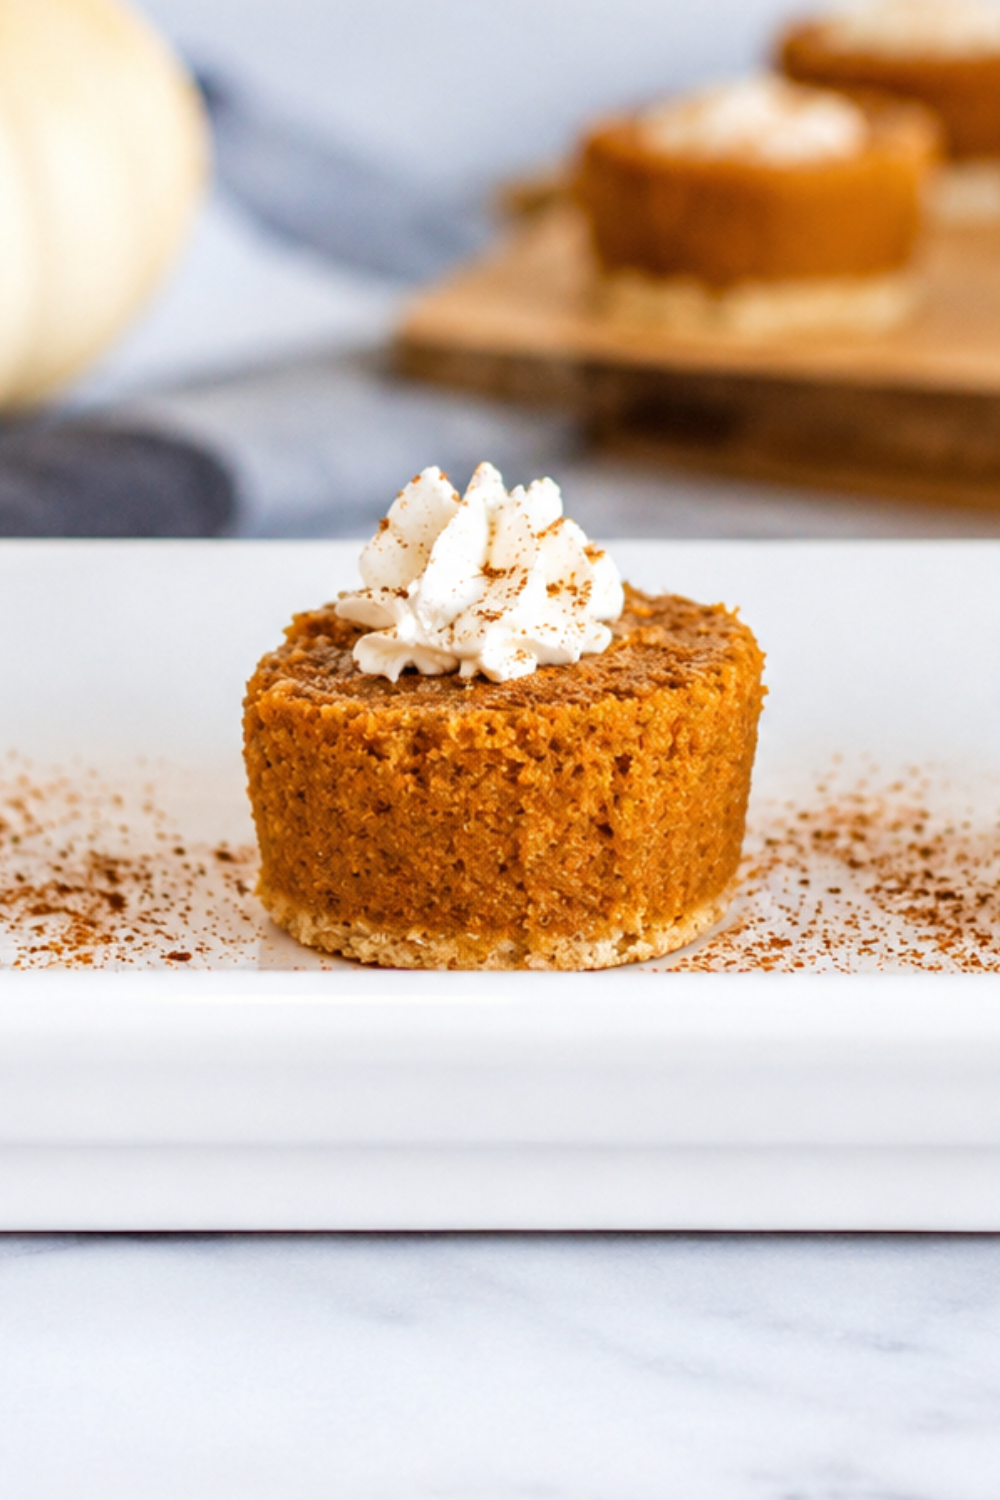
A chilled custard pie is, structurally, a firm gel sitting on a cracker.
Press a straight-sided cutter through cold custard and it shears — the filling parts cleanly along the blade and hands you back a perfect cylinder. Warm that custard up and it stops shearing and starts smearing. The cutter drags filling sideways across the crust, and you get an orange scuff where you wanted a clean wall.
Same story underneath. Pie crust is a fat-based structure. Cold fat is brittle and snaps. Room-temperature fat is soft, so it bends, tears, and crumbles.
Every failure mode of this recipe traces to one variable: the colder the pie, the cleaner the bite. Everything below is a detail.
Ingredients For Pumpkin Pie Bites
Full measurements and instructions are in the printable recipe card at the bottom of this post, along with nutrition information.
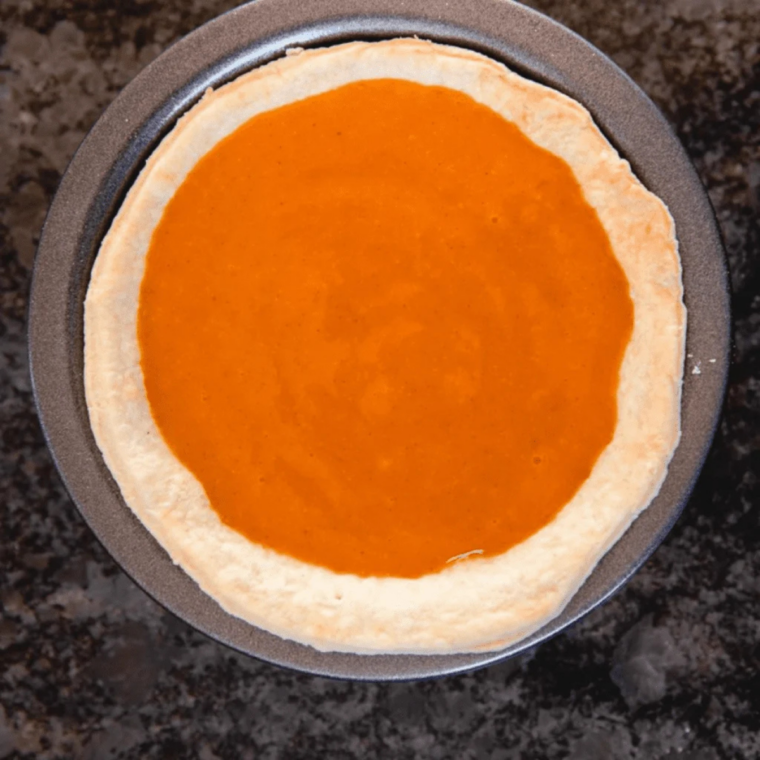
- Pumpkin pie — one 9-inch pie, fully cooked and thoroughly chilled. Store-bought is the entire point, not a compromise. Look for a pie with a flat surface; some grocery pies dome in the center, and a domed pie gives you bites with sloped tops. Tilt the box at eye level in the store and look across the top. Flat wins. Standard depth beats deep-dish here — deep-dish bites are taller, harder to eat in two bites, and more likely to tip over on the tray.
- Whipped cream — canned, tub, or homemade. Canned is fastest and most fragile: beautiful for twenty minutes, then it sighs and collapses. Tub topping is stabilized and holds for hours. Homemade tastes best; use powdered sugar rather than granulated, because the cornstarch does a little stabilizing work for free. If you want a flavored version, the technique in my Halloween Hot Cocoa Whipped Cream works perfectly here — swap the cocoa for a half teaspoon of pumpkin pie spice.
- Optional garnish — a dusting of cinnamon, one toasted pecan half, a fleck of flaky salt, or a grate of nutmeg. Pick one. These are inch-wide desserts and they don’t have room for a tablescape. A pinch of my Homemade Pumpkin Pie Spice across the tops right before serving is the move.
- Dairy-free? Refrigerate a can of full-fat coconut milk overnight, untouched. Whip only the solid layer with a spoonful of powdered sugar. It pipes better than dairy. This is not a consolation prize.
Equipment You’ll Need
A tall, straight-sided cutter. This single piece of gear determines your outcome, and most people reach for the wrong thing.
- What you want: plain walls, no decorative rolled lip on the top edge, at least an inch tall, metal. A classic biscuit cutter is ideal.
- What you don’t want: any cutter with a rolled or beaded rim — that rim presses down on the surface of your bite as the cutter descends and leaves a ring dent. Shaped cutters (leaves, stars, pumpkins) sound charming and produce garbage; every interior corner catches filling and tears it. Save the shaped cutters for dough, the way I use them on my Air Fryer Pumpkin Hand Pies.
- A small offset spatula for lifting. A dinner knife works.
- A mug of hot water and a towel. This will make sense in about ninety seconds.
How To Make Pumpkin Pie Bites
Step 1: Freeze the pie for 45 minutes
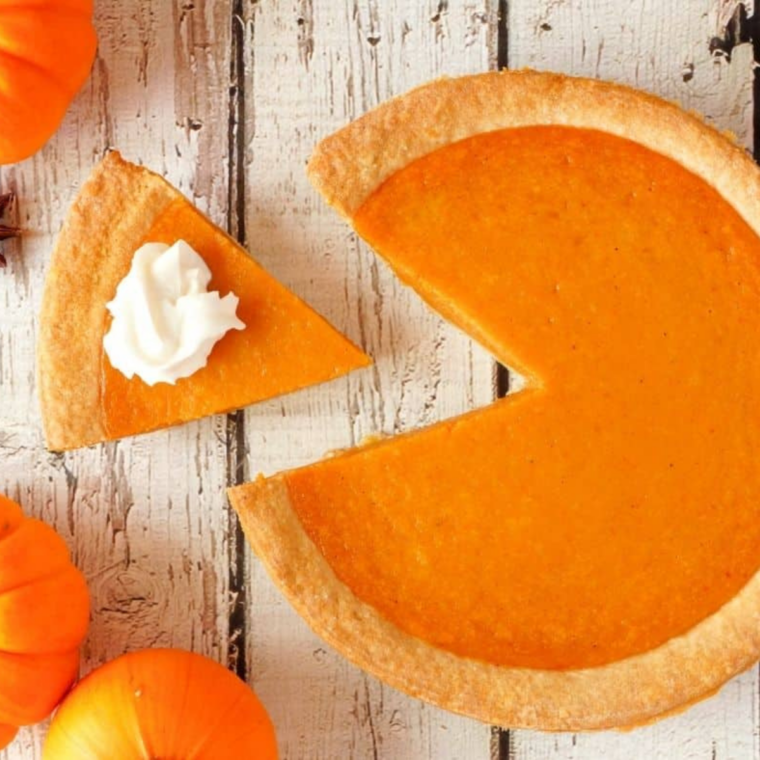
Not refrigerate. Freeze. Slide the pie, uncovered, onto a flat freezer shelf for 40 to 50 minutes. You want it firm to a fingertip press with a little give — not frozen solid. A rock-hard pie doesn’t cut, it cracks. This is the highest-leverage step in the recipe and it’s the one everybody skips. Refrigerator-cold gives you decent pumpkin pie bites. Freezer-firm gives you the ones that make people ask where you bought them.
Step 2: Warm the cutter
Dip the cutting end in hot water and wipe it dry. Warm metal releases custard. Cold metal grips it. It’s the same reason you run a knife under hot water before slicing a cheesecake. Re-dip and re-dry every three or four cuts, and any time a bite sticks.
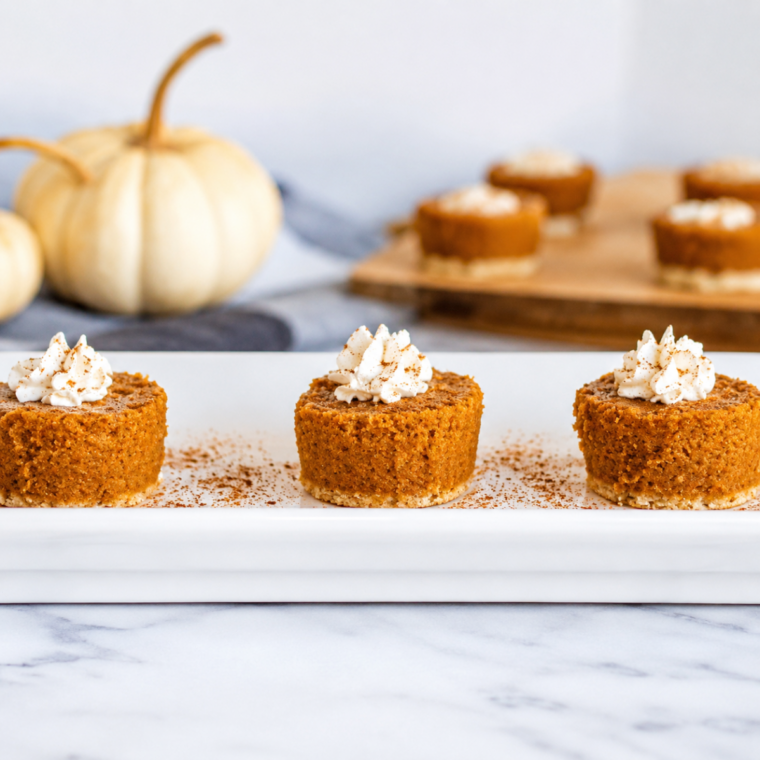
Step 3: Cut straight down — do not twist
Press the cutter down firmly and evenly, straight through filling and crust, until you feel it hit the board. Then lift straight up.
The urge to twist is strong and it is wrong. Twisting drags the blade sideways through the filling and smears it against the crust wall. You’re not opening a jar. Press, lift. Work around the outer rim first, then fill in the center, leaving a quarter inch between cuts. Cutting randomly across the middle costs you two bites and doubles your scrap.
Step 4: Push the bite out from the bottom
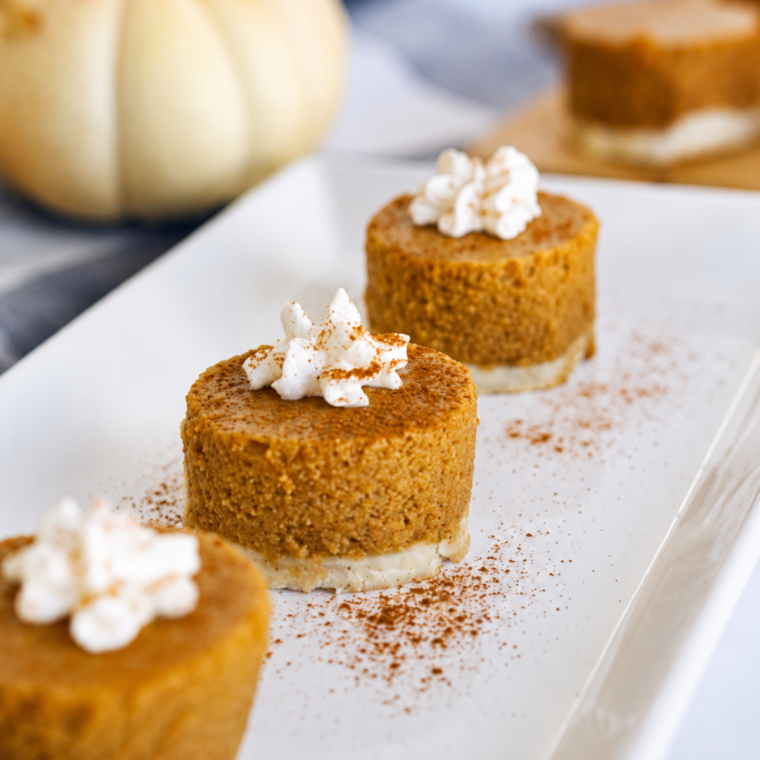
If a bite rides up inside the cutter — it will — don’t poke it out from the top. You’ll dimple the face you’re about to serve. Flip the cutter over. Press gently on the crust side with your thumb. The bite drops out top-up and unblemished.
Step 5: Chill again, then top
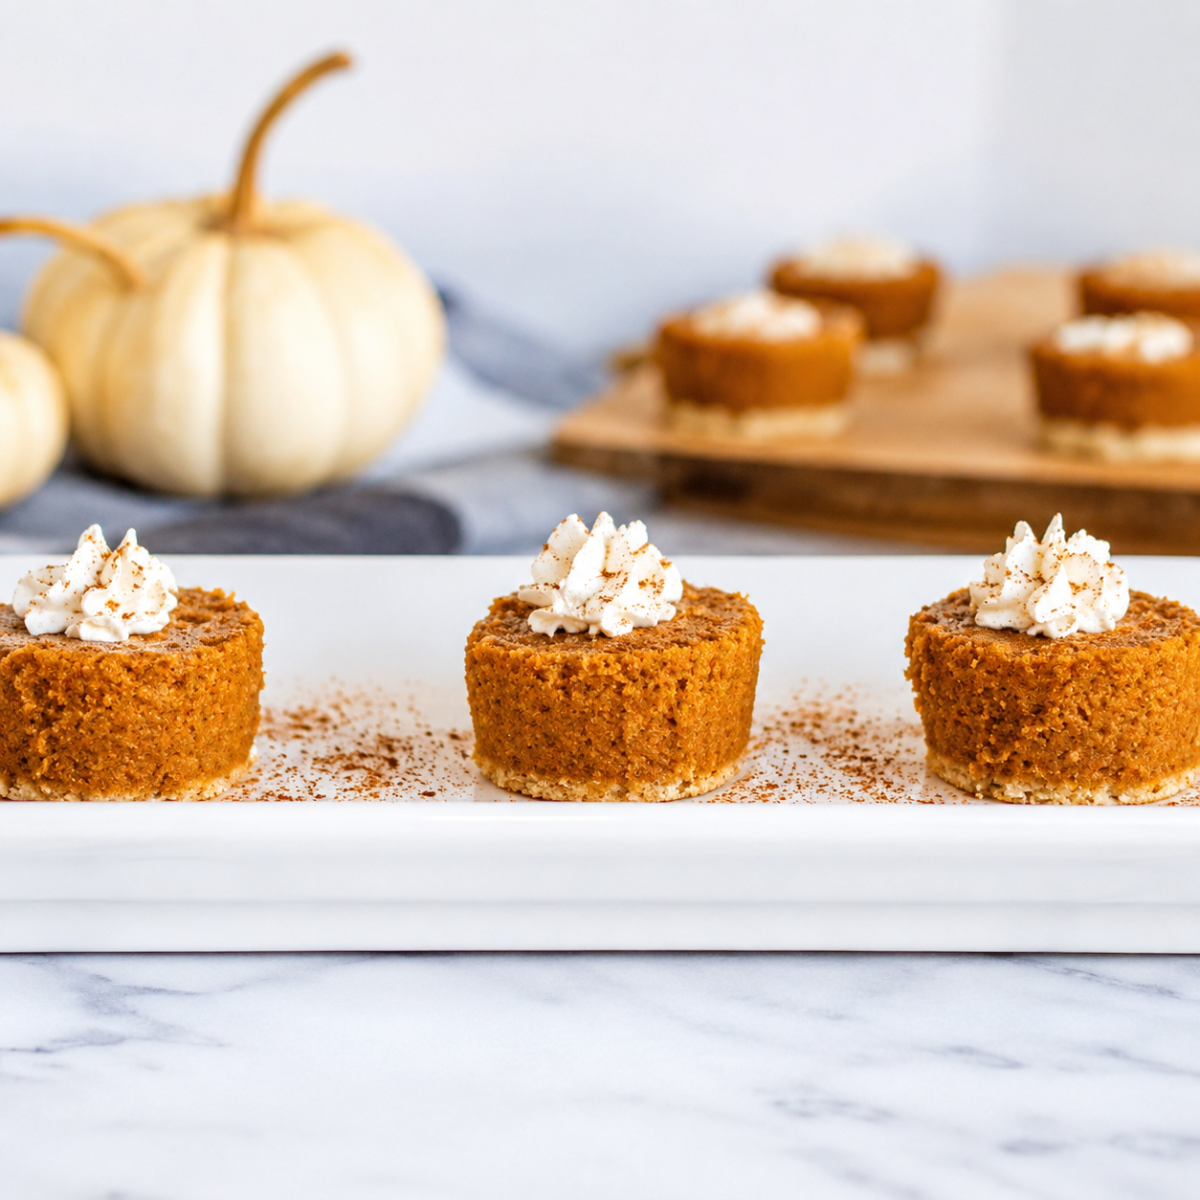
Move the bites to a shallow airtight container, single layer, not touching. Refrigerate at least 20 minutes. Top with whipped cream as late as you possibly can. This is where most people’s pumpkin pie bites fall apart at the actual party, and it gets its own section below.
What To Do With The Scraps
You’ll have about a third of a pie left as broken filling and crust shards. It looks like a crime scene. Do not throw it away. What you have is a bowl of pre-crumbled pumpkin cheesecake base.
- Pumpkin pie milkshake. Two scoops of vanilla ice cream, a splash of milk, a heaping half cup of scraps — crust included. Blend. The crust does what a graham crust does in a shake, which is make it better. This is arguably the best thing on this page and it isn’t even the recipe.
- Parfaits. Layer scraps and whipped cream in a small glass, chill an hour so the crust softens into the cream. Nobody will guess it was a rescue operation.
- Stirred into oatmeal. A spoonful into a bowl of warm maple oatmeal. It sounds strange and it tastes like the reason fall exists.
- Frozen flat. Press the scraps into a zip-top bag, flatten, freeze up to 3 months. Future you finds it in January and has an unexpectedly good morning.
Make Ahead, Transport, And Serving
This is the section that actually matters, because “cut a pie into circles” is not a thing anyone needs help with. “My beautiful bites turned into puddles during the party” absolutely is.
- Make ahead: cut the bites up to two days in advance. Single layer, shallow airtight container, refrigerated. They hold beautifully — arguably better on day two, once the crust has firmed against the chilled filling.
- The tray timing problem: canned whipped cream starts deflating within twenty minutes and weeps within an hour. If your tray is out all evening, do not top all twelve at once. Top six, keep six naked in the fridge, and swap the tray when the first round looks tired. Thirty seconds of work, and it’s the difference between “wow” at 7pm and “hm” at 9pm.
- Serving without carnage: small offset spatula underneath, a table knife on the far side to steady the bite as you slide. Tongs work only if they’re the small claw-tipped kind that grips the crust from above. Standard scissor tongs squeeze the sides and you will serve someone a pancake.
- Transport: cut ahead, travel un-topped in a flat container, keep it cold, bring the whipped cream separately, top on arrival. Ten seconds of work at the party, and you get to be a person who apparently made pastry.
Variations
- Sweet potato pie — identical behavior, arguably better flavor. Fully interchangeable.
- Pumpkin cheesecake — outstanding, and it’s already firm. Freeze 30 minutes instead of 45. My Copycat Cheesecake Factory Pumpkin Cheesecake cuts into bites like a dream.
- Key lime, lemon icebox, chocolate cream — all custards, all excellent. Freeze a full hour; they start softer.
- Pecan pie — surprisingly great and it barely needs the chill. Use a gentle sawing press; you’re cutting through nuts.
- Graham cracker crust — cuts more crumbly than pastry but tastes better. If you’re baking one to cut up, use my Air Fryer Pumpkin Pie With Graham Crust and freeze it a full hour.
- Apple, cherry, or any fruit pie — no. Whole fruit fights the cutter and you get a landslide. Fruit belongs in a hand pie.
How To Store Pumpkin Pie Bites
- Refrigerator: un-topped bites keep in an airtight container, single layer, up to 3 days.
- Topped bites: eat them. Whipped cream on chilled custard doesn’t survive storage — it weeps into the surface and leaves a wet ring.
- Freezer: un-topped bites freeze up to 2 months. Freeze them on a tray until solid first, then bag them, or they fuse into a brick. Thaw overnight in the fridge. The crust suffers slightly. Nobody has ever mentioned it.
Troubleshooting
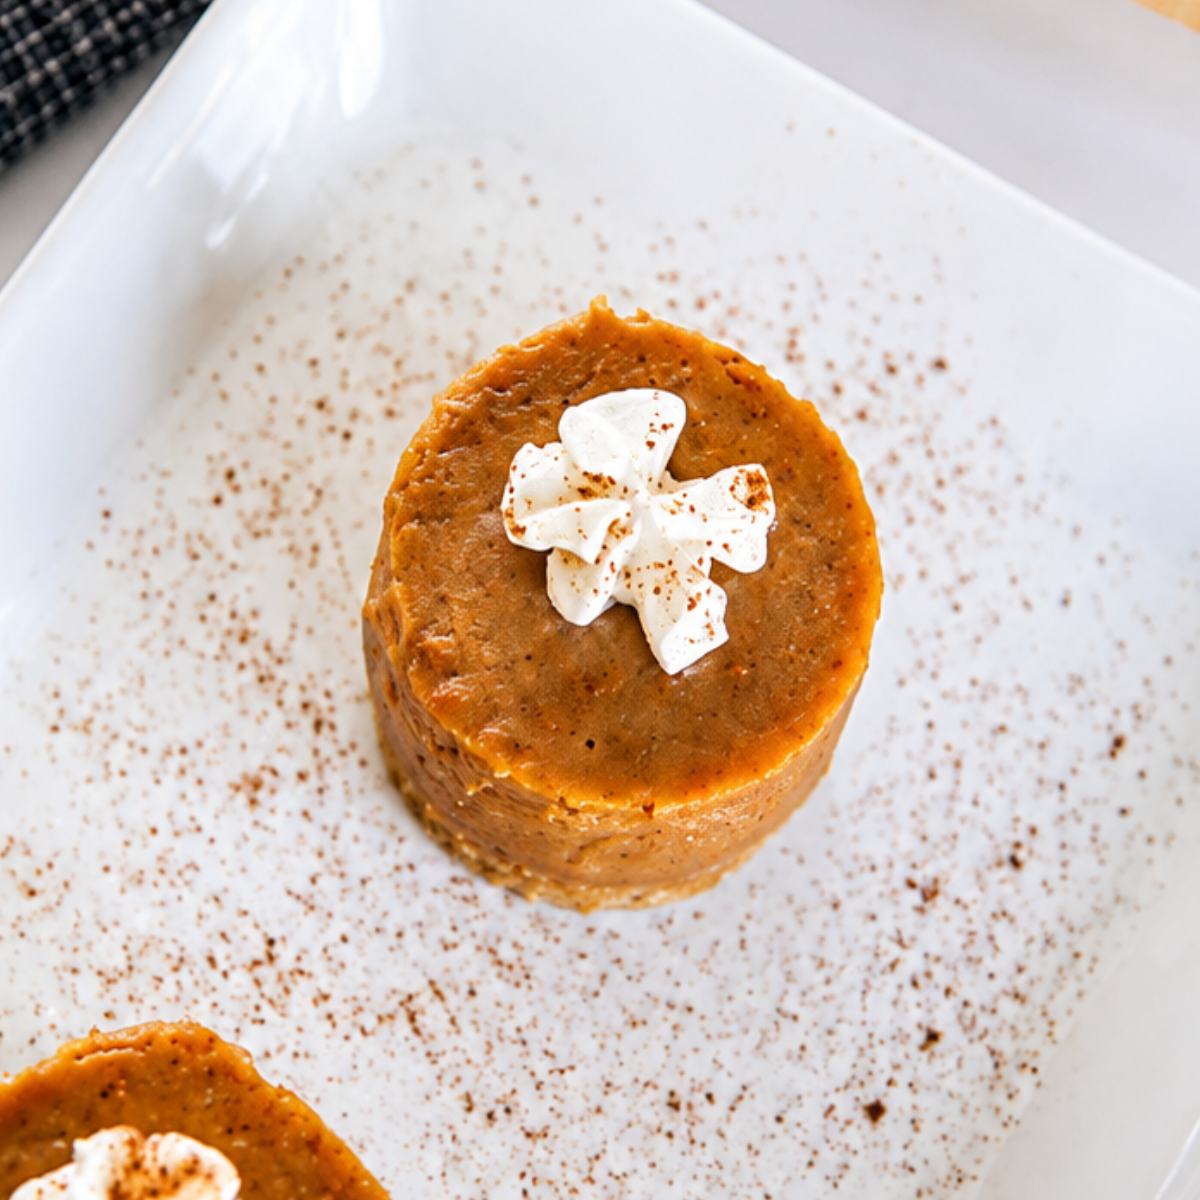
- The sides came out smeared and orange. Pie was too warm. Back in the freezer for twenty minutes. This is the answer to most problems here.
- The crust shattered when I lifted it. Pie was too cold. Let it sit on the counter ten minutes. Frozen fat is brittle.
- There’s a ring-shaped dent around the top edge. Your cutter has a rolled lip. Different cutter, or accept it — a dollop of whipped cream covers it completely and nobody will ever know.
- The center of the top is dented. You pushed the bite out from the top. Push from the crust side.
- The filling is stuck in the cutter. Hot water, dry towel, push from the crust end. Re-dip more often than feels necessary.
- My bites are leaning over. Deep-dish pie, small cutter. The aspect ratio is against you. Size up the cutter or size down the pie.
Pumpkin Pie Bites FAQs
Can I use a knife instead of a cutter? Yes. Cut squares with a hot, wiped blade, wiping between every cut. You’ll get more usable dessert per pie — no scrap crescents — at the cost of the exact thing that makes people ask if you bought them.
Can I use a homemade pumpkin pie? Absolutely, and it’ll taste better. Chill it overnight before you freeze it. A fresh-baked pie holds heat in the center long after the surface feels cool, and that warm center will smear. An Air Fryer Pumpkin Pie works well because it bakes small and chills fast.
Can I make pumpkin pie bites the night before Thanksgiving? This is the correct use of this recipe. Cut Wednesday night, top Thursday afternoon. Your oven never opens.
Do they have to be served cold? Yes. Room-temperature bites slump and the crust goes soft against the filling. It’s a chilled dessert. Keep the tray away from the stove.
Is a 1-inch cutter too small? It’s darling, you’ll get eighteen, and the crust-to-filling ratio goes strange — too much edge, not enough middle. 1¼ inches is as small as I’d go.
What about the crimped crust around the edge? The outer inch is unusable for bites anyway. Cut your rim circles just inside the crimp, then eat the crimp yourself standing at the counter, as payment.
What else can I do with a can of pumpkin purée? Plenty. Air Fryer Pumpkin Pie Squares use it in a sheet-pan format, Air Fryer Pumpkin Pie Egg Rolls turn it into a handheld, Air Fryer Pumpkin Pie Pop Tarts make it breakfast, and Sourdough Pumpkin Cinnamon Rolls put it to work in a dough.
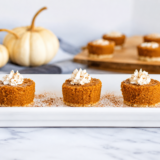
Pumpkin Pie Bites
Description
Ingredients
- 1 pumpkin pie, 9-inch, fully cooked and chilled
- 1½ cups whipped cream, canned, tub, or homemade
- ¼ teaspoon ground cinnamon, for garnish (optional)
- 12 toasted pecan halves, for garnish (optional)
Instructions
- Freeze the pie. Place the chilled pumpkin pie, uncovered, on a flat freezer shelf for 40–50 minutes, until firm to a fingertip press but not frozen solid.
- Warm the cutter. Dip the cutting edge of a 1½-inch straight-sided cutter in hot water and wipe it dry.
- Cut the bites. Press the cutter straight down through the filling and crust until it meets the board. Do not twist. Lift straight up. Work around the outer rim first, then the center, leaving ¼ inch between cuts.
- Release. If the bite sticks inside the cutter, invert it and press gently on the crust side with your thumb so it drops out top-up.
- Repeat. Re-dip and dry the cutter every 3–4 cuts, and any time a bite sticks. You should get 10–12 bites.
- Chill again. Transfer the bites to a shallow airtight container in a single layer, not touching. Refrigerate at least 20 minutes, or up to 2 days.
- Top and serve. Just before serving, top each bite with whipped cream. Garnish with a dusting of cinnamon or a single toasted pecan half. Serve cold.
Equipment
- 1½-inch straight-sided cutter (no rolled lip)
- Small offset spatula
- Cutting Board
- Shallow airtight container
Notes
- Don’t skip the freezer. Refrigerator-cold pie smears; freezer-firm pie shears. This is the entire recipe.
- Never twist the cutter. Press straight down and lift straight up.
- Save the scraps. Blend a heaping ½ cup of scraps with 2 scoops of vanilla ice cream and a splash of milk for a pumpkin pie milkshake.
- For a tray that sits out, use stabilized or tub whipped topping and top in batches of six, swapping the tray as the first round deflates.
- Make ahead: cut up to 2 days in advance; top within 20 minutes of serving.
- Freezing: freeze un-topped bites on a tray until solid, then bag, up to 2 months.
- Substitutions: sweet potato pie, pumpkin cheesecake, key lime, lemon icebox, chocolate cream, and pecan pie all work. Fruit pies do not.
Nutrition
Share this recipe
We can’t wait to see what you’ve made! Mention @forktospoon or tag #forktospoon!