The first pumpkin pie I made in my Instant Pot was a disaster, and it was entirely my own fault. I pressed a store-bought pastry crust into a springform pan, poured in the filling, and pressure cooked it. What came out was a bowl of good pumpkin custard sitting on a layer of wet, gray dough. Pastry needs dry heat to flake. A pressure cooker is a steam box. Those two things will never get along.
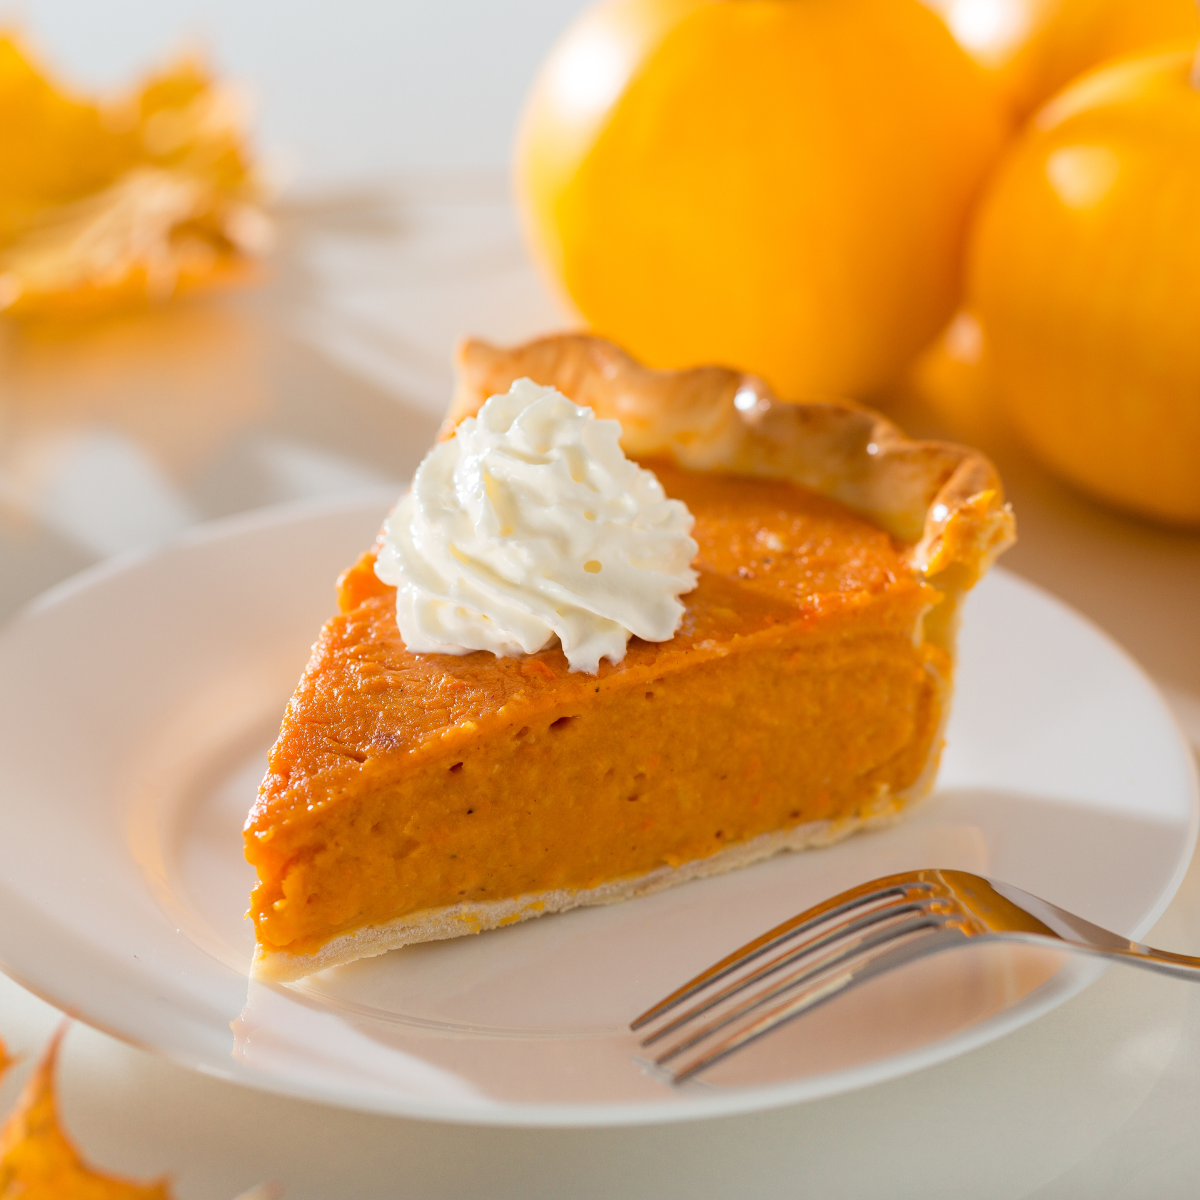
The fix took three more tries: a graham cracker crust instead of pastry, a sheet of foil over the pan so condensation stops dripping onto the custard, and a tablespoon of cornstarch as insurance against a loose center. What I have now is a pie with a clean, sliceable custard, a crust that stays crisp underneath, and a top that has never once cracked — because the Instant Pot creates its own water bath, and a water bath is the whole reason pumpkin pies crack in the oven.
If you’re hosting Thanksgiving, the real argument for this recipe isn’t speed. It’s that your oven stays free for the turkey.
Why This Recipe Works
- Your oven stays open. On Thanksgiving morning, that’s worth more than the thirty minutes you save.
- The pressure cooker is a steam oven. Custard cooks in a moist, sealed environment at a stable temperature. That’s exactly what a water bath does in an oven, without the roasting pan full of scalding water.
- No cracks, ever. Cracks come from the surface of the custard drying and contracting faster than the center. In a sealed pot, the surface never dries out.
- A 7-inch pan cooks evenly. Shallow and narrow means the center hits temperature at nearly the same time as the edges. A 9-inch pie in the oven never does.
Ingredients
For the graham cracker crust
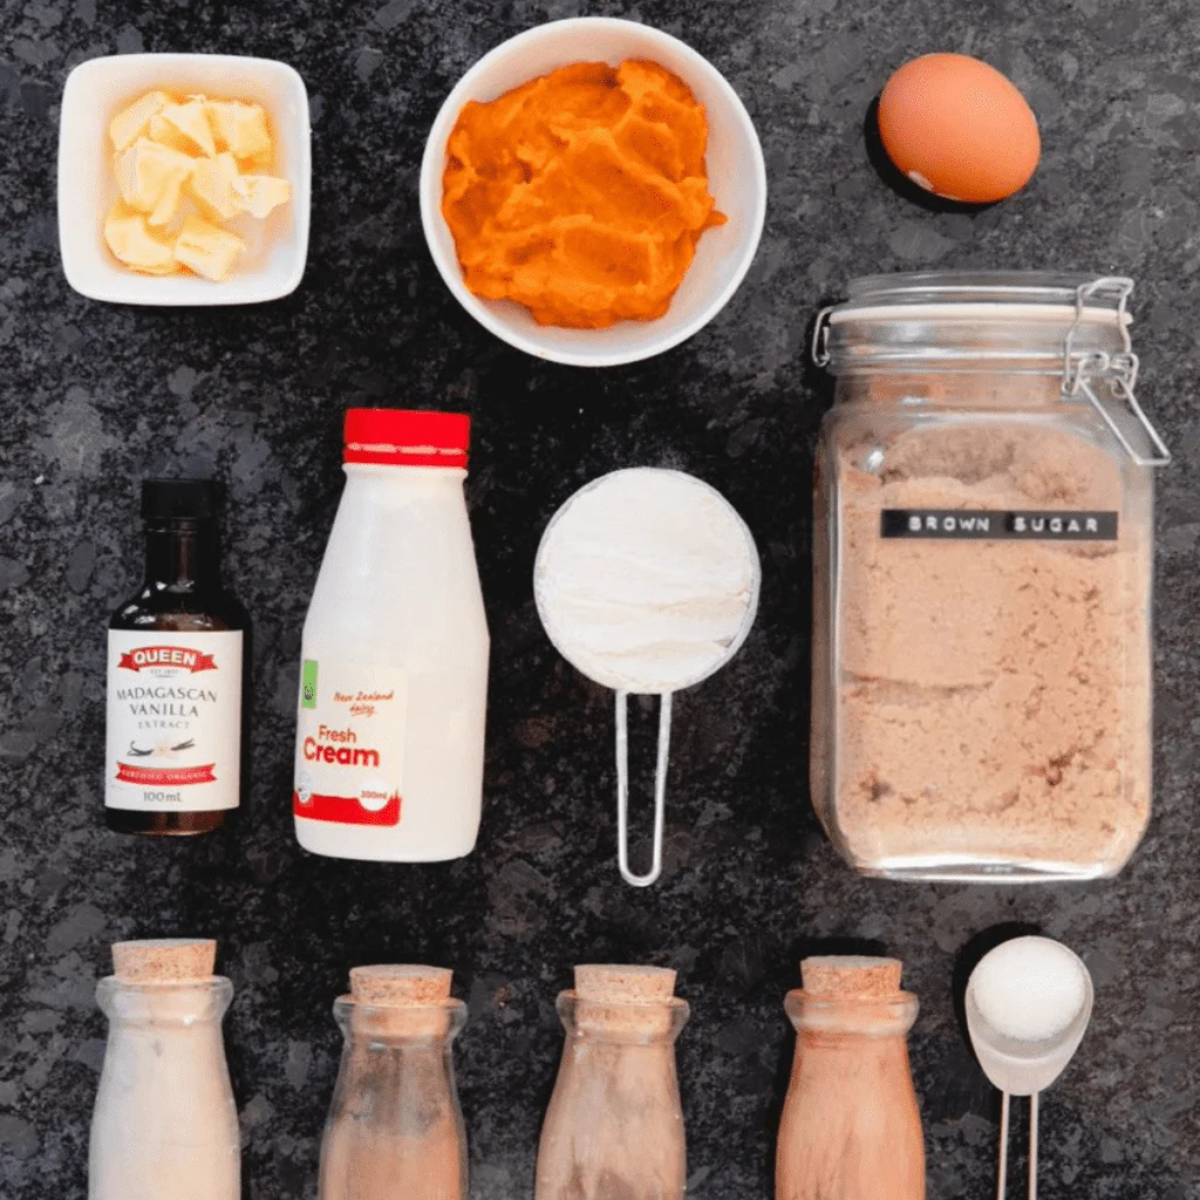
- Graham cracker crumbs — about 10 full sheets, crushed. Gingersnaps or Biscoff work beautifully too and give the pie a warmer, spicier base.
- Melted butter — binds the crumbs. Salted or unsalted, your call.
- Granulated sugar — just enough to help the crust set firm.
- Ground cinnamon — a pinch, to tie the crust to the filling.
For the pumpkin filling
- Pumpkin purée — one 15-ounce can. Read the next section before you buy.
- Light brown sugar — the molasses gives the filling a depth that white sugar can’t.
- Eggs — two large, at room temperature so they blend without streaking.
- Evaporated milk — three-quarters of a cup, not a full can. There’s no evaporation happening under pressure, so a standard oven recipe’s liquid will leave you with a soupy center.
- Cornstarch — one tablespoon. Cheap insurance for a clean slice.
- Pumpkin pie spice — store-bought is fine, but my homemade pumpkin pie spice takes five minutes and keeps for months.
- Ground cinnamon, vanilla extract, and salt — for balance.
Pumpkin Purée vs. Pumpkin Pie Filling
This is the single most common way this recipe goes wrong, and the cans sit right next to each other on the shelf.
Pumpkin purée is one ingredient: cooked, strained pumpkin. That’s what you want.
Pumpkin pie filling (sometimes labeled “pumpkin pie mix”) is already sweetened and already spiced. If you use it here, you’ll be adding a full cup of sugar and two teaspoons of spice on top of sugar and spice that are already in the can. The pie will be cloying and the custard won’t set properly, because the added liquid throws off the egg-to-liquid ratio.
Check the label. It should say 100% Pure Pumpkin and the ingredient list should have exactly one item.
If you have half a can left over, it doesn’t go to waste — make Instant Pot Pumpkin Butter or a batch of Ninja Creami Pumpkin Ice Cream.
What Size Pan Fits Your Instant Pot?
Pan choice is not optional here. A standard 9-inch pie plate will not fit inside any Instant Pot.
| Instant Pot Size | Pan to Use | Adjustment |
|---|---|---|
| 6-quart | 7-inch springform, 3 inches deep | None. This is the recipe as written. |
| 8-quart | 7-inch springform | None. Use 1½ cups water. |
| 3-quart Mini | 6-inch springform | Halve the filling. Cook 25 minutes. |
A springform is worth owning if you plan to make Instant Pot Cheesecake — the pan and the technique are nearly identical. It’s the same one I use for Instant Pot Strawberry Cheesecake.
One critical step people skip: wrap the outside bottom of the springform in a sheet of foil before you fill it. Springform pans have a seam. Sitting in a steamy pot, that seam will let water wick in and turn your crust to paste.
Why Not a Regular Pie Crust?
Because it won’t bake. Flaky pastry depends on butter turning to steam and forcing layers apart in dry, high heat. Inside a pressure cooker, the air is already saturated with steam and the temperature caps around 250°F. The crust will hydrate instead of laminating.
If your heart is set on a traditional pastry crust, don’t fight the appliance — use the air fryer instead. My Air Fryer Pumpkin Pie is built around a real pastry crust, and Air Fryer Pumpkin Pie With Graham Crust splits the difference.
How to Make Instant Pot Pumpkin Pie
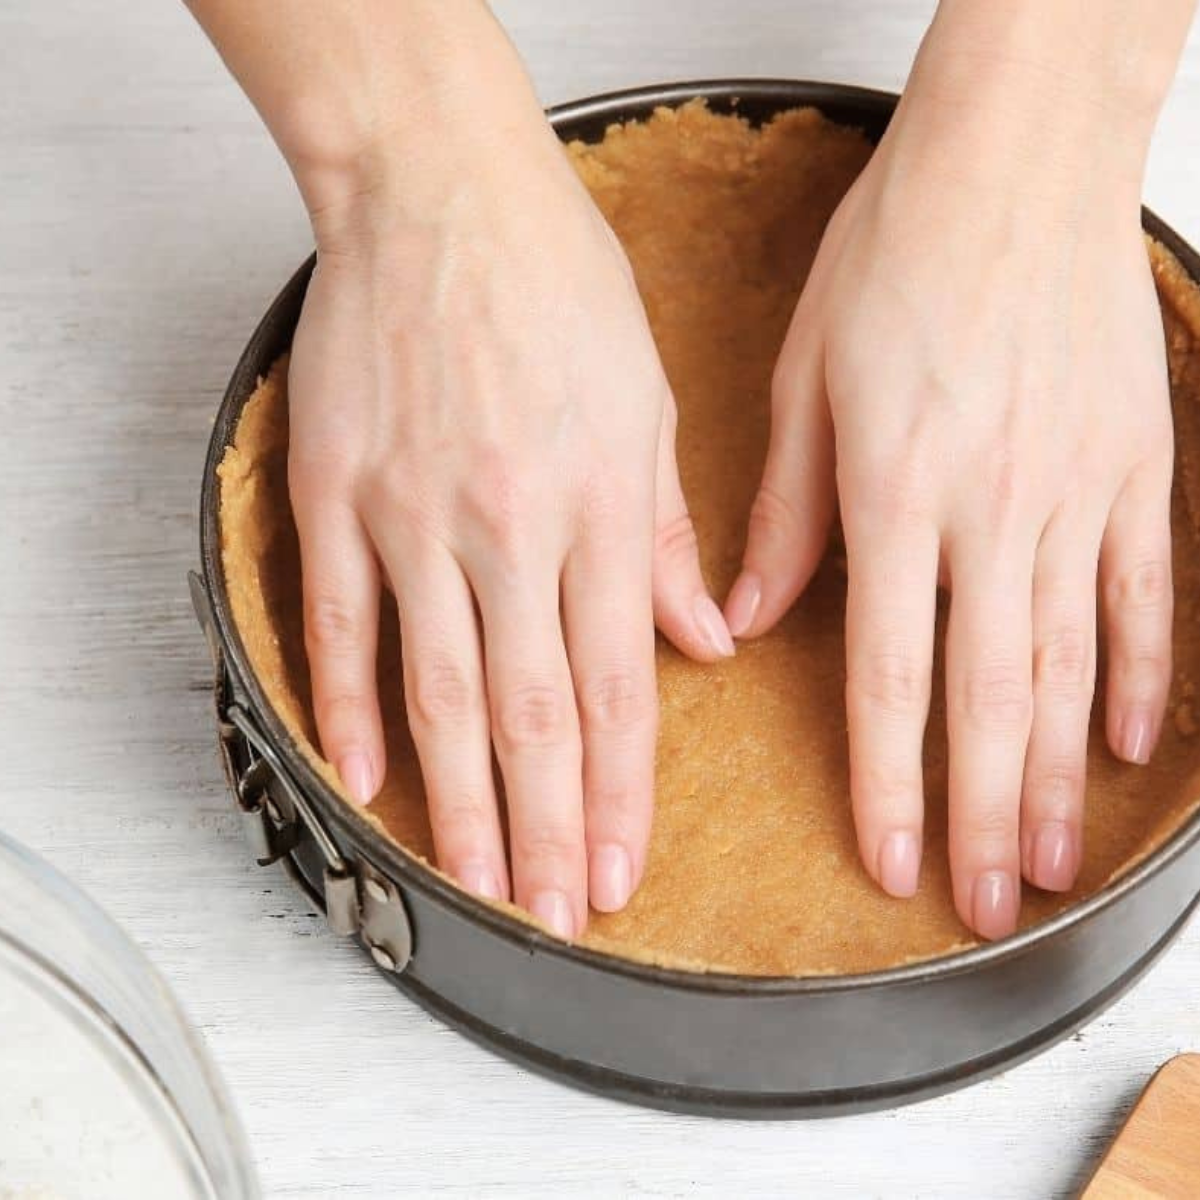
Step 1: Build and Chill the Crust
Stir the graham cracker crumbs, sugar, cinnamon, and melted butter together until the mixture looks like damp sand and holds its shape when you squeeze it. Press it firmly into the bottom of a greased 7-inch springform and about one inch up the sides.
Do not take the crust higher than the filling line. If the crust rises above the custard, it sits exposed to steam and turns soggy. Freeze the pan for 10 minutes while you make the filling.
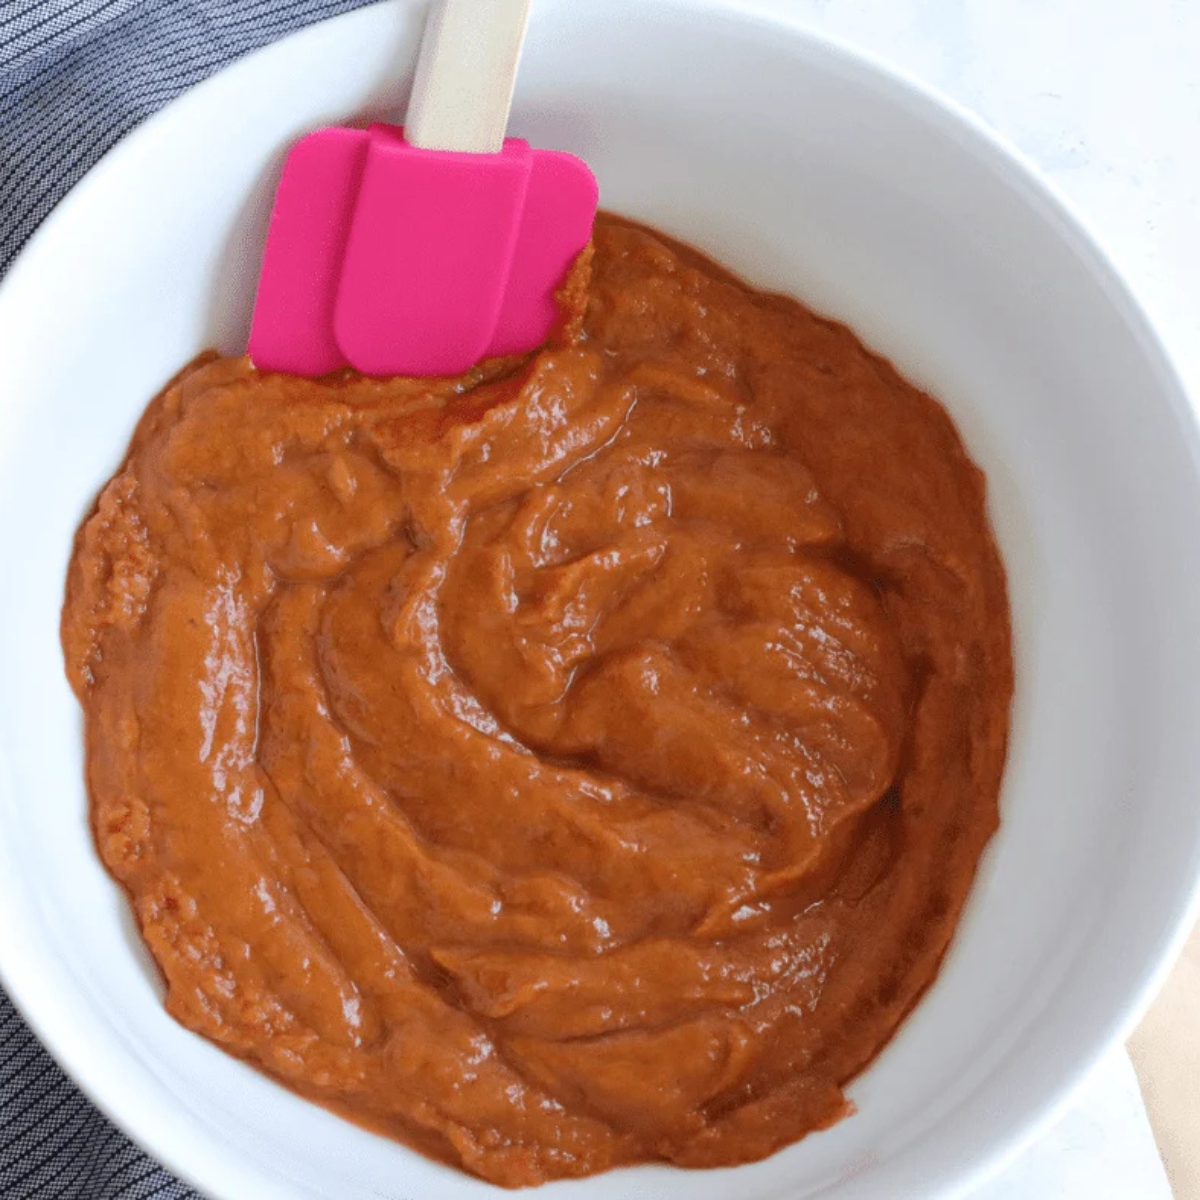
Step 2: Whisk the Filling
In a large bowl, whisk the brown sugar, cornstarch, pumpkin pie spice, cinnamon, and salt together first. Getting the cornstarch dispersed in the dry ingredients prevents lumps. Add the pumpkin purée and whisk smooth. Beat in the eggs one at a time, then the evaporated milk and vanilla. Whisk to combine — not to aerate. Air bubbles beaten into a custard become tunnels and pockmarks after cooking.
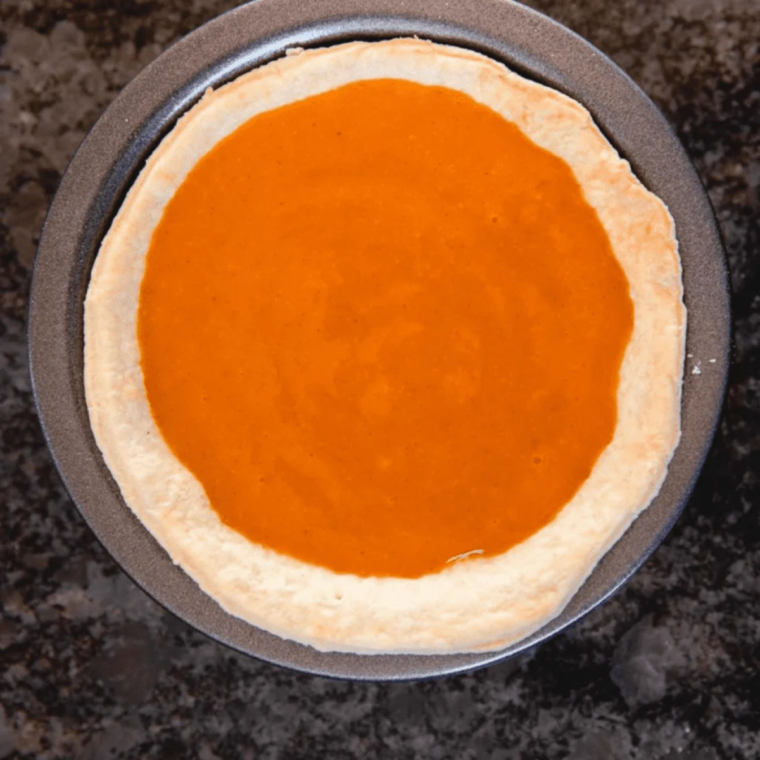
Step 3: Fill and Cover
Pour the filling into the chilled crust. Tap the pan firmly on the counter three or four times to surface any air bubbles, then pop them with a toothpick. Wrap the outside bottom of the springform in foil. Then lay a second sheet of foil loosely over the top and crimp it around the rim. This second sheet is what keeps condensation from raining onto your pie. Skip it and you’ll get a wet, pitted surface.
Step 4: Pressure Cook
Pour 1½ cups of water into the inner pot and set the trivet inside. Lower the pan onto the trivet using a foil sling or silicone helper handles. Lock the lid, set the valve to Sealing, and cook on Manual or Pressure Cook at High Pressure for 35 minutes. The pot will take about 10 minutes to come to pressure before the timer starts. That’s normal, and it’s part of why your real total time is longer than the display suggests.
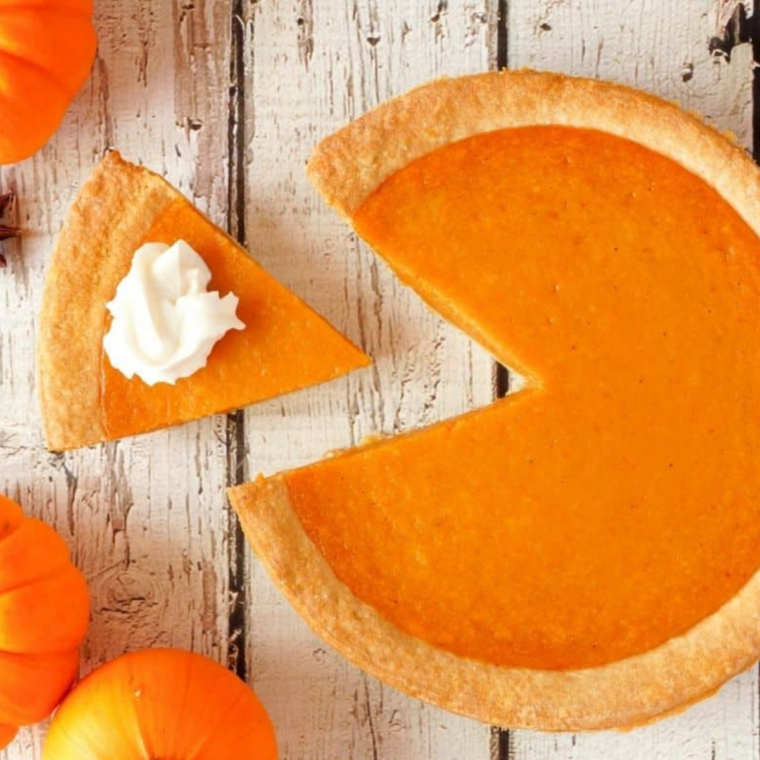
Step 5: Release and Check
When the timer ends, let the pressure release naturally for 10 minutes. Then turn the valve to Venting to release whatever is left. Open the lid carefully, tilting it away from you so no condensation drips onto the pie. Lift the foil off. How to tell it’s done: the outer two inches should be set, and the center should jiggle as a single unit — like set gelatin, not like liquid sloshing under a skin. An instant-read thermometer in the center should read 175°F. If the center is genuinely liquid, re-cover it, lock the lid, and cook 5 more minutes on High. Do this immediately, while the pie is still hot. Once a custard has cooled, re-pressurizing it will curdle the eggs and give you a grainy, weeping pie.
Step 6: Cool, Then Chill
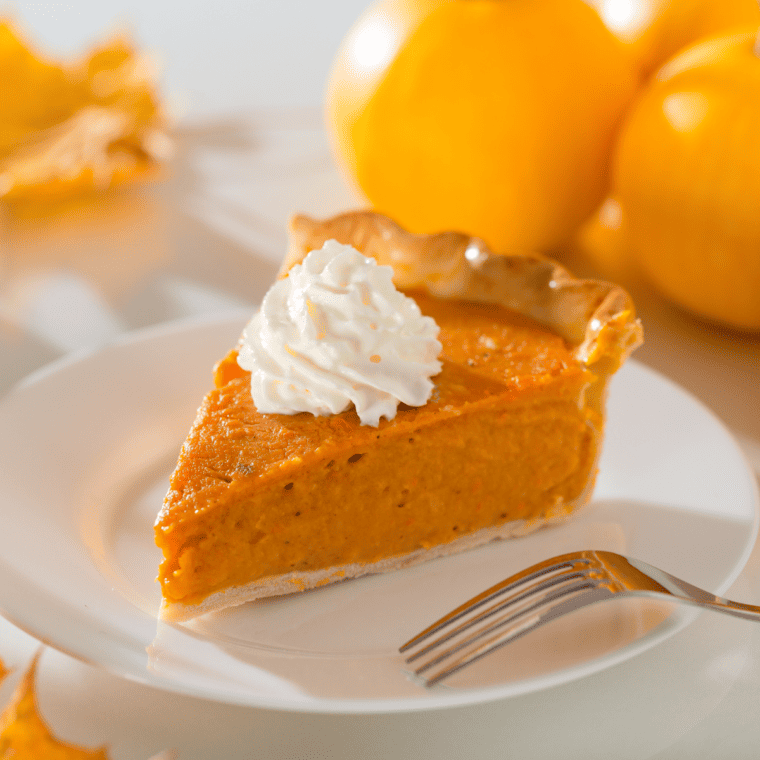
Blot any beads of moisture off the surface with a corner of a paper towel. Lift the pan out and let the pie cool on a wire rack at room temperature for 1 hour. Then refrigerate, uncovered, for 30 minutes, and finally cover and chill for at least 4 hours — overnight is better. This is not optional and it is not a suggestion. A pumpkin pie is a baked custard. It finishes setting in the refrigerator, not in the pot. Slice it warm and you’ll get pudding on a plate. To serve, run a thin knife around the edge before releasing the springform ring.
Pro Tips
- Room-temperature eggs. Cold eggs hitting a room-temperature purée will seize slightly and leave streaks.
- Weigh your crumbs if you can. Graham crackers crushed by hand vary wildly by volume. About 6 ounces of crumbs is what you’re after.
- Don’t fill above ¾ of the pan. The custard puffs slightly under pressure and settles as it cools.
- A foil sling beats a trivet with handles. Fold a 20-inch sheet of foil into a strip about three inches wide. It gives you control lowering the pan in and lifting it out.
- Make it a day ahead. This pie is better on day two. The spices bloom and the custard firms up.
Variations
- Gingersnap crust. Swap the graham crumbs one-for-one. This is my favorite version.
- Crustless. Grease the pan well, skip the crust entirely, and cook 30 minutes. You’ll get a spoonable pumpkin custard.
- Dairy-free. Full-fat canned coconut milk works in place of evaporated milk. The pie will carry a faint coconut note, which most people like.
- Maple. Replace half the brown sugar with ½ cup pure maple syrup and reduce the evaporated milk to ⅔ cup.
- Extra spice. Add ¼ teaspoon of freshly grated nutmeg on top of the pumpkin pie spice.
What to Serve With It
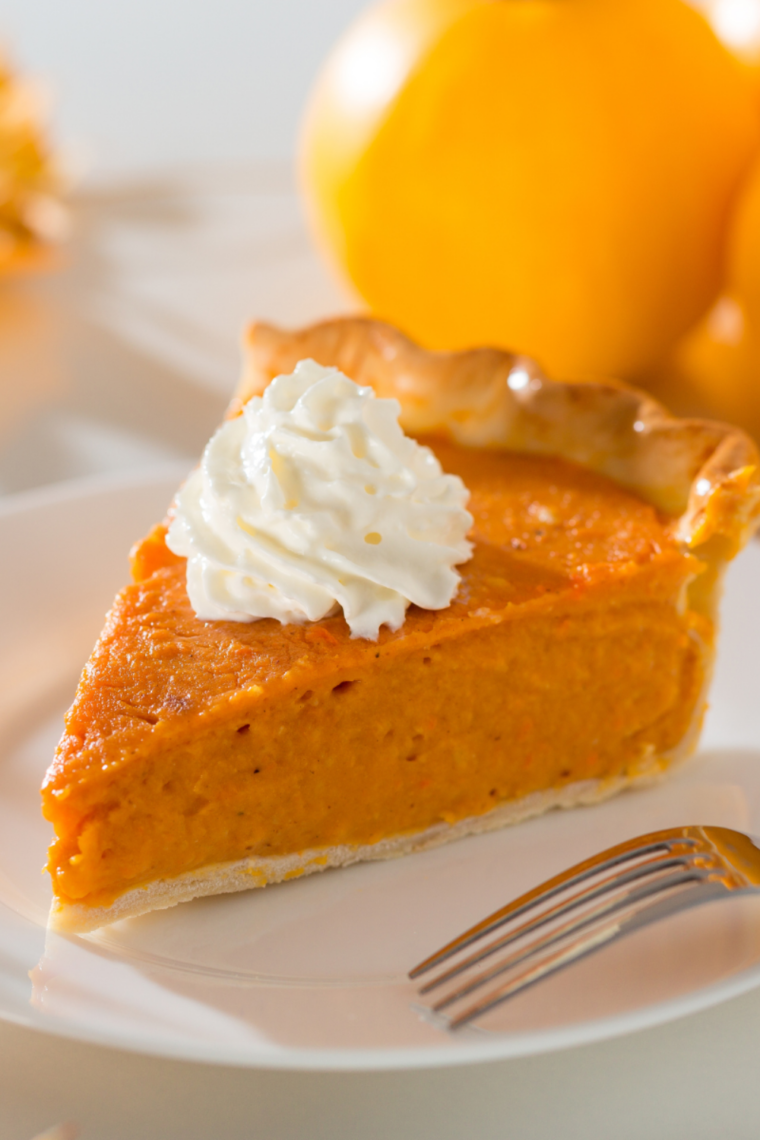
A cloud of barely sweetened whipped cream is the classic move, and honestly hard to beat. Caramel sauce and toasted pecans dress it up for company. A scoop of Ninja Creami Pumpkin Ice Cream alongside a slice is aggressive, and I stand by it.
If there’s a lonely slice left on day three, blend it into a Ninja Creami Jack in the Box Pumpkin Pie Shake. It is the best possible fate for leftover pie.
Storing and Freezing
Refrigerator: Cover loosely and refrigerate up to 4 days. Because this is an egg custard, it does not keep at room temperature. Get it back in the fridge within two hours of serving.
Freezer: Chill the pie completely first, then wrap in plastic wrap and a layer of foil. Freeze up to 1 month. Thaw overnight in the refrigerator, never on the counter.
Make-ahead: Cook the pie up to two days before your holiday. Chill it uncovered until firm, then cover. Whip the cream the morning you serve.
Frequently Asked Questions
Can I use fresh pumpkin instead of canned?
Yes, but you have to strain it. Roast a sugar pumpkin, purée the flesh, then let it drain in a fine-mesh strainer or cheesecloth for at least an hour. Fresh pumpkin holds far more water than canned, and unstrained purée will keep your custard from setting.
Why is my crust soggy?
Almost always one of three things: you pressed the crust higher than the filling line, you didn’t wrap the outside of the springform in foil, or you skipped the foil lid and condensation pooled on top. Fix all three and the crust stays crisp.
My pie still jiggles in the middle. Did I undercook it?
Probably not. A slight, unified jiggle in the center is exactly what you want — the residual heat and the four-hour chill finish the job. If the center is liquid rather than jiggly, add 5 minutes under pressure right away, before it cools.
Can I double the recipe?
Not in one pan. A deeper custard cooks unevenly under pressure — the outside overcooks and weeps before the center sets. Cook two 7-inch pies back to back instead.
Can I make this in a Ninja Foodi or another pressure cooker?
Yes. Any electric pressure cooker with a high-pressure setting and a trivet will work. Times are identical. If your model runs hot, start checking at 32 minutes.
Is pumpkin pie spice the same as pumpkin spice?
They’re used interchangeably on labels. Blends vary — most include cinnamon, ginger, nutmeg, and cloves or allspice. If you’d rather control the ratio, mix your own homemade pumpkin pie spice.
Can I use a graham cracker crust that’s already in a foil pan?
No. Those are 9-inch and won’t fit, and the thin foil shell buckles under the trivet. Press your own crust into a 7-inch springform.
More Instant Pot Desserts
If this convinced you that the Instant Pot is a dessert machine, keep going:
- Instant Pot Cheesecake — the recipe that taught me the 7-inch pan technique
- Instant Pot Box Cake — any flavor of boxed mix, unbelievably moist
- Instant Pot Lemon Curd — bright, silky, and nearly hands-off
- Instant Pot Holiday Cheesecake — a swirled showstopper for Christmas
- Copycat Cheesecake Factory Pumpkin Cheesecake — if you want pumpkin and cheesecake
- Air Fryer Pumpkin Pie Squares — pumpkin pie flavor, no pie crust required
- Air Fryer Pumpkin Pie Pop Tarts — perfect use for that leftover pastry crust
Instant Pot Pumpkin Pie
Description
Ingredients
For the Graham Cracker Crust
- 1½ cups graham cracker crumbs, about 10 full sheets, or 6 oz
- 5 tablespoons unsalted butter, melted
- 2 tablespoons granulated sugar
- ¼ teaspoon ground cinnamon
For the Pumpkin Filling
- 15 ounces pumpkin purée , (100% pure pumpkin, not pumpkin pie filling)
- ⅔ cup light brown sugar, packed
- 1 tablespoon cornstarch
- 2 teaspoons pumpkin pie spice
- ½ teaspoon ground cinnamon
- ¼ teaspoon kosher salt
- 2 large eggs, room temperature
- ¾ cup evaporated milk
- 1 teaspoon pure vanilla extract
For the Instant Pot
- 1½ cups water
For Serving (optional)
- Whipped cream
- Caramel sauce
- Toasted chopped pecans
- Ground cinnamon, for dusting
Instructions
Make the crust
- Spray a 7-inch springform pan with nonstick cooking spray. Wrap the outside bottom of the pan tightly in a sheet of aluminum foil to seal the seam.
- In a bowl, stir together the graham cracker crumbs, granulated sugar, cinnamon, and melted butter until the mixture holds together when squeezed. Press firmly into the bottom of the pan and about 1 inch up the sides — no higher, or the exposed crust will absorb steam and turn soggy.
- Place the pan in the freezer for 10 minutes while you make the filling.
Make the filling
- In a large bowl, whisk together the brown sugar, cornstarch, pumpkin pie spice, cinnamon, and salt. Whisking the cornstarch into the dry ingredients first prevents lumps.
- Add the pumpkin purée and whisk until completely smooth.
- Whisk in the eggs one at a time, fully incorporating each before adding the next. Stir in the evaporated milk and vanilla. Mix just until combined — do not beat air into the custard.
Assemble and cook
- Pour the filling into the chilled crust. Tap the pan firmly on the counter 3–4 times to release air bubbles, popping any that surface with a toothpick.
- Lay a sheet of foil loosely over the top of the pan and crimp it around the rim. This prevents condensation from dripping onto the pie.
- Pour 1½ cups of water into the inner pot and set the trivet inside. Using a foil sling, lower the pan onto the trivet.
- Lock the lid and set the valve to Sealing. Select Manual or Pressure Cook and set to High Pressure for 35 minutes. The pot will take roughly 10 minutes to come to pressure before the countdown begins.
Release and check
- When the timer ends, allow a natural pressure release for 10 minutes, then turn the valve to Venting to release remaining pressure.
- Open the lid, tilting it away from you. Remove the top sheet of foil. The edges should be set and the center should jiggle as a single unit, like set gelatin. An instant-read thermometer in the center should register 175°F (79°C).
- If the center is still liquid, immediately re-cover, lock the lid, and cook 5 additional minutes at High Pressure. Do this while the pie is hot — re-pressurizing a cooled custard will curdle it.
Cool and chill
- Blot any surface moisture with a paper towel. Lift the pan out with the sling and cool on a wire rack at room temperature for 1 hour.
- Refrigerate uncovered for 30 minutes, then cover and chill for at least 4 hours, preferably overnight. The custard finishes setting in the refrigerator.
- Run a thin knife around the edge, release the springform ring, slice, and serve with whipped cream.
Equipment
- 6-quart Instant Pot (or any electric pressure cooker)
- 7-inch springform pan, 3 inches deep
- Trivet or steamer rack
- Aluminum foil (for the sling, the pan wrap, and the lid)
- Large Mixing Bowl
- Whisk
- Wire cooling rack
- Instant-read thermometer (optional but useful)
Notes
Nutrition
Share this recipe
We can’t wait to see what you’ve made! Mention @forktospoon or tag #forktospoon!