Air Fryer Slice and Bake Cookies — The new way to bake cookies is with an air fryer. What’s better than a warm, just-out-of-oven cookie?
It is a friendly, just-out-of-oven cookie that you can have in less than half the time it would take in a traditional oven!

Air Fryer Slice and Bake Cookies are amazing. You can make these with almost any shape inside; today, I made a simple heart.
If you have not made cookies in the air fryer, they are unique and taste as you got them at the local bakery shop. They are soft on the inside, with a slight crisp on the outside. They taste amazing, and you add some sprinkles. What a fun and tasty dessert. What can be better?
If you ever want to make cookies with your kids, this is a great baking project, and you can have a lot of fun with this recipe. You can make these for any holiday. Just switch out the center for Easter, Thanksgiving, or Christmas, even back-to-school. But nothing is better cooking with kids than a heart.
I love baking with my kids. Some of my kids’ favorite Air Fryer Cookie Recipes are Air Fryer Linzer Cookies, or even Air Fryer Chocolate Chip Cookies! All amazing.
What Are Slice and Bake Cookie Designs
Slice-and-bake cookie designs, also known as refrigerator cookies or icebox cookies, are a type of cookie preparation method that allows you to create intricate and decorative patterns or designs within the cookies. Here’s how they work:
- Cookie Dough: You start with a basic cookie dough, often a sugar or butter-based dough, which serves as the canvas for your designs. This dough is typically divided into multiple portions, each of which can be colored or flavored differently.
- Design Layers: The key to slicing and baking cookie designs is creating different layers of colored or flavored dough. For example, you might have one layer of plain vanilla dough, another layer of chocolate dough, and a third layer with added food coloring to create a vibrant hue.
- Assembling the Dough: To create your design, you layer these portions of dough on top of each other, forming a log or cylinder. The order and arrangement of the dough layers are what will produce the final design when sliced.
- Chilling: Once the dough layers are assembled, the log is typically chilled in the refrigerator or freezer until it becomes firm. This not only makes it easier to handle but also helps maintain the integrity of the design.
- Slicing and Baking: After sufficiently chilling the dough log, you slice it into individual cookies. Each cookie will reveal the intricate design created by the layers of dough. These cookies are then baked according to the recipe’s instructions.
- Enjoying the Results: When baked, the cookies showcase a beautiful and often colorful design within each slice. They’re not only delicious but also visually appealing.
Slice-and-bake cookie designs offer endless possibilities for creativity. You can experiment with different flavors, colors, and patterns to create cookies that are tasty and a feast for the eyes. They are perfect for special occasions, holidays, or whenever you want to impress with your baking skills.
Ingredients Needed For Slice and Bake Cookie Design Cookies
Creating stunning slice-and-bake cookie design cookies is a delightful way to combine artistry with baking. These cookies hold surprises within every slice, making them visually appealing and delicious. Let’s explore the essential ingredients to embark on your cookie design adventure.
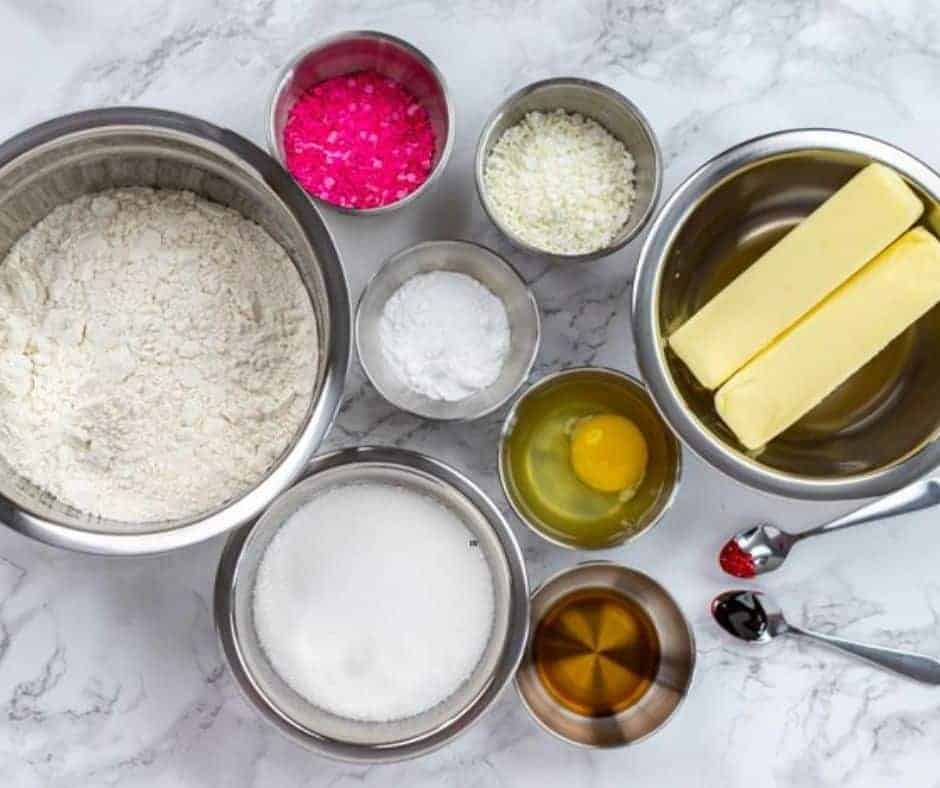
Remember the step-by-step directions and detailed ingredient list are below in the printable recipe card at the bottom of the post, as well as the nutritional information.
- Unsalted Butter: The backbone of your cookie dough, unsalted butter provides richness and flavor. Make sure it’s softened to room temperature for easy mixing.
- Granulated Sugar: Sugar sweetens the dough and adds a slight crispness to the edges of the cookies.
- Egg: Eggs bind the dough together and add moisture for a tender crumb.
- All-Purpose Flour: The main dry ingredient, all-purpose flour, gives the cookies structure and stability.
- Vanilla Extract: Vanilla extract infuses the cookies with a delightful aroma and enhances the overall flavor.
- Food Coloring (Optional): To create vibrant and colorful designs, you can use gel-based food coloring to tint different portions of the dough.
How To Make Slice and Bake Cookie Design Cookies In Air Fryer
Creating intricate slice-and-bake cookie design cookies in an air fryer takes the art of baking to a whole new level. In this guide, we’ll show you how to achieve stunning patterns and delicious results with the convenience of your air fryer. Get ready to embark on a baking adventure that’s both creative and mouthwateringly delightful.
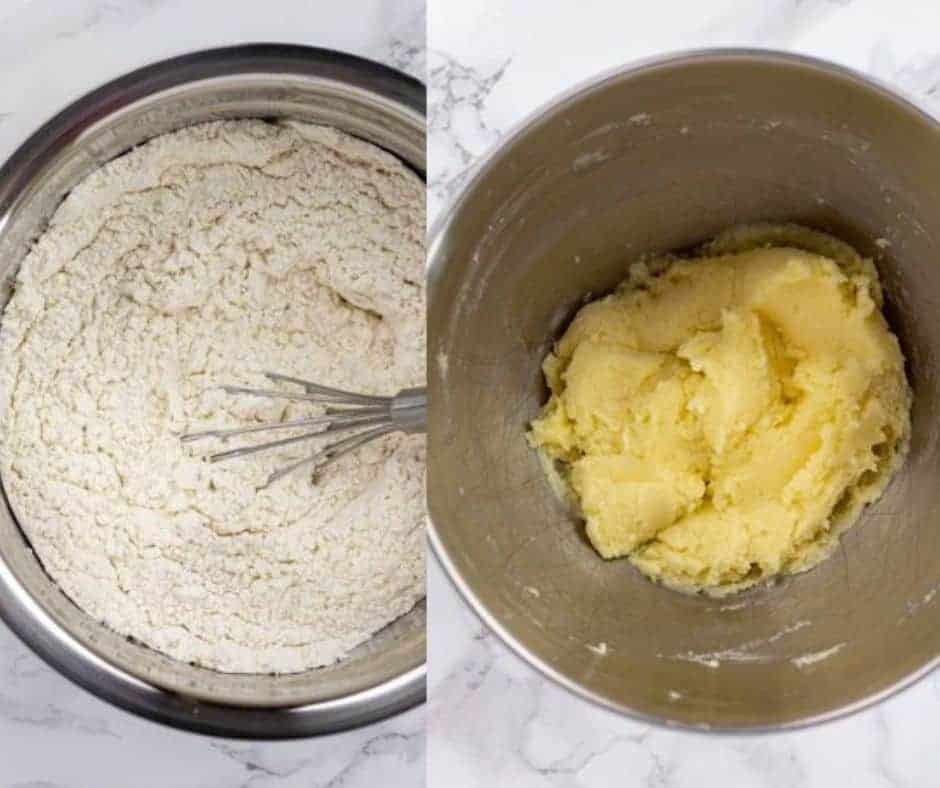
Step One: Prepare The Cookie Dough
In a small bowl, mix the flour and baking powder. Then, in another bowl, cream the butter and sugar, and mix for about 2 minutes, until fluffy; slowly add in the egg and vanilla extract and mix until smooth.
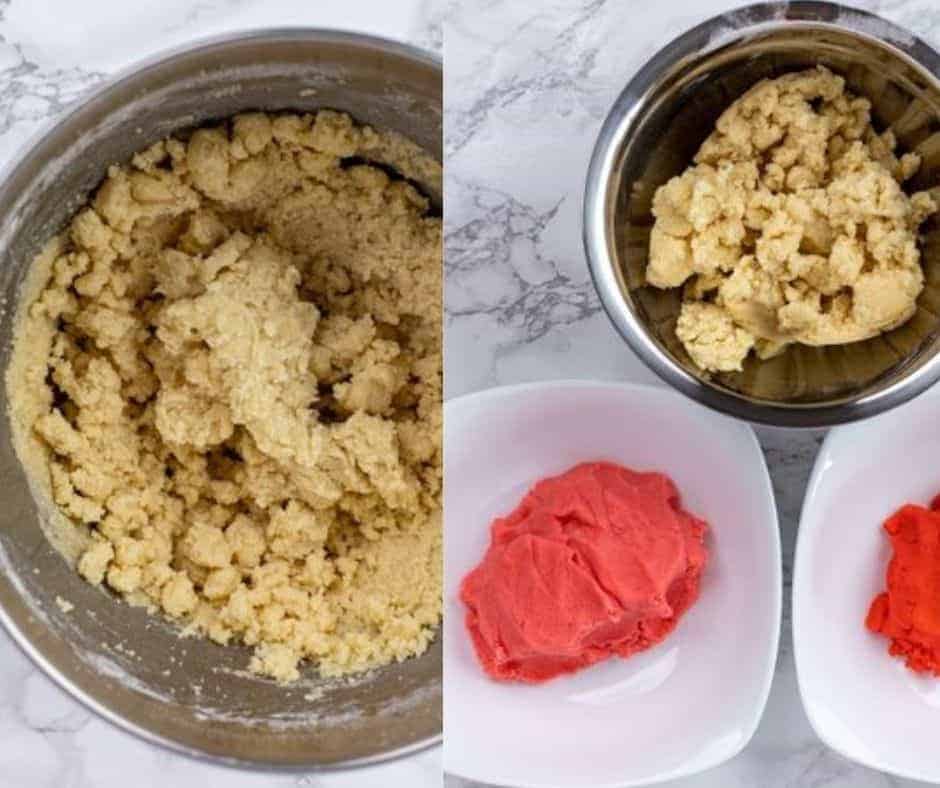
Step Two: Dye The Cookie Dough
Pour the flour mixture into the butter mixture and stir until well combined. Separate the dough into three portions, add the dough to a bowl, add red in one and pink into another.
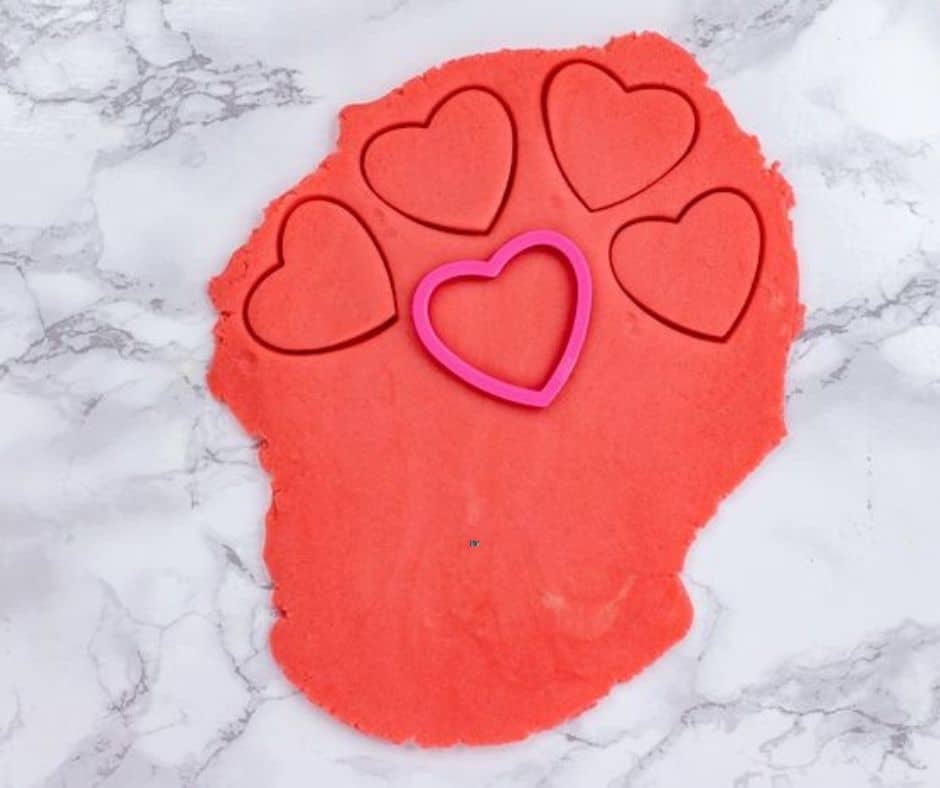
Step Three: Add Your Cookie Designs
Roll out the red and pink dough to about 1/2 inch thick. Use a heart cookie cutter to cut out the hearts from the pink and red dough.
Step Four: Chill the Dough
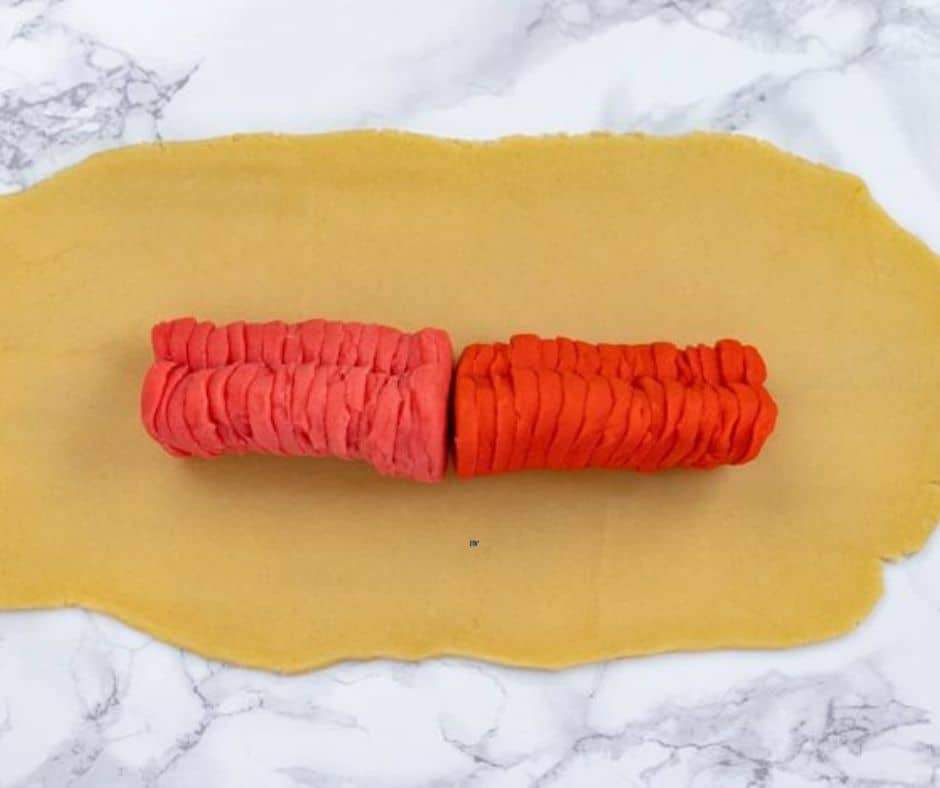
After cutting all your hearts out of the red and pink dough, stack them onto a piece of saran wrap and place them into the refrigerator for about 30 minutes.
Then, roll out the uncolored dough into a large log to wrap the hearts in the uncolored dough. Wrap the dough log around the hearts, pressing firmly.
Step Five: Decorate The Cookie Dough
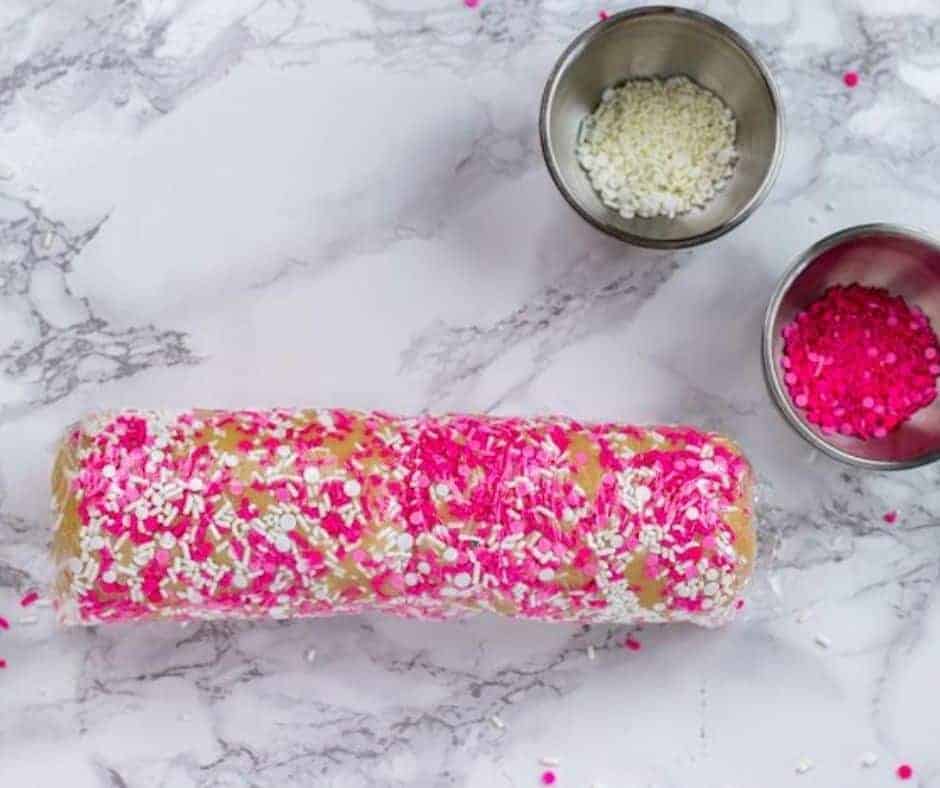
Place some sprinkles into a small dish and cover the outside dough with sprinkles. Place the dough into the refrigerator for 2 to 3 hours to firm up.

Step Six: Air Fry The Cookies
Then, after the dough is chilled, slice the cookie dough into about 1/2-inch pieces. Set onto parchment paper, and then in the air fryer basket, set the temperature to 320 degrees F, air fryer setting for 5-6 minutes. They will harden as they cool down.
Note: Keep the dough in the refrigerator between batches so the dough stays cold.

Pro Tips For Making Air Fryer Slice and Bake Cookie Designs
Achieving perfect slice and bake cookie designs in your air fryer can be made even more effortless with these pro tips:
- Chill the Dough Well: After assembling your dough layers into a log, chill it thoroughly. This step makes the dough easier to handle and helps maintain the integrity of your design when slicing.
- Use Parchment Paper: Place them on paper when rolling your dough layers and assembling the log. This will make it easier to roll and shape the dough without sticking.
- Slice with a Sharp Knife: Use a sharp knife to slice the dough log. A clean, precise cut ensures that your designs will come out beautifully.
- Even Slicing Thickness: Aim for consistent thickness when slicing your cookies. This ensures even baking, and your designs will look more uniform.
- Preheat Your Air Fryer: Like other air fryer recipes, it’s important to preheat your air fryer before adding the cookie slices. This helps with even cooking.
- Space the Cookies: Leave some space between cookie slices in the air fryer basket to allow for proper air circulation. You may need to bake them in batches.
- Keep an Eye on Timing: Air fryer temperatures and cooking times can vary slightly between models. Watch the cookies closely as they cook to ensure they don’t over-brown.
- Cool Completely: Allow the cookies to cool completely on a wire rack after air frying. This ensures that they set properly and maintain their design.
- Experiment with Designs: Don’t be afraid to get creative with your designs. Try different color combinations and patterns to make your cookies truly unique.
By following these pro tips, you’ll master the art of making slice and bake cookie designs in your air fryer. With practice, you’ll be able to create stunning and delicious cookies that will impress your family and friends.

Can I use my favorite cookie recipe for slice and bake cookie designs?
Yes, you can adapt your favorite cookie recipe for slice and bake designs. Simply divide the dough into portions, color or flavor them as desired, and layer them to create your designs.
How long should I chill the dough before slicing and baking?
The chilling time can vary depending on your dough and the temperature of your refrigerator or freezer. It typically ranges from 1 to 4 hours, or until the dough is firm enough to slice.
Can I freeze the dough log for later use?
Yes, you can freeze the dough log for future baking. Wrap it tightly in plastic wrap and store it in an airtight container in the freezer. When ready to bake, let it thaw slightly before slicing and baking.
Can I use the air fryer to bake other types of cookies?
Yes, you can use the air fryer to bake various types of cookies. Adjust the temperature and cooking time according to the specific cookie recipe.
How do I prevent the cookies from sticking to the air fryer basket?
To prevent sticking, you can line the air fryer basket with parchment paper or use a silicone baking mat. Make sure to leave enough space between the cookies for proper airflow.
What should I do if the cookies are browning too quickly in the air fryer?
If the cookies are browning too quickly, you can lower the temperature slightly and reduce the cooking time. Keep an eye on them to prevent over-browning.
Can I store slice and bake cookies in an airtight container?
Yes, you can store slice and bake cookies in an airtight container at room temperature for several days. They can also be frozen for longer-term storage.
More Air Fryer Recipes
- AIR FRYER S’MORES PIE FOR ONE
- AIR FRYER LINZER COOKIES
- INSTANT POT MINI BLUEBERRY MUFFINS
- AIR FRYER RED VELVET DONUTS
- AIR FRYER CINNAMON RAISIN BREAD
- INSTANT POT CARROT CAKE WITH CREAM CHEESE FROSTING
Equipment Used:
Don’t Forget To Pin!

Air Fryer Slice and Bake Cookie Designs Cookies
Description
Ingredients
- 3 cups all-purpose flour
- 2 teaspoon baking powder
- 1 cup granulated sugar
- 2 sticks butter, room temperature and unsalted
- 1 large egg
- 1 teaspoon pure vanilla extract
- Food Coloring: Pink and Red
- 1/2 cup Sprinkles
Instructions
- In a small bowl, mix the flour and baking powder. Then in another bowl, cream the butter and sugar, and mix for about 2 minutes, until fluffy, then slowly add in the egg, and vanilla extract, and mix until smooth.
- Pour the flour mixture into the butter mixture, and stir until well combined. Separate the dough into three portions, add the dough to a bowl, add red in one and pink into another.
- Roll out the red and pink dough to about 1/2 inch thick. Use a heart cookie cutter to cut out the hearts from the pink and red dough.
- After you have finished cutting all of your hearts out of the red and pink dough, stack them onto a piece of saran wrap, and place them into the refrigerator for about 30 minutes.
- Then roll out the uncolored dough into a large log to wrap the hearts in the uncolored dough. Wrap the dough log around the hearts, pressing firmly.
- Place some sprinkles into a small dish, and cover the outside dough with sprinkles. Place the dough into the refrigerator, for about 2 to 3 hours, to firm up.
- Then after the dough is chilled, slice the cookie dough into about 1/2 inch pieces. Set onto parchment paper, and then in the air fryer basket, set the temperature to 320 degrees F, air fryer setting for 5-6 minutes. They will harden as they cool down.
- Plate, serve, and enjoy!
Equipment
- Parchment Paper
Notes
Nutrition
Share this recipe
We can’t wait to see what you’ve made! Mention @forktospoon or tag #forktospoon!

