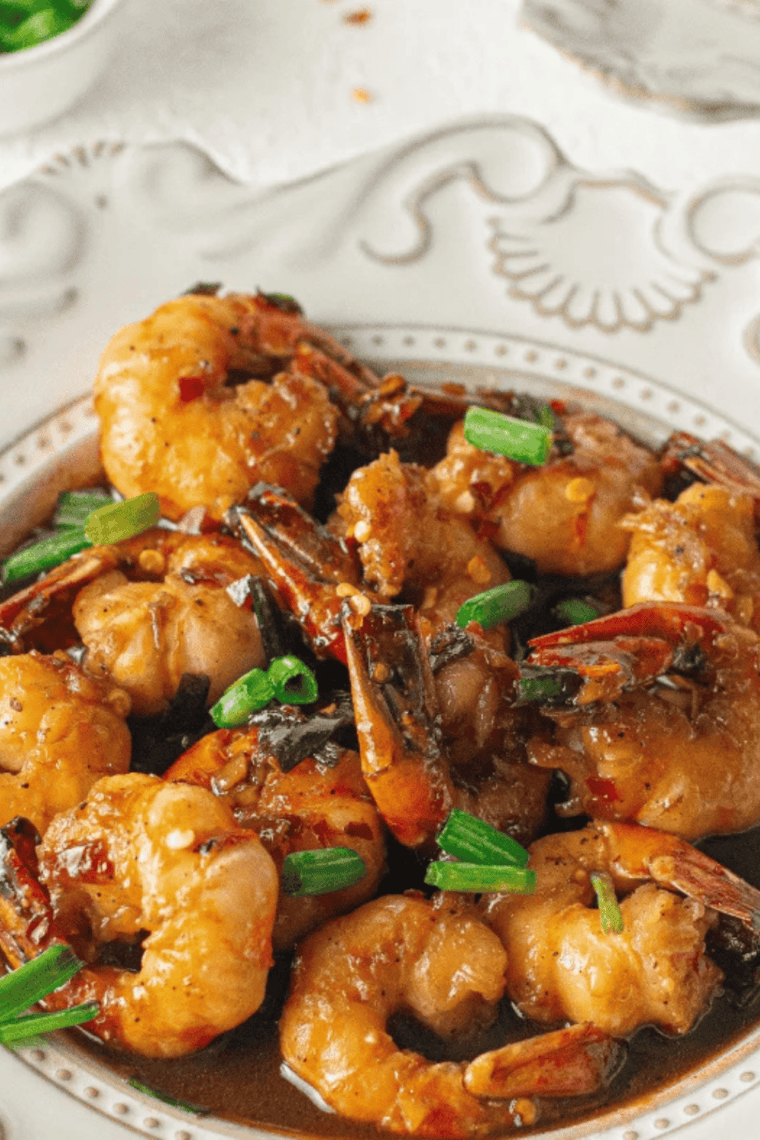
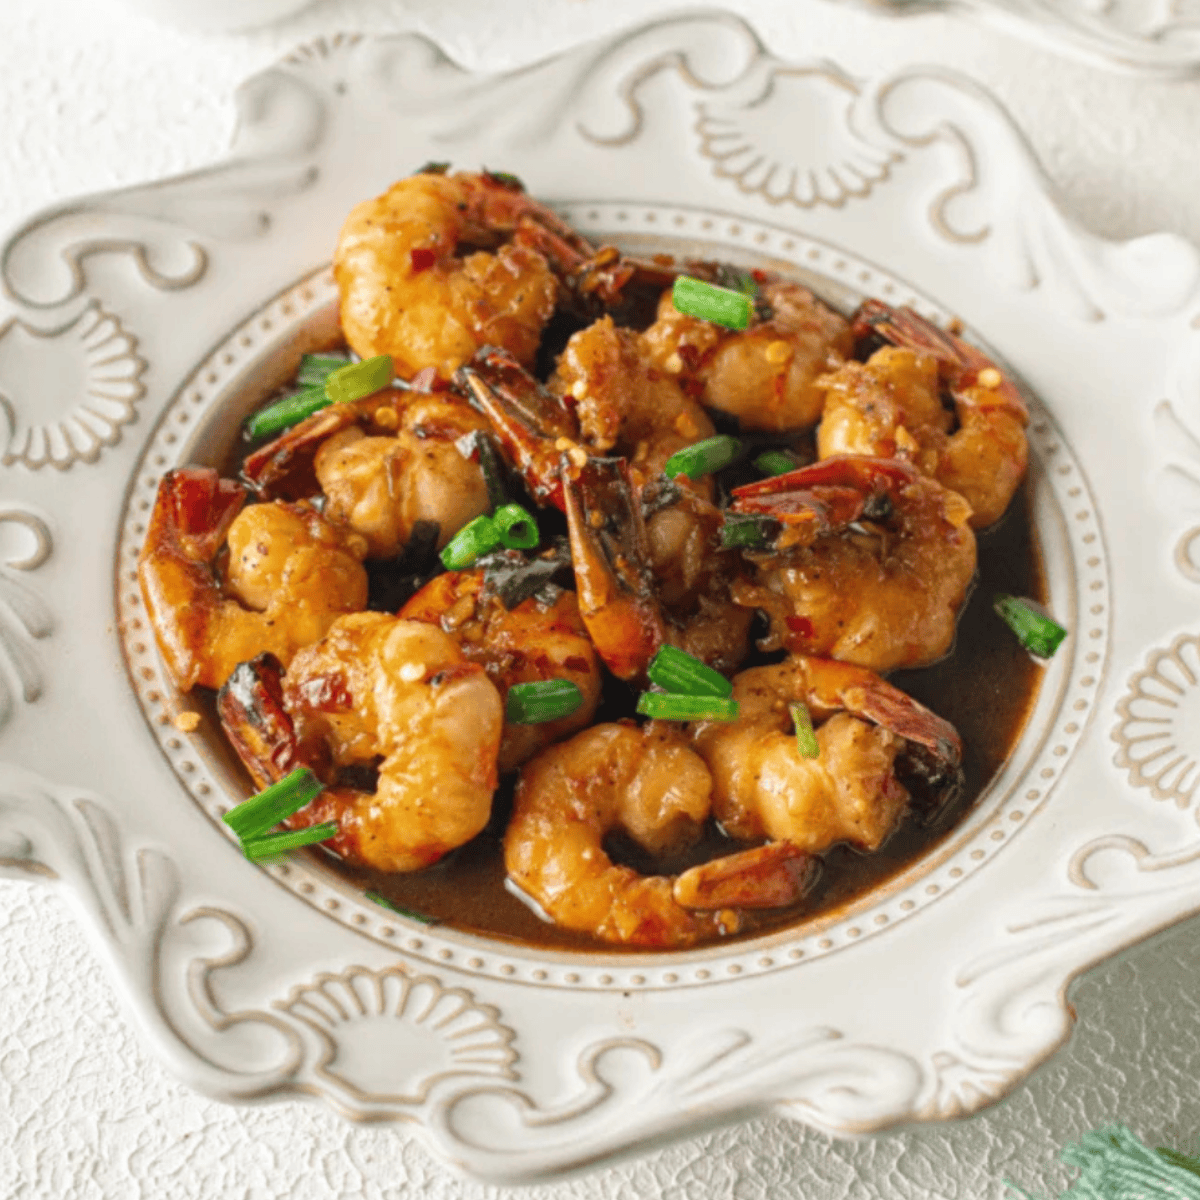
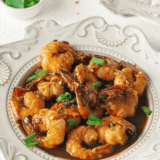
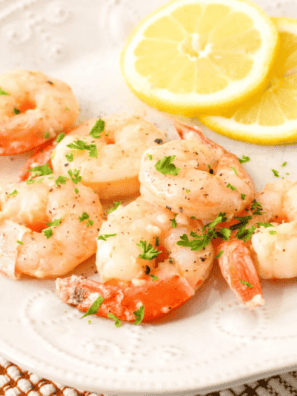
This air fryer honey garlic shrimp is one of those recipes I come back to on the busiest weeknights — juicy shrimp tossed in a sticky, sweet, garlicky sauce, cooked in under 10 minutes. It tastes like takeout, but it’s faster than delivery, naturally gluten-free adaptable, and made with pantry staples you probably have right now.

I’ve tested this recipe in three different air fryers (a basket-style, a Ninja Foodi, and an air fryer oven), and I’ll share the small adjustments for each below so your shrimp comes out perfectly no matter what model you own.
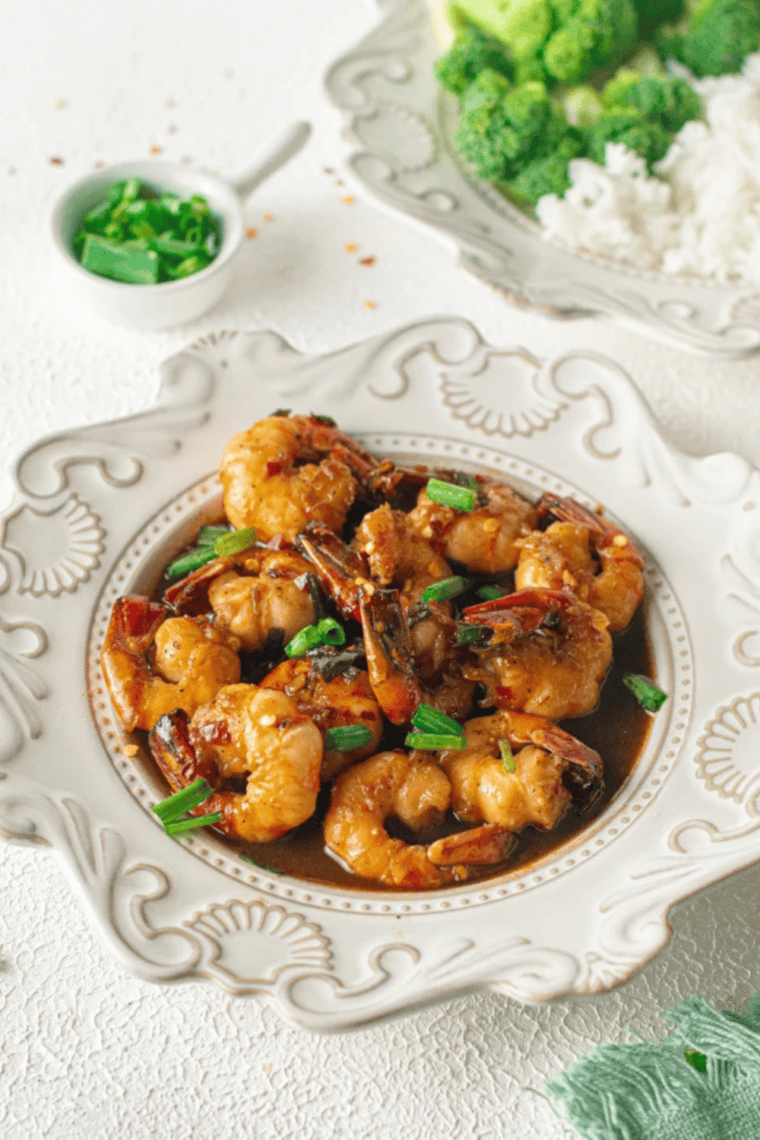
Serve it over steamed rice or my Instant Pot Chinese Fried Rice, and dinner is done.
Why You’ll Love This Recipe
- Fast. The shrimp cooks in 5–7 minutes. Even with a quick marinade, you’re eating in well under an hour — and you can skip the marinade entirely if you’re in a rush (see my tip below).
- One-bowl sauce. Butter, garlic, honey, soy sauce, and lime juice. Whisk and done.
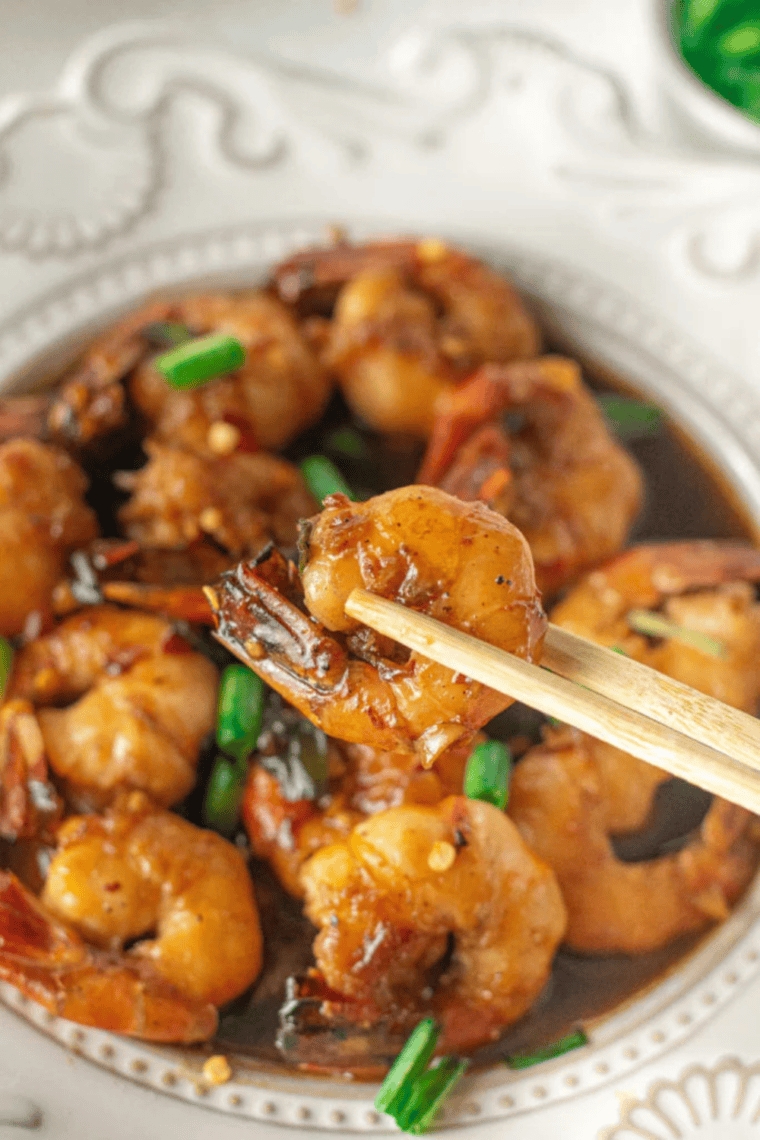
- Better than restaurant. The reserved sauce gets brushed on at the end, so every shrimp is glossy and coated — not dry.
- Flexible. Works with fresh or frozen shrimp, and it’s easy to make gluten-free with tamari.
Ingredients You’ll Need
(Full measurements in the recipe card below.)
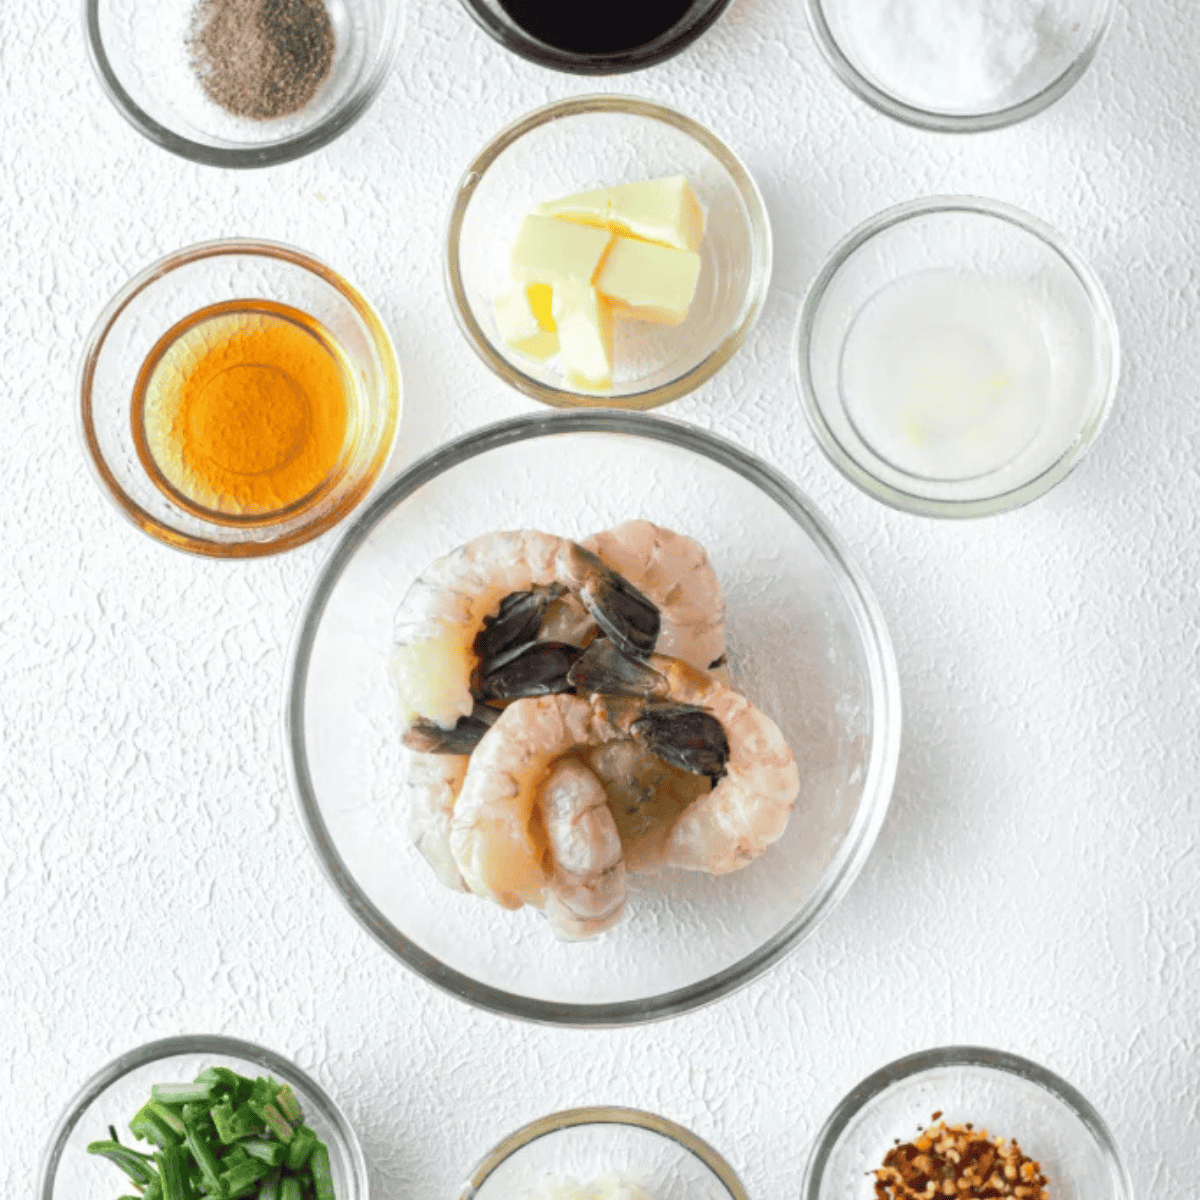
- Shrimp: Raw, peeled, and deveined. I use large (26–30 count) shrimp because they stay juicy and don’t overcook as fast as small shrimp. Tail-on or tail-off both work. If using frozen, thaw first (instructions below).
- Butter: Unsalted and melted. It rounds out the sauce and helps it cling to the shrimp.
- Honey: The sticky-sweet backbone of the sauce. Any runny honey works.
- Soy Sauce: I use low-sodium so the sauce doesn’t get too salty. Swap in tamari or coconut aminos for gluten-free.
- Garlic: Freshly minced makes a real difference here over jarred.
- Lime Juice: A splash of acid balances the honey. Lemon works in a pinch.
- Seasonings: Salt, black pepper, and red chili flakes (optional, for a little heat).
- Scallions: For garnish, plus sesame seeds if you like.
How to Make Honey Garlic Shrimp in the Air Fryer

Step 1, Make the Sauce: In a large bowl, whisk together the melted butter, garlic, honey, soy sauce, lime juice, salt, pepper, and chili flakes. Reserve half the sauce in a small bowl. This is what makes the finished shrimp extra glossy.
Step 2, Marinate: Fold the shrimp into the remaining sauce, cover, and refrigerate for 20 to 30 minutes. Short on time? Even 10 minutes adds flavor, or skip the marinade and simply toss the shrimp in the sauce right before cooking. It’s still delicious.
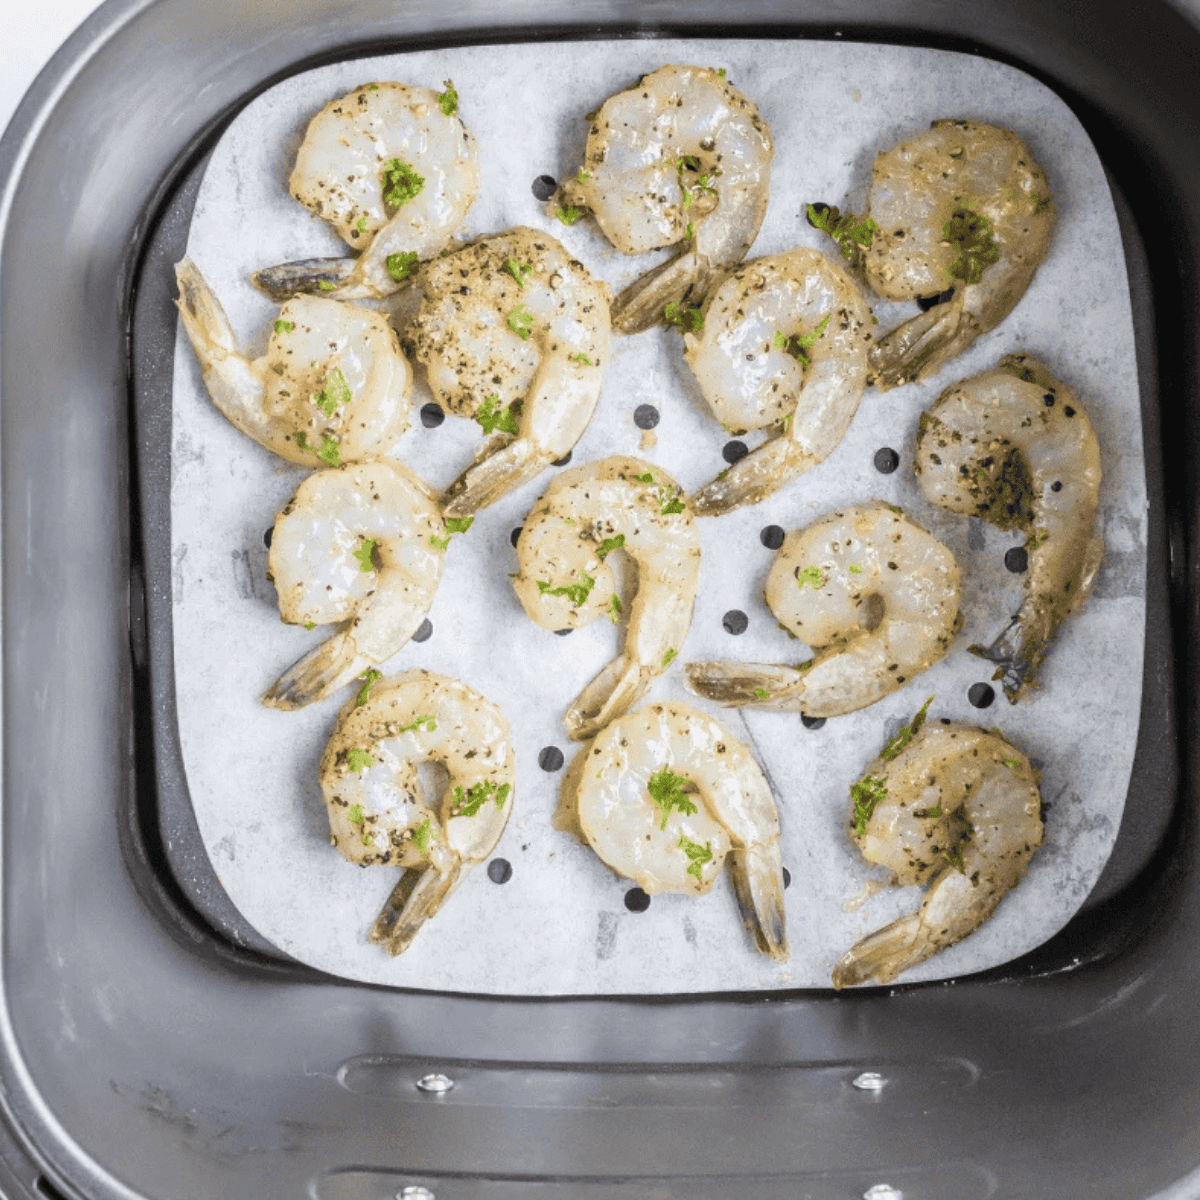
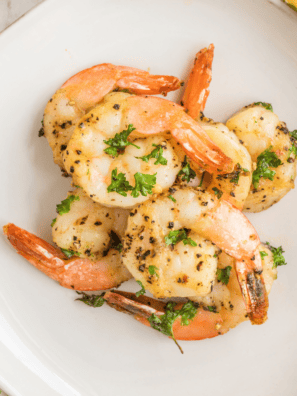
Step 3, Air Fry: Preheat the air fryer to 370 degrees F. Arrange the shrimp in a single layer in the basket. Don’t overcrowd; cook in batches if needed. Air fry for 5 to 7 minutes, until the shrimp are pink and just curled into a loose “C” shape.
Step 4, Glaze: Brush the cooked shrimp with the reserved sauce and air fry 1 more minute so the glaze gets sticky.
Step 5, Serve: Pour any remaining reserved sauce over the top, garnish with scallions, and serve hot.

How Long to Cook Shrimp in the Air Fryer
At 370°F, raw large shrimp take 5–7 minutes in the air fryer. Here’s how to tell they’re done:
- Color: Opaque pink with no gray, translucent spots.
- Shape: Curled into a loose “C.” A tight “O” means they’re overcooked.
- Temperature: 120°F internal on an instant-read thermometer.
| Shrimp size | Time at 370°F |
|---|---|
| Medium (41–50 count) | 4–5 minutes |
| Large (26–30 count) | 5–7 minutes |
| Jumbo (16–20 count) | 7–8 minutes |
Depending on your model, flip the shrimp halfway through for even cooking.
Can I Use Frozen Shrimp?
Yes — but thaw them first for this recipe, since the shrimp needs to absorb the marinade. The fastest way: place frozen shrimp in a colander and run cold water over them for 5–10 minutes, then pat completely dry before marinating. (Wet shrimp = watery sauce.)
Frozen cooked shrimp isn’t ideal here — it tends to turn rubbery when reheated in the air fryer. If it’s all you have, thaw it, skip the marinade, toss with the sauce, and air fry for just 2–3 minutes at 370°F to warm through.
Pro Tips From My Kitchen
- Pat the shrimp dry before marinating. This is the single biggest difference between a glossy glaze and a watery one.
- Don’t crowd the basket. Air fryers cook with circulating hot air — shrimp piled on top of each other steam instead of glaze. Cook in two batches if needed.
- Watch the last minute. Shrimp goes from perfect to rubbery fast. Pull them as soon as they’re pink and curled.
- Add fresh ginger. A teaspoon of grated ginger in the sauce takes it in a delicious direction.
- Control the heat. Skip the chili flakes for a kid-friendly version, or double them if you like it spicy.
- Air fryer oven? Put the shrimp on the lowest rack, closest to the heat, and check a minute early.
- Ninja Foodi? Use the Air Crisp function at the same temperature and time.
What to Serve With Honey Garlic Shrimp
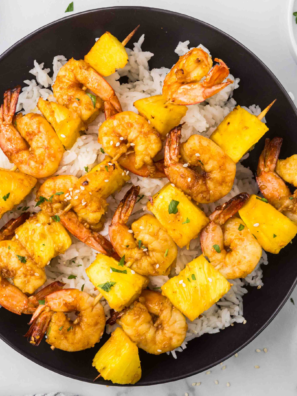
- Rice bowls: Steamed jasmine rice or air fryer cauliflower rice with air fryer garlic bok choy or air fryer roasted broccoli.
- Noodles: Toss with lo mein or rice noodles and a drizzle of the extra sauce.
- Wraps & tacos: Tuck into warm tortillas with shredded cabbage for quick shrimp tacos.
- Appetizer: Serve with toothpicks and the reserved sauce as a dip.
Storage and Reheating
- Refrigerate: Store leftovers in an airtight container for up to 3 days.
- Reheat: 1–2 minutes in the air fryer at 350°F, or 30–45 seconds in the microwave. Stop as soon as it’s warm — overheating dries shrimp out.
- Freezing: Not recommended; the texture suffers and the sauce separates.
Frequently Asked Questions
Can I use pre-cooked shrimp? You can, but raw shrimp gives much better results. Pre-cooked shrimp only needs 2–3 minutes to warm through and can turn rubbery — skip the marinade and just toss with sauce before a quick reheat.
Do I need to flip the shrimp? In most basket-style air fryers, yes — give them a flip or shake at the halfway mark. Some models with strong top-down airflow don’t need it.
Is this recipe gluten-free? It is if you swap the soy sauce for tamari or coconut aminos. Everything else is naturally gluten-free — there’s no breading or flour in this recipe.
Why is my sauce thin? Usually it’s water from the shrimp. Pat them very dry before marinating. You can also simmer the reserved sauce in a small pan for 1–2 minutes to thicken it before drizzling.
What temperature should shrimp be cooked to? 120°F internal. Visually, they’re done when opaque pink and curled into a loose “C.”
More Easy Air Fryer Shrimp Recipes
- Air Fryer Southern Style Shrimp
- Air Fryer Sweet and Sour Shrimp
- Copycat Outback Shrimp on the Barbie
- Air Fryer Shrimp Po’Boy
- Air Fryer Shrimp Tacos
If you love honey walnut shrimp, this honey garlic version gives you that same sweet, sticky takeout flavor without the breading or frying. And when the craving hits for the real thing, try my Air Fryer Trader Joe’s Honey Walnut Shrimp, Air Fryer Sweet and Sour Shrimp, or Copycat Outback Shrimp on the Barbie.
Air Fryer Honey Garlic Shrimp
Description
Ingredients
Honey Garlic Shrimp:
- 1 pound large raw shrimp, 26-30 count, peeled and deveined
- 4 tablespoons unsalted butter, melted
- 3 teaspoons minced garlic, about 3 cloves
- 1/2 cup honey
- 1/4 cup low-sodium soy sauce, or tamari for gluten-free
- 1 tablespoon lime juice
- 1 teaspoon salt
- 1/2 teaspoon black pepper
- 2 teaspoons red chili flakes, optional
Garnish:
- 2 scallions, sliced
- 1 teaspoon sesame seeds, optional
Instructions
- Make the Sauce: In a large bowl, whisk together the melted butter, garlic, honey, soy sauce, lime juice, salt, pepper, and red chili flakes. Pour half the sauce into a small bowl and set aside.
- Marinate: Pat the shrimp dry, then fold them into the remaining sauce. Cover and refrigerate for 20 to 30 minutes.
- Preheat: Preheat the air fryer to 370 degrees F for 3 to 5 minutes.
- Air Fry: Arrange the shrimp in a single layer in the air fryer basket, working in batches if needed. Air fry for 5 to 7 minutes, flipping halfway through, until the shrimp are pink, opaque, and curled into a loose “C” shape (120 degrees F internal temperature).
- Glaze: Brush the shrimp with the reserved sauce and air fry 1 more minute, until sticky and glossy.
- Serve: Drizzle with any remaining reserved sauce, garnish with scallions and sesame seeds, and serve hot over rice.
Equipment
- Large Mixing Bowl
- Basting brush
Notes
- Frozen Shrimp: Thaw under cold running water for 5 to 10 minutes and pat completely dry before marinating.
- No Time to Marinate? Toss the shrimp in the sauce and cook right away. It’s still delicious.
- Don’t Overcook: Pull the shrimp as soon as they curl into a loose “C.” A tight “O” means they’re overcooked.
- Gluten-Free: Use tamari or coconut aminos in place of the soy sauce.
- Air Fryer Oven: Place the shrimp on the lowest rack and check 1 minute early.
- Ninja Foodi: Use the Air Crisp function at the same time and temperature.
Nutrition
Share this recipe
We can’t wait to see what you’ve made! Mention @forktospoon or tag #forktospoon!

Donn
Can I use frozen cooked shrimp?