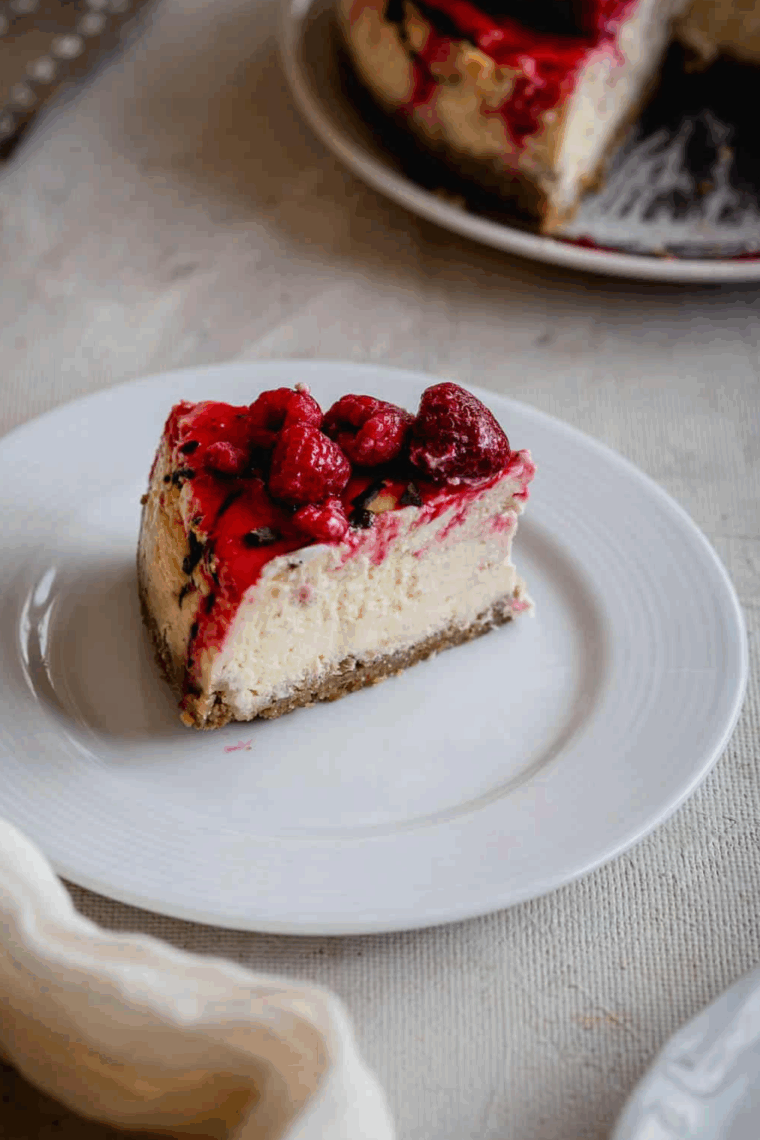
Indulge in the rich and refreshing flavors of this Cheesecake Factory Lemon Raspberry Cream Cheesecake Recipe. This creamy, tangy dessert combines zesty lemon with sweet raspberries for a perfect slice every time.
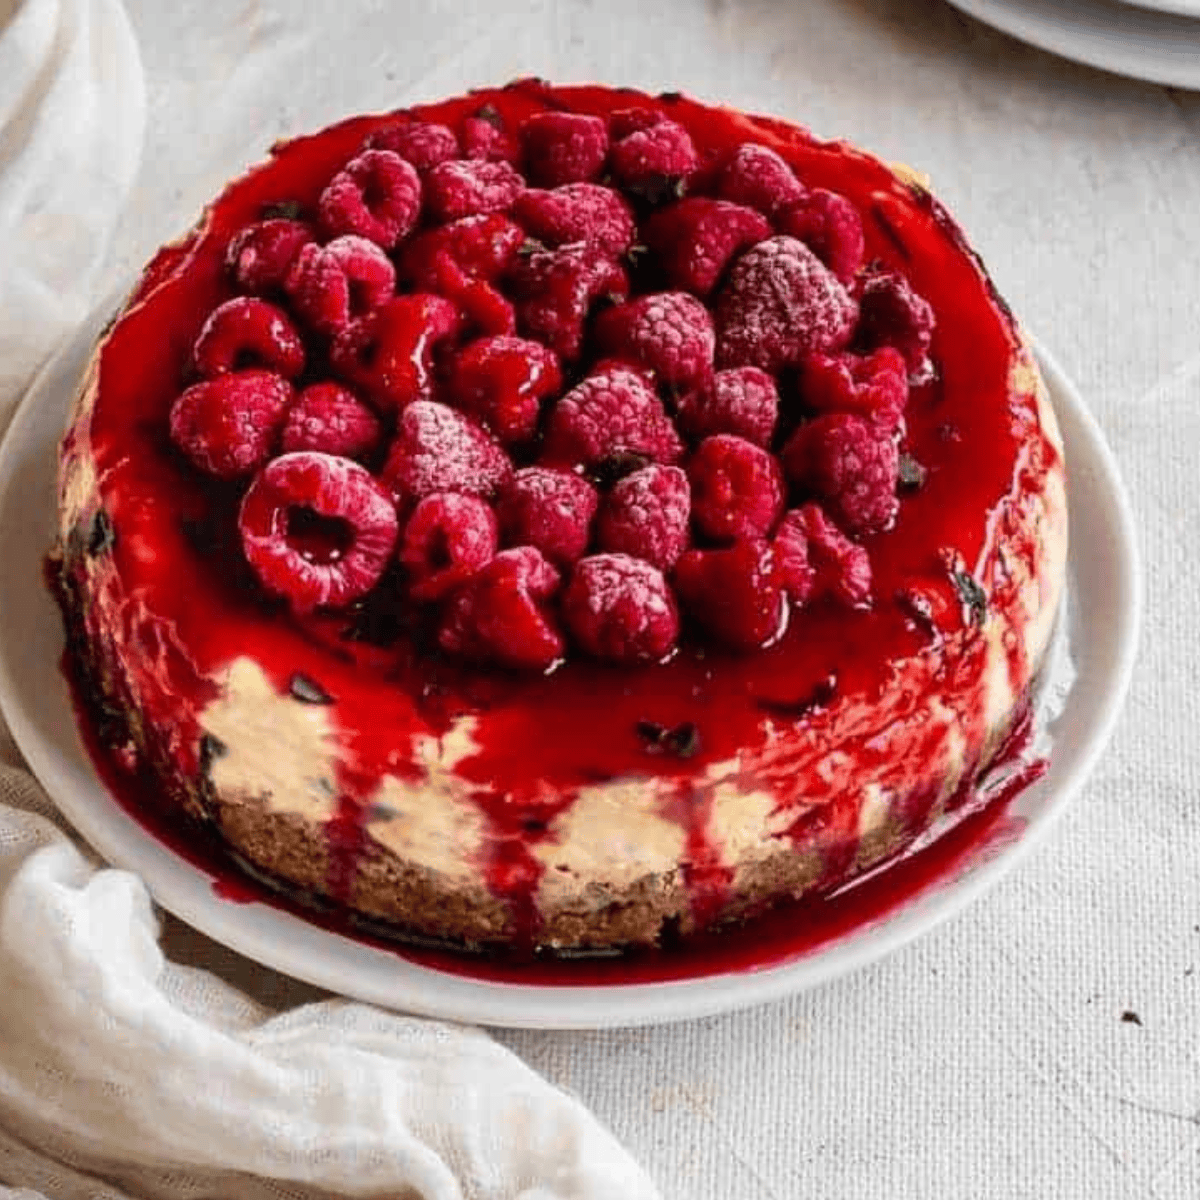
The Cheesecake Factory Lemon Raspberry Cream Cheesecake is a delightful blend of zesty lemon and luscious raspberry flavors swirled into a creamy, smooth cheesecake.
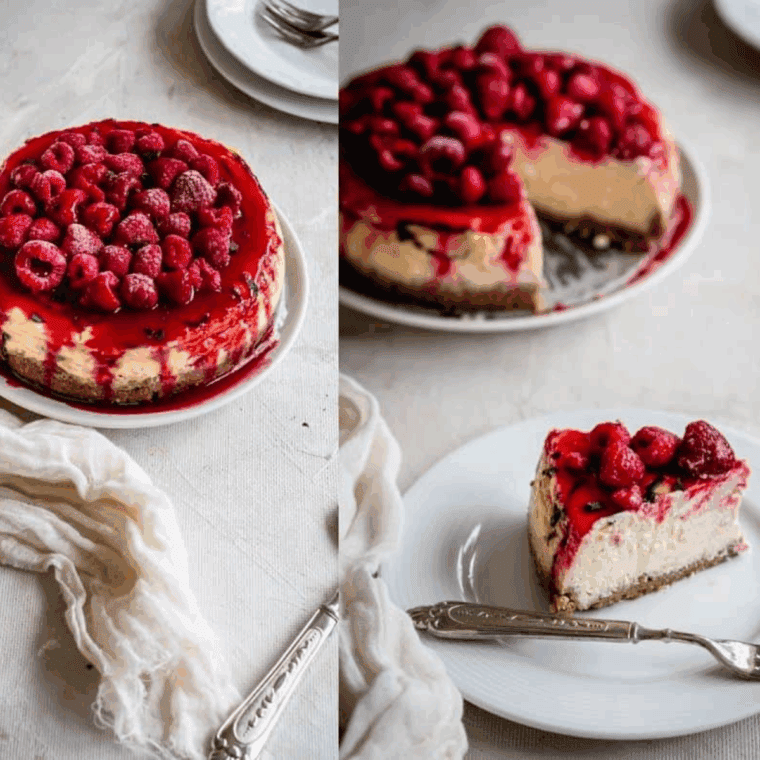
This copycat recipe captures the perfect balance of tart and sweet, making it an irresistible dessert for any occasion. Whether you’re serving it at a special gathering or simply craving a refreshing treat, this cheesecake delivers rich flavor and a beautiful presentation that’s sure to impress..
Why You Will Love This Recipe!
- Bursting with fresh lemon and sweet raspberry flavors for a perfect balance.
- Creamy, smooth texture that melts in your mouth every time.
- Easy to make at home with simple ingredients and straightforward steps.
- Beautifully swirled presentation that’s sure to impress guests.
- Ideal for any occasion—whether a special celebration or a delightful everyday treat.
Cheesecake Factory Lemon Raspberry Cream Cheesecake Ingredients
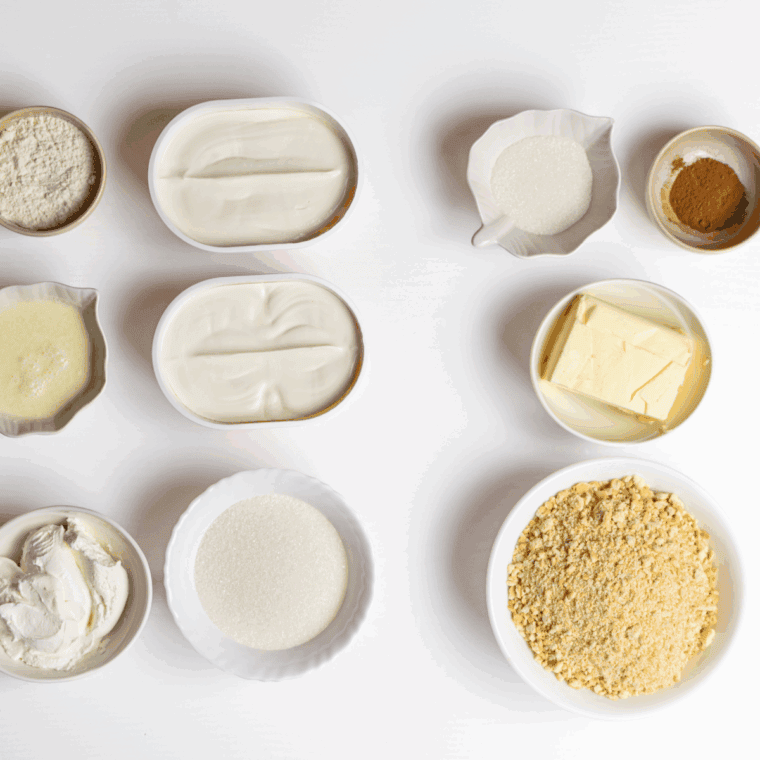
- Cream cheese, softened – Smooth, creamy base for rich cheesecake texture
- Granulated sugar – Sweetens the cheesecake for balanced flavor
- Large eggs – Helps bind and set the cheesecake filling
- Sour cream – Adds tanginess and creamy consistency to filling
- Fresh lemon juice – Provides bright, zesty citrus flavor
- Lemon zest – Enhances lemon flavor with fragrant citrus oils
- Vanilla extract – Adds warm, sweet aromatic depth
- All-purpose flour – Stabilizes and thickens the cheesecake mixture
- Raspberry preserves – Sweet and tart swirls for fruity bursts
- Graham cracker crumbs – Buttery, crunchy base for cheesecake crust
- Unsalted butter, melted – Binds crust ingredients and adds richness
How To Make Cheesecake Factory Lemon Raspberry Cream Cheesecake Recipe
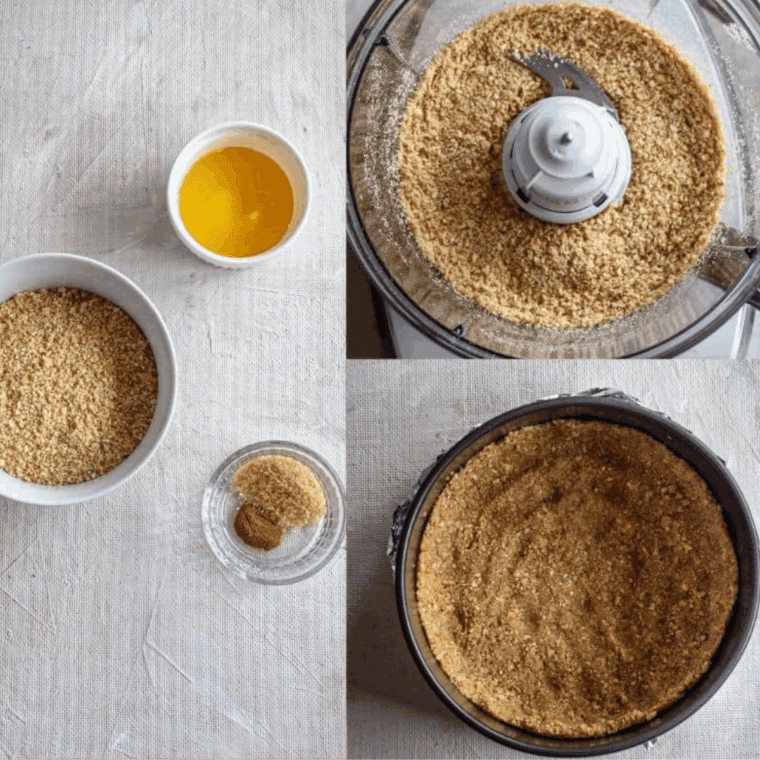
Step One: Mix graham cracker crumbs and melted butter, then press firmly into the bottom of a 7-inch springform pan. Set aside.
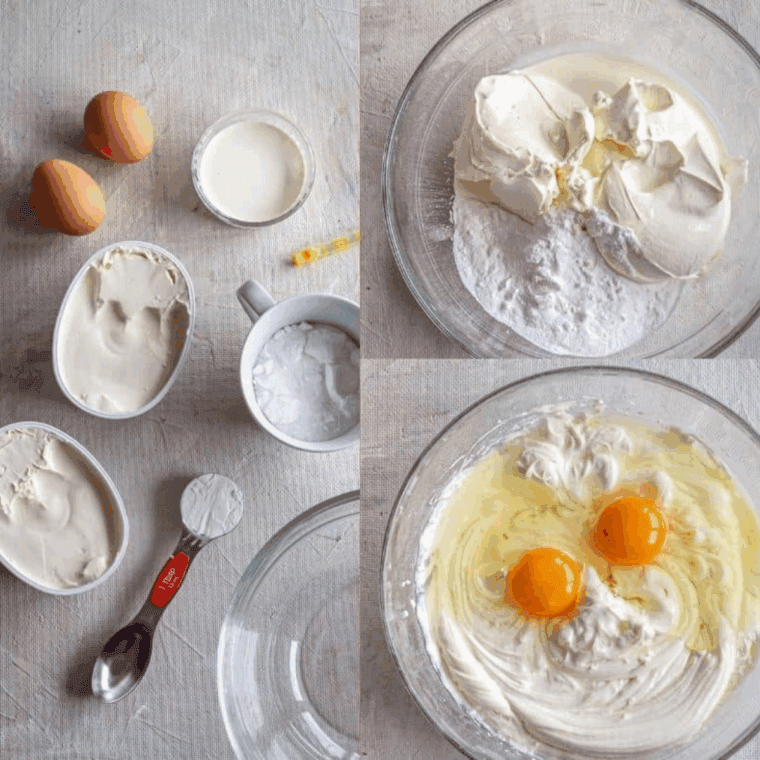
Step Two: In a large bowl, beat softened cream cheese and sugar until smooth. Add eggs one at a time, mixing well after each. Stir in sour cream, lemon juice, lemon zest, vanilla extract, and flour until fully combined.
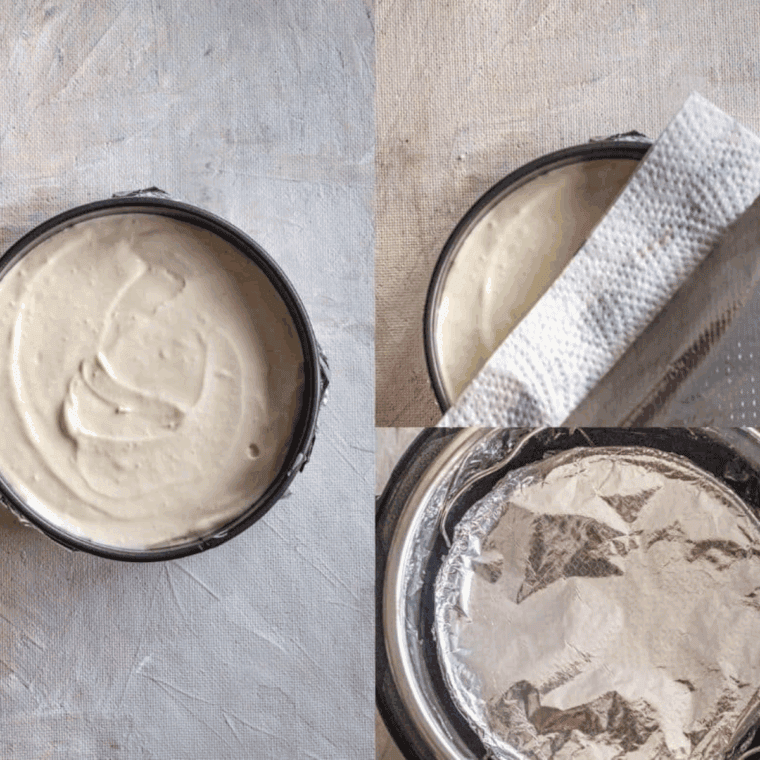
Step Three: Pour half the cheesecake batter over the crust. Drop spoonfuls of raspberry preserves over the batter, then swirl gently with a knife. Add the remaining batter on top, and repeat swirling with more preserves.
Step Four: Pour 1 cup of water into the Instant Pot. Place a trivet inside. Wrap the springform pan with aluminum foil to prevent water leakage. Set the pan on the trivet.
Step Five: Seal the lid and set the Instant Pot to Manual (High Pressure) for 35 minutes. Once finished, allow a natural pressure release for 15 minutes, then carefully release any remaining pressure.
Step Six: Remove the cheesecake carefully. Let it cool to room temperature, then refrigerate for at least 4 hours or overnight to set completely.
Cheesecake Factory Lemon Raspberry Cream Cheesecake Recipe Tips
- Use full-fat cream cheese for the creamiest texture and richest flavor.
- Make sure the cream cheese and eggs are at room temperature to avoid lumps.
- Don’t overmix the batter to keep it light and prevent cracks.
- Use fresh lemon juice and zest for the brightest, most authentic flavor.
- Swirl the raspberry preserves gently to create beautiful marbled patterns without mixing too much.
- Wrap the springform pan with foil tightly when baking in a water bath or Instant Pot to prevent leaks.
- Let the cheesecake cool gradually and chill thoroughly for at least 4 hours before slicing.
- Store leftovers covered in the fridge and consume within 3–4 days for best taste.
Storing & Freezing Instructions
- Storing Instructions: Store leftover cheesecake in an airtight container or tightly wrapped with plastic wrap in the refrigerator. Consume within 3–4 days for the best flavor and texture.
- Freezing Instructions: Wrap the cheesecake tightly in plastic wrap and then in aluminum foil to prevent freezer burn. Freeze for up to 2 months; thaw overnight in the refrigerator before serving.
Cheesecake Factory Lemon Raspberry Cream Cheesecake Recipe Faqs
Can I use frozen raspberries instead of raspberry preserves? Yes, but fresh or thawed raspberries work best to maintain the texture. You can mash them slightly and swirl them into the batter, but the cheesecake may be less smooth.
How do I prevent cracks on the cheesecake surface? Avoid overmixing the batter and bake it gently in a water bath or Instant Pot to provide even heat and moisture. Let the cheesecake cool gradually to reduce cracking.
Can I make this cheesecake dairy-free or vegan? This recipe relies on cream cheese and sour cream for texture and flavor, so substitutions would require a specialized dairy-free cheesecake recipe.
How long should I chill the cheesecake before serving? Chill the cheesecake for at least 4 hours, but overnight chilling is best to allow flavors to meld and the texture to firm up.
Can I prepare this cheesecake ahead of time? Absolutely! Cheesecakes often taste better after resting overnight. Just keep it tightly covered in the refrigerator.
More Cheesecake Factory Copycat Recipes
Cheesecake Factory Copycat Celebration Cheesecake
- Cheesecake Factory Spicy Cashew Chicken
- Air Fryer Flamin’ Hot Cheetos Chicken Wings
- Cheesecake Factory Copycat Cheeseburger Egg Rolls
- Copycat Cheesecake Factory Reese’s Peanut Butter Chocolate Cake Cheesecake
- Ninja Foodi Copycat Cheesecake Factory Chicken & Rice Soup
- Air Fryer Cheesecake Factory Fried Macaroni & Cheese
- Copycat Cheesecake Factory Marinara Sauce
Share Your Creations! Are you active on Facebook? Join our Air Fryer Recipes Group, where hundreds of thousands of Air Fryer enthusiasts gather and share your photos! I’m always thrilled to see what you’ve made. For those on Instagram, don’t forget to tag me @forktospoon – I can’t wait to admire your culinary adventures!
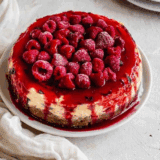
Cheesecake Factory Lemon Raspberry Cream Cheesecake Recipe
Description
Ingredients
- 24 ounces cream cheese, softened
- 1 cup granulated sugar,
- 3 large eggs
- 1 cup sour cream,
- 2 tablespoons lemon juice,
- 1 tablespoon lemon zest
- 1 teaspoon vanilla extract,
- 2 tablespoons all-purpose flour,
- 1/2 cup raspberry preserves
- 1 1/2 cups graham cracker crumbs,
- 6 tablespoons unsalted butter, melted
Instructions
- Mix graham cracker crumbs and melted butter, then press firmly into the bottom of a 7-inch springform pan. Set aside.
- In a large bowl, beat softened cream cheese and sugar until smooth. Add eggs one at a time, mixing well after each. Stir in sour cream, lemon juice, lemon zest, vanilla extract, and flour until fully combined.
- Pour half the cheesecake batter over the crust. Drop spoonfuls of raspberry preserves over the batter, then swirl gently with a knife. Add the remaining batter on top, and repeat swirling with more preserves.
- Pour 1 cup of water into the Instant Pot. Place a trivet inside.
- Wrap the springform pan with aluminum foil to prevent water leakage. Set the pan on the trivet.
- Seal the lid and set the Instant Pot to Manual (High Pressure) for 35 minutes. Once finished, allow a natural pressure release for 15 minutes, then carefully release any remaining pressure.
- Remove the cheesecake carefully. Let it cool to room temperature, then refrigerate for at least 4 hours or overnight to set completely.
Equipment
- Instant Pot, or pressure cooker, Ninja Foodi
- Springform Pan
Notes
Nutrition
Share this recipe
We can’t wait to see what you’ve made! Mention @forktospoon or tag #forktospoon!

