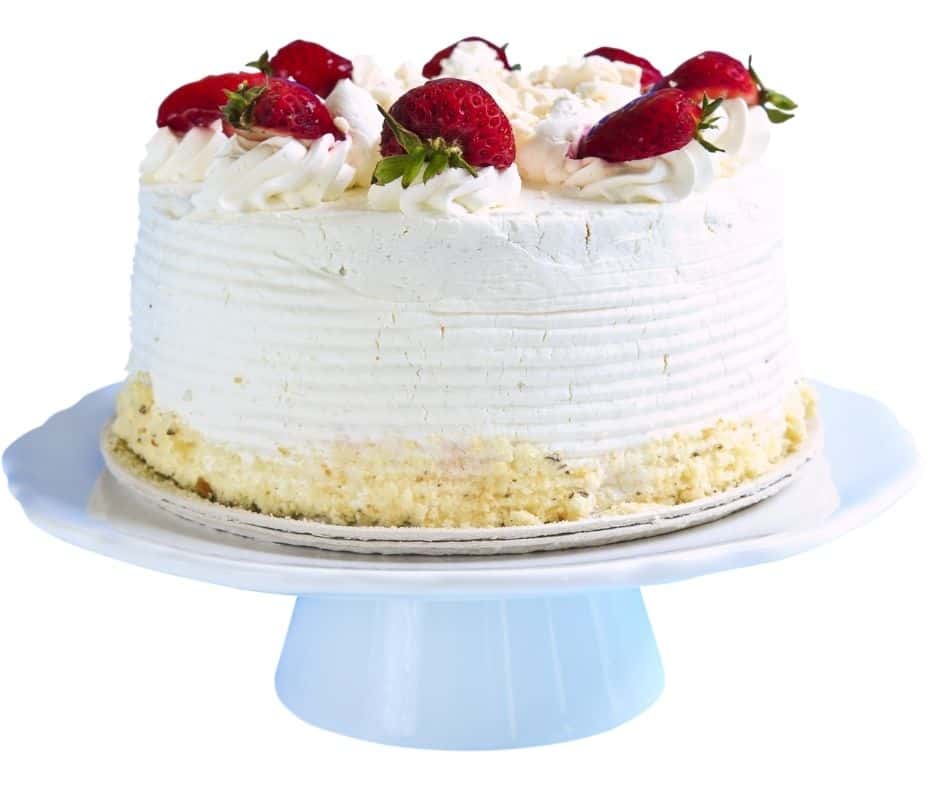
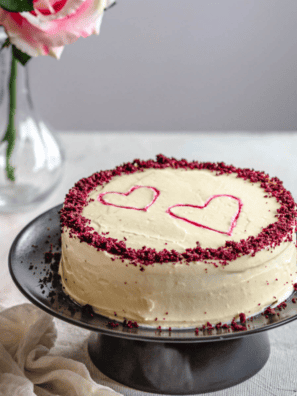
Instant Pot Vanilla Cake — If you’re looking for an easy and delicious cake recipe, look no further than this Instant Pot Vanilla Cake. You can have this cake ready to eat in just a few minutes, and it’s sure to satisfy your sweet tooth. So go ahead and give it a try!
Today we are talking about making a homemade vanilla cake in the Instant Pot. Making a boxed cake in the Instant Pot (Pressure Cooker) has become to my surprise, one of the most popular recipes on my website. So, today, I thought I would bring you a homemade cake.
If you’re looking for an easy and delicious cake recipe, look no further than this Instant Pot Vanilla Cake! It’s perfect for any occasion, and can be made in just a few minutes using your trusty Instant Pot. So what are you waiting for? Let’s get started!
Ingredients Needed For Instant Pot Vanilla Cake
- Cake Flour
- Baking Powder
- Baking Soda
- Salt
- Granulated Sugar
- Buttermilk
- Butter
- Eggs
- Vegetable Oil
- Pure Vanilla Extract
- Cream of Tartar
How To Make Instant Pot Vanilla Cake
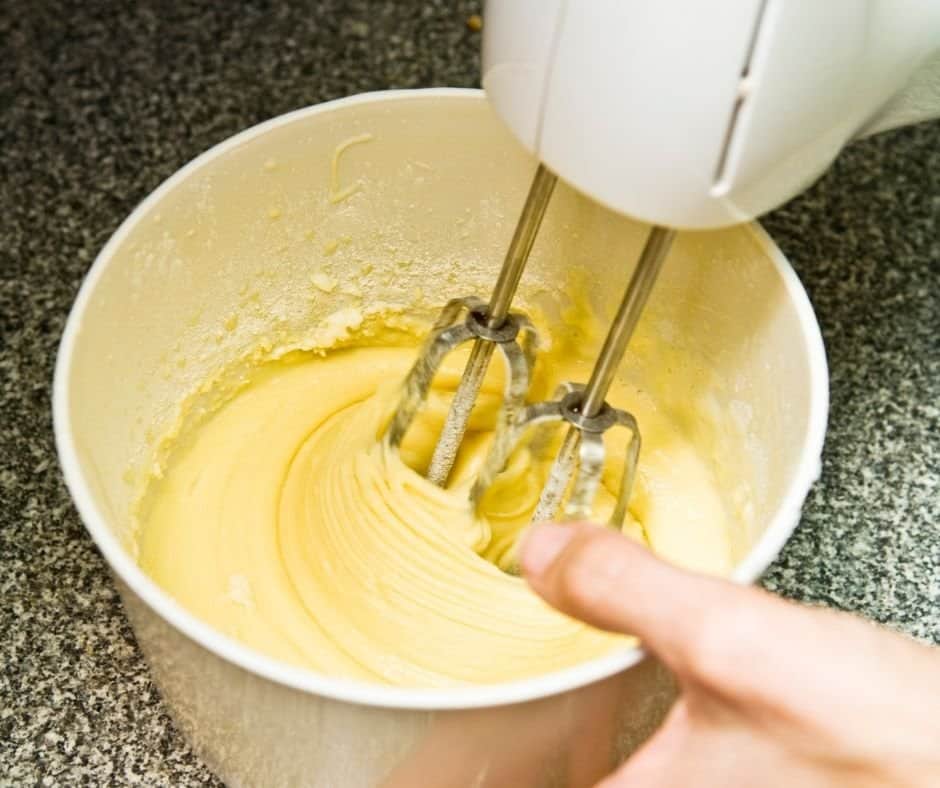
Start by beating the eggs, egg yolks, cream of tartar together. This will ensure a fluffy cake. Then add in the sugar, beat until all mixed, and the mixture has air bubbles.
Then mix in the liquid ingredients, buttermilk, melted butter, vegetable oil, and vanilla extract.
In another bowl mix the dry ingredients, cake flour, baking soda, baking powder, and the salt. Then mix the two bowls together, the dry and wet, and make sure they are well combined, check the bottom for any dry ingredients not mixed into the batter.
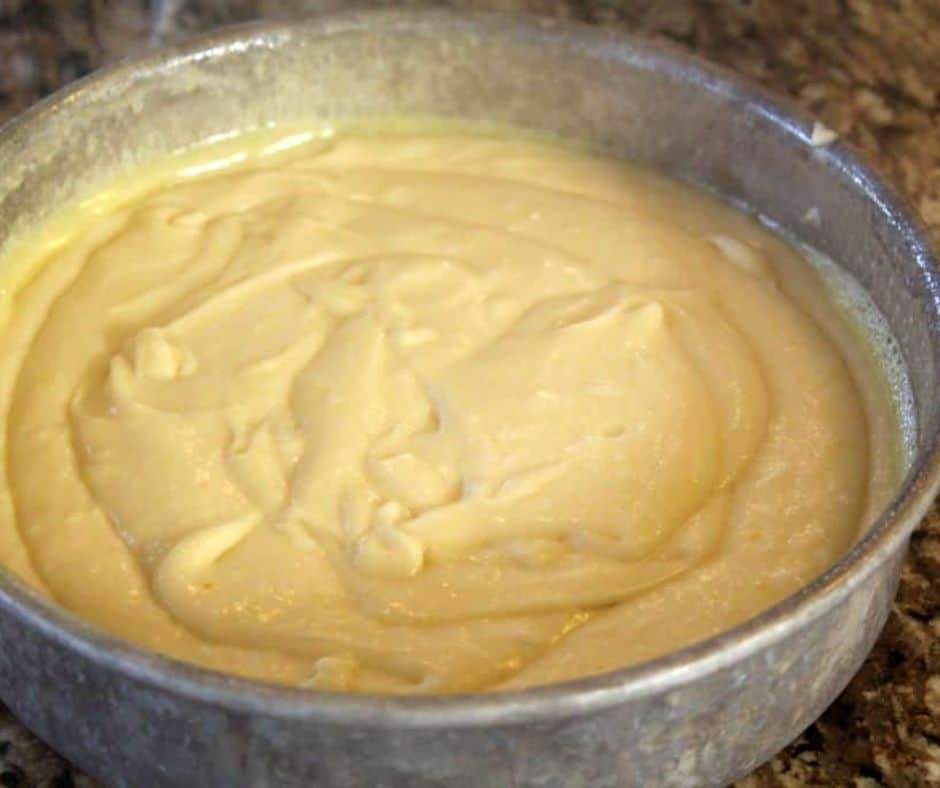
Spray your Instant Pot Safe pan (See the detailed post about what pans will fit your Instant Pot) Then pour the batter into the prepared pan. Cover with foil, this will keep your cake dry.
If your Instant Pot came with a handled trivet: (when you first purchased it) put it on the bottom of a 6-quart or 8-quart Instant Pot. Make sure that the handles are up so that you can lift the cake out later. If your Instant Pot did not come with a trivet or you can’t find it. Then just use a small (OVEN, it has to be able to withstand heat) bowl turned upside down and placed in the center.
Place your cover on the Instant Pot. Make sure that the vent is on sealed Cook on high pressure (manual) for 35 minutes. When the cooking time is complete, let the pressure naturally release. Remove the cake carefully, making sure not to burn yourself, let the cake cool. Remove the cake from the pan and frost it (if you would like to)
Ingredient Notes:
If you have never made a homemade vanilla cake, here are some tips to get the best results.
What Is Cake Flour?
Use cake flour—Cake flour is a type of flour which is very finely milled from soft winter wheat. Cake flour has a lower protein content than all-purpose (regular) flour, and as a result cake flour is finer, lighter, and softer. Cake flour is always bleached, so the color is paler and the grain is less dense.
![]() This makes for a lighter and fluffier cake.
This makes for a lighter and fluffier cake.
If you do not have cake flour, you can easily make your own at home, here are some simple instructions.
How To Make Homemade Cake Flour:
6 Cups of regular all-purpose flour and 12 tablespoons of cornstarch. Mix well, then use a flour sifter and sift the flour, for about 5 to 6 times, until you get a nice fine flour.

![]()
Creaming The Butter and Sugar Together:
Beat your eggs and sugar, this is actually called creaming the ingredients. But why do we do this? Why not just mix everything together, which is so much easier.
The reason for creaming the sugar and the eggs in a separate bowl, before adding them to the other ingredients is that when you beat the sugar and eggs together you create a fluffier texture, which will create a better and fluffier cake.
I have an electric kitchen aid mixer, which allows me to drop the sugar and eggs in and beat for a good 4 minutes, while the eggs and sugar become creamed together and in return create a lighter batter.
I have this one, and I have had mine for over 16 years, so it’s a great investment.

Why Use Pure Vanilla Extract?
The third tip for making a light and airy cake is using PURE vanilla extract, it is one of the easiest and simplest ways to create an elevated flavor, to any cake product. Vanilla extract has become expensive over the years since I started cooking, but again it is well worth the investment and a small bottle will make several cakes or other baked goods.![]()

![]()
To Make A Classic White Cake here is a breakdown of the ingredients:
- Cake Flour-This is the key to any light and fluffy cake (see the recipe above) If you use all-purpose flour, you will have a heavier cake.
- Eggs-Use fresh and room temperature eggs. I usually take the eggs out of the refrigerator about thirty minutes before I start preparing the cake.
- Baking Powder-baking powder is used in cakes to increase the volume and lighten the texture in baked goods, it is used in place of yeast in recipes.
- Baking Soda-Baking soda in recipes is used as a leavening agent in baked goods.
- Buttermilk-Buttermilk provides acid in the cake. It also makes the cake taste more like homemade. It is a great substitute if you are looking to elevate a box cake mix.
What Pans To Use For An Instant Pot Vanilla Cake
Here Are Some Great Cake Pans for the Instant Pot:
For the 3 Quart Instant Pot
Fat Daddio’s Anodized Aluminum Round Cake Pan, 4-Inch x 4-Inch Size: 4-Inch x 4-Inch Model: PRD-44 (Home & Kitchen)
Fat Daddio’s Anodized Aluminum Round Cake Pan, 6 Inches by 4 Inches
For the 6 Quart Instant Pot
Fat Daddio’s Anodized Aluminum Round Cheesecake Pan with Removable Bottom, 7 Inch x 3 Inch
Fat Daddio’s Anodized Aluminum Round Cake Pan, 7-Inch x 3-Inch
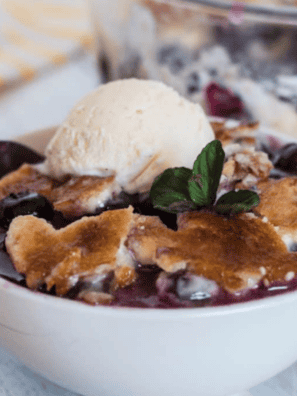
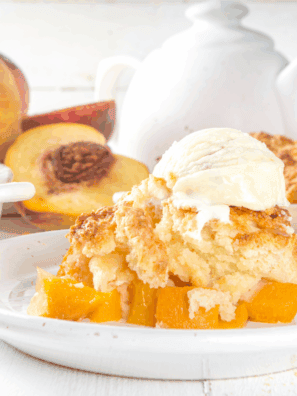
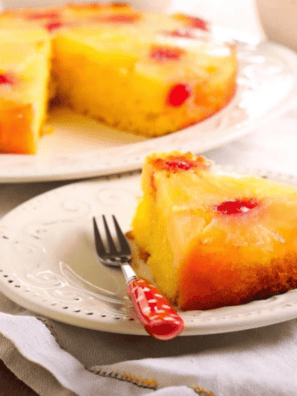
More Instant Pot Dessert Recipes:
Don’t Forget To Pin Instant Pot Vanilla Cake:
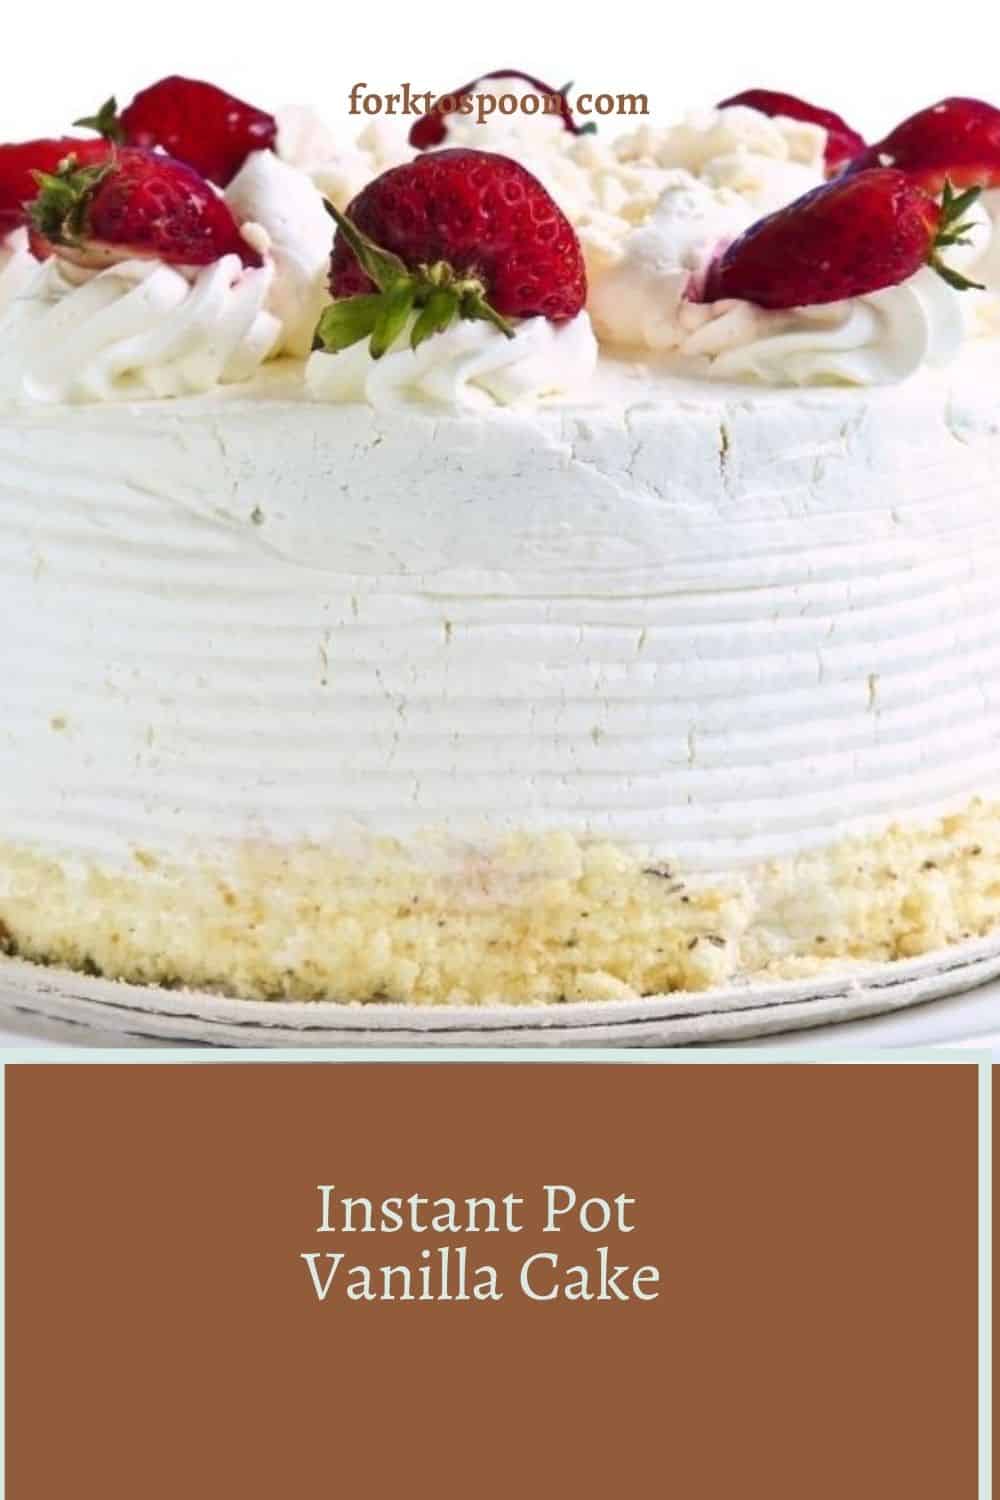

Instant Pot Vanilla Cake
Description
Ingredients
- 2 cups all-purpose flour
- 1/4 teaspoon baking soda
- 1/2 teaspoon salt
- 1 3/4 cup granulated sugar
- 1 cup buttermilk
- 10 tablespoons butter, melted/unsalted
- 3 large eggs
- 3 large egg yolk
- 3 tablespoons vegetable oil
- 2 teaspoon pure vanilla extract
- 1/2 teaspoon cream of tartar
Instructions
- Start by beating the eggs, egg yolks, cream of tartar together. This will ensure a fluffy cake. Then add in the sugar, beat until all mixed, and the mixture has air bubbles.
- Then mix in the liquid ingredients, buttermilk, melted butter, vegetable oil, and vanilla extract.
- In another bowl mix the dry ingredients, cake flour, baking soda, baking powder, and salt.

- Then mix the two bowls together, the dry and wet, and make sure they are well combined, check the bottom for any dry ingredients not mixed into the batter.
- Spray your Instant Pot Safe pan (See the detailed post about what pans will fit your Instant Pot)
- Then pour the batter into the prepared pan. Cover with foil, this will keep your cake dry.
- If your Instant Pot came with a handled trivet: (when you first purchased it) put it on the bottom of a 6-quart or 8-quart Instant Pot. Make sure that the handles are up so that you can lift the cake out later.If your Instant Pot did not come with a trivet or you can't find it. Then just use a small (OVEN, it has to be able to withstand heat) bowl turned upside down and placed in the center.
- Place your cover on the Instant Pot. Make sure that the vent is on sealed
- Cook on high pressure (manual) for 35 minutes. When the cooking time is complete, let the pressure naturally release.
- Remove the cake carefully, making sure not to burn yourself, let the cake cool.
- Remove the cake from the pan and frost it (if you would like to)
- Plate, serve, and enjoy!
Equipment
- Instant Pot
- Cake
Nutrition
Share this recipe
We can’t wait to see what you’ve made! Mention @forktospoon or tag #forktospoon!

Lorella
Ciao, vorrei sapere la quantità di farina 😅