Search “Ninja Crispi cake” and you’ll find TikToks and a Facebook group where people ask each other whether it’s even possible. What you won’t find is a pan size, a time, or a temperature.
So here it is. Yes, the Ninja Crispi bakes a genuinely good cake — but only with a metal pan set inside the glass container, and only if you shield the top. Skip either detail and you get the same result everyone posts about: a cake that’s dark brown on top and liquid in the middle. This recipe covers the pan that actually fits, the foil trick, exact times for each Crispi model, and what to do if yours doesn’t have a Bake mode.
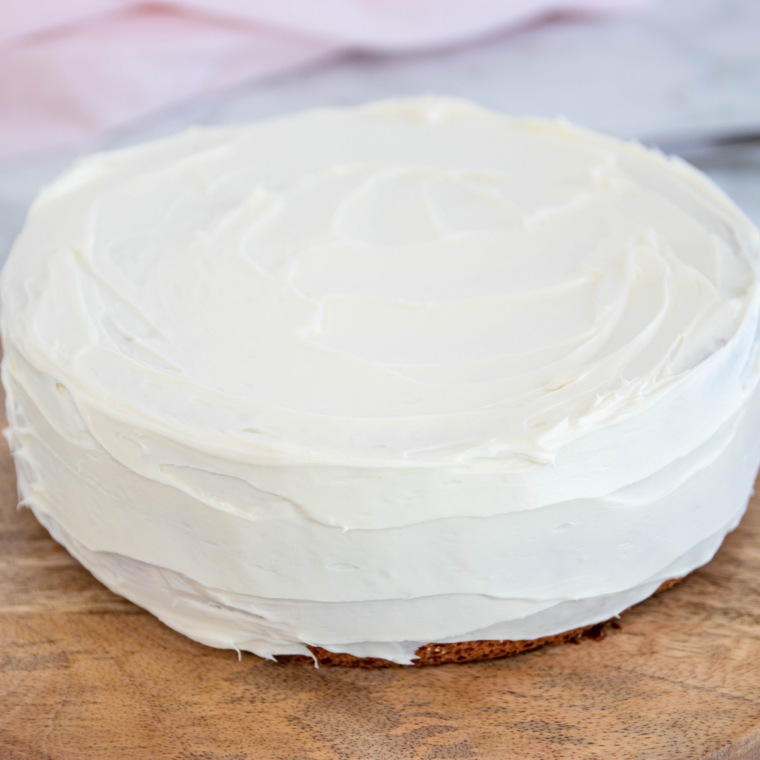
Use a Metal Pan Inside the Glass Container
This trips people up, because the whole selling point of the Crispi is cooking directly in the glass. For most food, you should. For cake, you shouldn’t — and it’s worth understanding why, because the reason tells you how to fix every other problem in this recipe.
The Crispi’s only heat source is a fan pushing hot air straight down from about two inches above your food. There’s no bottom element, no radiant heat from oven walls. All of the energy arrives from the top.
Borosilicate glass conducts heat slowly. That’s great for a casserole and terrible for cake batter, because the sides and bottom of a glass container can’t move heat into the batter anywhere near as fast as the PowerPod is cooking the surface. The top sets into a skin, then browns, then darkens — all while the center is still raw. Ten more minutes doesn’t rescue it; it just burns the top.
A metal pan fixes this:
- Aluminum conducts roughly a thousand times better than borosilicate. The batter cooks from the bottom and sides at a rate that keeps pace with the top, so the crumb sets evenly.
- It’s raised off the container floor. Set it on the crisper plate and hot air circulates underneath and around the sides, which is the closest thing to real oven heat you’ll get in this machine.
- The cake comes out. You can flip a 6-inch round pan. You cannot cleanly invert a cake from a deep square glass container — it tears, or it sticks, or both.
- It’s the shape people want. A round layer you can frost, not a glass-shaped brick.
Ninja’s own accessory ecosystem points the same direction: the third-party Crispi kits sold for the FN101 and the Crispi Pro include cake and pizza pans and muffin pans precisely because bakeware-inside-the-container is how you bake in this thing.
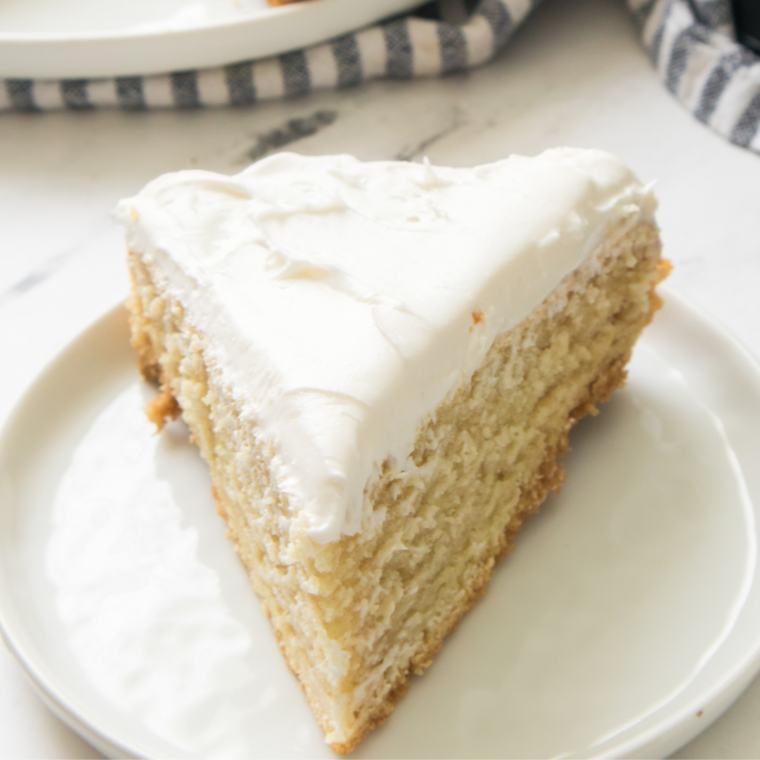
What Size Pan Fits the Ninja Crispi
A 6-inch round cake pan is the safe universal answer. It fits inside the 4-qt container with clearance on all sides for airflow.
| Container | Pan that fits | Notes |
|---|---|---|
| 6-cup (FN101) / 5-cup (FN100) | Ramekins, egg-bite molds, 4-inch pans | Too small for a 6-inch round. Good for mug cakes and single servings. |
| 4-qt | 6-inch round, 2 to 3 inches deep | The sweet spot. This is the one to use. |
| 6-qt (Crispi Pro) | 6-inch or 7-inch round | More clearance, so a 7-inch works if you have one. |
Ninja doesn’t publish interior dimensions for the containers, so measure yours before you buy a pan. You want at least half an inch of gap between the pan and the container walls all the way around. A pan that fills the footprint chokes off the airflow and you’re back to top-only cooking.
Height matters too. The batter rises, and the PowerPod’s element is close. Keep the filled pan’s rim well below the top of the container — a 2-inch-deep pan filled two-thirds is comfortable. A tall springform crammed in there will put risen batter against the element.
Springform pans work and make release trivial, but wrap the base in foil — thin batter seeps from the seam onto the glass below.
The Foil Shield Is Not Optional
Even with a metal pan, the element is inches from the batter. Without a cover, the top browns within eight or nine minutes and keeps going for the next twenty.
Tear a square of foil, dome it loosely over the pan, and crimp the edges down firmly. Two details:
- Crimp it tight. The Crispi’s fan moves serious air. Loose foil lifts, flaps, and ends up against the element.
- Dome it, don’t press it flat. The cake needs room to rise into.
You pull the foil for the last few minutes to color the top. That’s the whole technique.
Which Mode, and Which Crispi You Own
Mode: BAKE. Ninja lists it specifically for desserts and bread.
| Model | Bake mode? | What to do | Glass rated to |
|---|---|---|---|
| Crispi FN101 (4-in-1) | Yes | Use BAKE. It’s a preset — no temperature dial, so you control results with time and foil. | 450°F |
| Crispi FN100 (3-in-1) | No | Use RECRISP, the gentlest of its three modes. Foil on nearly the whole bake, start checking at 16 minutes. | 400°F |
| Crispi Pro (AS100/AS101) | Yes, with real temp control | Set BAKE to 325°F. Range is 250–400°F. | 450°F |
Crispi Pro owners have a real advantage: drop Bake to 300°F and add five or six minutes for a noticeably more tender crumb.
Ingredients
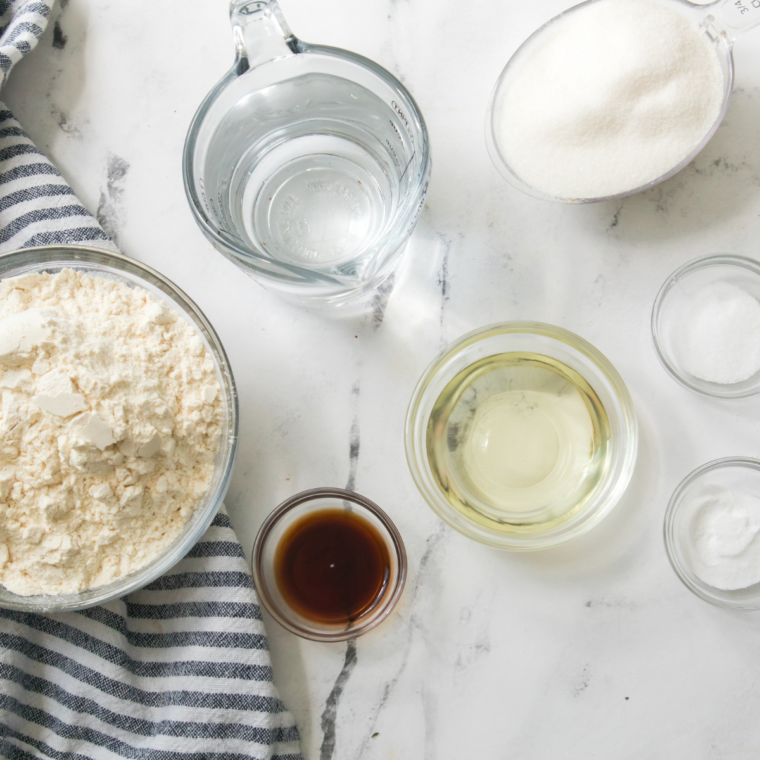
- All-Purpose Flour: Provides structure and gives the cake its tender crumb.
- Granulated Sugar: Sweetens the cake and keeps the crumb tender.
- Baking Powder: Provides the lift that keeps this cake light.
- Salt: Balances the sweetness and sharpens the vanilla flavor.
- Unsalted Butter, Melted: Adds richness and flavor while keeping the crumb moist.
- Large Eggs: Bind the batter and add structure, richness, and color.
- Whole Milk: Loosens the batter and keeps the finished cake moist.
- Pure Vanilla Extract: Delivers the warm vanilla flavor this cake depends on.
Room temperature is not optional. Cold milk and cold eggs seize the melted butter into solid flecks, and those turn into a greasy, dense layer at the bottom of the cake. Thirty minutes on the counter, or run the eggs under warm tap water for a minute.
How to Bake a Cake in the Ninja Crispi
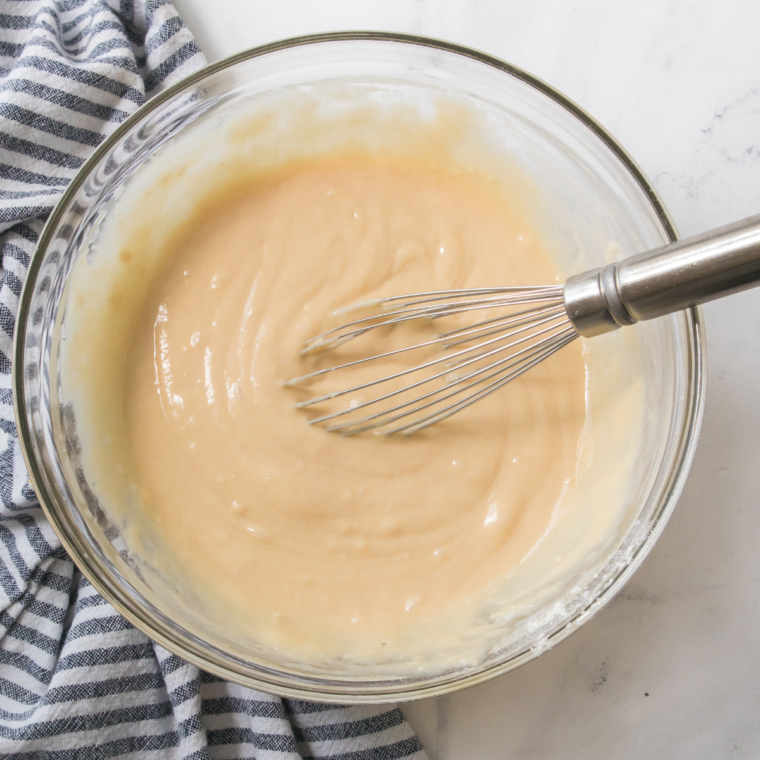
Step 1: Prep the pan. Grease a 6-inch round pan, line the bottom with a parchment round, and grease the parchment too. This cake releases cleanly with parchment and fights you without it.
Step 2: Set up the container. Leave the crisper plate in the 4-qt container. It elevates the pan and lets air move underneath. No crisper plate? A ring of crumpled foil under the pan does the same job.
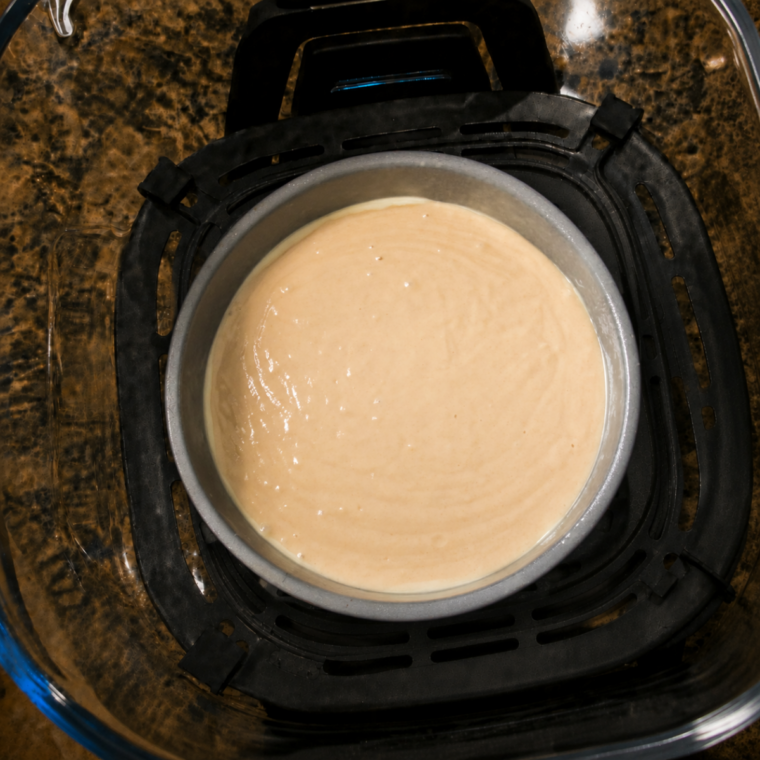
Step 3: Whisk the dry. Flour, sugar, baking powder, and salt in a medium bowl, whisked until lump-free.
Step 4: Whisk the wet. Melted butter, eggs, milk, and vanilla in a second bowl until smooth and uniform.
Step 5: Combine. Pour wet into dry and stir with a spatula just until no dry flour remains, 20 to 30 seconds. Overmixing builds gluten and gives you a tough, rubbery cake. Stop while it still looks slightly imperfect.
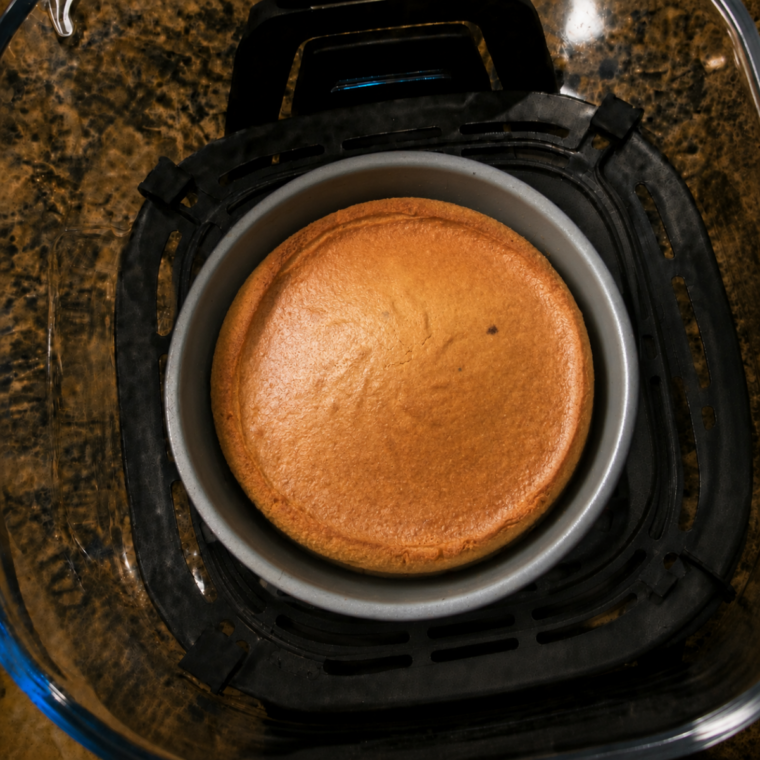
Step 6: Fill and foil. Pour into the pan, no more than two-thirds full, and level the top. Dome foil over the pan and crimp the edges down.
Step 7: Bake covered, 18 minutes. Set the pan on the crisper plate, place the adapter and PowerPod, press MODE until BAKE lights up, set 18 minutes, press START. (Pro: 325°F.) Don’t peek.
Step 8: Uncover, 5 to 7 minutes. Remove the foil carefully — trapped steam is hot. Reinstall the PowerPod and bake until the top is golden. Start checking at 5.
Step 9: Test properly. A toothpick in the center comes out clean or with a few dry crumbs. With an instant-read thermometer, you want 205–210°F. Wet batter means 3 more minutes, foil back on if the top is already where you want it.
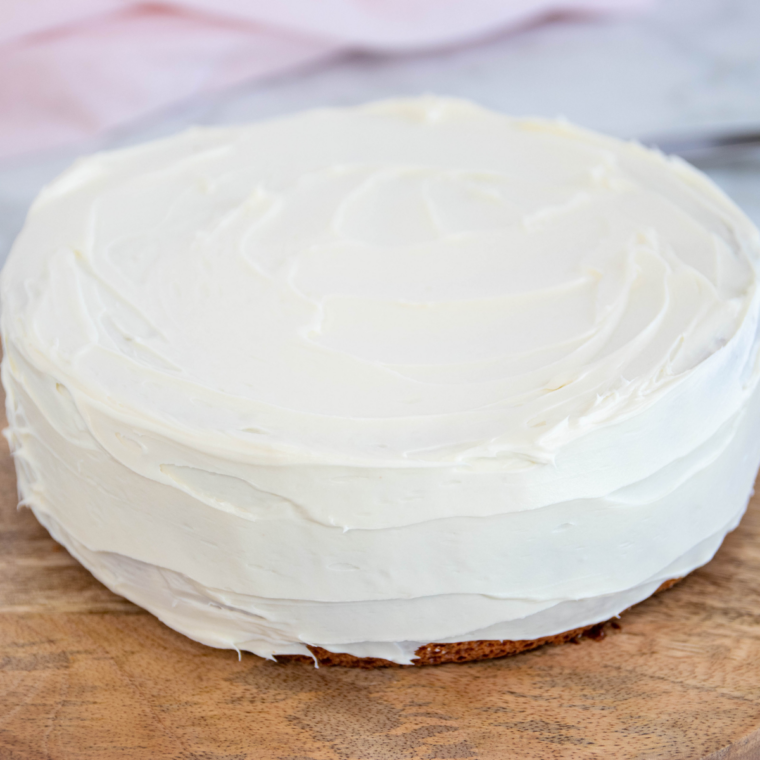
Step 10: Cool 10 minutes in the pan, then turn out. Run a thin knife around the edge, invert onto a rack, peel the parchment, and cool completely before frosting.
Ninja Crispi Cake Times
| What you’re baking | Setup | Covered | Uncovered | Total |
|---|---|---|---|---|
| 6-inch vanilla layer (this recipe) | 6-in pan in 4-qt | 18 min | 5–7 min | 23–25 min |
| Chocolate version (below) | 6-in pan in 4-qt | 20 min | 5 min | 25–27 min |
| Boxed mix, half a box | 6-in pan in 4-qt | 17 min | 5–7 min | 22–24 min |
| Cupcakes, 6 | Muffin pan or liners in 4-qt | — | 12–15 min | 12–15 min |
| Mug cake in a ramekin | Ramekin in 6-cup | — | 9–12 min | 9–12 min |
| No-pan version, direct in glass | 6-cup container | 22 min | 5–8 min | 27–30 min |
Starting points, not gospel. Ninja’s own guidance for converting recipes to this machine is to cut the time by 3 to 5 minutes versus a conventional recipe and check early.
The No-Pan Version (It Works, With Tradeoffs)
If you don’t own a 6-inch pan and don’t want to buy one, you can bake directly in the greased-and-floured 6-cup glass container. Be honest with yourself about what you’re getting:
- It takes longer — about 27 to 30 minutes instead of 25.
- The crumb near the walls is denser, because the glass never gets hot enough fast enough.
- Release is genuinely difficult. Butter, flour, and a parchment strip across the bottom with overhang you can use as a sling. Even then, expect to serve it from the container more often than not.
- It’s the better option for anything you’re spooning out anyway — a pudding cake, a cobbler-style dessert, a dump cake.
For a cake you intend to frost and slice, use the pan.
Using a Boxed Mix
Fastest route to a Crispi cake. Mix the full box per the package directions, then pour about a third of the batter into your greased 6-inch pan — a full box is far more than one 6-inch layer holds. Bake covered 17 minutes, uncover, finish 5 to 7.
The remaining batter makes cupcakes; my air fryer vanilla cupcakes post has the timing. If boxed mix is your default, the full method is in my guide to making a cake from a boxed mix in the air fryer.
Troubleshooting
Dark top, raw center. No foil, or the foil lifted, or you baked directly in glass. Cover it, use a metal pan.
Pale sides, gummy edges. The pan is too close to the container walls and airflow is choked. Go down a pan size.
Sunken middle. The PowerPod came off mid-bake and dropped the temperature, or the batter was overmixed, or your baking powder is dead. Test it: half a teaspoon in hot water should fizz hard. No fizz, replace it.
Dense, rubbery crumb. Overmixed. Next time stop the second the flour disappears.
Greasy layer at the bottom. Cold eggs or milk broke the melted butter. Room temperature fixes it entirely.
Cake stuck. Parchment round on the bottom, not just grease. And give it the full 10-minute rest — too hot and it tears, left 45 minutes and it steams itself into the pan.
Risen batter touched the element. Pan too tall, or filled past two-thirds. Same recipe, less batter, shallower pan.
Variations
- Chocolate. Swap ¼ cup of the flour for ¼ cup unsweetened cocoa and add 2 tablespoons hot water to the wet ingredients to bloom it. Add 2 minutes covered.
- Lemon. Replace the vanilla with the zest of one lemon plus 1 tablespoon juice. Rub the zest into the sugar first so the oils release.
- Cinnamon swirl. Half the batter, 2 tablespoons cinnamon sugar, the rest of the batter, two drags of a knife.
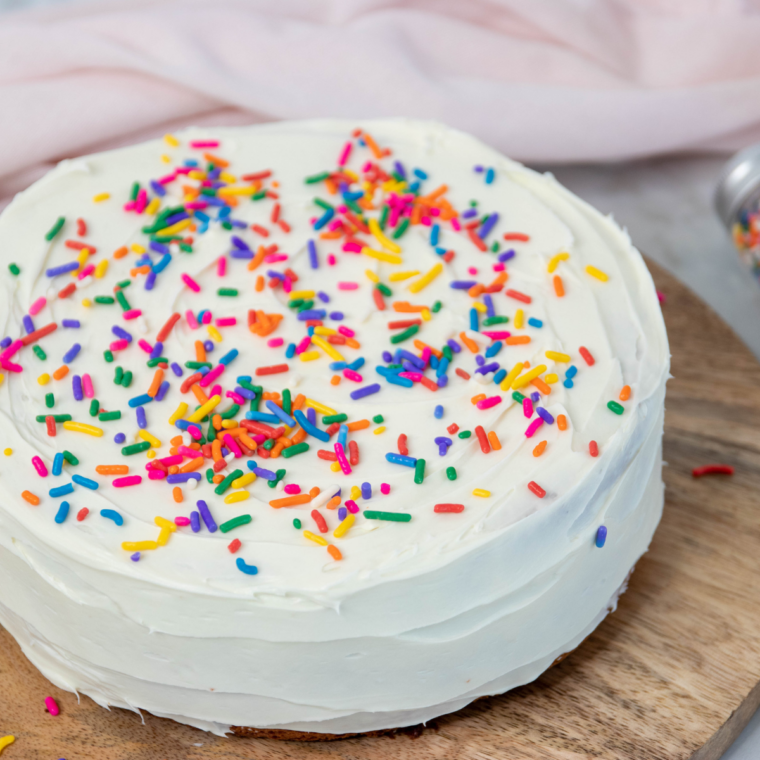
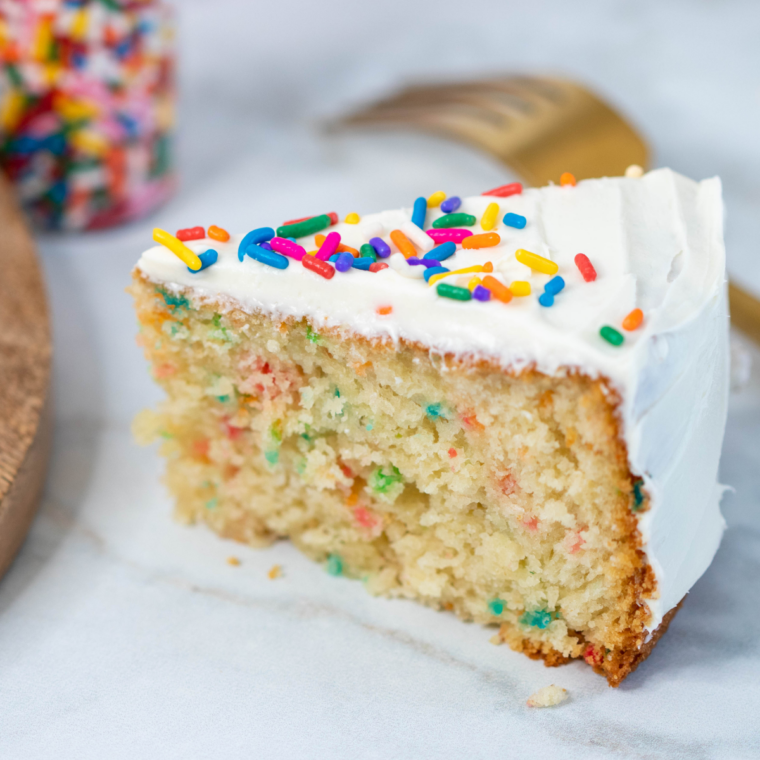
- Funfetti. Fold in ¼ cup sprinkles at the end. Jimmies, not nonpareils — nonpareils dissolve and turn the batter gray.
- One serving. Skip the pan and bake a single air fryer vanilla mug cake in a ramekin inside the 6-cup container. Nine to twelve minutes, no foil.
Frosting and Serving
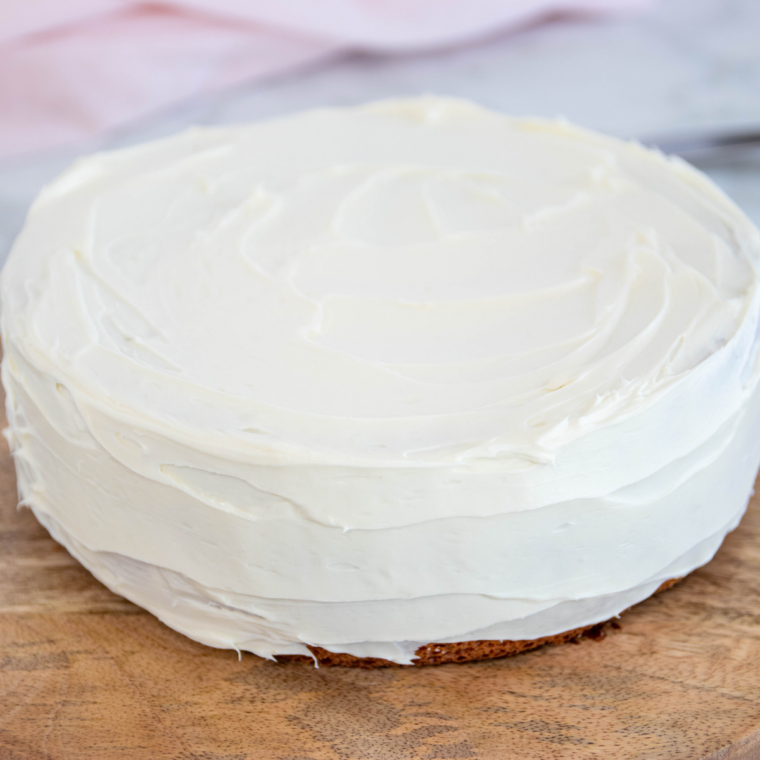
Let it reach true room temperature — about 45 minutes on a rack. Warm cake turns buttercream to soup.
The Crispi domes cakes slightly, so level the top with a serrated knife or flip it and frost the flat bottom. Cream cheese frosting, vanilla buttercream, or just powdered sugar and berries all work; my air fryer vanilla cake post has frosting notes that carry over directly.
Baking for a first birthday? The same batter makes a good air fryer smash cake.
Storing and Reheating
- Room temperature: unfrosted and covered, 2 to 3 days.
- Refrigerator: frosted, up to 5 days. Bring slices to room temp before serving.
- Freezer: wrap unfrosted slices tightly, up to 3 months. Thaw on the counter.
- Reheating: two to three minutes on Recrisp beats a microwave, which turns cake gummy.
Frequently Asked Questions
Can you bake a cake in the Ninja Crispi? Yes. Put a 6-inch round metal pan inside the 4-qt glass container, cover the pan with crimped foil, and use BAKE for about 18 minutes, then 5 to 7 more uncovered.
What size cake pan fits in the Ninja Crispi? A 6-inch round, 2 to 3 inches deep, fits the 4-qt container with airflow clearance. The 6-qt Crispi Pro container takes a 7-inch. The small 5-cup and 6-cup containers only fit ramekins and 4-inch pans. Measure before buying — Ninja doesn’t publish interior dimensions.
Do I need a pan, or can I bake straight in the glass? You can bake in the glass, but it takes longer, the edges come out denser, and getting the cake out intact is difficult. For a cake you plan to frost, use a metal pan.
Should I leave the crisper plate in? Yes, when using a pan — it elevates the pan so air circulates underneath. Remove it only if you’re pouring batter directly into the glass.
What temperature do you bake a cake at in the Ninja Crispi? On the Crispi Pro, set Bake to 325°F. The original Crispi has no temperature dial — BAKE is a preset, and time plus the foil cover are your controls.
How long does a cake take in the Ninja Crispi? About 23 to 25 minutes for a 6-inch layer: 18 minutes covered, then 5 to 7 uncovered to brown the top.
Can I bake a cake in the FN100 with no Bake mode? Yes, with a workaround. Use Recrisp, the gentlest of its three modes, keep the foil on nearly the entire time, and start checking at 16 minutes. Note the FN100’s glassware is rated to 400°F rather than 450°F.
Why did my Ninja Crispi cake burn on top? The element sits inches above the food and blows heat straight down. Without a foil shield the top browns in under ten minutes. Crimp foil over the pan and remove it only for the last few minutes.
Can I bake two layers at once? Not stacked — there’s no clearance. Bake them back to back. The second goes faster in an already-hot machine, so check 2 to 3 minutes early.
Ninja Crispi Vanilla Cake
Description
Ingredients
- 1 cup all-purpose flour, 120g
- ⅔ cup granulated sugar, 135g
- 1¼ teaspoons baking powder
- ¼ teaspoon salt
- ¼ cup unsalted butter, melted and slightly cooled, 57g
- 2 large eggs, room temperature
- ⅓ cup whole milk, room temperature, 80ml
- 1½ teaspoons pure vanilla extract
Instructions
- Grease a 6-inch round cake pan, line the bottom with a parchment round, and grease the parchment.
- Leave the crisper plate in the 4-qt glass container so the pan sits elevated.
- Whisk the flour, sugar, baking powder, and salt together in a medium bowl.
- In a separate bowl, whisk the melted butter, eggs, milk, and vanilla until smooth.
- Pour the wet into the dry and stir just until no dry flour remains, 20 to 30 seconds. Do not overmix.
- Pour into the prepared pan, filling no more than two-thirds. Level the top.
- Dome a square of foil over the pan and crimp the edges down firmly so the fan can’t lift it.
- Set the pan on the crisper plate, install the adapter and PowerPod, select BAKE, and set 18 minutes. (Crispi Pro: 325°F.)
- Remove the foil carefully. Reinstall the PowerPod and bake 5 to 7 more minutes, until golden and a toothpick in the center comes out clean.
- Cool in the pan 10 minutes, then run a knife around the edge, invert onto a rack, and peel the parchment.
- Cool completely, about 45 minutes, before frosting.
Equipment
- Ninja Crispi, 4-qt CleanCrisp
- glass container
- Crisper plate
- 6-inch round cake pan
- Parchment
- Aluminum Foil
Notes
- Room temperature eggs and milk are essential. Cold ingredients solidify the melted butter into a greasy layer at the bottom.
- Leave at least half an inch between pan and container wall. A pan that fills the footprint chokes the airflow.
- Fill no more than two-thirds. Risen batter needs to stay clear of the heating element.
- FN100 owners: no Bake mode. Use Recrisp, keep the foil on, start checking at 16 minutes. Glassware is rated to 400°F.
- Doneness target: 205–210°F in the center.
- Reheat slices 2 to 3 minutes on Recrisp rather than microwaving.
Nutrition
Share this recipe
We can’t wait to see what you’ve made! Mention @forktospoon or tag #forktospoon!