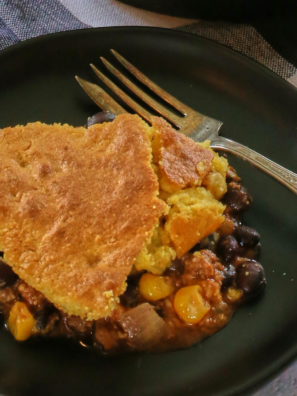
Rich, thick, properly spiced chili con carne — made start to finish in the air fryer, in about 40 minutes. You brown the beef right in the basket, then everything simmers together in one pan. No stovetop, no Dutch oven, and no scorched pot to scrub afterward.
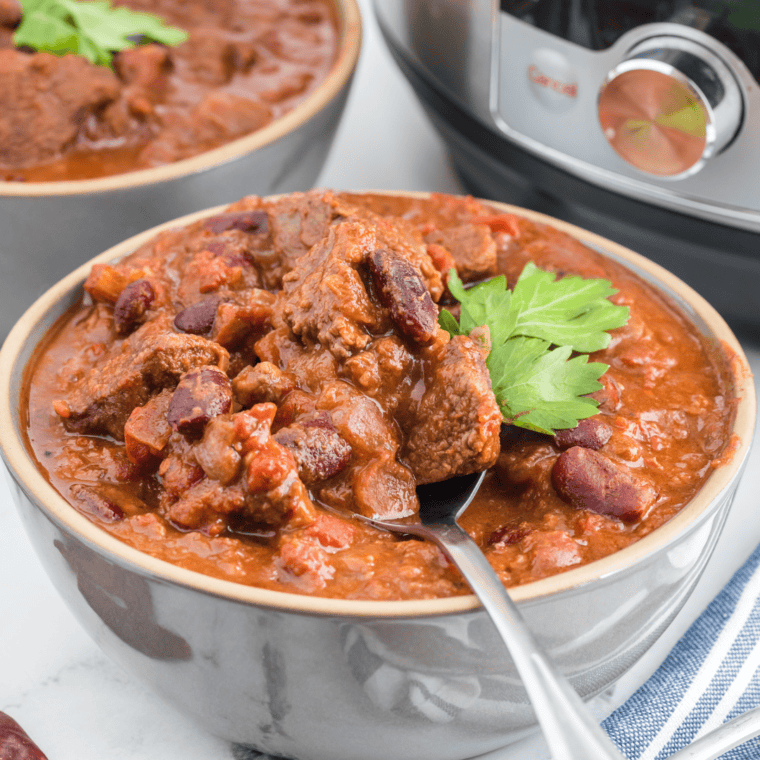
The trick that makes it work is simple: the beef browns in the basket, but the chili itself simmers in a pan. Get that one thing right and this comes out every bit as good as the stovetop version.
Can You Actually Make Chili in an Air Fryer?
Yes — but not the way most people first try it.
An air fryer is a small convection oven. It cooks by blasting hot air, which is perfect for browning ground beef and terrible for anything loose and liquid. Pour a saucy chili straight into the basket and two things happen: it drips through the perforations into the drawer below, and the fan sprays tomato across the heating element. You’ll spend longer cleaning than cooking.
So this recipe splits the job in two:
- Brown the beef directly in the basket. The circulating air renders and crisps ground beef beautifully — better than a skillet, honestly, because the fat drains away instead of pooling. If you’ve never done it, my full guide on how to cook ground beef in the air fryer walks through the timing.
- Simmer everything in an air-fryer-safe pan. A 7-inch cake barrel, a silicone baking pan, or a small metal cake pan — anything that fits with about an inch of clearance around it. The pan contains the liquid, the hot air circulates around it, and you get a genuine simmer.
That’s the whole method. Everything below is detail.
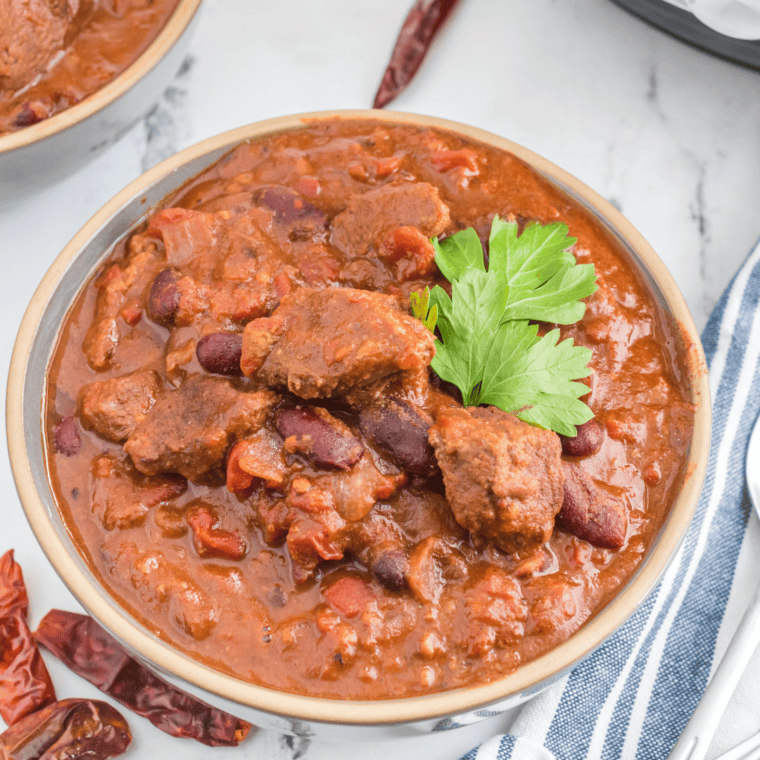
Why This Recipe Works
- Deeper browning than the stovetop. Dry convection heat gives you actual Maillard crust on the beef instead of gray, steamed meat sitting in its own liquid.
- Hands-off simmering. Two stirs total. No standing over a pot.
- One pan, minimal cleanup. The pan goes in the dishwasher. The basket needs a rinse.
- It reduces fast. A small volume in a small chamber thickens quicker than a big pot on the stove — you get long-simmered texture in 25 minutes.
- Scales to what you own. Works in a basket air fryer, an air fryer oven, or a Ninja Foodi.
Chili or Chilli? (And Is This Even “Real” Chili Con Carne?)
Quick note, because it trips people up: in the US it’s spelled chili, in the UK and Australia it’s chilli. Same dish. If you landed here from a UK search, you’re in the right place — just mentally add the second L.
As for authenticity: traditional Texas chili con carne is meat and chiles — no beans, no tomatoes. This version has both, which is how most home cooks actually make it. If you want the purist version, skip the beans and add an extra half pound of beef. The method doesn’t change.
Ingredients
Everything here is a standard grocery run. Full amounts are in the recipe card below.
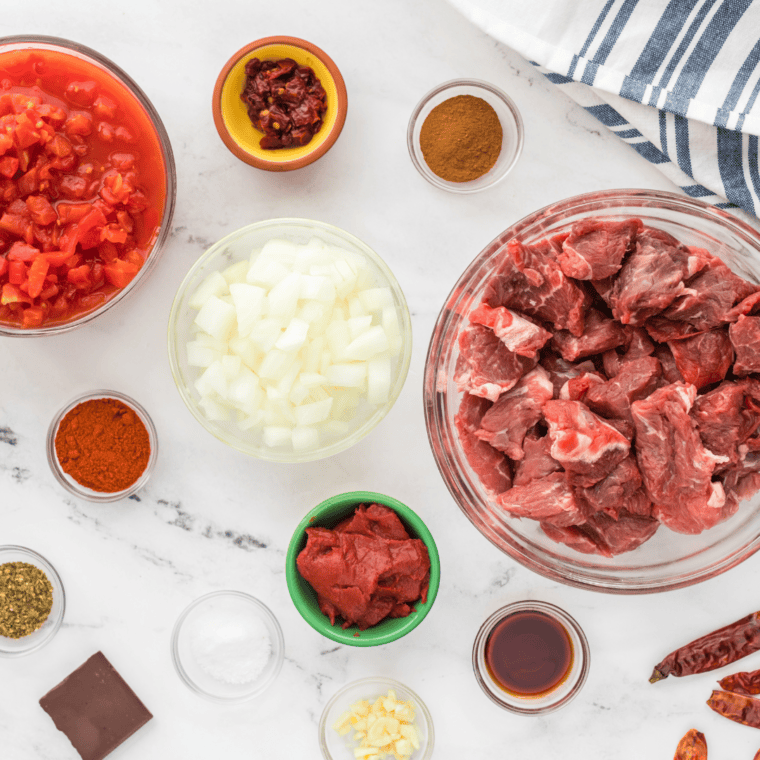
- Ground beef — 85/15 is the sweet spot. Leaner than that and it dries out in the dry air; fattier and you’ll get smoke. See the substitution notes below for using diced chuck instead.
- Yellow onion and garlic — the savory backbone. Dice the onion small so it softens in the short cook time.
- Red and green bell pepper — sweetness and a little bite. Green brings a slightly bitter edge that’s classic in chili con carne.
- Diced tomatoes (14.5 oz can, undrained) — the juice is part of the liquid budget. Don’t drain it.
- Tomato sauce (8 oz can) — this is what makes the chili cohesive instead of watery.
- Beef broth (½ cup) — do not skip this. Air fryers evaporate liquid fast. Without broth you’ll end up with dry, pasty chili.
- Kidney beans and black beans (15 oz each, drained and rinsed) — rinsing matters; the canning liquid is starchy and muddies the flavor.
- Chili powder, ground cumin, smoked paprika, salt, black pepper — smoked paprika instead of sweet does a lot of heavy lifting here, standing in for the smoky depth you’d normally get from hours of simmering.
Optional toppings: shredded sharp cheddar, sour cream, diced red onion, pickled jalapeños, avocado, fresh cilantro, lime wedges.
What Pan Should You Use?
This is the question that decides whether the recipe works, so it’s worth being specific.
You need: an oven-safe container that fits inside your air fryer with roughly an inch of clearance on all sides for air to circulate.
Good options:
- A 7-inch round cake barrel (the ones sold specifically for air fryers)
- A silicone air fryer pan or basket liner with solid sides
- A small metal cake pan or springform base
- An oven-safe glass or ceramic dish, if it fits
Sizing by air fryer type:
- Basket models (4–6 qt): a 6- to 7-inch pan is usually the max. You may need to halve the recipe.
- Larger baskets and Ninja Foodi (6.5–8 qt): a 7- to 8-inch pan fits comfortably.
- Air fryer ovens and toaster-oven style: you have the most room — an 8- or 9-inch pan works, and you can cook the full batch in one go.
Do not use: parchment paper as a bowl (it lifts into the element), aluminum foil shaped into a makeshift dish (it leaks and blocks airflow), or the bare basket.
How to Make Chili Con Carne in the Air Fryer
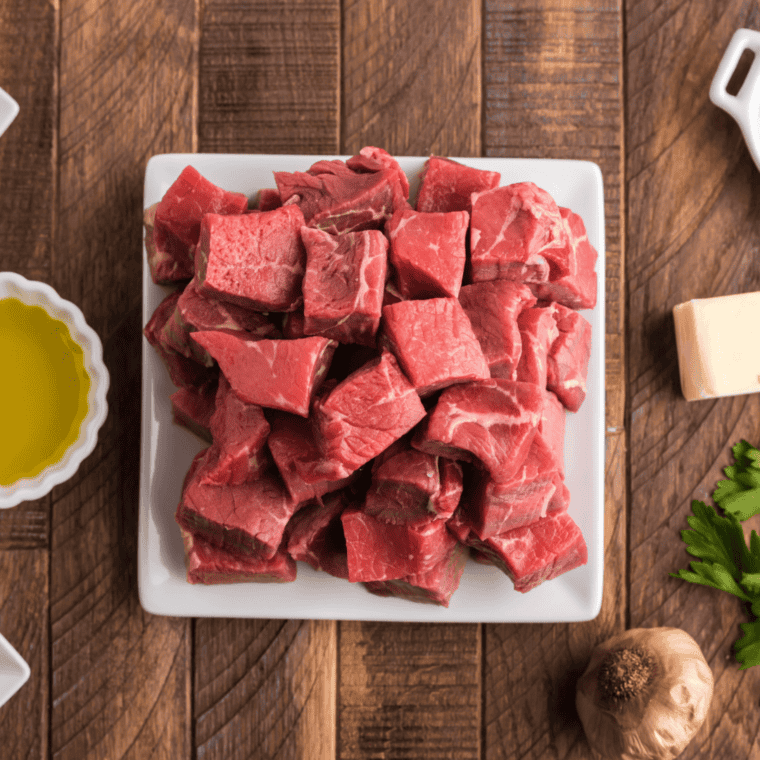
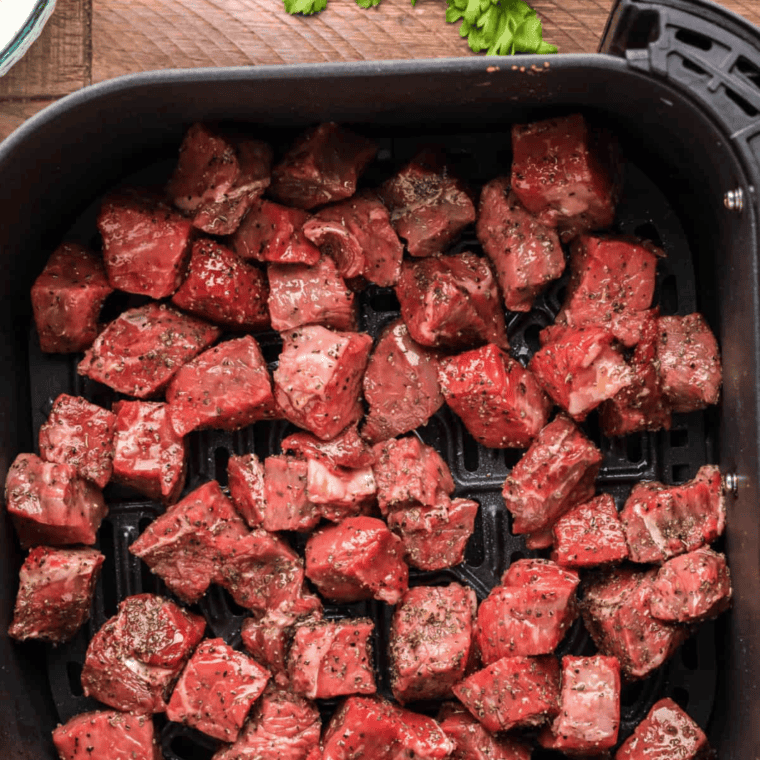
Step 1 — Brown the beef. Preheat the air fryer to 400°F (200°C) for 3 minutes. Add the ground beef straight to the basket and break it into a few large chunks. Cook 8–10 minutes, stirring and breaking it up at the 5-minute mark, until no pink remains and the edges are browned. Ground beef is safe at an internal temperature of 160°F (71°C) — check it with an instant-read thermometer.
Step 2 — Drain. Tip the beef into your air fryer pan. Pour off any rendered fat that collected in the drawer. If you used 85/15 you’ll have a tablespoon or two — leave a little in the beef for flavor.
Step 3 — Soften the aromatics. Add the diced onion, garlic, and both bell peppers to the pan with the beef. Stir. Return the pan to the air fryer and cook at 375°F (190°C) for 5 minutes, until the onion turns translucent and everything smells good.
Step 4 — Build the chili. Add the diced tomatoes with their juice, tomato sauce, beef broth, both cans of drained beans, chili powder, cumin, smoked paprika, salt, and pepper. Stir thoroughly — you want the spices fully distributed, not sitting on top.
Step 5 — Simmer. Cover the pan loosely with foil. Cook at 325°F (165°C) for 20–25 minutes, stirring once at the halfway point. The lower temperature is deliberate: you’re simmering now, not searing, and a hotter setting will scorch the tomato at the edges.
Step 6 — Reduce and finish. Remove the foil and cook 5 more minutes to thicken. The chili is ready when a spoon dragged through the center leaves a trail that fills in slowly. Taste and adjust — it will almost always want more salt than you expect.
Let it rest 5 minutes before serving. It thickens noticeably as it sits.
Troubleshooting
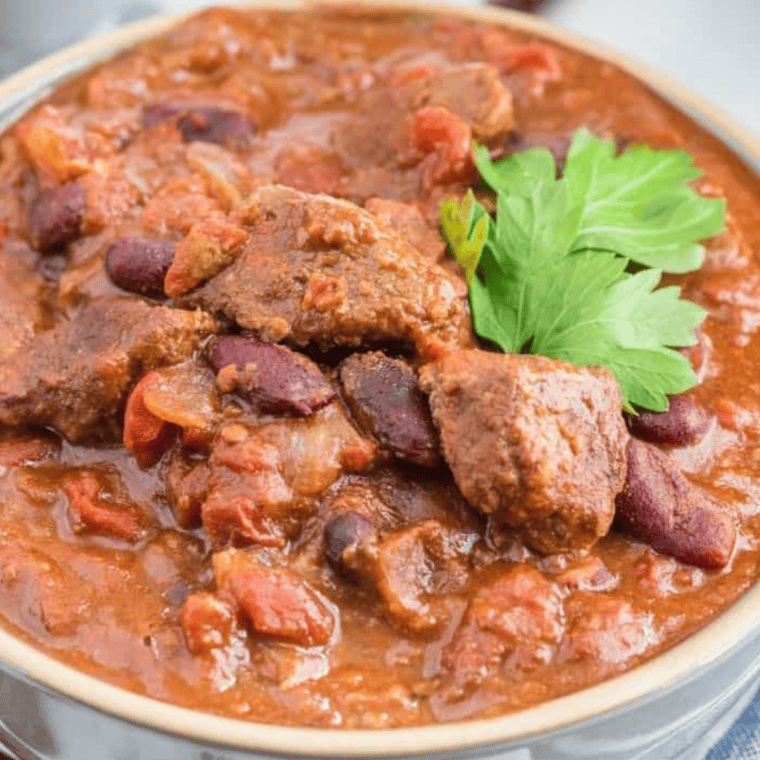
My chili is watery. Uncover and cook 5 minutes at a time at 325°F until it tightens. If you’re impatient, mash a quarter cup of the beans against the side of the pan — the starch thickens it immediately.
My chili is dry or pasty. You lost too much liquid. Stir in beef broth two tablespoons at a time until it loosens. Next time, keep it covered for the full simmer.
The top scorched but the middle is cool. Your pan is too close to the element, or the temperature was too high. Drop to 300°F, cover with foil, and stir more often.
It tastes flat. Salt first — that’s usually the whole problem. Then acid: a squeeze of lime or a teaspoon of vinegar. Then depth: a teaspoon of cocoa powder or a splash of Worcestershire.
My air fryer is smoking. Fat hit the heating element during the browning step. Pull the drawer, pour off the grease, and continue. Using 90/10 beef prevents it entirely.
Substitutions and Variations
- Diced beef instead of ground. Use 1 lb chuck roast or bottom round cut into ½-inch cubes. Brown at 400°F for 10–12 minutes, then extend the covered simmer to 35–40 minutes and add an extra ½ cup broth. Cubed beef needs the extra time to become tender — don’t shortcut it.
- Turkey or chicken chili. Swap in ground turkey or chicken. Both are leaner, so add a tablespoon of oil before browning and keep the pan covered the whole simmer.
- Vegetarian. Skip the meat, double the beans, and add a diced zucchini and a cup of corn at Step 4. Use vegetable broth.
- Bean-free (Texas style). Omit both cans of beans, use 1½ lb beef, and reduce the broth to ¼ cup.
- Spicier. A minced chipotle in adobo, plus a teaspoon of the sauce, added at Step 4. Or a diced jalapeño with the bell peppers.
- Ninja Foodi. Use the Air Crisp function at the same temperatures and times. If you’d rather pressure cook it, that’s a different recipe entirely — the times here won’t transfer.
What to Serve With It
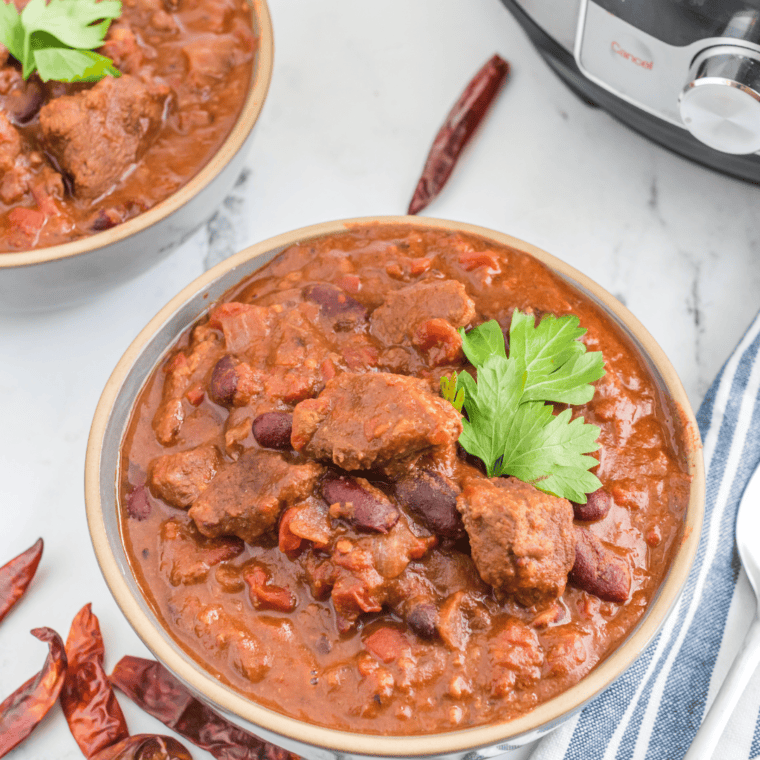
Chili con carne wants something starchy and something cool alongside it. A wedge of air fryer cornbread is the classic move and you can bake it while the chili rests. Otherwise: over rice, over a baked potato, or ladled onto air fryer potato nachos with cheese melted on top.
For toppings, don’t overthink it — sharp cheddar, sour cream, and something sharp and raw like diced red onion or pickled jalapeño. The contrast matters more than the variety.
Storage, Freezing, and Reheating
- Refrigerator: Cool completely, then store in an airtight container for up to 4 days. Like most braises, it’s genuinely better on day two.
- Freezer: Up to 3 months. Freeze in portion-sized containers with an inch of headspace — it expands. Thaw overnight in the fridge.
- Reheating in the air fryer: Return it to an air-fryer-safe pan, add a splash of broth, cover with foil, and heat at 300°F for 8–10 minutes, stirring once.
- Reheating on the stove: Low heat, covered, stirring occasionally, with a little broth to loosen it.
- Make-ahead: Brown the beef and soften the aromatics up to two days ahead. Refrigerate, then pick up at Step 4 when you’re ready.
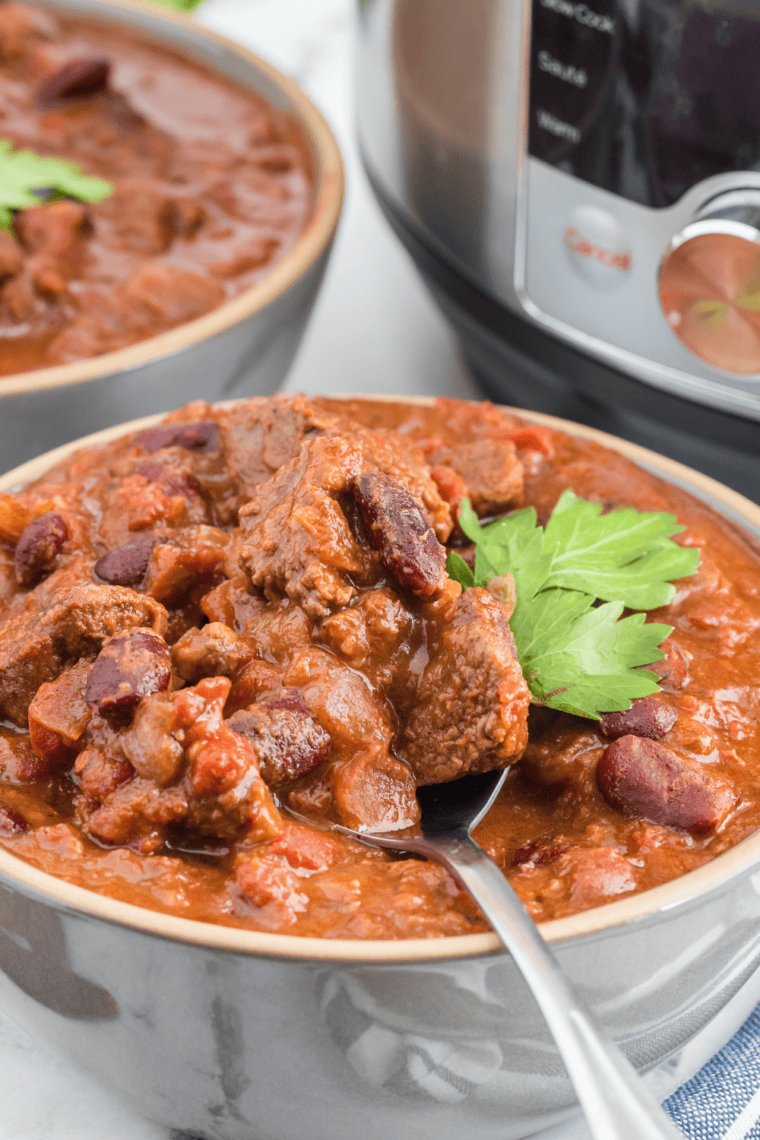
Air Fryer Chili Con Carne FAQs
Can you cook chili con carne in an air fryer? Yes. Brown the beef directly in the basket, then transfer everything to an air-fryer-safe pan for the simmer. The pan is essential — liquid chili poured into a bare basket will drain into the drawer and spatter onto the heating element.
Do I have to brown the beef separately? It’s a single extra step and it’s worth it. Browning in the dry basket gives you crusted, well-rendered beef instead of the gray, steamed texture you get when meat simmers in liquid from the start.
Why is my air fryer chili drying out? Air fryers evaporate liquid quickly because of the constant airflow. Two fixes: include the full ½ cup of broth, and cover the pan with foil during the simmer. Uncover only for the last five minutes to thicken.
How long does chili con carne take in an air fryer? About 40 minutes total — 10 minutes to brown the beef, 5 for the aromatics, and 20–25 to simmer. That’s roughly half the stovetop time.
Can I use canned beans and tomatoes? Yes, and I’d recommend it. Drain and rinse the beans; leave the tomatoes undrained, since the juice counts toward the liquid.
What internal temperature should the beef reach? 160°F (71°C) for ground beef. If you use diced chuck, cook until it’s fork-tender rather than to a specific temperature.
Can I double this recipe? Only if your pan and air fryer are large enough for the ingredients to sit no more than about two inches deep. Deeper than that and the middle won’t heat properly. In a standard basket model, brown the beef in two batches and simmer in two rounds instead.
How do I make it thicker? Uncover for the final 5–10 minutes, or mash some of the beans against the pan to release their starch. A tablespoon of tomato paste stirred in at Step 4 also helps.
Can I make it vegetarian? Yes — double the beans, add zucchini and corn, and use vegetable broth. Everything else stays the same.
More Air Fryer Beef Recipes to Try
If this one works for you, my air fryer chili is the quicker weeknight cousin — same flavors, fewer steps. For something in the same Tex-Mex direction, try air fryer carne asada or these air fryer ground beef enchiladas. When you want comfort food instead, the air fryer ground beef casserole is a reliable one, and my air fryer roast beef covers the Sunday-dinner end of things.
You’ll find everything else in one place under beef dinners, and if you’re planning the whole week out, my weekly meal plan does the thinking for you.
Air Fryer Chili Con Carne
Description
Ingredients
- 1½ pounds ground beef, 85/15
- 1 medium yellow onion, diced
- 3 cloves garlic, minced
- 1 large red bell pepper, diced
- 1 large green bell pepper, diced
- 14.5 ounces diced tomatoes, undrained
- 8 ounces tomato sauce
- ½ cup beef broth
- 15 ounces kidney beans, drained and rinsed
- 15 ounces black beans, drained and rinsed
- 2 tablespoons chili powder
- 1 tablespoon ground cumin
- 1 teaspoon smoked paprika
- 1 teaspoon kosher salt, plus more to taste
- ½ teaspoon black pepper
Optional toppings: shredded sharp cheddar, sour cream, diced red onion, pickled jalapeños, avocado, fresh cilantro, lime wedges
Instructions
- Preheat the air fryer to 400°F (200°C) for 3 minutes.
- Add the ground beef to the basket, breaking it into large chunks. Cook 8–10 minutes, stirring and breaking it up at 5 minutes, until browned and the internal temperature reaches 160°F (71°C).
- Transfer the beef to your air-fryer-safe pan. Pour off excess fat from the drawer.
- Add the onion, garlic, and both bell peppers to the pan and stir. Cook at 375°F (190°C) for 5 minutes, until the onion is translucent.
- Add the diced tomatoes with their juice, tomato sauce, beef broth, both cans of beans, chili powder, cumin, smoked paprika, salt, and pepper. Stir until fully combined.
- Cover the pan loosely with foil. Cook at 325°F (165°C) for 20–25 minutes, stirring once halfway through.
- Remove the foil and cook 5 more minutes to thicken. Taste and adjust the salt.
- Rest 5 minutes, then serve with your favorite toppings.
Equipment
- Air fryer (basket, oven, or Ninja Foodi)
- 7-inch air-fryer-safe pan, cake barrel, or silicone baking pan
- Aluminum Foil
- Instant-read thermometer
Notes
- The pan is not optional. Chili poured directly into the basket will leak into the drawer and spatter onto the element.
- Don’t skip the broth. Air fryers evaporate liquid quickly, and this is what keeps the chili from turning pasty.
- Cover during the simmer, uncover to finish. That’s the whole texture control.
- Better on day two. Make it ahead if you can.
- Diced beef version: substitute 1 lb chuck roast in ½-inch cubes, brown for 10–12 minutes, extend the covered simmer to 35–40 minutes, and add an extra ½ cup broth.
Nutrition
Share this recipe
We can’t wait to see what you’ve made! Mention @forktospoon or tag #forktospoon!