So a Ninja HyperHeat just landed on your counter. Maybe it’s replacing a tired slow cooker, maybe it’s your very first pressure cooker, or maybe you’ve been eyeing it since it launched earlier this year. Whatever brought you here, this guide will walk you from unboxing to your first real meal, with the tips that make the learning curve a lot gentler.
What the HyperHeat Actually Is
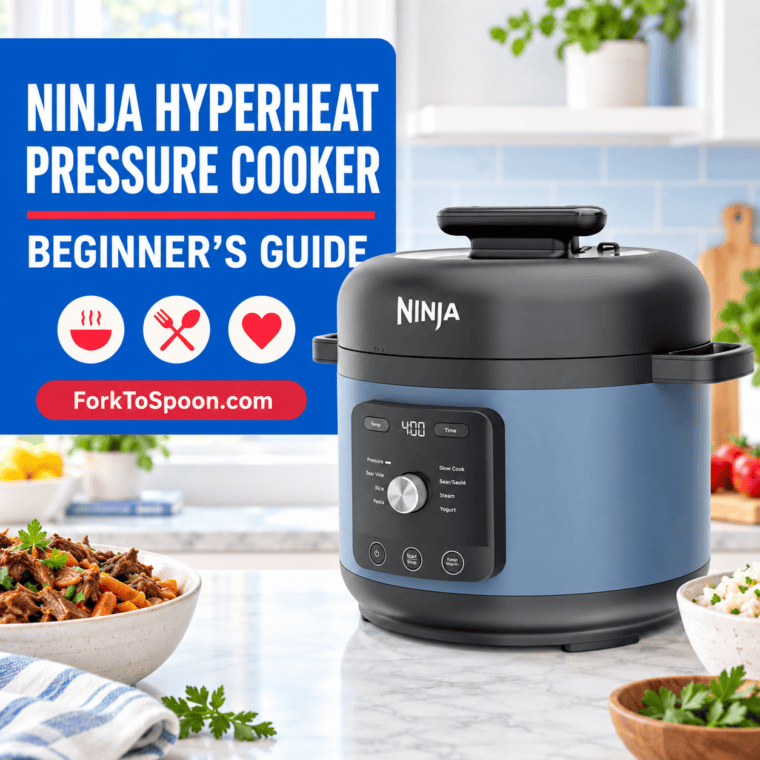
The HyperHeat is Ninja’s newest electric multi-cooker. The US model (PC201) holds 6.5 quarts, runs on 1200 watts, and packs nine programs into one appliance: Pressure Cook, Slow Cook, Rice, Pasta, Sear/Sauté, Steam, Sous Vide, Yogurt, and Keep Warm. Ninja’s pitch is speed: the “HyperHeat” name refers to how quickly it builds pressure, and the company says it gets dinner done up to twice as fast as traditional slow cooking.
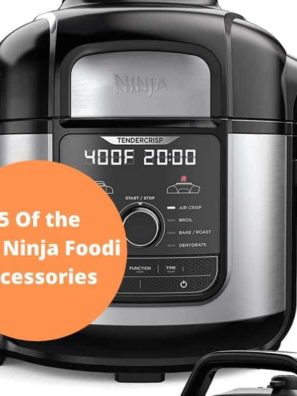
If you’ve owned a Ninja Foodi before, the biggest difference is that the HyperHeat has no air fryer lid. It’s focused purely on wet and moist cooking methods. The upside is that most Foodi pressure-cook and slow-cook recipes carry over without changes.
That’s great news if you’ve been cooking along with me here at Fork to Spoon. My Ninja Foodi recipes that use Pressure Cook, Slow Cook, or Sear/Sauté will work in your HyperHeat. The only ones to skip are recipes that call for Air Crisp, Bake, or Broil, since the HyperHeat doesn’t have a crisping lid.
A few design features are worth knowing about from day one. The pot is unusually wide (about 9.5 inches across), which gives you real room to brown meat without crowding. The removable pot, which Ninja calls the SimpliServe pot, is designed to go straight from the base to the table. And the cooking surface is a PFAS-free ceramic nonstick, so cleanup is usually just a quick wash. It’s big enough for a 4-pound chicken or a 5-pound roast, which comfortably feeds a crowd.

What’s in the Box
Unpack everything and check that you have:
- The cooker base, which houses the heating element and control panel.
- The pressure lid, with a silicone sealing ring on the underside, a pressure release valve that toggles between SEAL and VENT, and a small red float valve.
- The removable cooking pot.
- A quick start guide with a handful of starter recipes.
Depending on your region, a steaming rack may or may not be included. In the US, reviewers have noted you may need to buy the stainless steel rack separately if you plan to steam vegetables or cook eggs up off the bottom of the pot.
Also take a look at the back of the base: there’s a small condensation collector that slides out. It catches moisture during cooking and should be emptied and hand-washed after each use.
Step 1: Wash and Inspect Everything
Before you cook anything, wash the pot, the lid, and the silicone ring in warm, soapy water and dry them thoroughly. This clears away any manufacturing residue.
While you’re at it, get familiar with the lid. Run your finger around the silicone ring to make sure it sits snugly in its track with no twists or gaps. Check that the release valve and float valve move freely and aren’t blocked. A poorly seated ring is the single most common reason a pressure cooker won’t come up to pressure, so it’s worth learning what “correct” looks like now.
Step 2: Do the Water Test
The water test is a short practice run with nothing but water in the pot. It confirms your cooker seals properly and, just as importantly, lets you see and hear what normal pressure cooking looks like before real food is on the line.
- Place the pot in the base and add water. Use the amount listed in your quick start guide; a couple of cups is typical.
- Put the pressure lid on and lock it into place.
- Turn the pressure release valve to SEAL.
- Select Pressure Cook, set it to high, set a short time (2 to 5 minutes is plenty), and press start.
- Watch and listen. You’ll see a pressure-building indicator on the display, and you may hear some hissing and see a bit of steam at first. That’s normal. Once the red float valve pops up, the pot is sealed and the countdown begins.
- When the timer ends, turn the valve to VENT to release the steam. Keep your hands and face clear of the valve.
- Once the float valve drops back down, the lid will unlock. Open it by tilting it away from you, since some residual steam will escape.
That’s it. Congratulations: you’ve just pressure cooked.

Step 3: Understand Pressure Release
Nearly every pressure cooker recipe ends with one of two instructions, and knowing the difference matters.
Natural release means you do nothing. The cooker gradually loses pressure on its own, which usually takes somewhere between 10 and 20 minutes depending on how full the pot is. This is the right choice for meats, beans, grains, and anything foamy or liquid-heavy, because the gentle drop in pressure keeps meat tender and prevents sputtering.
Quick release means turning the valve to VENT as soon as cooking ends. Pressure drops in a minute or two. Use it for delicate foods that overcook easily, such as vegetables, pasta, and seafood.
Many recipes call for a combination: let it release naturally for 10 minutes, then vent the rest. Either way, the lid won’t open until the float valve has dropped, and that’s a safety feature, not a malfunction.

Step 4: Cook Your First Real Meal
Start simple so you can build confidence. Two great first recipes:
Plain rice. It’s quick, cheap, and teaches you the rhythm of the machine. One reviewer had great results using one cup of rice with just over a cup of water on the Rice setting for 6 minutes, followed by a natural release of about 10 minutes. Always check the rice-to-water ratio in the included guide for the type of rice you’re using. Once plain rice feels easy, try my Ninja Foodi Basmati Rice, Ninja Foodi Brown Rice, or Ninja Foodi Mexican Rice.
Hard-boiled eggs. My Easy Peel Ninja Foodi Hard-Boiled Eggs use the 5-5-5 method and are almost impossible to mess up. One HyperHeat note: the Foodi version holds the eggs in the Crisp Basket, so use a steam rack instead to keep the eggs up out of the water.
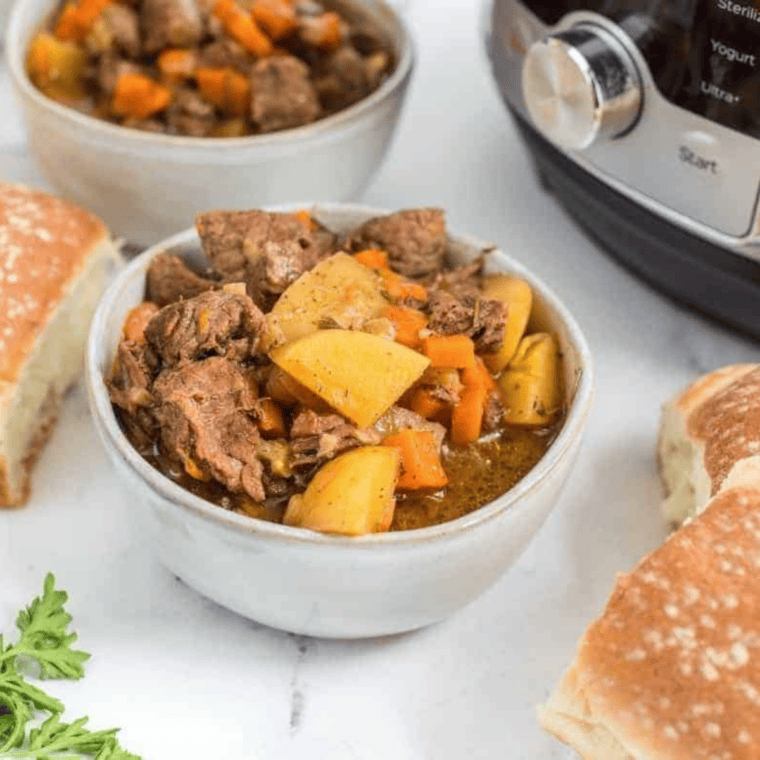
Seared pot roast or stew. This one shows off what makes the HyperHeat special. Season a chuck roast, brown it on all sides using Sear/Sauté right in the pot, then add vegetables and about a cup of liquid, lock the lid, set the valve to SEAL, and pressure cook. A natural release at the end gives you meat that falls apart with a fork, all in a single pot. My Copycat Cracker Barrel Beef Stew uses the same sear-then-pressure approach and is a perfect next step.
Beginner Rules Worth Memorizing
- Always add liquid when pressure cooking. The cooker needs steam to build pressure. A good rule of thumb is at least one cup of thin liquid unless a tested recipe says otherwise.
- Respect the MAX line. Never fill past it, and fill even less for foods that foam or expand, like beans and grains.
- Double-check the valve. SEAL for pressure cooking. For functions that don’t build pressure, follow the setting your manual specifies for that program.
- Deglaze after searing. After browning meat, pour in a splash of broth and scrape up the stuck-on bits before pressure cooking. It adds flavor and helps prevent burn warnings.
- Use soft utensils. Wood or silicone tools will help the ceramic nonstick coating last.
Quick Troubleshooting
Steam keeps hissing from the edge of the lid. The silicone ring probably isn’t seated properly. Stop the cycle, release pressure, and reseat the ring.
It never comes up to pressure. Check that the valve is on SEAL, that there’s enough liquid, and that the ring is in place.
The lid won’t open. The float valve is still up, meaning there’s still pressure inside. Wait, or vent the remaining steam. Never force the lid.
Your ring smells like last night’s curry. Silicone absorbs strong odors. Wash it thoroughly after each use, and consider keeping a second ring just for yogurt and sweet dishes.

Caring for Your HyperHeat
After each use, wash the pot, ring, and lid, and empty the condensation collector. Wipe the base with a damp cloth, but never submerge it in water. Every so often, pop out the silicone ring and clean the groove it sits in. A little routine care keeps the seal tight and the cooker working reliably for years.
Where to Go Next
Once you’ve nailed rice and a roast, branch out. Here are a few of my Ninja Foodi recipes that work beautifully in the HyperHeat:
- Quick and Easy Ninja Foodi Spaghetti: a one-pot meat sauce and pasta dinner, ready in under 30 minutes.
- Easy Ninja Foodi Shrimp Risotto: creamy risotto without the constant stirring.
- Copycat Cheesecake Factory Chicken & Rice Soup: a cozy soup that uses Sear/Sauté and Pressure Cook together.
- 20 of the Best Ninja Foodi Chicken Recipes: a roundup of weeknight chicken ideas (stick with the pressure cooker and slow cooker ones).
- 50 of the Best Ninja Foodi Recipes: my big collection, if you want to browse.
When you’re ready to explore the functions the Foodi didn’t always have, try homemade yogurt or a sous vide steak finished with a quick sear.
The first few uses feel like a lot of new buttons and valves. By the third or fourth meal, it becomes the appliance you reach for without thinking. Happy cooking!