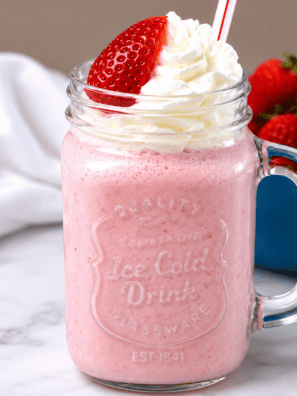
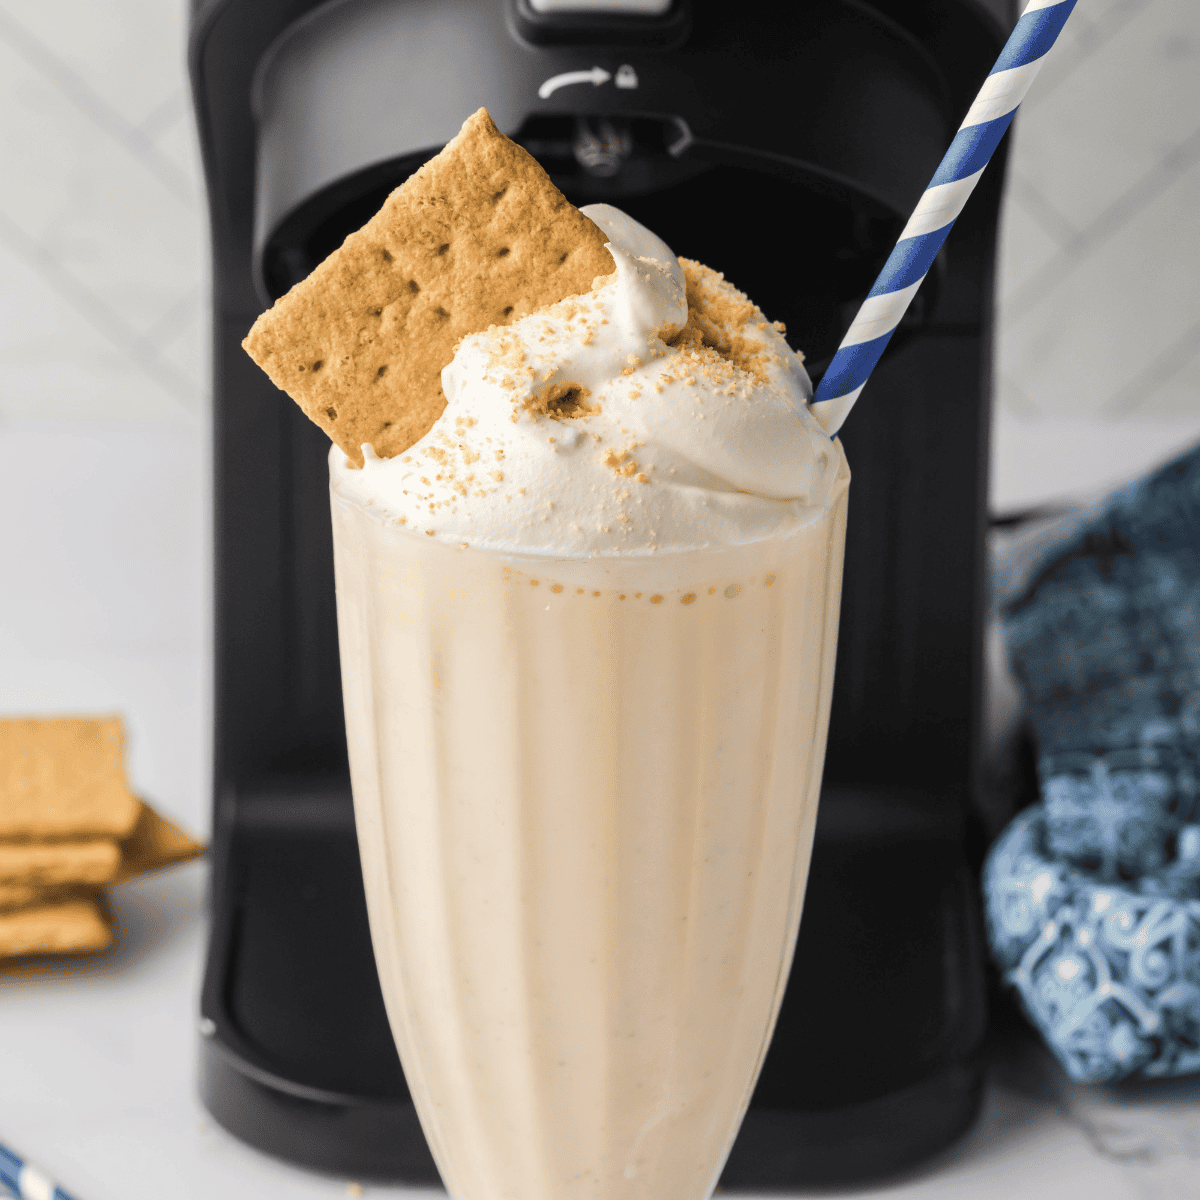
This Ninja Creami vanilla milkshake turns four simple ingredients into a thick, frosty, ice-cream-shop-style shake in about five minutes. If you want classic vanilla flavor with a smooth, velvety texture — no special skills required — this is the recipe to bookmark.

Why you’ll love it:
- Only 4 ingredients (one of them optional) and zero fancy technique.
- Ready in minutes — no overnight freezing required when you start with store-bought ice cream.
- Thicker and creamier than a blender shake, thanks to the Creami’s Creamify paddle.
- Endlessly customizable with toppings, mix-ins, and dairy-free swaps.
Can You Make a Milkshake in the Ninja Creami?
Yes. The Ninja Creami has a dedicated Milkshake program built for exactly this. You add a frozen base (here, vanilla ice cream) plus a liquid (milk), and the Creamify paddle shaves and churns it into a smooth, pourable shake. Because store-bought ice cream is already frozen, you can skip the usual 24-hour freeze step and process right away.
If your model doesn’t have a Milkshake setting, use the Ice Cream program followed by a Re-spin — you’ll get the same result.
Ingredients
You only need a few pantry and freezer staples. Exact amounts are in the recipe card below.
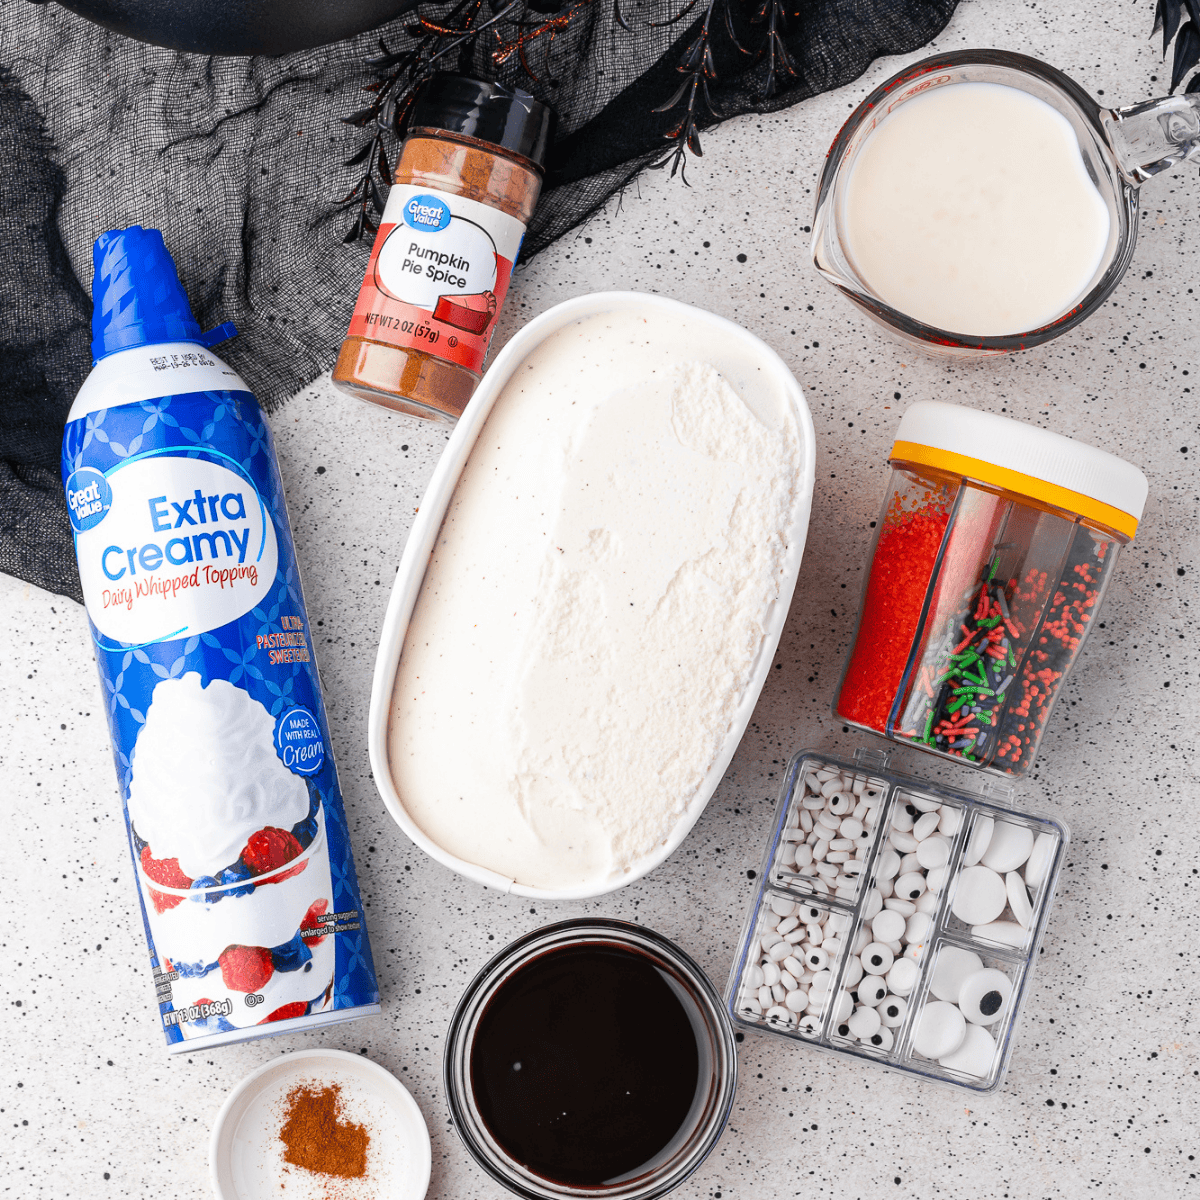
- Vanilla ice cream — the base and the star. Use a good-quality vanilla; richer ice cream makes a creamier shake. Want to go fully homemade? Spin up a batch of Ninja Creami vanilla bean ice cream or this copycat Blue Bell vanilla ice cream and use that as your base.
- Milk — whole milk gives the most classic, creamy result. Low-fat or plant-based milk (almond, oat, coconut) also works.
- Pure vanilla extract (optional but recommended) — a small splash deepens the vanilla flavor and rounds out the sweetness.
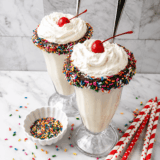
- Optional toppings & mix-ins: whipped cream, rainbow sprinkles, chocolate sauce, a maraschino cherry, or crushed cookies all turn this into a true treat.Feel free to explore and experiment with different flavors and toppings to make your Ninja Creami Vanilla Milkshake uniquely yours.
How to Make a Ninja Creami Vanilla Milkshake
Step 1: Add your ingredients
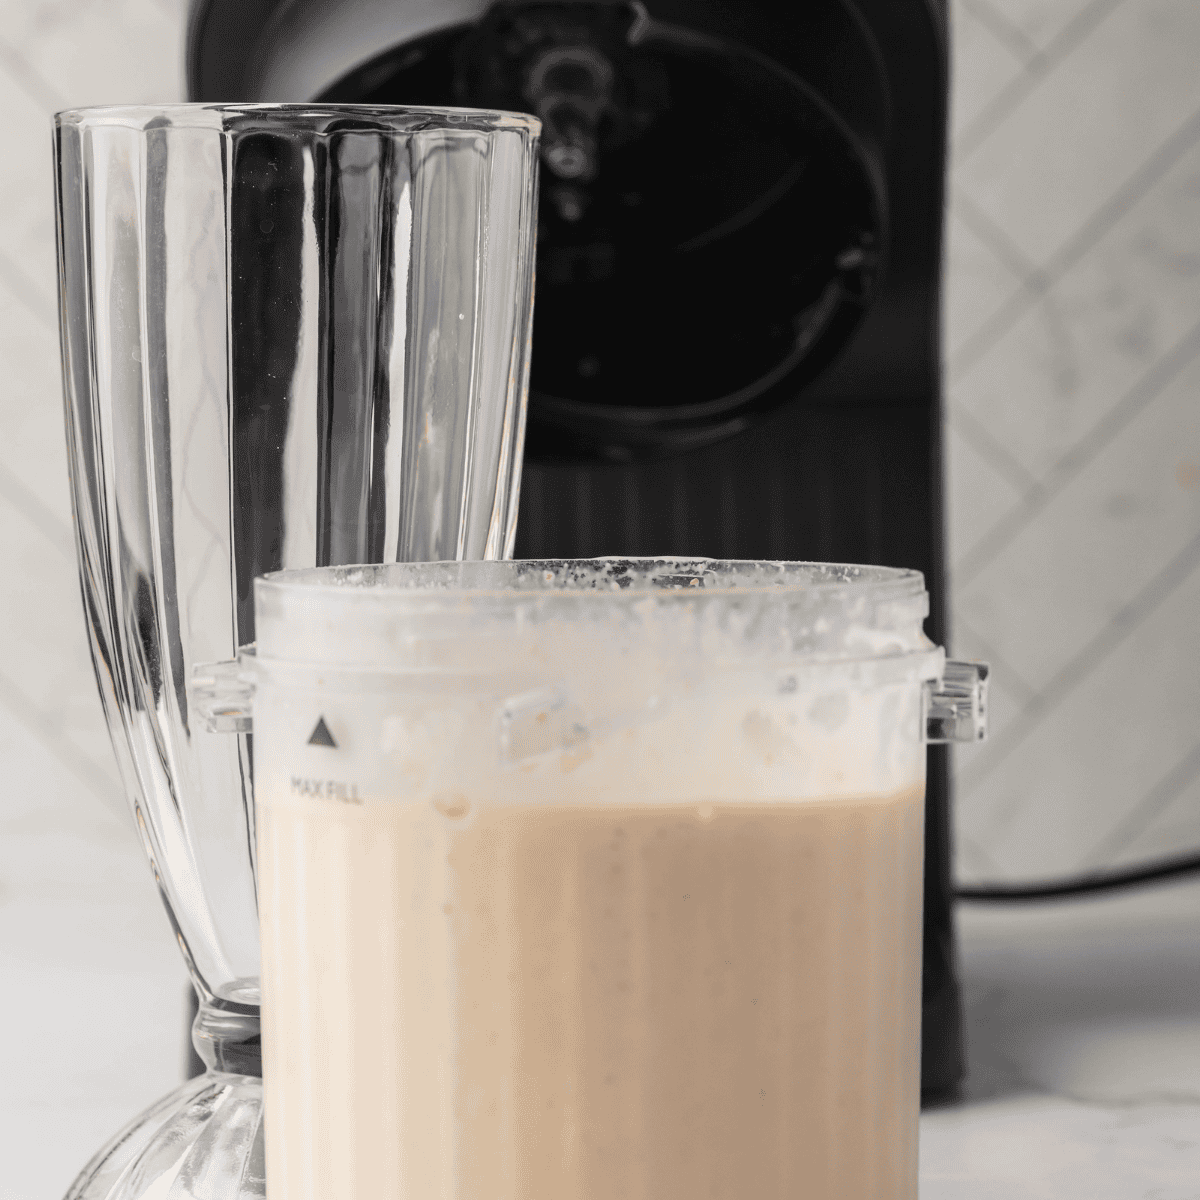
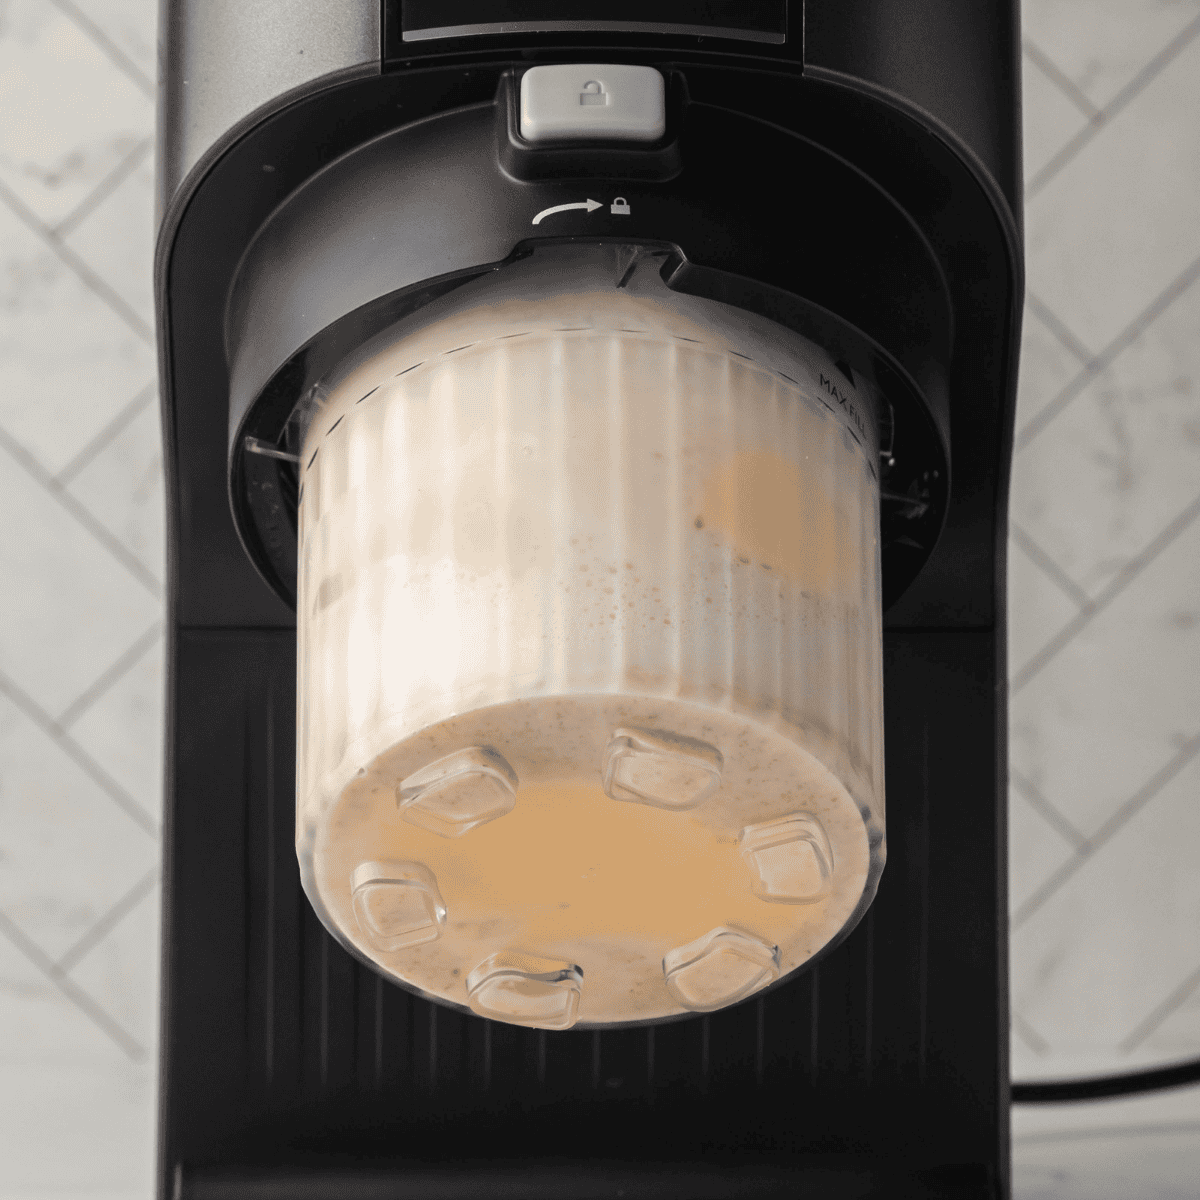
Add the vanilla ice cream, milk, and vanilla extract directly to a Ninja Creami pint container.
Step 2: Process on the Milkshake program
Place the pint into the outer bowl, lock it into the base, and select the Milkshake program. Let it run for 2–3 minutes.
Step 3: Check the texture (and Re-spin if needed)
The shake should be smooth and pourable. If it looks crumbly or too thick, add a splash more milk and run a Re-spin.
Step 4: Pour, top, and serve
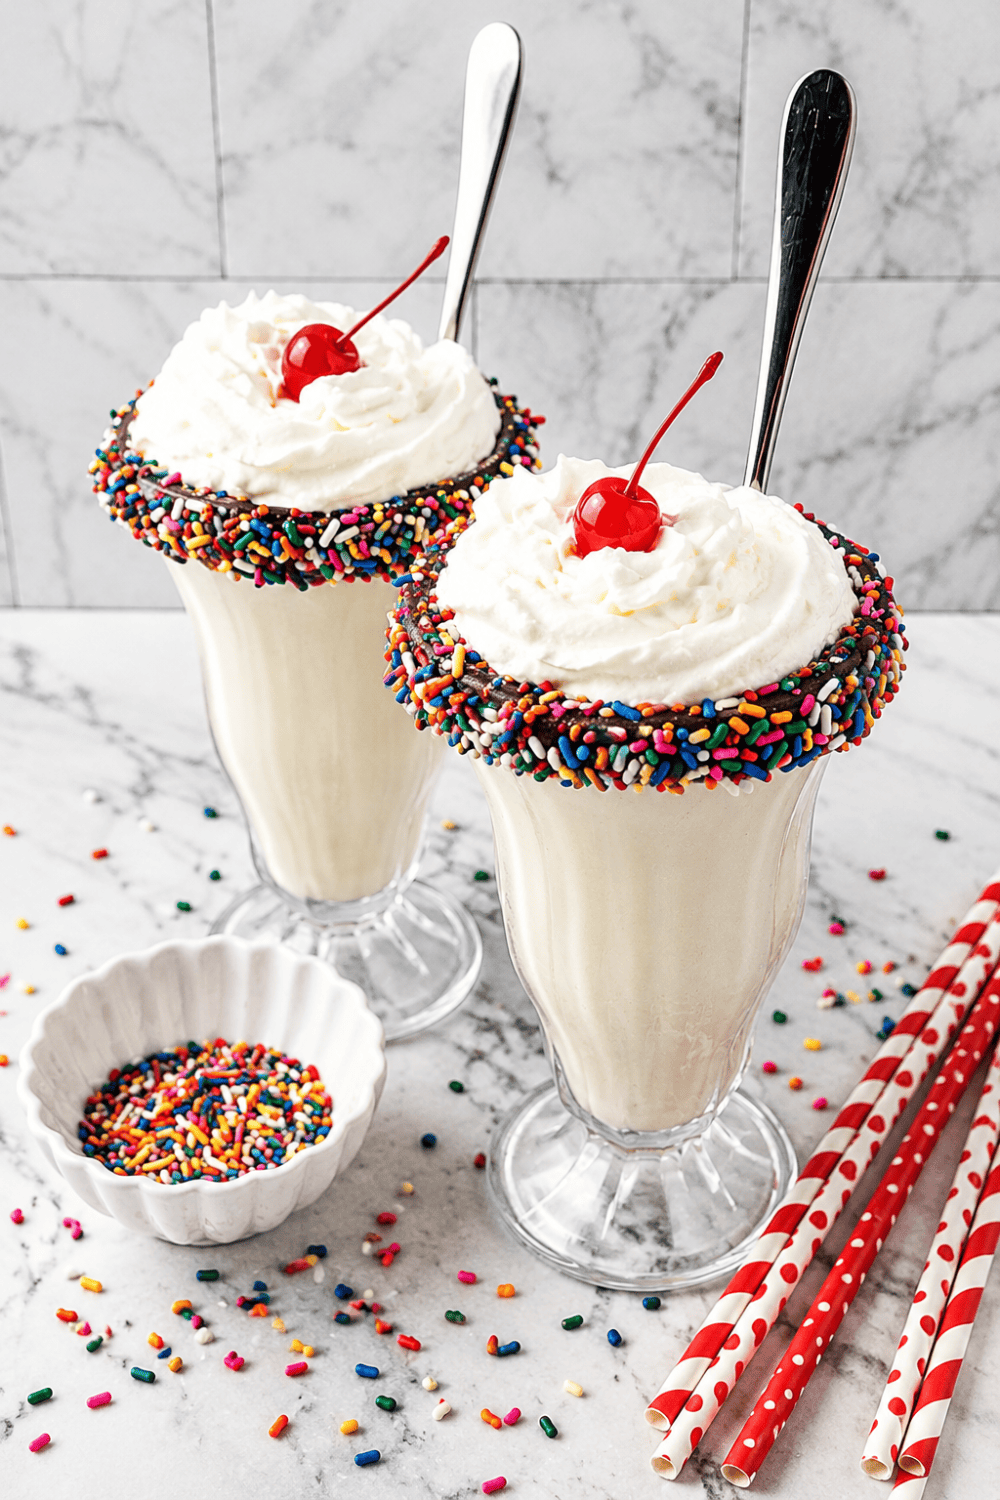
Pour into a chilled glass, add your favorite toppings, and serve immediately.
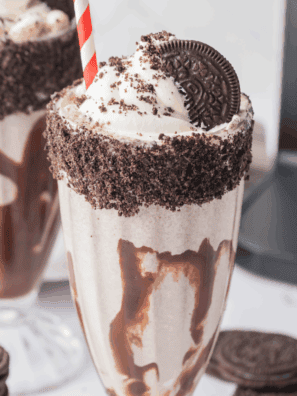
How to Make the Optional Sprinkle Rim
Want that bakery-window look? Add a decorative rim before you pour:
- Spread rainbow sprinkles on a shallow plate.
- Add mini chocolate chips to a small microwave-safe bowl and microwave at 50% power in 90-second bursts until melted (about 2–3 minutes total), stirring between bursts.
- Dip the rim of each glass into the melted chocolate, then roll it in the sprinkles until evenly coated.
- Set upright to set while you make the shake.
Pro Tips for the Thickest, Creamiest Shake
- Save heavy mix-ins for the end. Stir crushed cookies or chocolate chips in after processing so they keep their texture.
- Start with cold everything. Well-frozen ice cream and cold milk give you the frostiest result. You can even chill your serving glass in the freezer.
- Mind the milk-to-ice-cream ratio. Less milk = thicker shake; more milk = thinner. Start with less and add gradually until it’s just right.
- Re-spin for softness. If the texture is icy or crumbly after the first run, a Re-spin smooths it out fast.
- Add flavor boosters. A spoonful of peanut butter, a swirl of caramel, or a pinch of cinnamon takes the flavor up a notch.

How to Make It Your Way
| Goal | Swap |
|---|---|
| Dairy-free / vegan | Plant-based vanilla ice cream + almond, oat, or coconut milk |
| Lighter version | Light or reduced-fat vanilla ice cream + low-fat milk |
| Extra thick | Add more ice cream or reduce the milk |
| Chocolate-vanilla | Drizzle chocolate sauce in the glass before pouring |
| Cookies & cream | Stir in crushed sandwich cookies after processing |
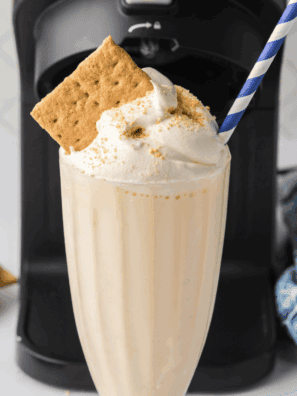
In the mood to scoop instead of sip? The same vanilla base shines as Ninja Creami vanilla soft serve or a silky Ninja Creami vanilla gelato.
Frequently Asked Questions
Can I use any type of vanilla ice cream?
Yes. Classic, premium, or specialty vanilla all work — premium brands simply give a richer, creamier shake. Use whichever you enjoy most.
Can I make this milkshake dairy-free?
Absolutely. Swap in a plant-based vanilla ice cream and a dairy-free milk like almond, oat, or coconut. Choose one whose flavor complements vanilla.
How do I make my milkshake thicker?
Use more ice cream or less milk. Start with a small amount of milk and add gradually. For an extra-thick shake, pop it in the freezer for a few minutes after processing.
Can I make a vanilla milkshake without a Ninja Creami?
Yes — a standard blender, immersion blender, or even a hand mixer will work. The Creami just produces a noticeably thicker, smoother texture.
How do I make a healthier version?
Use light or reduced-fat vanilla ice cream and a lower-fat milk, and consider a sugar alternative if you’re watching added sugar.
More Ninja Creami Recipes to Try
If you loved this milkshake, keep the Creami running with a few more reader favorites:
Copycat Cold Stone Cotton Candy Ice Cream
Ninja Creami Mexican Vanilla Ice Cream
Ninja Creami Vanilla Almond Ice Cream
Cold Stone Coffee Ice Cream (Ninja Creami Copycat)
Ninja Creami Vanilla Milkshake
Description
Ingredients
For the milkshake
- 2¼ cups vanilla ice cream
- ¾ cup milk
- ½ teaspoon pure vanilla extract, optional
For the sprinkle rim (optional)
- ⅓ cup rainbow or chocolate sprinkles
- ¼ cup mini chocolate chips
For garnish (optional)
- ½ cup whipped cream
- 2 teaspoons rainbow or chocolate sprinkles
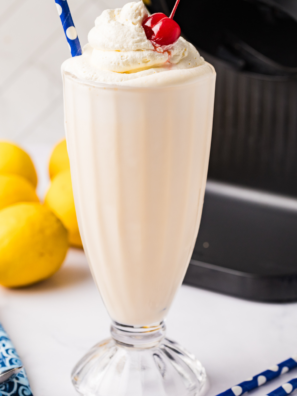
- 2 maraschino cherries
Instructions
- Add the vanilla ice cream, milk, and vanilla extract to a Ninja Creami pint container.
- Place the pint into the outer bowl and lock it into the machine. Select the Milkshake program and process for 2–3 minutes. (No Milkshake setting? Use Ice Cream, then Re-spin.)
- If the shake looks crumbly or too thick, add a splash more milk and run a Re-spin until smooth.
- Pour into a glass, add your toppings, and serve immediately.
- Optional sprinkle rim: Spread sprinkles on a shallow plate. Microwave the mini chocolate chips at 50% power in 90-second bursts until melted (2–3 minutes total), stirring between bursts. Dip each glass rim in the chocolate, roll in sprinkles, and set upright to dry before pouring.
Equipment
- NInja Creami Machine
- Ninja Creami Pint Container
Notes
- Texture control: Less milk = thicker shake; more milk = thinner. Re-spin anytime it’s too icy.
- Dairy-free: Use plant-based vanilla ice cream and a dairy-free milk.
- Chilled glasses keep your shake colder and frostier for longer.
Nutrition
Share this recipe
We can’t wait to see what you’ve made! Mention @forktospoon or tag #forktospoon!