If you are lookin for the perfect coffee ice cream recipes, look no further than my Ninja Creami Coffee Ice Cream Recipe!

If you love coffee flavored ice cream this is the perfect recipe for your Ninja Creami Ice Cream Machine!
If you love all things Ninja Creami, try my recipe for Ninja Creami Strawberry Ice Cream With Condensed Milk, Ninja Creami Chocolate Toffee Ice Cream, Ninja Creami Toffee Ice Cream, Ninja Creami Lemon Sorbet or Ninja Creami Gingerbread Ice Cream.
Easy Ninja Creami Coffee Ice Cream Recipe
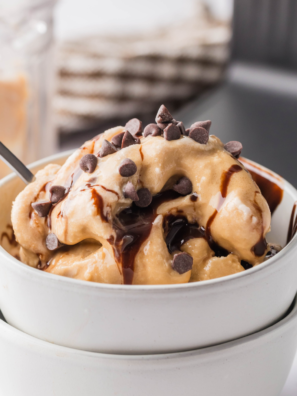
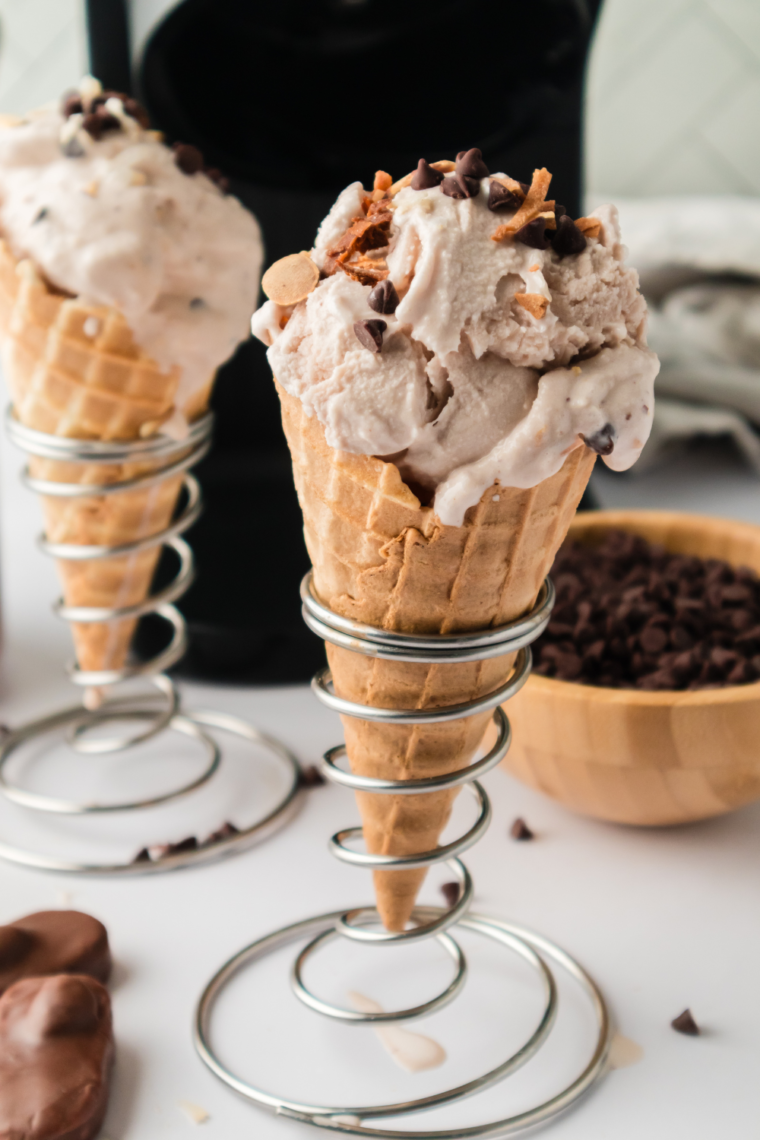
Creating a creamy coffee ice cream using the Ninja Creami is both simple and satisfying. This is perfect for anyone who loves coffee, homemade coffee ice cream hits the spot!
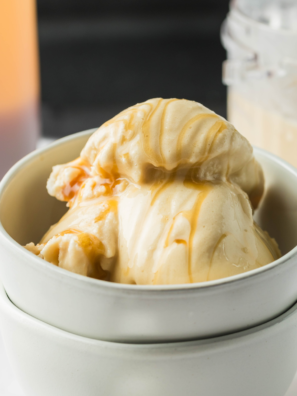
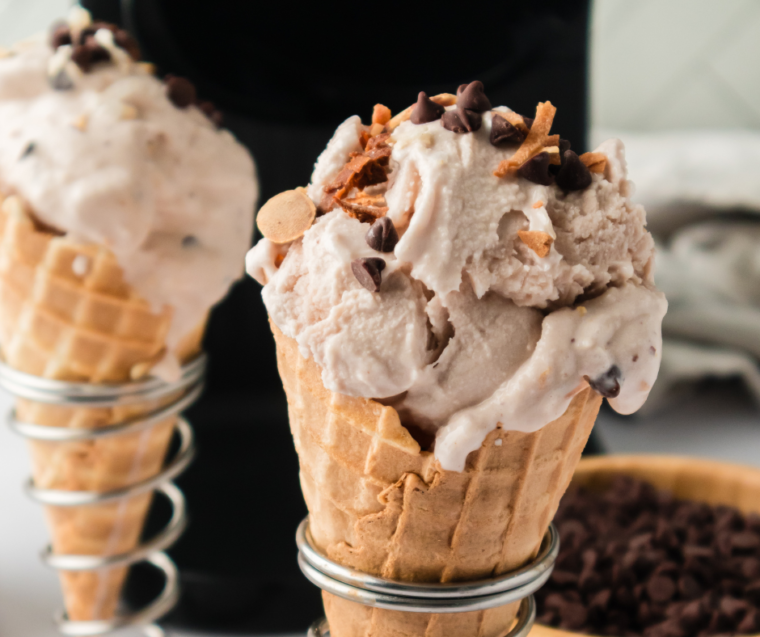
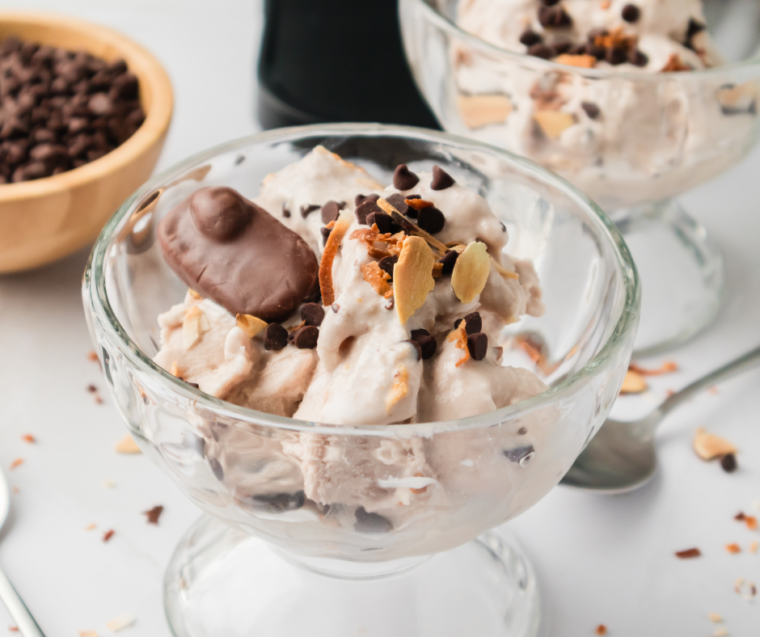
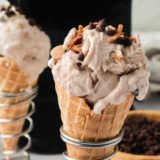
Enjoy this homemade treat with its robust coffee flavor and creamy texture, perfect for cooling down on a hot day or as a delightful dessert after any meal.
Ingredients Needed For Ninja Creami Coffee Ice Cream
Here are the simple ingredients, you will need to make homemade coffee ice cream in Ninja Creami machine!
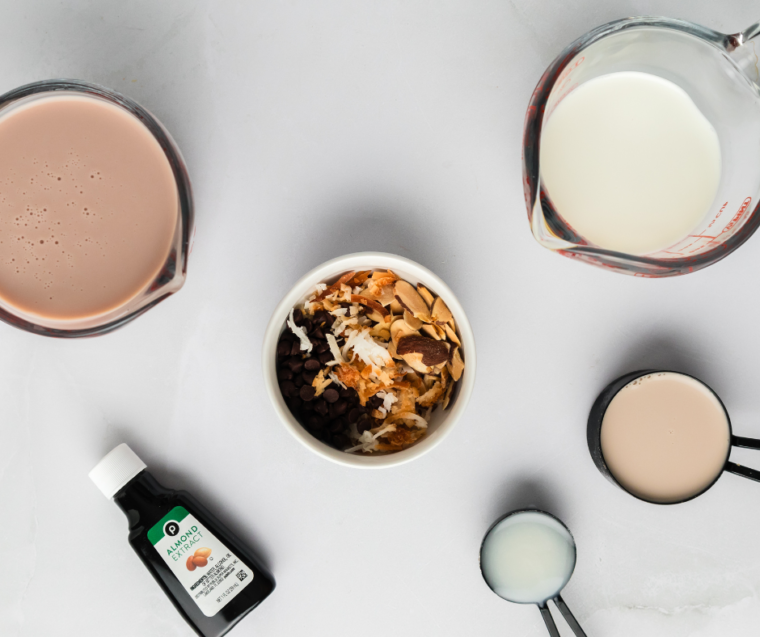
- Whole Milk: Provides the rich, creamy base that gives the ice cream its luxurious texture.
- Brewed Coffee: Infuses the ice cream with a robust coffee flavor, ensuring each bite has a delightful caffeine kick.
- Maple Syrup: Adds sweetness to the ice cream.
- Almond or Vanilla Extract: For added flavor.
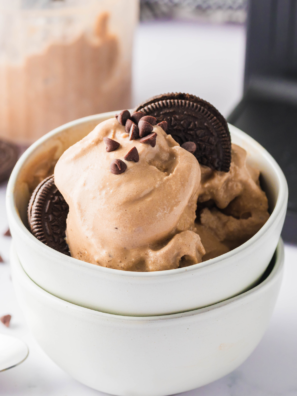
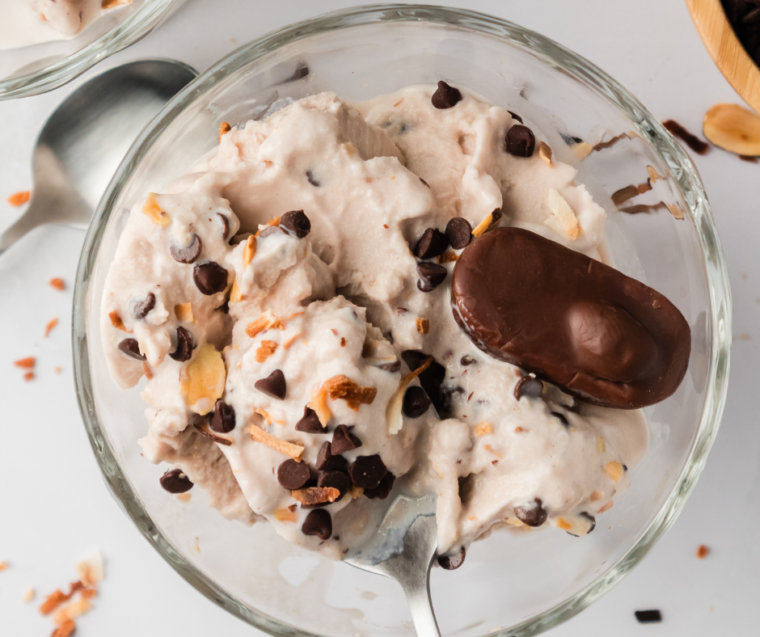
- Optional: Chocolate Chips or Caramel Swirls: Enhances the ice cream with additional texture and flavor, making each spoonful a delightful treat.
How To Make Coffee Ice Cream In Ninja Creami
Making coffee ice cream in a Ninja Creami is straightforward and yields delicious results. Here’s how you can do it:
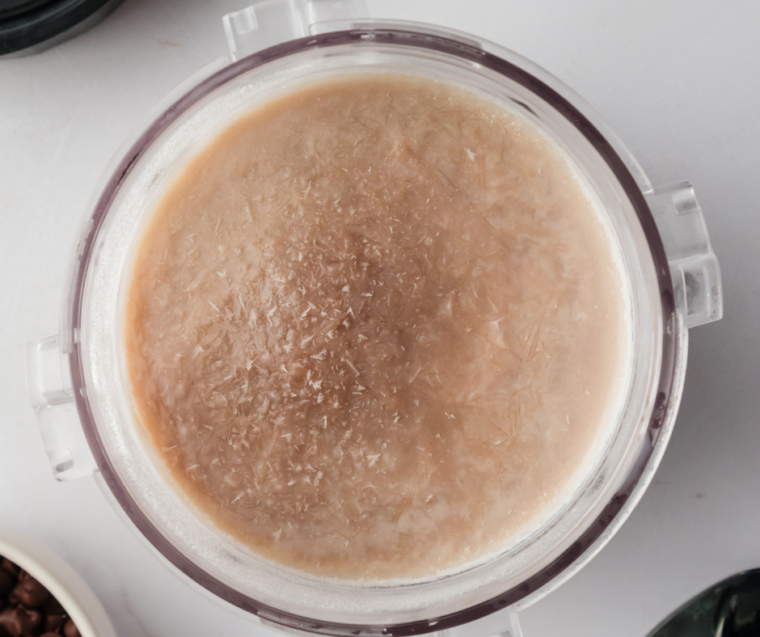
Step One: Prepare The Coffee Ice Cream Base In a large mixing bowl, combine the milk, brewed coffee, maple syrup, and almond or vanilla extract. Whisk the mixture thoroughly until smooth and well-combined.
Step Two: Freeze Pour the mixture into an empty Ninja Creami pint container, place the lid on the container, and place into the freezer, on a level surface, and freeze for 24 hours.
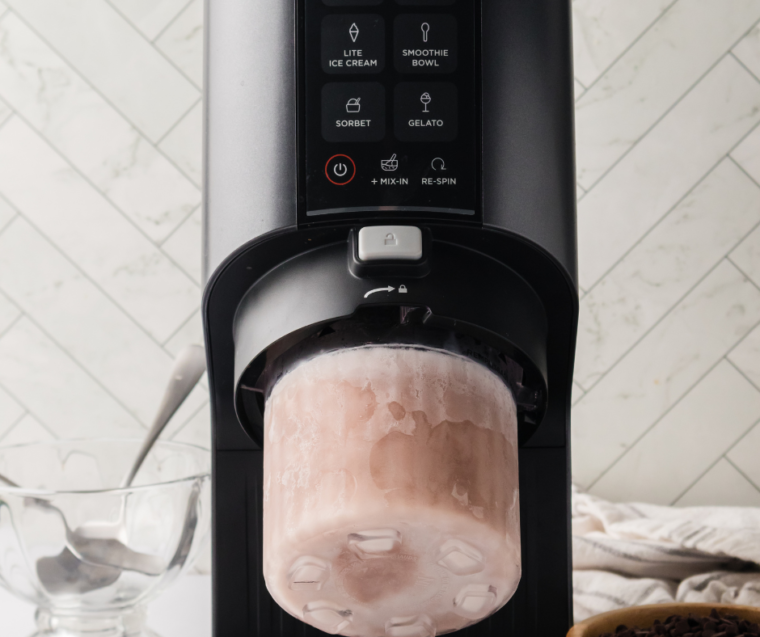
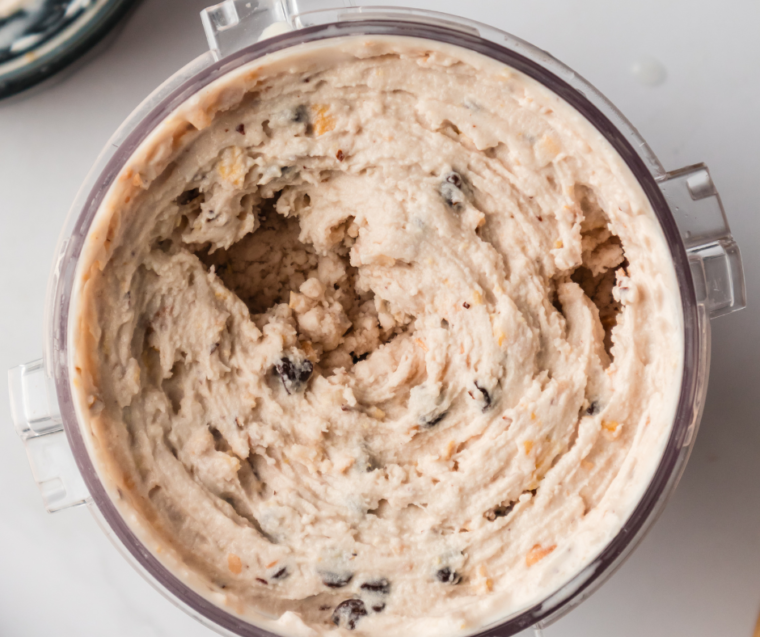
Step Three: Process Remove the pint container from the freezer and remove the lid. Add the pint to the bowl of the Ninja Creami and secure the lid. Insert the bowl into the machine, locking it into place. Select the Ice Cream function. Once the ice cream has been spun, remove it from the machine.
If you would like mix ins, use a long wooden spoon to create a well in the ice cream that is about 1.5 inches wide and reaches the bottom of the pint. Add chocolate chips or cholate bites to this well.
Reinsert the bowl into the machine and use Mix In function. Once finished, remove from the machine and serve.
Recipe Variations For Ninja Creami Coffee Ice Cream
- Ninja Creami Protein Coffee Ice Cream Recipe: Add 1-2 teaspoons of vanilla protein powder. You can also use Fairlife Milk for added protein.
- Ninja Creami Healthy Coffee Ice Cream: Use low fat milk.
- Ninja Creami Dairy Free Coffee Ice Cream: Use your favorite dairy free milk alternative.
- Ninja Creami Lite Coffee Ice Cream: Use low fat milk.
- Ninja Creami Ice Cream Recipes Coffee Creamer: Use your favorite coffee creamer.
Pro Tips For Ninja Creami Coffee Ice Cream Recipe
- Use Cold Ingredients: Ensure that your heavy cream and brewed coffee are cold before mixing.
- Balancing Sweetness: Adjust the sweetness level according to your taste, add maple syrup, to balance the flavors.
- Add Mix-Ins Carefully: If you’re adding mix-ins like chocolate chips or caramel swirls, incorporate them gently towards the end of the churning process to evenly distribute them without over-mixing.
- Freeze Properly: Place the Ninja Pint Container on a level surface in the freezer, to prevent spilling.
- Experiment with Flavors: Don’t hesitate to experiment with different coffee flavors or types of coffee (e.g., espresso, cold brew) to find your favorite coffee profile in the ice cream.
Easy Ninja Creami Coffee Ice Cream Recipe Faqs
Can I use instant coffee instead of brewed coffee? Instant coffee can be used, but make sure to dissolve it in a small amount of hot water first to avoid graininess in your ice cream.
How do I prevent ice crystals from forming in my ice cream? Pressing plastic wrap directly onto the surface of the ice cream before sealing the container can help minimize ice crystal formation.
Can I add alcohol to the ice cream mixture? Adding a small amount of alcohol like vodka can help keep the ice cream soft and scoopable, but be cautious not to add too much as it can affect the freezing process.
Can I make dairy-free coffee ice cream in the Ninja Creami? Yes, substitute dairy with your preferred non-dairy milk and cream alternatives, ensuring they have a similar fat content for creaminess.
More Ninja Creami Recipes
- NINJA CREAMI PEACH ICE CREAM
- NINJA CREAMI STRAWBERRY MILKSHAKE
- EASY NINJA CREAMI COPYCAT SONIC NERDS SLUSHES
- NINJA CREAMI PUMPKIN ICE CREAM
- NINJA CREAMI BUTTERSCOTCH ICE CREAM
- EASY NINJA CREAMI STRAWBERRY ICE CREAM
- NINJA CREAMI MANGO SORBET
Don’t Forget To Follow Us Along on Social Media; Instagram, Facebook, and TikTok, and Join Our Facebook Page and group for all your Air Fryer Recipes and Tips!
Ninja Creami Coffee Ice Cream
Description
Ingredients
- 3/4 cup whole milk
- 3/4 cup brewed coffee, cold
- 1 teaspoon vanilla extract, or almond extract
- 1 teaspoon maple syrup, adjust to taste
Instructions
- In a large mixing bowl, combine the milk, brewed coffee, almond or vanilla extract, and maple syrup. Whisk the mixture thoroughly until smooth and well-combined.
- Pour the mixture into an empty Ninja Creami pint container, place the lid on the container, and place into the freezer, on a level surface, and freeze for 24 hours.
- Remove the pint container from the freezer and remove the lid. Add the pint to the bowl of the Ninja Creami and secure the lid. Insert the bowl into the machine, locking it into place. Select the Ice Cream function. Once the ice cream has been spun, remove it from the machine.
- If you would like mix ins, use a long wooden spoon to create a well in the ice cream that is about 1.5 inches wide and reaches the bottom of the pint. Add chocolate chips or cholate bites to this well.
- Reinsert the bowl into the machine and use Mix In function. Once finished, remove from the machine and serve.
Equipment
- Ninja Creami Ice Cream Machine
- Ninja Creami Pint Containers
- Ninja Creami Pint Container Lids
Nutrition
Share this recipe
We can’t wait to see what you’ve made! Mention @forktospoon or tag #forktospoon!