Most air fryer pot pie recipes are a lie of omission. They show you a golden, blistered crust in 12 minutes and quietly skip the part where the beef inside has to become tender first — and no air fryer on earth is going to turn stew meat tender in 12 minutes.
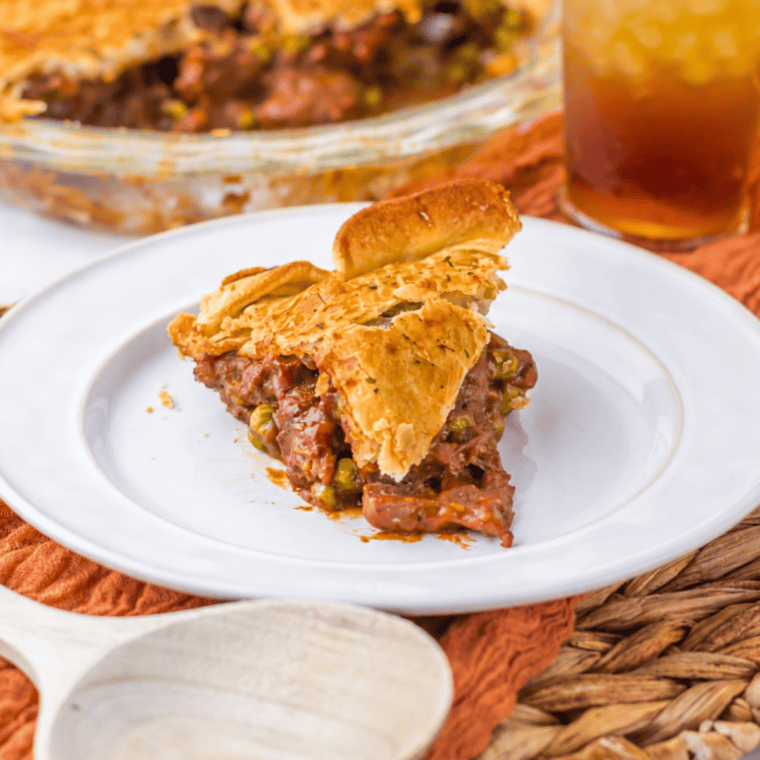
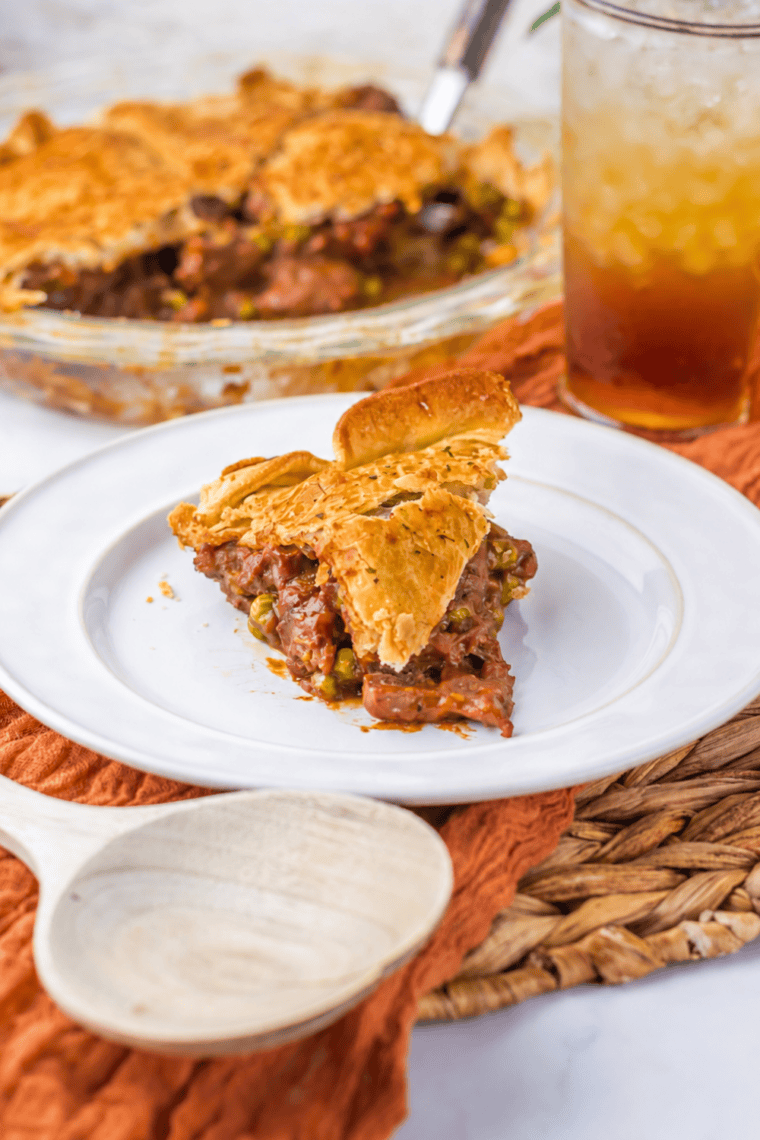
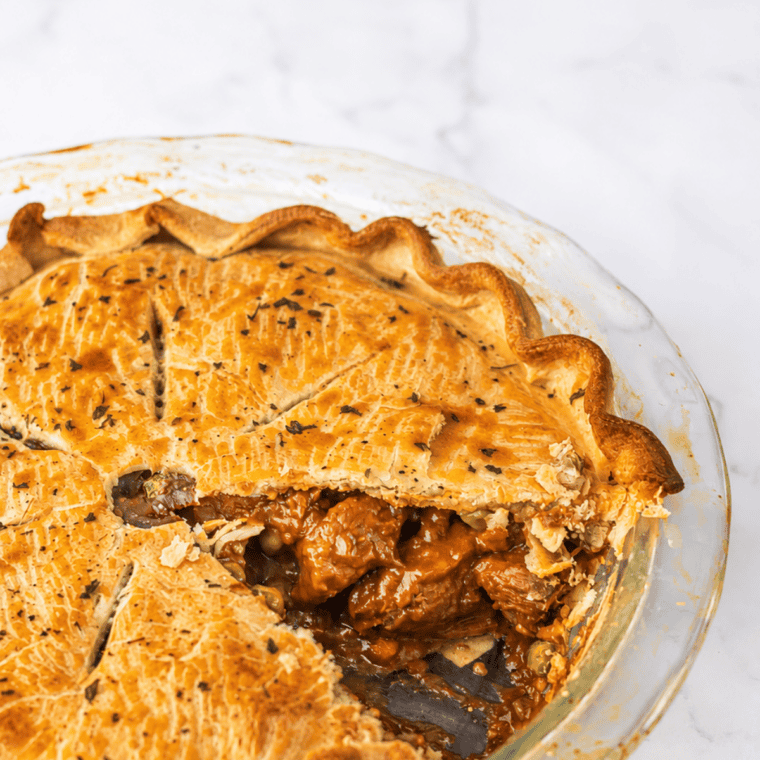
So here’s the honest version: the filling is a proper braise, made low and slow on the stovetop until the beef falls apart under a fork. Then the air fryer does the one thing it does better than a full-size oven — it takes a raw pie crust and turns it deep golden, shatteringly flaky, and puffed at the edges, in about fifteen minutes without heating your whole kitchen to 400°F.
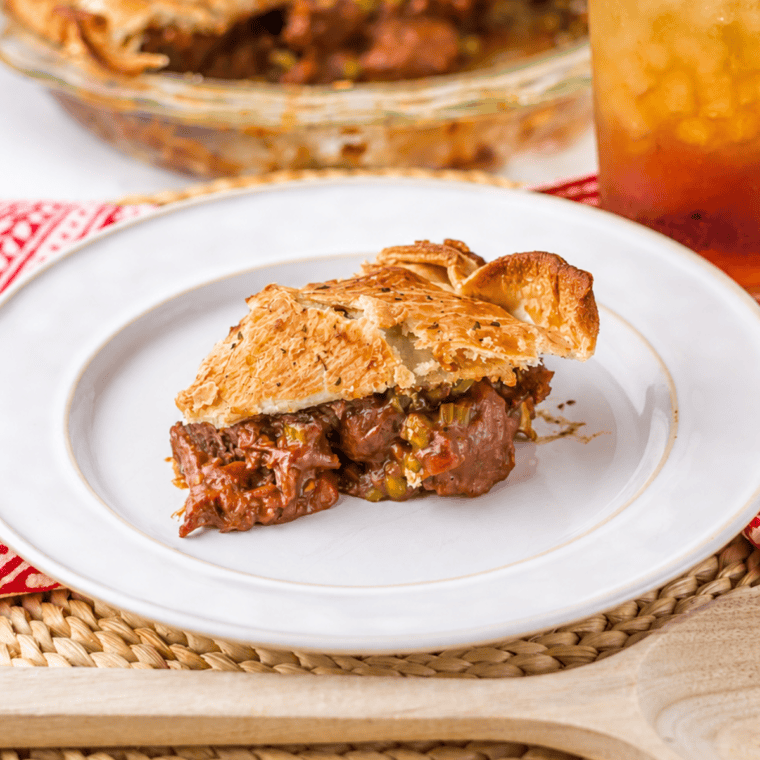
That’s the trade. Two hours of mostly-unattended simmering, then a fast finish. What you get is a pot pie with a gravy so glossy and savory it clings to the spoon, and a crust that’s crisp on top and soaked with beef gravy underneath, which is the entire point of a pot pie.
Why This Recipe Works
- The gravy packet is doing real work. Purists will clutch their pearls, but a packet of brown gravy mix whisked into homemade braising liquid is a shortcut with genuine payoff. It brings roasted-beef depth, body, and enough seasoning that you’ll notice there’s no salt anywhere in the ingredient list — between the packet, the soy sauce, and the Worcestershire, the salt is already handled.
- Soy sauce plus Worcestershire plus a spoonful of sugar is the umami trio that makes people ask what’s in this. The soy sauce brings glutamates, the Worcestershire brings tamarind and anchovy funk, and the sugar rounds off the sharp edges and helps the whole thing taste like it simmered even longer than it did.
- Tomato paste gets bloomed, not stirred in. Cooking the paste directly against the hot pan for a minute until it darkens to brick red is a thirty-second step that adds an hour’s worth of flavor.
- The crust goes on cold filling. Non-negotiable. Warm filling melts the butter in the pastry before it hits the heat, and melted butter means dense, soggy crust instead of flaky layers.
Ingredients
Here’s what each ingredient is doing and what you can swap it for. The exact measurements are in the printable recipe card at the bottom of the post.
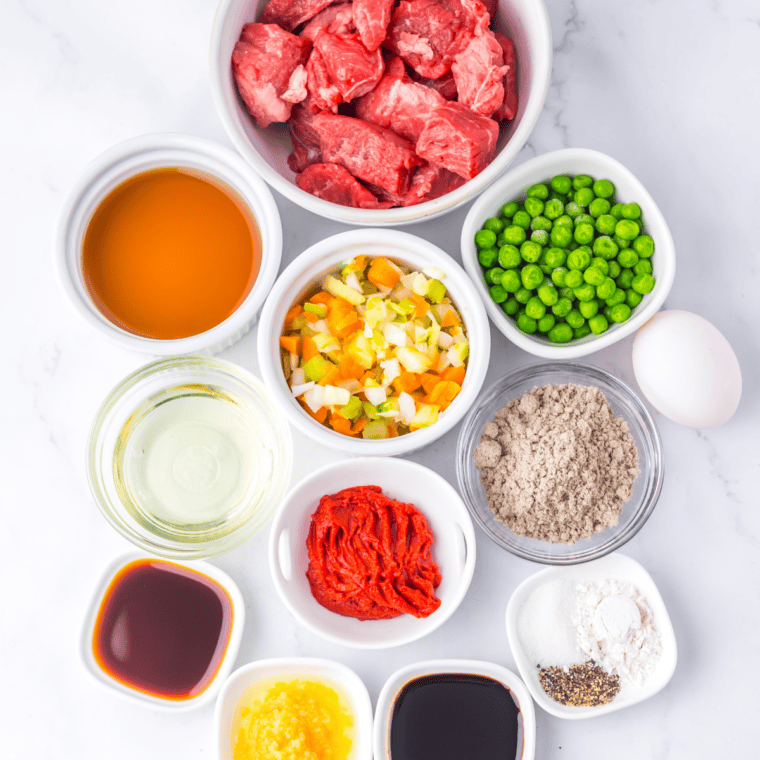
- Vegetable Oil: High smoke point, so it can get hot enough to sear the beef hard without smoking. Swap: canola, avocado, or beef tallow. Not butter alone — it burns.
- Beef Stew Meat: Full of collagen, which melts into gelatin over a long simmer and gives the gravy its silky body. Lean cuts can’t do that. Swap: cube your own chuck roast — same price, better consistency.
- Black Pepper: A full teaspoon rubbed on before searing becomes part of the crust, giving warm heat rather than a sharp bite. Swap: coarse cracked pepper has more pop than pre-ground.
- Onion, Celery, and Carrot: The aromatic base every braise is built on — sweetness, savory depth, and enough carrot sugar to balance the salt coming later. Swap: frozen mirepoix saves ten minutes. Don’t skip the celery; it’s the one people cut and the one that matters.
- Tomato Paste: Concentrated umami plus a little acidity to keep the gravy from tasting flat. Fry it against the hot pan until brick red. Swap: double the amount of ketchup, and cut the sugar.
- Garlic: Aromatic backbone. Goes in after the vegetables soften — it burns in about 90 seconds and turns bitter. Swap: 2 tsp garlic powder, stirred in with the flour.
- All-Purpose Flour: Cooked into the fat, it makes a roux that keeps the gravy glossy instead of watery. Swap: for gluten-free, use cornstarch whisked into cold broth and added at the end — it loses power over a long simmer.
- Beef Broth: Two hours of simmering concentrates whatever’s in it, salt included, so reach for low-sodium here. Swap: trading ½ cup for red wine or stout is the easiest upgrade in the recipe.
- Brown Gravy Mix: Brings roasted depth, body, and enough seasoning that this recipe needs no added salt at all. Swap: my copycat McCormick brown gravy mix takes five minutes and skips the caramel color, or build it from a roux like my Texas Roadhouse brown gravy. Going without entirely? Add ½ tsp salt and a spoonful of beef base.
- Worcestershire, Soy Sauce, and Sugar: The trio that makes people ask what’s in this. Worcestershire brings tamarind and anchovy funk, soy sauce brings glutamates that make beef taste more like beef, and the sugar rounds off the sharp edges. Swap: tamari or coconut aminos for gluten-free; brown sugar for a molasses note.
- Peas: Color and a bit of pop against all that soft beef. In at the very end — two minutes, or they go gray. Swap: corn or green beans. Frozen beats canned; canned peas collapse.
- Egg: Beaten and brushed on, it’s what turns a pale crust deep golden. Purely cosmetic, entirely worth it. Swap: heavy cream or milk for a softer matte finish.
- Pie Crust: Store-bought refrigerated crust is genuinely good and I use it on weeknights without apology. Swap: make your own with my air fryer pie crust recipe. Puff pastry is excellent here — cook at 375°F for 10–12 minutes instead. Biscuit dough gives a rustic, cobbler-style top.
A Note on Pan Size (Read This Before You Start)
A 9-inch pie plate does not fit in most air fryer baskets. Don’t find that out with a fully assembled pie in your hands.
You have three good options:
- Four ramekins (10–12 oz each). Unroll the crust, cut four rounds about an inch wider than the ramekin tops, and use those as lids. This is my preferred method — best crust-to-filling ratio, and everyone gets an edge piece.
- One 6- or 7-inch pie pan or cake pan. Line the bottom with crust, fill, top with more crust, crimp. Cook it in two batches if you have leftover filling.
- Hand pies. Cut the crust into rounds, spoon filling onto half, fold, crimp with a fork. Great for lunchboxes — the folding and crimping technique is the same one I use for air fryer meat pies.
Measure your basket first. Whatever pan you use should have at least an inch of clearance on all sides for air to circulate — that clearance is the whole reason the crust browns evenly.
Instructions
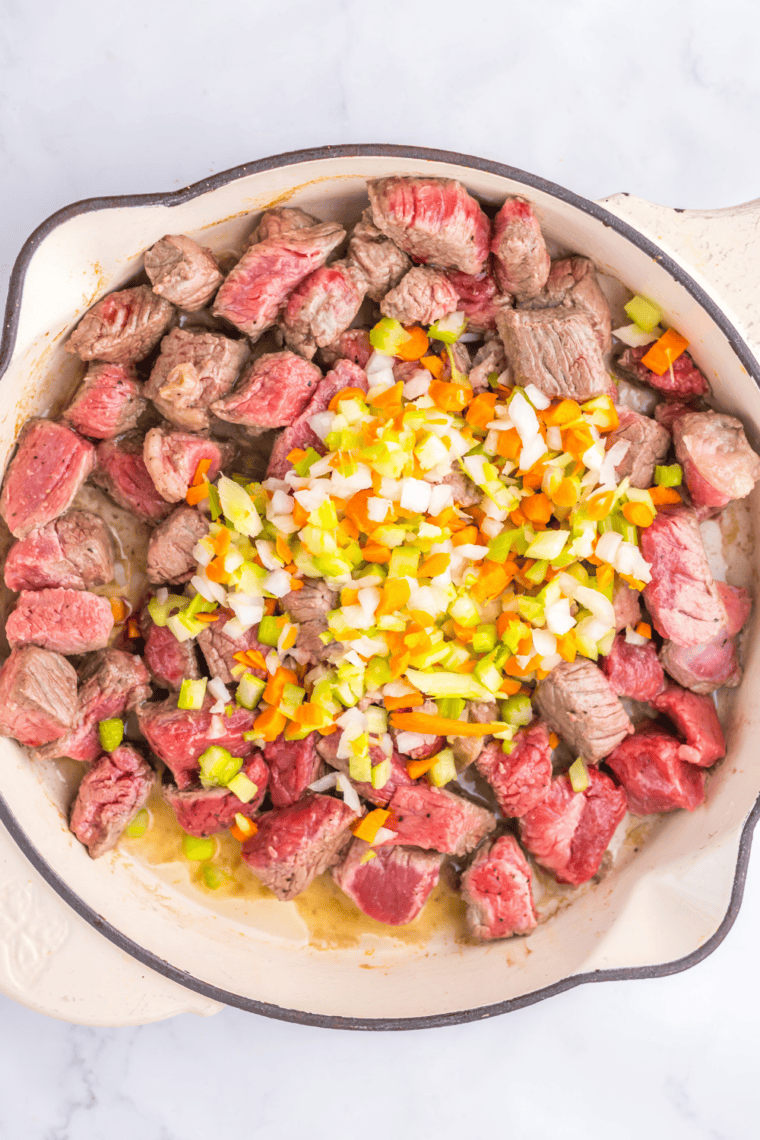
Step 1: Pat the stew meat dry with paper towels, genuinely dry, this matters more than any other prep step. Season it all over with the teaspoon of pepper.
Heat the vegetable oil in a Dutch oven or heavy pot over medium-high until it shimmers. Add the beef in two batches, in a single layer with space between the pieces. Crowding the pan drops the temperature and the meat steams gray instead of searing brown. Let each batch sit undisturbed 3–4 minutes before turning. You want a hard, dark crust on at least two sides. Transfer to a plate.
Step 2: Drop the onion, celery, and carrot into the same pot with all that beef fat and fond. Cook 5–6 minutes, scraping the browned bits off the bottom as the vegetables release moisture. When the onion is translucent, add the garlic and cook 30 seconds until fragrant.
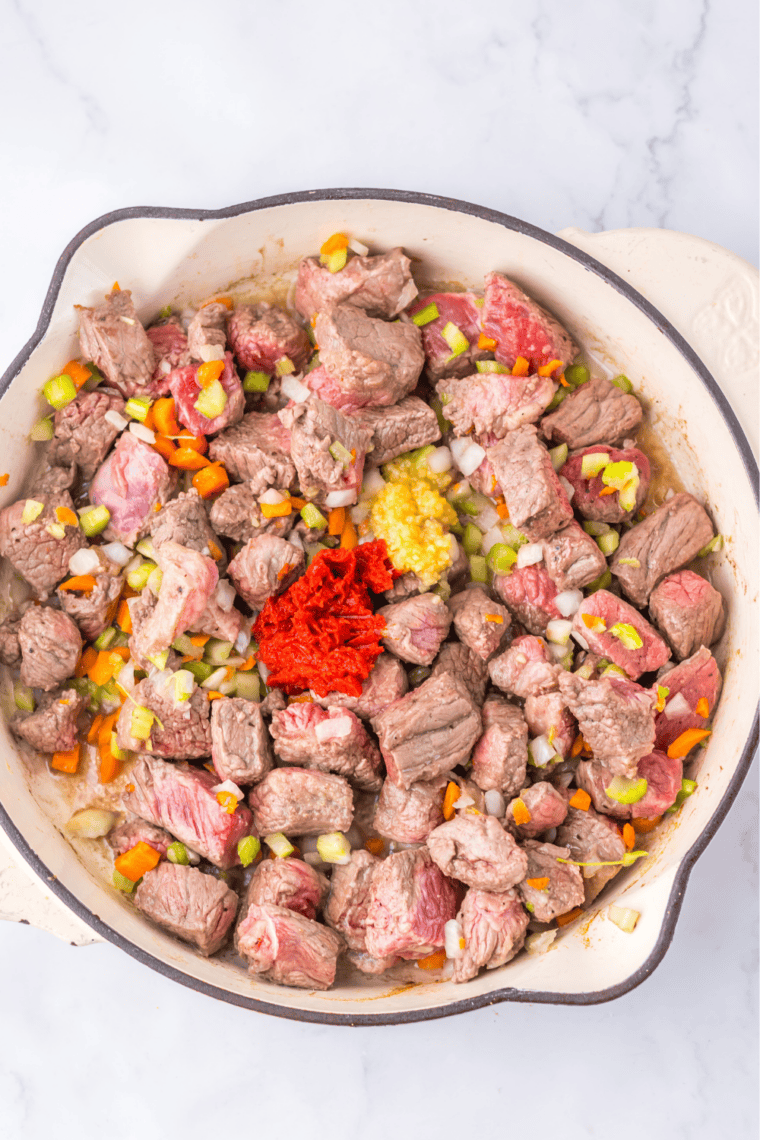
Push everything to one side and add the tomato paste to the bare spot. Let it fry against the pan for a full minute, stirring, until it turns from bright red to brick. Then stir it through the vegetables.
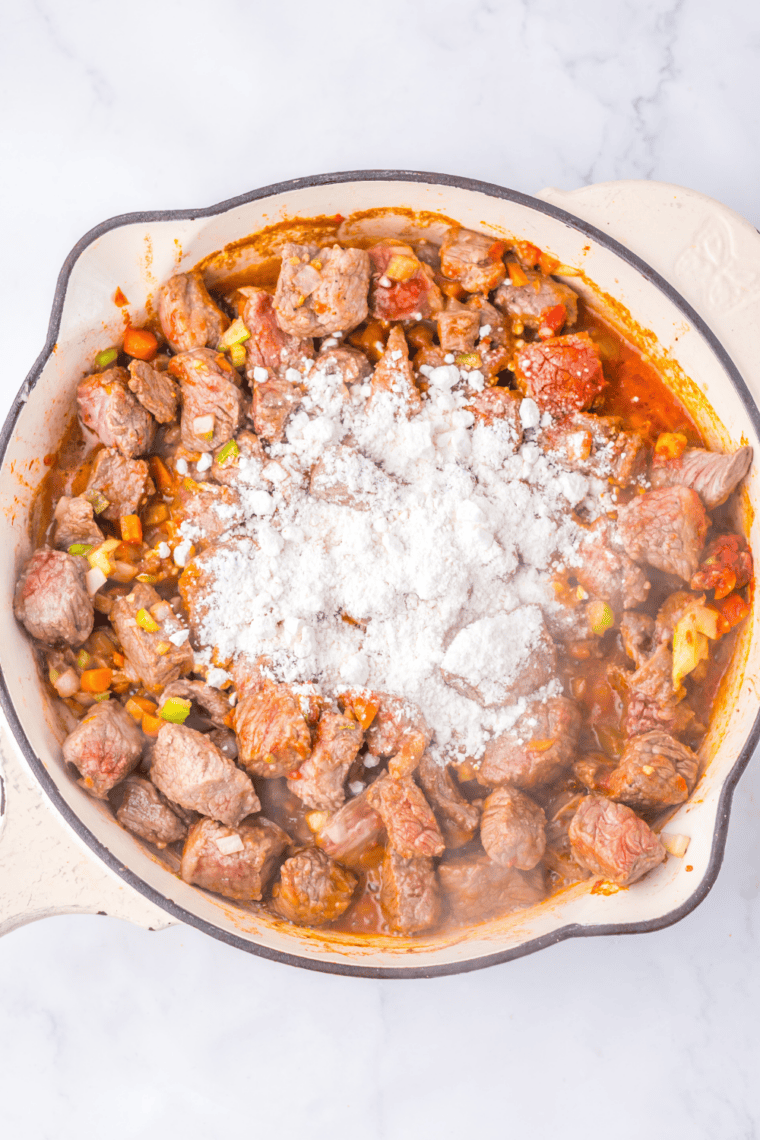
Step 3: Sprinkle the flour over everything and stir constantly for 1–2 minutes to cook out the raw taste. It’ll look pasty and wrong. That’s correct.
Whisk the brown gravy packet into the beef broth in a measuring cup, then pour it in slowly while stirring, scraping the bottom. Add the Worcestershire, soy sauce, and sugar. Return the beef and any juices from the plate.
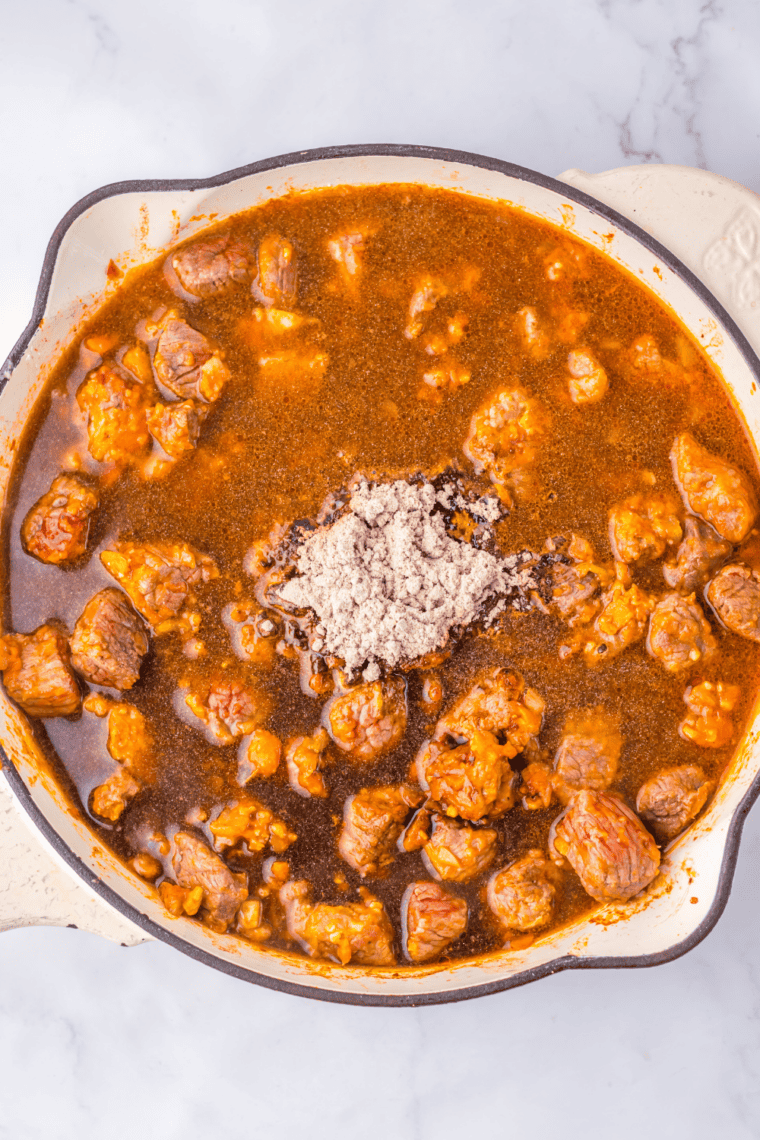
Step 4: Bring to a bare simmer, cover, and cook on low for 1½ to 2 hours, stirring every 30 minutes. Don’t let it boil — hard boiling seizes up beef muscle fibers and makes them tough. The filling is done when a piece of beef gives no resistance to a fork and pulls apart in shreds. Not “chewable.” Falling apart. If it’s not there at two hours, it needs more time, not more heat.
Stir in the peas and cook 2 more minutes. The gravy should coat the back of a spoon thickly, if it’s thin, simmer uncovered a few minutes; if it’s paste, splash in more broth.
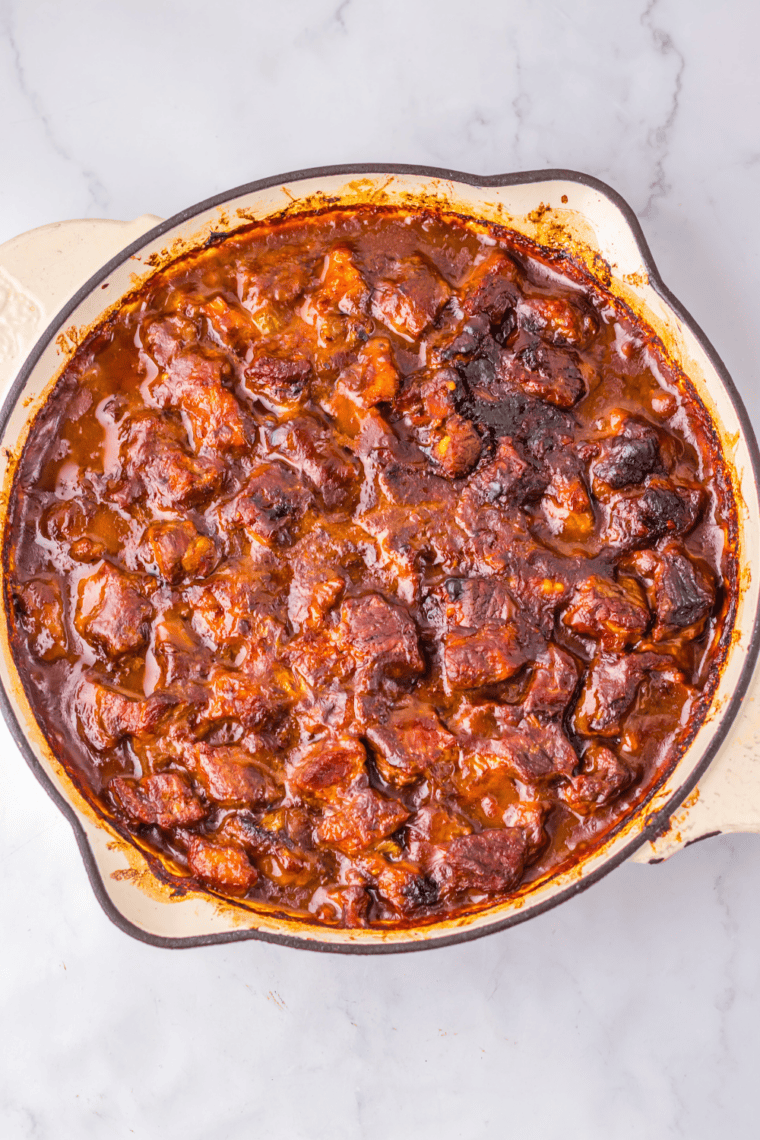
Step 5: Spread the filling in a shallow dish and let it cool to at least room temperature. Refrigerating it for 30 minutes is better. This step is not optional if you want flaky crust. You can make the filling up to three days ahead.
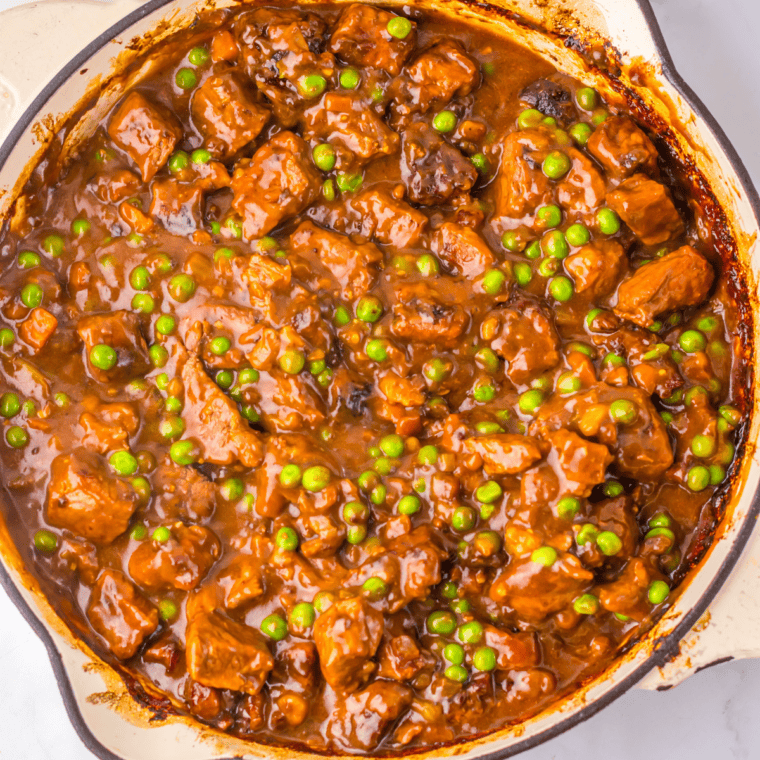
Step 6: Divide the cooled filling among four ramekins, leaving about half an inch of headroom. Lay a crust round over each, press the overhang down against the outside of the rim, and crimp. Brush the tops generously with beaten egg — this is where the deep golden color comes from — and cut two or three slits in each lid so steam can escape. Skip the slits and you get a crust that puffs up and then collapses into the gravy.
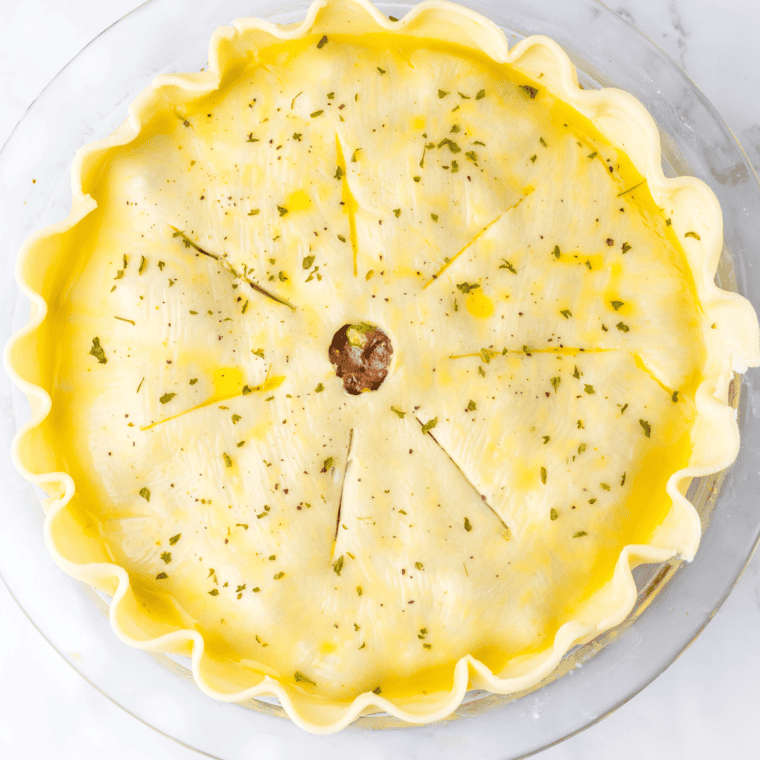
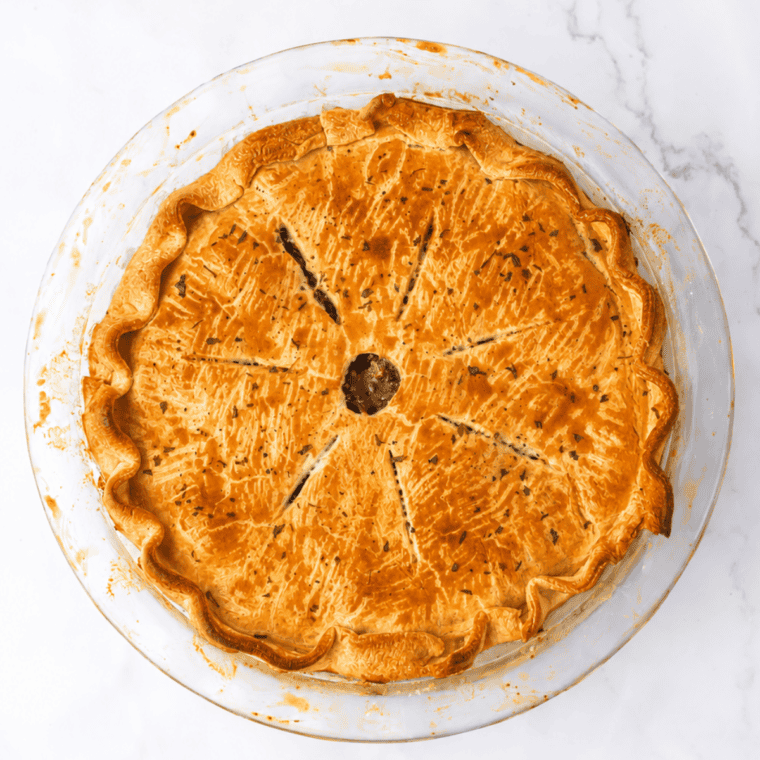
Step 7: Preheat the air fryer to 350°F for 3 minutes. A preheated basket is the difference between a crust that sets fast and one that slumps. Cook at 350°F for 12–15 minutes, until the tops are deep golden brown and the filling bubbles up through the slits. Check at 10 minutes — air fryers vary wildly, and the heating element is close to the food. If the crust is browning faster than the filling is heating, lay a small piece of foil loosely on top. Rest 5 minutes before eating. The gravy is molten and will punish impatience.
Tips From Making This More Than Once
- Chuck roast beats pre-cut stew meat. Packaged “stew meat” is often a mix of trimmings from different muscles that cook at different rates. A 1½ lb chuck roast cut into 1-inch cubes yourself is the same price and cooks evenly.
- Cold crust, cold hands. If the pastry gets soft and sticky while you work, put it back in the fridge for ten minutes. Warm pastry is the enemy.
- Egg wash the crimped edges too. They’re the first thing people eat and they should be lacquered.
- No air fryer parchment under the ramekins. Loose parchment can lift into the heating element. If you’re worried about drips, use a solid liner designed for your model, or just wipe the basket after.
Storage and Reheating
Baked pot pies keep 3 days covered in the fridge. Reheat in the air fryer at 325°F for 6–8 minutes — the crust comes back genuinely crisp, which is the one thing a microwave can never do for you.
To freeze, assemble unbaked pies without the egg wash, wrap tightly, and freeze up to 3 months. Cook from frozen at 325°F for 20–25 minutes, then brush with egg wash and give them 5 more minutes at 350°F to color.
FAQ
My crust browned but the filling was lukewarm. Your filling went in too cold from the fridge. Let it sit out 20 minutes before assembling, or add 3–4 minutes at 325°F with foil over the top.
Can I make the whole thing in the air fryer, including the beef? No. Braising needs liquid and long, gentle, moist heat — the opposite of what an air fryer does. Use the stovetop, a slow cooker (6 hours on low), or an Instant Pot (35 minutes high pressure) for the filling.
I don’t have two hours. What are my options tonight? Buy the pie. Seriously — a boxed frozen beef pot pie in the air fryer takes about 25 minutes start to finish and comes out with a better crust than the oven gives you. Save this recipe for a weekend.
What if I want chicken instead? Chicken doesn’t need the long braise, so it’s a genuinely quick weeknight version — see my homemade chicken pot pie in the air fryer for the timing.
More Air Fryer Comfort Food
- Air Fryer Shepherd’s Pie — same braised-beef logic, mashed potato lid instead of pastry, no oven required.
- Air Fryer Turkey Pot Pie — the ramekin method from this post, built for holiday leftovers.
- Air Fryer Boston Market Chicken Pot Pie — a copycat version if creamy chicken filling is more your speed.
Air Fryer Beef Pot Pie
Description
Ingredients
- 3 tbsp vegetable oil
- 1½ lbs beef stew meat, cut into 1-inch cubes
- 1 tsp black pepper
- 1 onion, diced
- 2 stalks celery, diced
- 1 carrot, peeled and diced
- 2 tbsp tomato paste
- 2 tbsp garlic, minced
- 3 tbsp all-purpose flour
- 2 cups beef broth
- 1 packet brown gravy mix
- 1 tbsp Worcestershire sauce
- 1 tbsp soy sauce
- 1 tbsp sugar
- 1 cup frozen peas
- 1 egg, beaten
- 1 nine-inch pie crust
Instructions
- Pat the beef dry and season all over with the pepper. Heat the oil in a Dutch oven over medium-high until shimmering. Sear the beef in two batches, undisturbed 3–4 minutes per side, until a dark crust forms. Transfer to a plate.
- Add the onion, celery, and carrot to the same pot. Cook 5–6 minutes, scraping up the browned bits, until the onion is translucent. Add the garlic and cook 30 seconds.
- Push the vegetables aside, add the tomato paste to the bare spot, and fry 1 minute until it darkens to brick red. Stir through.
- Sprinkle over the flour and stir constantly 1–2 minutes. Whisk the gravy mix into the beef broth, then pour in slowly while stirring. Add the Worcestershire, soy sauce, and sugar. Return the beef and its juices.
- Bring to a bare simmer, cover, and cook on low 1½ to 2 hours, stirring every 30 minutes, until the beef shreds with no resistance. Stir in the peas and cook 2 minutes more.
- Spread the filling in a shallow dish and cool to room temperature, or refrigerate 30 minutes. Do not skip this — warm filling melts the butter in the pastry and kills the flake.
- Divide the filling among 4 ramekins, leaving ½ inch of headroom. Cut crust rounds 1 inch wider than each rim, lay over the top, press down the overhang, and crimp. Brush with beaten egg and cut 2–3 steam slits in each.
- Preheat the air fryer to 350°F for 3 minutes. Cook the pies at 350°F for 12–15 minutes, until deep golden and bubbling through the slits. Check at 10 minutes; tent with foil if browning too fast. Rest 5 minutes before serving.
Equipment
- Dutch oven or heavy pot
- 4 ramekins (10–12 oz
- Pastry Brush
Notes
- Pan size: A 9-inch pie plate won’t fit most air fryer baskets. Use four ramekins, a 6–7 inch pan, or make hand pies. Leave 1 inch of clearance on all sides for airflow.
- No salt listed: The gravy packet and soy sauce handle it. Taste before adding more.
- Make ahead: Filling keeps 3 days refrigerated.
- Freezing: Assemble unbaked without egg wash, wrap tightly, freeze 3 months. Cook from frozen at 325°F for 20–25 minutes, then egg wash and 5 minutes at 350°F.
- Reheating: Air fryer at 325°F for 6–8 minutes brings the crust back crisp.
Nutrition
Share this recipe
We can’t wait to see what you’ve made! Mention @forktospoon or tag #forktospoon!