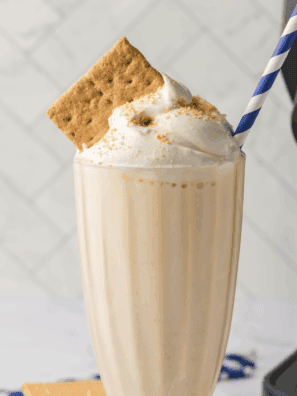
Thick, frosty, and unapologetically chocolatey — this is the same foolproof method as our banana milkshake, just swapped over to rich chocolate pudding mix. Four ingredients, one machine, zero fuss.
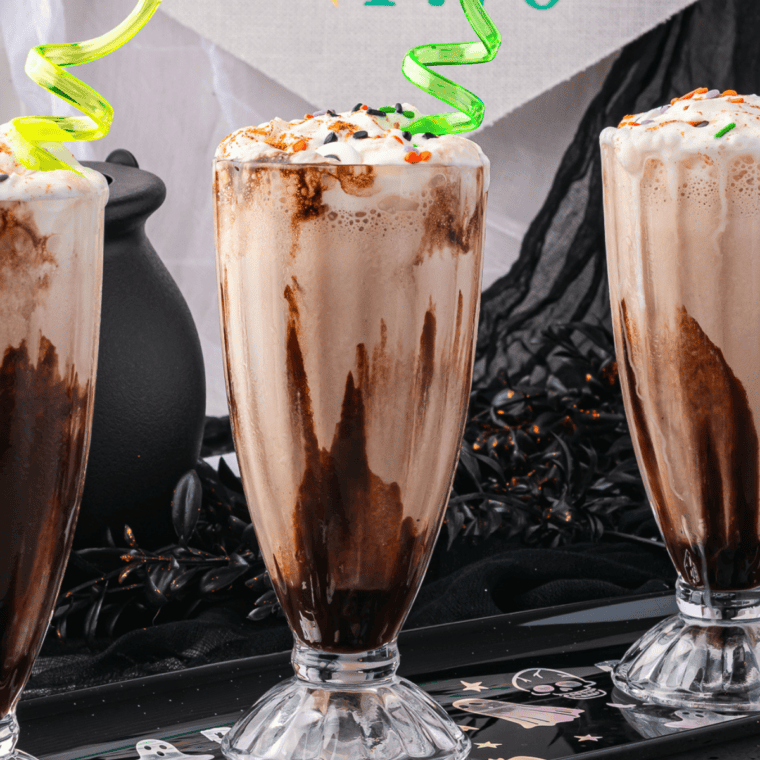
If you already love the Ninja Slushi banana milkshake, you’re going to want to keep this one on repeat. The Ninja Slushi turns an ordinary milk-and-pudding base into a genuinely thick, spoonable chocolate milkshake — the kind that holds its swirl and doesn’t melt into soup two minutes after you pour it.
The best part? You don’t change the method at all. If you’ve worked through any of our Ninja Slushi recipes, you already know how this goes. Everywhere the banana version calls for banana instant pudding mix, you simply reach for chocolate instead. Same ratios, same settings, same creamy result — just deep cocoa flavor instead of banana.
The one rule to remember: Don’t skip the sugar. The Ninja Slushi needs a certain sugar content in the liquid to freeze into a proper slush rather than a solid block. Milk alone doesn’t have enough, so that few tablespoons of sugar is doing real work — not just sweetening.
Why this works so well
Instant pudding mix is the secret weapon here. It’s loaded with starches and stabilizers that give the shake body and that signature thick, clingy texture — the same reason diner milkshakes feel richer than a blended-ice Ninja Slushi smoothie. When the machine churns and chills the base at the same time, those starches set up into a smooth, scoopable frozen shake instead of icy crystals.
Ingredients you’ll need
Scroll down for the full printable recipe card with exact amounts, timings, and variations.
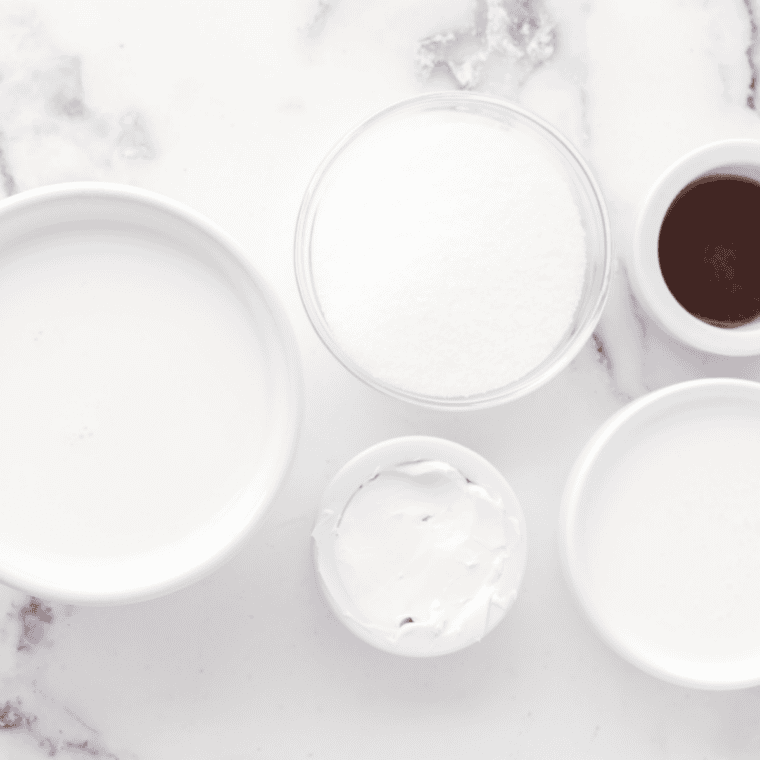
- Whole milk — the fat gives you creaminess; skim will work but tastes thinner.
- Instant chocolate pudding mix — one standard 3.4 oz box. This is the only swap from the banana milkshake.
- Granulated sugar — for flavor and to hit the freezing point the machine needs.
- Vanilla extract — rounds out the chocolate and makes it taste less flat.
How To Make Ninja Slushi Chocolate Milkshake
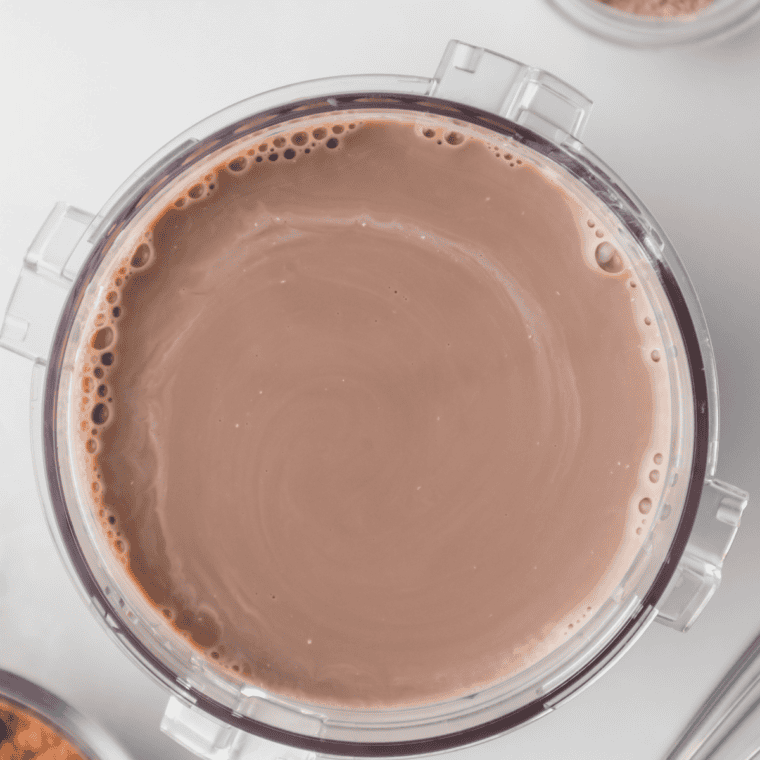
Step 1: In a large bowl or pitcher, whisk together the milk, chocolate pudding mix, sugar, and vanilla until the mix and sugar are fully dissolved and no lumps remain — about 1–2 minutes.
Step 2: For the smoothest slush, rest the mixture in the fridge 5–10 minutes so the pudding mix hydrates fully.
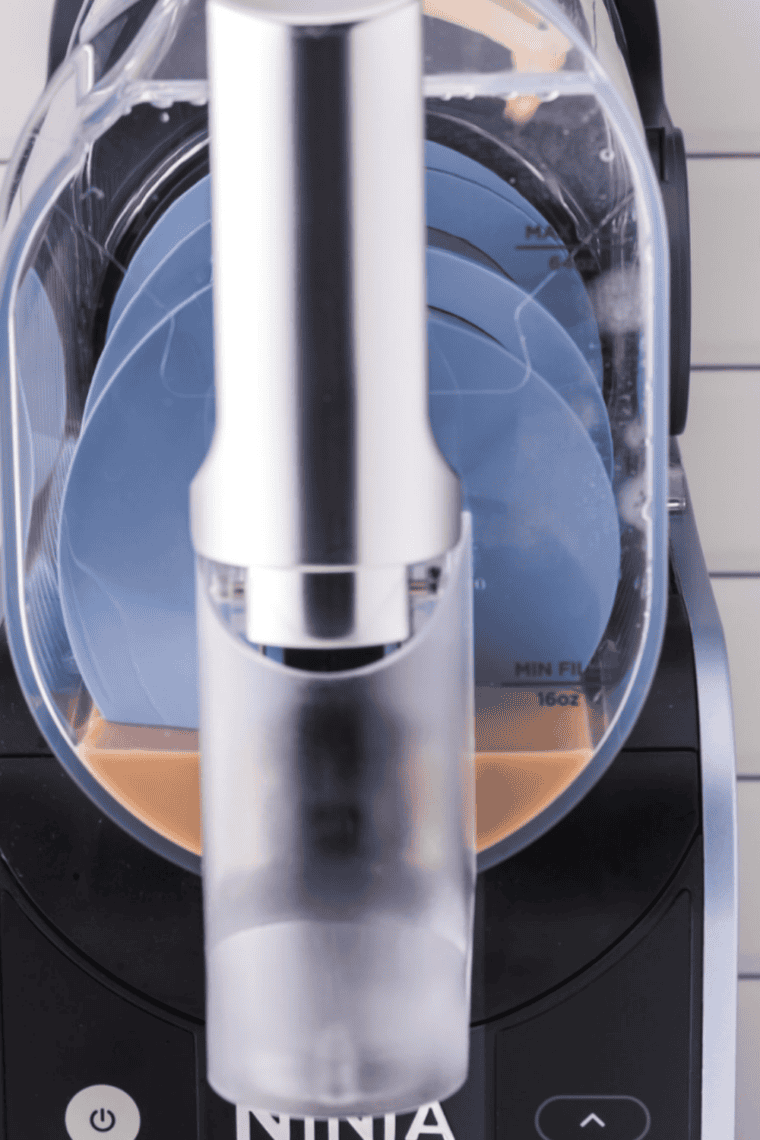
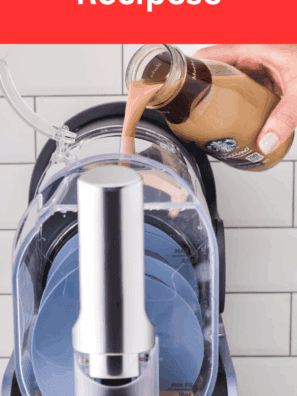
Step 3: Pour the base into the vessel, keeping the level between the MIN and MAX fill lines.
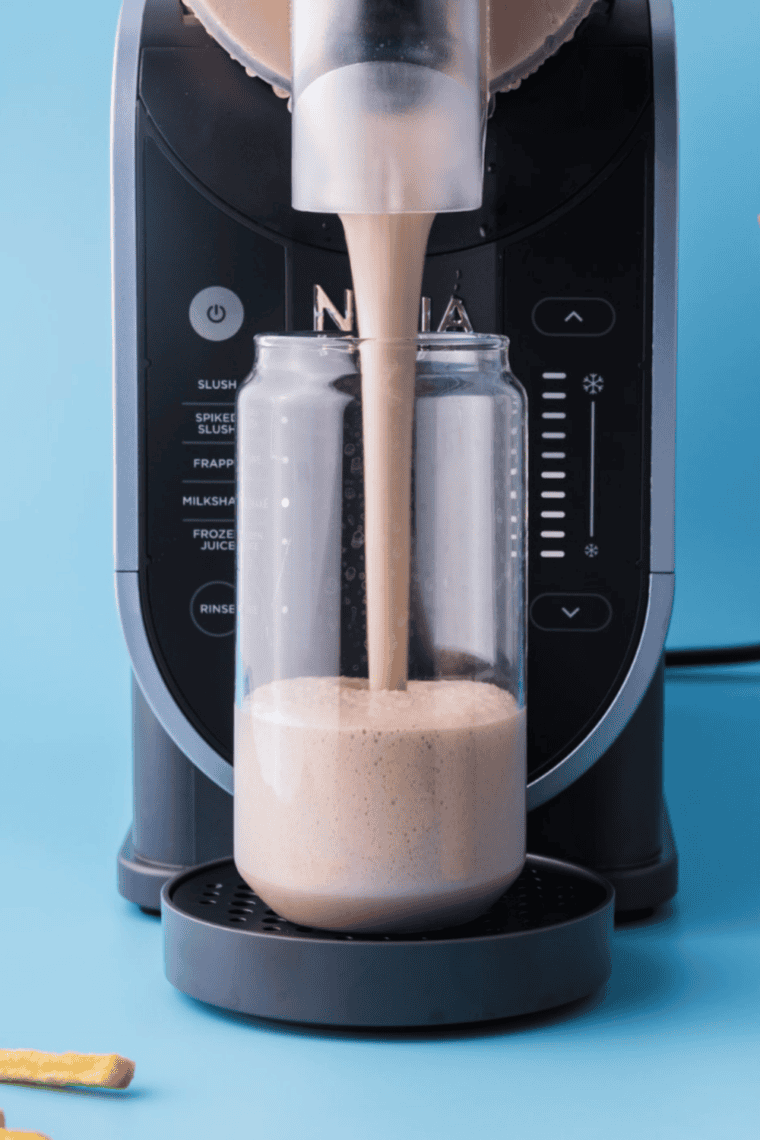
Step 4: Select the Milkshake (or Frappe/Spike) preset and let it churn until thick and spoonable — usually 15–45 minutes depending on your unit and how cold the base started.
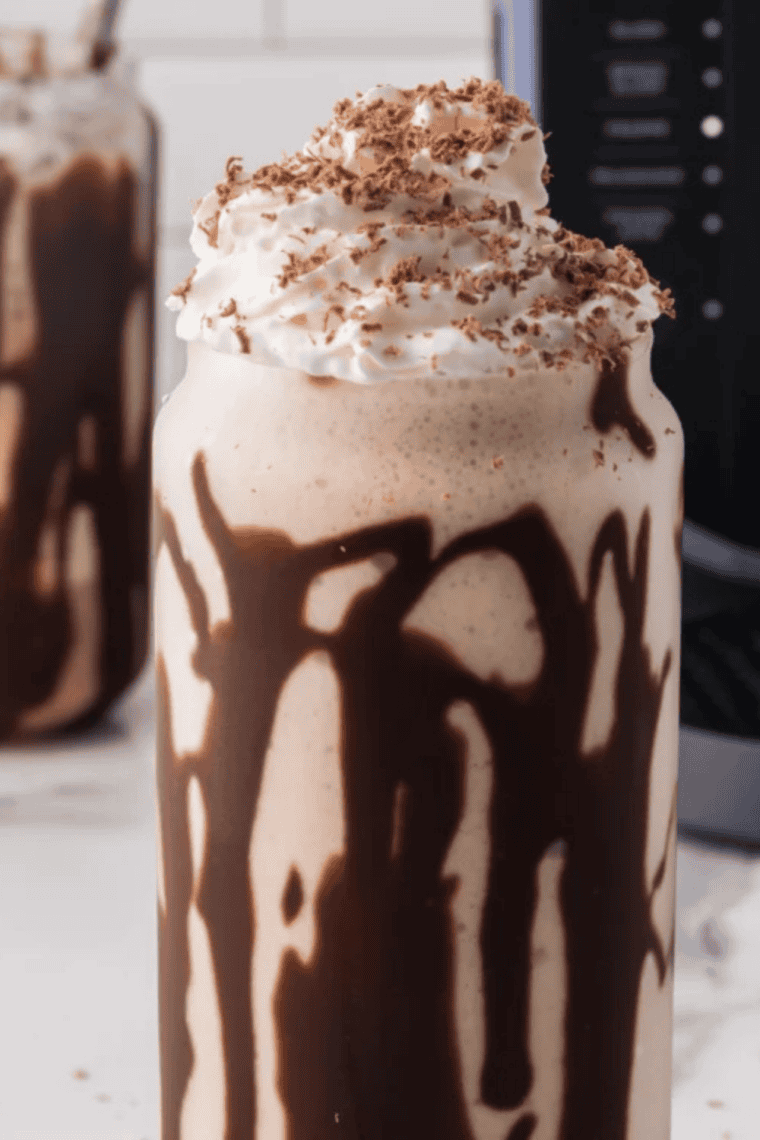
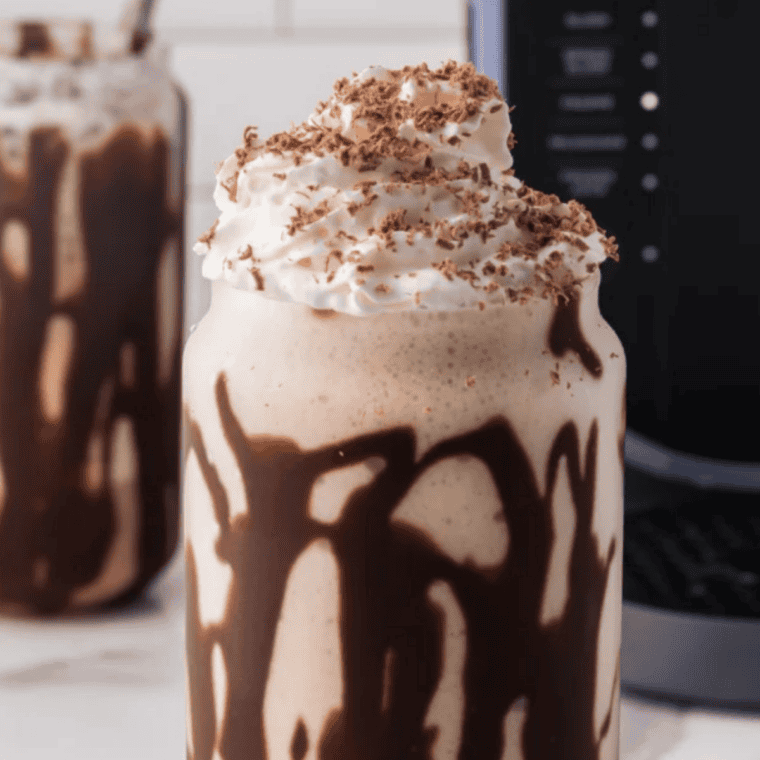
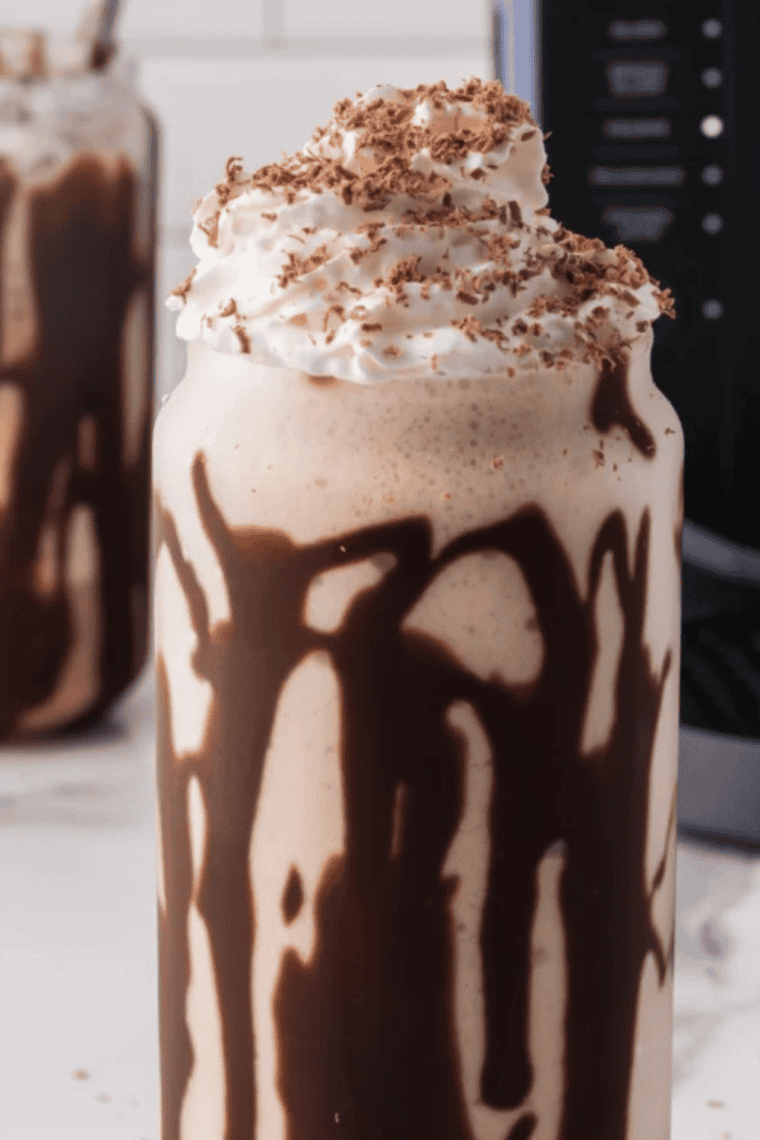
Step 5: Dispense into glasses, top with whipped cream, chocolate syrup, or shavings, and enjoy right away.
Tips for the best Ninja Slushi chocolate milkshake
The recipe is nearly foolproof, but a few small habits make the difference between a good chocolate shake and a scoop-worthy one that tastes like it came from an ice cream counter.
- Start cold: The colder your base goes in, the faster it churns. Chilling the milk mixture first can shave 10–15 minutes off the freeze time.
- Whisk out every lump: Undissolved pudding mix leaves gritty pockets. Whisk until the base looks completely smooth before it ever touches the machine.
- Respect the fill lines: Overfilling past MAX strains the auger and gives you an uneven slush. Stay between MIN and MAX for a consistent texture.
- Use whole milk: Fat is flavor and body. Skim technically works but the shake comes out thinner and icier — whole milk is worth it here.
Fun variations and mix-ins
Because the base is so simple, it’s easy to riff on. Here are the swaps our readers reach for most:
- Chocolate malt shake — whisk 2 tablespoons of malted milk powder into the base for that classic soda-fountain flavor.
- Mint chocolate — add ¼ to ½ teaspoon of peppermint extract; start small, it’s potent.
- Mocha — dissolve 1 tablespoon of instant espresso powder into the warm milk before mixing in the pudding.
- Peanut butter cup — blend in 2 tablespoons of powdered peanut butter for a chocolate-PB twist.
- Extra rich — swap ½ cup of the milk for heavy cream for a denser, more indulgent shake.
- Dairy-free — oat milk plus a dairy-free chocolate pudding mix works well; keep the sugar in so it still freezes to slush.
Troubleshooting: why your shake isn’t thickening
If your Ninja Slushi milkshake is running thin or refusing to slush up, one of these is almost always the cause:
- Not enough sugar. This is the number one culprit. The machine needs a certain sugar content in the liquid to form slush. If you cut the sugar to make it healthier, it may never firm up — add it back or use a full-sugar pudding mix.
- Base was too warm. A room-temperature base takes much longer. Chill it first, and make sure the bowl of the machine was fully frozen (if your model requires pre-freezing) before you start.
- Too much fat, not enough water. If you went heavy on cream, the balance can be off. Dial the cream back toward milk.
- Overfilled. Past the MAX line the mixture can’t circulate properly. Pour some out and try again.
Storing and make-ahead
This chocolate milkshake is best enjoyed fresh, straight from the machine, when the texture is at its peak. That said, you have a few options if you want to plan ahead:
- Hold it in the machine. The Ninja Slushi will keep the shake at slush consistency for a while if you leave it running, so you can serve seconds without it melting.
- Make the base ahead. Whisk the milk, pudding mix, sugar, and vanilla together and refrigerate the liquid base for up to 2 days. Give it a good whisk before pouring it in, since the mix can settle.
- Freezing leftovers. You can freeze any extra shake in a covered container, but the texture turns icier. Let it soften for a few minutes and stir before serving, or run it back through the machine.
Faqs
Can I make this Ninja Slushi milkshake without pudding mix? You can, but the texture won’t be as thick. The pudding mix adds starches that give the shake its signature body. If you skip it, use ½ cup of cocoa powder plus extra sugar, and expect a lighter, more slush-like result rather than a true milkshake.
Why does my chocolate milkshake stay liquid and won’t turn to slush? Almost always low sugar content or a base that started too warm. The Ninja Slushi relies on sugar to freeze into slush, so don’t cut it out, and chill your base before adding it to the machine.
Can I use chocolate milk instead of white milk? Yes — chocolate milk works and boosts the flavor. Since it already contains sugar, you can reduce the added granulated sugar slightly, but keep some in to be sure it freezes properly.
How long does it take to make in the Ninja Slushi? Usually 15 to 45 minutes on the Milkshake or Frappe setting, depending on your model and how cold the base was to start. A pre-chilled base is the fastest route.
Can I make a bigger batch? Stay within your machine’s MAX fill line for one batch. To serve a crowd, make back-to-back batches rather than overfilling, which throws off the texture.
Can I make this chocolate milkshake sugar-free or keto? You can lighten it, but tread carefully — the sugar is part of what lets the Ninja Slushi freeze into slush, not just sweetener. Use a measures-like-sugar substitute (erythritol or allulose blends work best) along with a sugar-free chocolate pudding mix. Expect a slightly softer set, and taste as you go.
What toppings go best with a Ninja Slushi chocolate milkshake? Whipped cream and a chocolate syrup drizzle are the classics. From there, try chocolate shavings or curls, a dusting of cocoa, crushed Oreos, a maraschino cherry, or a caramel drizzle. If you made the malt version, malted milk balls on top are perfect.
Can I make this without a Ninja Slushi? Yes — use a blender. Blend the milk, pudding mix, sugar, and vanilla with a few cups of ice until thick, or blend the base with a scoop or two of vanilla ice cream for a classic diner-style shake. The texture is different from the churned slush, but still delicious.
Can I use sugar-free pudding mix? It works and trims some sugar, but don’t rely on it alone — keep some granulated sugar or a freezing-friendly sweetener in the base so it still slushes up. Sugar-free pudding by itself can leave the shake too loose.
More Ninja Slushi Recipes
Once you’ve got the chocolate milkshake down, your Ninja Slushi can do a whole lot more. Here are more reader favorites to churn next:
Frozen drinks & treats
- ▸Ninja Slushi Frozen Dirty Orange Soda — a creamy, fizzy treat made on the milkshake setting
- ▸Easy Ninja Slushi Blue Raspberry Slush — bright, icy, and ready in about 5 minutes
- ▸Ninja Slushi Apple Cider Slush — a cozy fall-flavored frozen refresher
- ▸Ninja Slushi Blue Hawaiian Cocktail — a tropical, creamy frozen cocktail
Ninja Slushi Chocolate Milkshake
Description
Ingredients
- 4 cups whole milk
- 3.4 ounces instant chocolate pudding mix
- 3 tbsp granulated sugar
- 1 tsp vanilla extract
Instructions
- Whisk the base. In a large bowl or pitcher, whisk together the milk, chocolate pudding mix, sugar, and vanilla until the mix and sugar are fully dissolved and no lumps remain — about 1–2 minutes.
- Chill (optional). For the smoothest slush, rest the mixture in the fridge 5–10 minutes so the pudding mix hydrates fully.
- Fill the Ninja Slushi. Pour the base into the vessel, keeping the level between the MIN and MAX fill lines.
- Run the Milkshake setting. Select the Milkshake (or Frappe/Spike) preset and let it churn until thick and spoonable — usually 15–45 minutes depending on your unit and how cold the base started.
- Serve. Dispense into glasses, top with whipped cream, chocolate syrup, or shavings, and enjoy right away.
Equipment
- Ninja Slushie Machine
- Mixing Bowl
- Whisk
Notes
- Chocolate malt: whisk in 2 tbsp malted milk powder with the base.
- Extra rich: swap ½ cup of the milk for heavy cream.
- Spiked shake: use the Slushi’s alcohol setting with a splash of Baileys or chocolate liqueur.
- Dairy-free: oat milk plus a dairy-free chocolate pudding mix works — keep the sugar in for texture.
Nutrition
Share this recipe
We can’t wait to see what you’ve made! Mention @forktospoon or tag #forktospoon!