Preheating your Ninja Foodi Air Fryer is crucial to ensure your dishes are perfectly cooked every time.
In this guide, we’ll walk you through five simple steps to preheat your Ninja Foodi Air Fryer like a pro, helping you achieve that crispy and delicious texture you crave in your favorite air-fried dishes.
The Ninja Foodi Air Fryer has become a household favorite among home cooks thanks to its versatility and ability to whip up crispy, delicious dishes with minimal oil. This multi-functional appliance has garnered a dedicated following for its convenience and ability to make healthier versions of favorite fried foods.
How To Preheat Ninja Foodi Air Fryer
Today, we will learn how to preheat the Ninja Foodi, which contains a pressure cooker and an air fyrer. All built into one appliance!
The Importance of Preheating:
Before diving into the cooking process, it’s crucial to preheat your Ninja Foodi Air Fryer. Preheating isn’t just a formality; it’s a fundamental step that significantly impacts the outcome of your culinary endeavors. The secret ingredient ensures your dishes turn out perfectly cooked every time.
Why Preheating Matters:
Preheating your air fryer serves several vital purposes. First and foremost, it’s the key to even cooking. When you preheat, bring the appliance to the desired cooking temperature before introducing your food. This means that when your ingredients hit the air fryer’s basket, they cook evenly.
Furthermore, preheating contributes to better results. It’s the secret to achieving that delightful golden-brown crispiness on the outside of your food while keeping the inside tender and juicy. Without preheating, your food might spend crucial minutes adjusting to the cooking temperature, resulting in uneven textures and less-than-ideal outcomes.
Lastly, preheating saves time. Rather than waiting for your air fryer to come up to temperature while your ingredients sit inside, you can start cooking immediately after preheating. This efficiency ensures your meals are prepared faster, making it a valuable time-saving practice.
How To Preheat Ninja Foodi Air Fryer: 5 Steps
Preheating your Ninja Foodi Air Fryer is a straightforward process that involves a few simple steps. We’ll walk you through these steps, ensuring you can harness your air fryer’s full potential for consistently delectable dishes. So, let’s get started on the journey to perfect air-fried creations!
Remember always to consult your user manual or instruction manual for the full information and to learn how to preheat your new Ninja Air Fryer best.

Step 1: Assemble Your Ninja Foodi Air Fryer
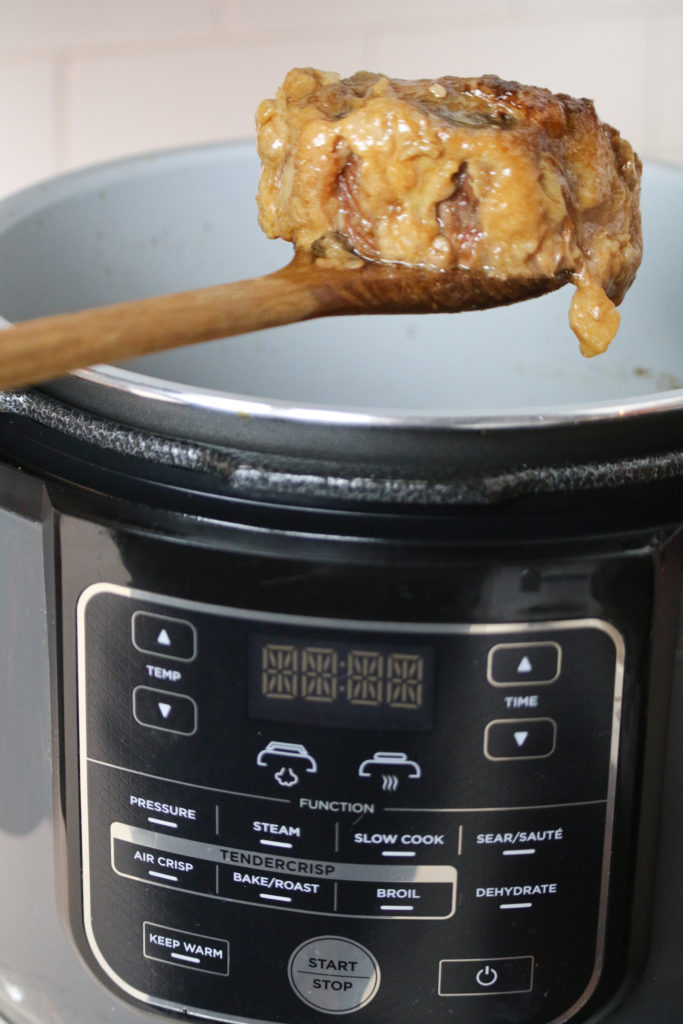
The Ninja Foodi Air Fryer is a culinary powerhouse that combines the functions of an air fryer, pressure cooker, and more, all within one sleek appliance. Before you begin preheating, it’s essential to have a clear understanding of its components.
The Ninja Foodi typically consists of a main base unit, a cooking pot, a crisping lid, and a removable air fryer basket. The main base unit houses the control panel, which allows you to select various cooking functions, adjust temperature and time settings, and monitor your culinary creations. The cooking pot is where your ingredients will be placed for cooking, and the crisping lid ensures that hot air circulates efficiently to create that signature crispy texture.
Find a clean, flat, heat-resistant surface to set up your Ninja Foodi Air Fryer on your kitchen countertop. It’s crucial to ensure that the surface can withstand the appliance’s heat and is close to an electrical outlet. Place the base unit securely on this surface, ensuring it sits level and stable. This step is essential for safe and efficient operation. Once the Ninja Foodi is adequately assembled and positioned, you’re ready to move on to the next steps in the preheating process, bringing you one step closer to perfectly cooked dishes every time.
Step 2: Plug in and Power On
After assembling your Ninja Foodi Air Fryer, the next step is to plug it in and power it on. Here’s a straightforward guide to ensure you do this safely and effectively.
Begin by locating a nearby electrical outlet compatible with your Ninja Foodi’s power requirements. Most Ninja Foodi models use a standard three-pronged plug that fits into standard household outlets. Carefully insert the plug into the outlet, ensuring it fits snugly and securely. A properly grounded outlet is essential to prevent electrical issues and ensure safety.
With the Ninja Foodi now plugged in, you can turn it on. Locate the power button or switch on the control panel of the base unit. Press or toggle it to activate the appliance. You’ll often see indicator lights or a digital display illuminating, signaling that the Ninja Foodi is receiving power.
While handling electrical appliances, always prioritize safety. Avoid using extension cords or adapters that may not be designed for the appliance. Keep the cord away from hot surfaces, sharp edges, or any potential hazards in your kitchen.
With your Ninja Foodi powered on, you can start the preheating process and prepare it for your culinary adventure. Remember to refer to your specific model’s user manual for unique instructions or safety considerations.

Step 3: Set the Desired Temperature
Now that your Ninja Foodi Air Fryer is powered on, the next crucial step is to set the desired cooking temperature. This step is essential as it ensures your appliance reaches the proper temperature before you start cooking. Here’s how you can do it:
- Selecting the Appropriate Temperature: Refer to your recipe to determine the recommended cooking temperature. Most recipes will specify the ideal temperature for the dish you’re preparing. It’s essential to match this preheat temperature with the cooking temperature provided in your recipe. This consistency is vital for achieving the best results in your cooking.
- Temperature Control Settings: Ninja Foodi Air Fryers typically offer a range of temperature control settings, allowing you to fine-tune the heat according to your specific needs. These settings often include preheating and cooking temperatures, making it easy to customize your cooking experience. Use the control panel or digital display to select your desired preheat temperature. Adjust it by pressing the up or down buttons until you reach the right setting.
- Importance of Temperature Matching: Matching the preheat temperature with your recipe’s cooking temperature is crucial because it ensures even cooking from when you start. Preheating to the correct temperature allows the food to cook evenly and thoroughly, preventing undercooking or overcooking. This step also helps save time, as your Ninja Foodi will be ready to cook at the perfect temperature as soon as the preheating process is complete.
By setting the desired temperature accurately, you’re on your way to using your Ninja Foodi Air Fryer efficiently and achieving excellent cooking results. Always consult your specific recipe and user manual for temperature guidelines and recommendations.
Step 4: Set The Time
After selecting the right cooking temperature in your Ninja Foodi Air Fryer, it’s time to set the timer. The timer ensures that your food cooks for the appropriate duration, preventing overcooking or undercooking. Here’s how you can do it:
- Setting the Timer: Locate the timer control on your Ninja Foodi. It’s usually a digital display or a dial that allows you to adjust the cooking time. Press the timer button or turn the dial to set the desired cooking time in minutes. Many recipes provide recommended cooking times, so consult your specific recipe for guidance.
- Preheating Times: The time needed is usually shorter than the cooking time for preheating. Ordinary preheating times range from 3-5 minutes. However, these times can vary based on your appliance model, so always refer to the user manual for precise instructions on preheating.
- Adjusting the Timer: The timer can often be adjusted during preheating so you can fine-tune it according to your recipe’s requirements. Modify the timer if your recipe calls for a longer or shorter preheating time.
- Recipe-Specific Tips: Some recipes may have unique preheating requirements. For instance, recipes that involve delicate pastries may benefit from a shorter preheat time to prevent any premature cooking. Conversely, recipes for heartier items like frozen meats might require a slightly extended preheating period to ensure they cook evenly.
Remember always to follow the guidelines in your specific recipe, as different dishes may require different preheating and cooking times. Setting the timer accurately ensures that your Ninja Foodi Air Fryer is ready to cook immediately, guaranteeing delicious and evenly prepared meals.
Step 5: Allow Preheating
Patience is vital during the preheating process. Once you’ve set the desired temperature and timer on your Ninja Foodi Air Fryer, it’s time to allow it to preheat. The preheating time may vary depending on the specific model of your appliance and the recipe you plan to prepare. It’s essential to stay nearby and monitor the progress to ensure everything is going as expected.
During this time, the Ninja Foodi Air Fryer is working to reach the designated cooking temperature. Preheating is crucial because it ensures the air fryer’s optimal cooking environment before cooking your food. This step guarantees even cooking, better results, and shorter cooking times.
By allowing your Ninja Foodi Air Fryer to preheat adequately, you’re setting the stage for successful air frying. It’s a simple but essential step that can make a significant difference in the quality of your meals. So, take a moment to be patient, and you’ll be rewarded with delicious, evenly cooked dishes when you start cooking in your Ninja Foodi Air Fryer.
In conclusion, preheating your Ninja Foodi Air Fryer is a small yet crucial step that can significantly impact the outcome of your air-fried meals. Following the five simple steps outlined in this guide, ensure that your air fryer reaches the optimal cooking temperature before you begin cooking. This preheating process produces more even cooking, better texture, and shorter cooking times.
The benefits of preheating are clear: improved cooking performance and consistently delicious results. So, before you embark on your next air frying adventure, take a moment to preheat your Ninja Foodi Air Fryer. Your taste buds will thank you, and you’ll wonder how you ever cooked without this essential step.
FAQ’s:
Is preheating necessary for every recipe in the Ninja Foodi Air Fryer?
Preheating is recommended for most recipes, as it helps ensure even cooking and better results. However, for some quick-cooking items, like specific snacks, you may skip preheating, which may affect the outcome.
How long does it typically take to preheat the Ninja Foodi Air Fryer?
The preheating time can vary depending on the model and the desired temperature. It takes about 3-5 minutes to preheat the air fryer. Higher temperatures may take a bit longer.
Can I open the Ninja Foodi Air Fryer during the preheating process?
It’s best to keep the air fryer closed during preheating cycle to maintain the desired temperature. Opening it can cause heat loss, extending the preheating time.
Can I preheat the Ninja Foodi Air Fryer in advance, or should I do it just before cooking?
Preheating just before cooking is recommended for best results. Preheating in advance may not be as effective, and the air fryer should be turned off when unused.
What happens if I don’t preheat the Ninja Foodi Air Fryer?
While you can cook without preheating, it may lead to uneven cooking, longer cooking times, and potentially different results than expected in your recipes.
Can I preheat the Ninja Foodi Air Fryer to a higher temperature than the cooking temperature in my recipe?
Yes, you can preheat to a higher temperature, but adjusting it to the cooking temperature specified in your recipe to avoid overcooking is advisable.
Is leaving the Ninja Foodi Air Fryer unattended during the preheating process safe?
No! It’s generally safe to leave the air fryer unattended during preheating for a short duration. However, it’s a good practice to stay nearby to monitor it, especially if it’s your first time using a specific recipe.
Best Ninja Foodi Pressure Cooker Recipes
- Air Fryer French Fries
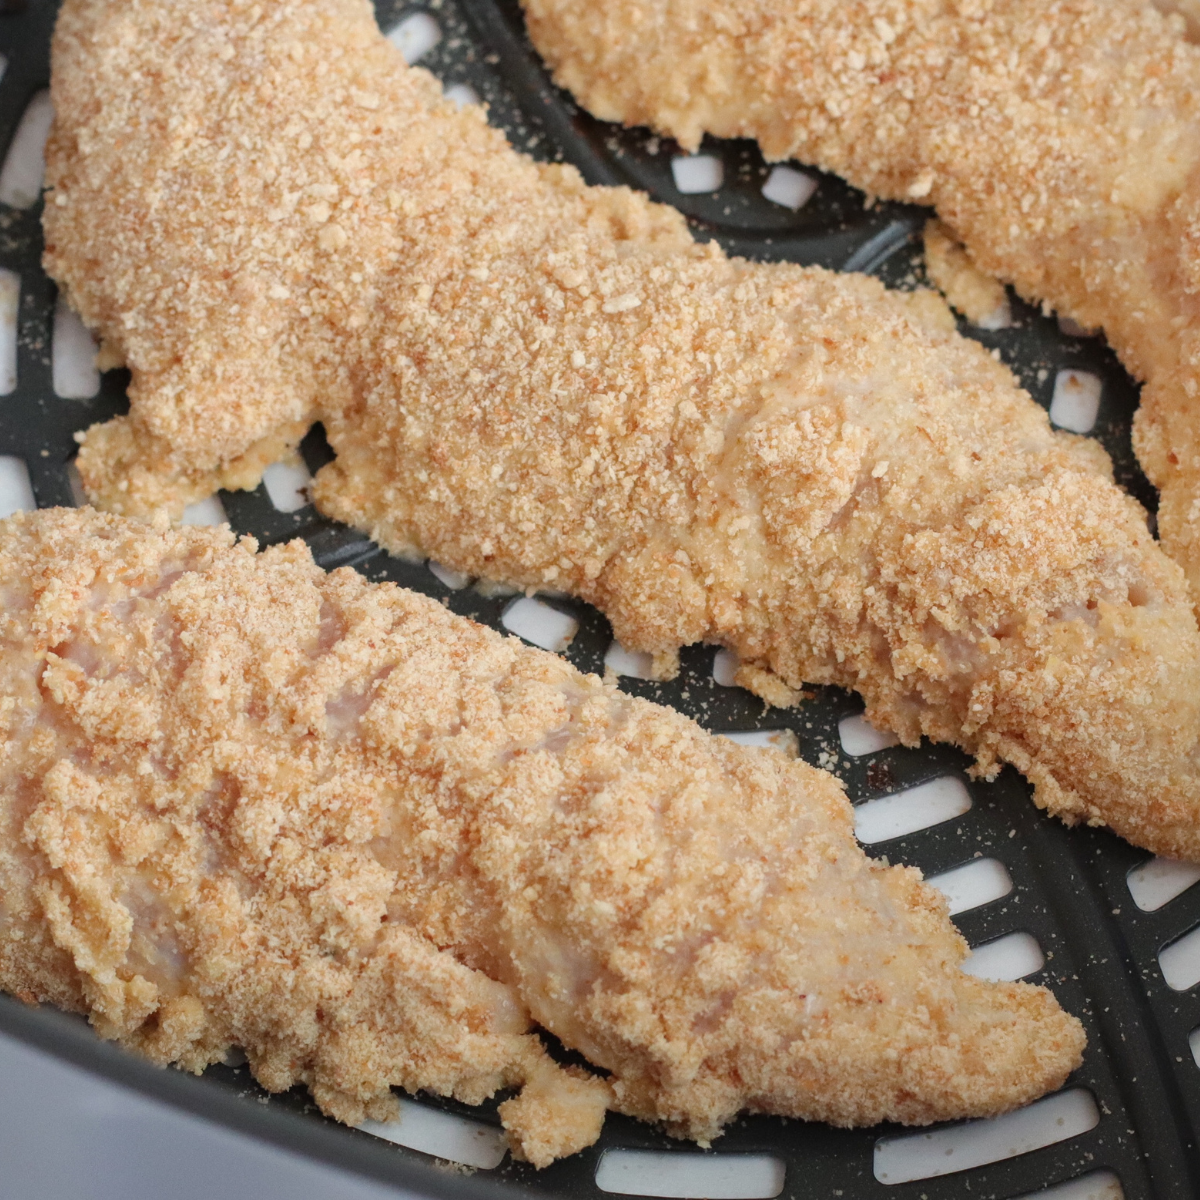
- Air Fryer Chicken Tenders
- Air Fryer Chicken Thighs
- Air Fryer Chicken Nuggets
- Air Fryer Chicken Drumsticks
Don’t Forget To Follow Us Along on Social Media: Instagram, Facebook, and TikTok, and Join Our Facebook Page and group for all your Air Fryer Recipes and Tips!
Don’t Forget To Pin Preheating your Ninja Foodi Air Fryer