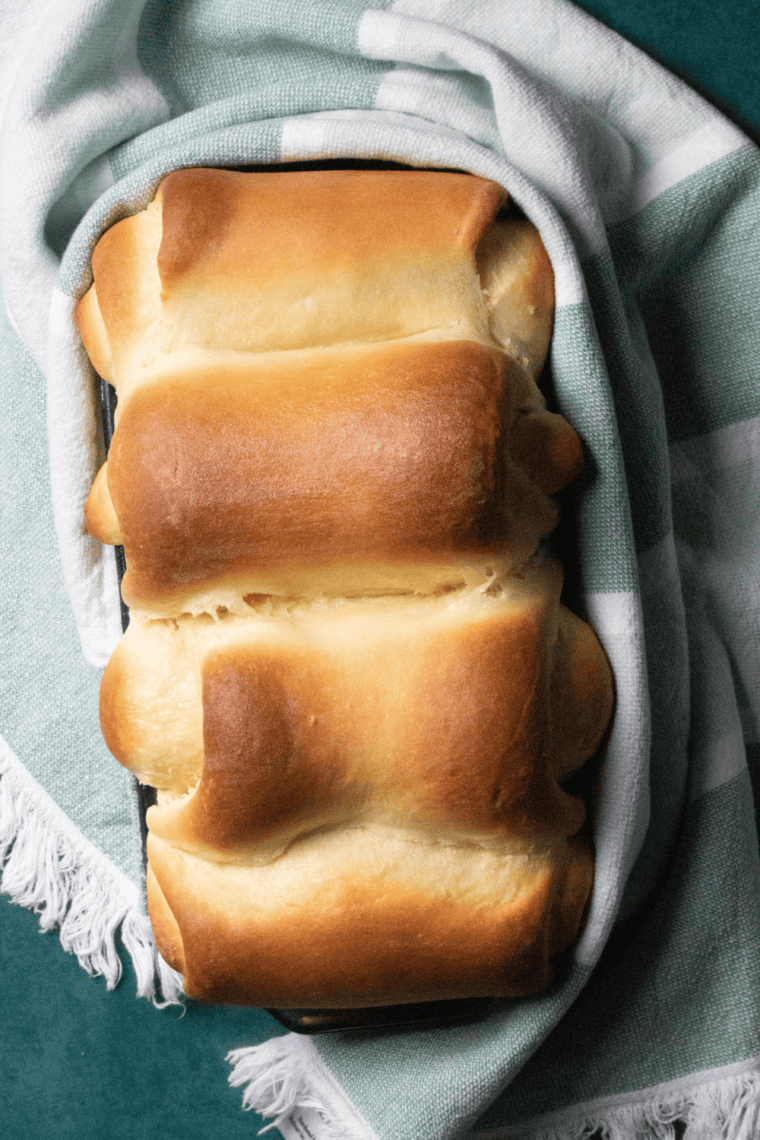
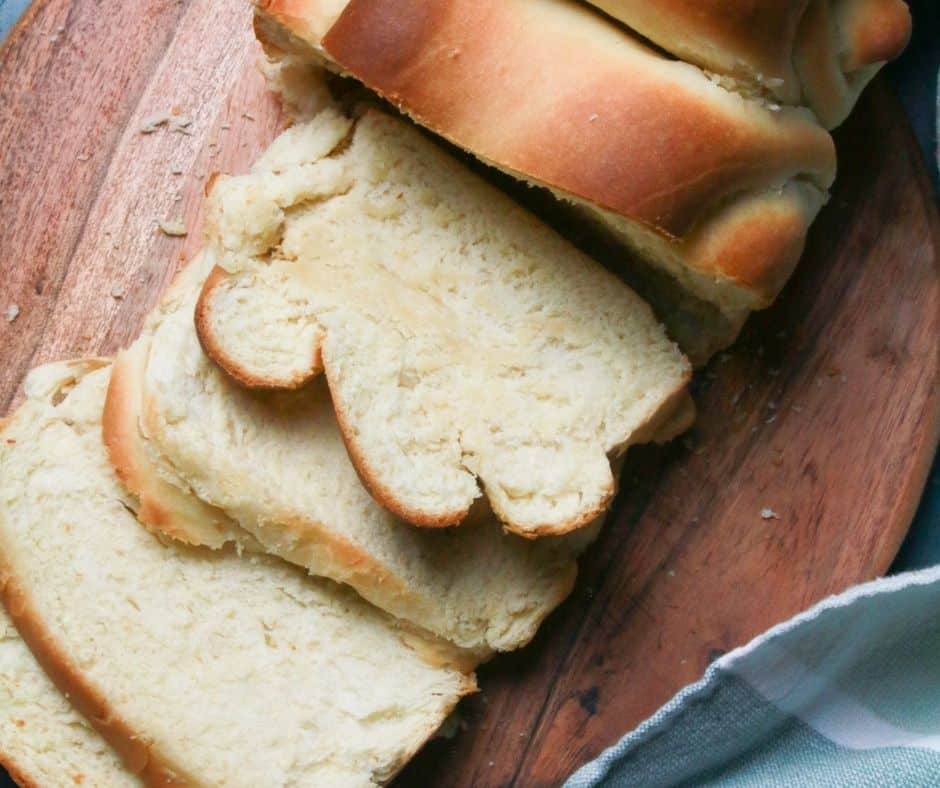
Get ready to fall in love with the fluffiest, softest Air Fryer Milk Bread! This easy recipe gives you a golden, melt-in-your-mouth loaf in no time—perfect for breakfast, sandwiches, or just enjoying with a bit of butter. Let’s make some bread magic in the air fryer!
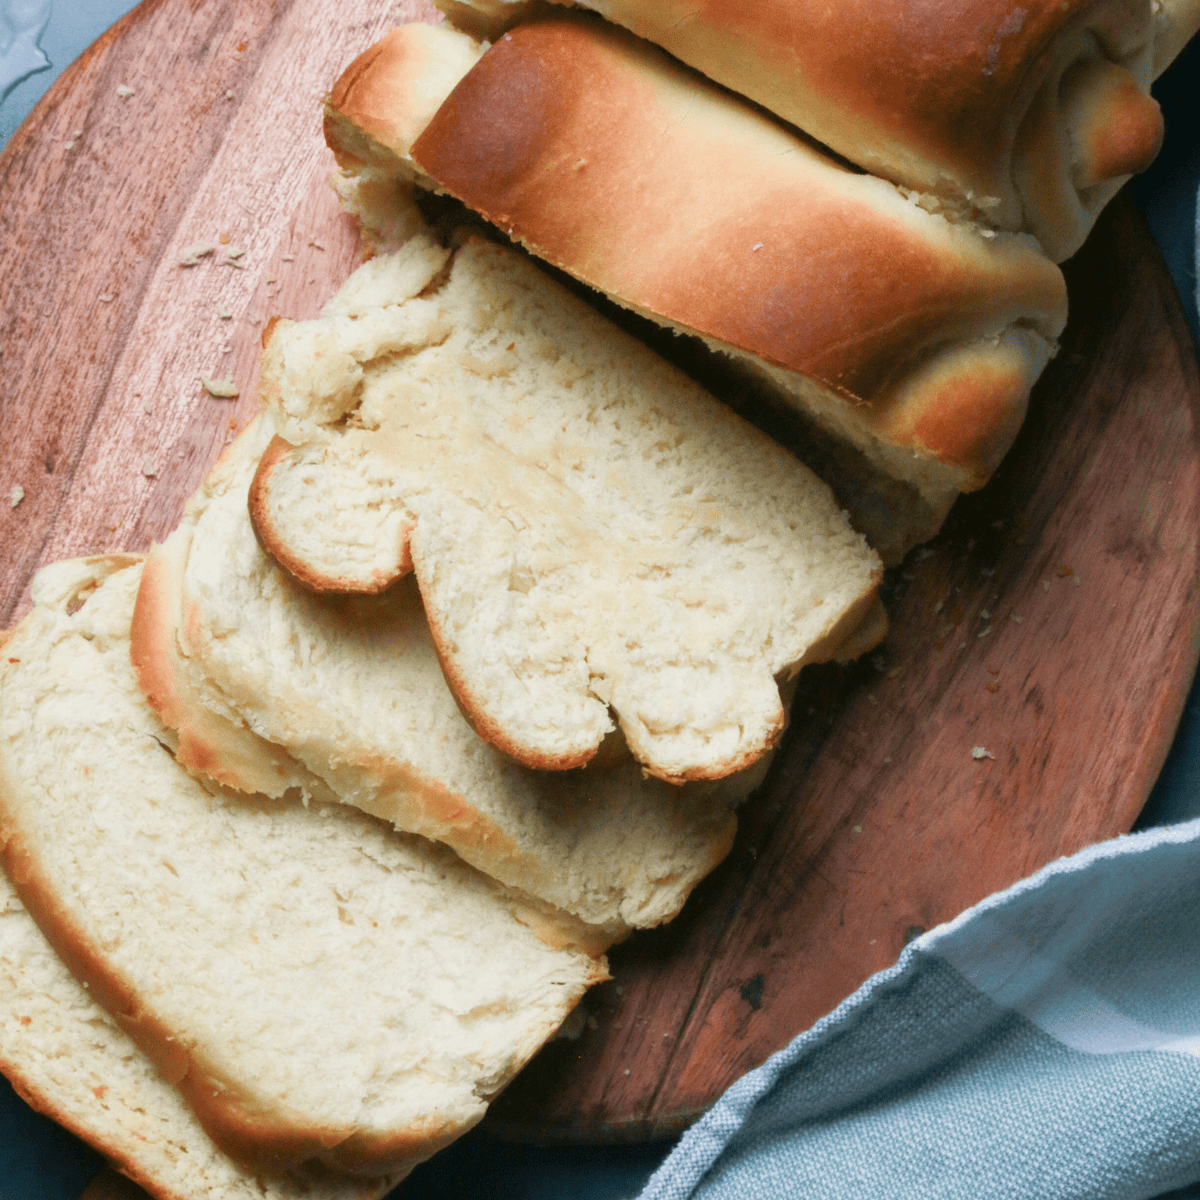
Air Fryer Milk Bread is the perfect recipe for anyone craving soft, fluffy, and delicious homemade bread with minimal effort.
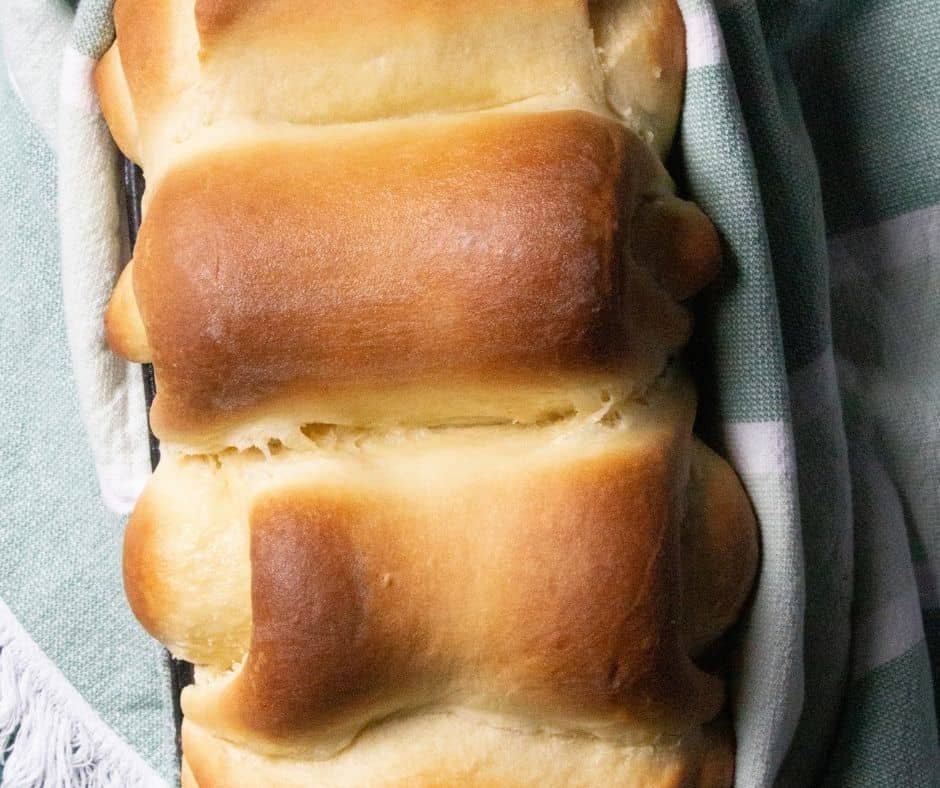
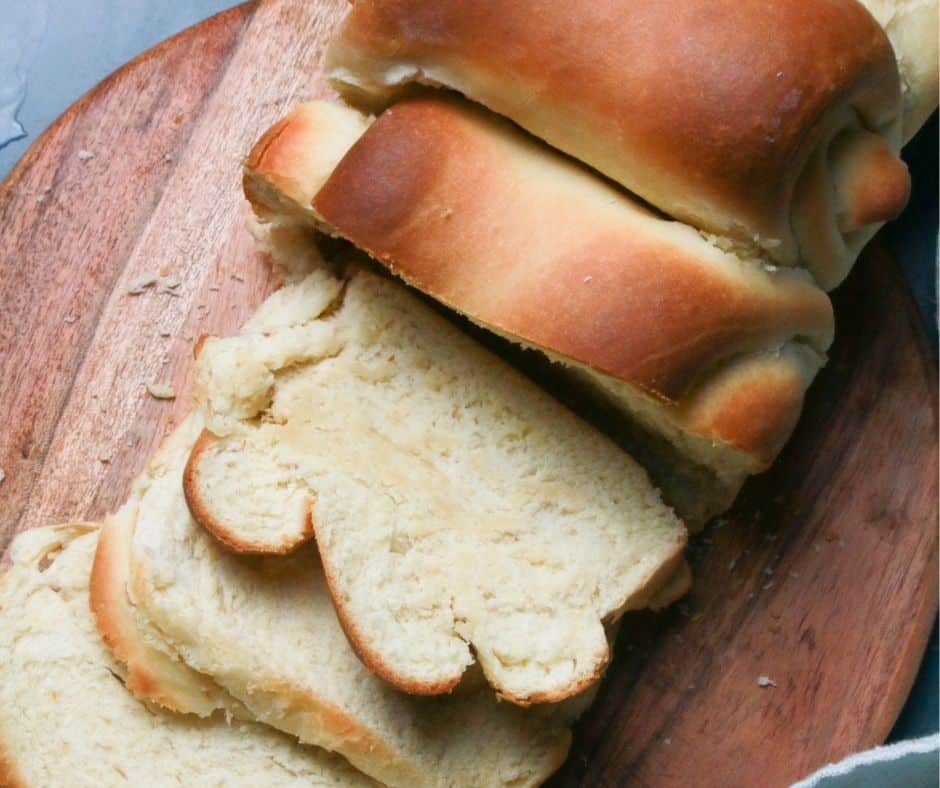
Using the air fryer, you can create a golden-brown loaf that’s light and airy on the inside, making it perfect for breakfast, sandwiches, or just enjoying with a pat of butter.
With its quick prep time and simple ingredients, this easy-to-make bread will become a family favorite in no time!
Why You Will Love This Recipe!
- Quick & Easy: No need to wait hours for dough to rise—Air Fryer Milk Bread comes together in a fraction of the time, making it perfect for busy days when you’re craving fresh, homemade bread.
- Soft & Fluffy Texture: The Tangzhong keeps the bread moist and creates a perfectly golden crust with a light, airy, and melt-in-your-mouth interior, giving you the ideal bread texture every time.
- Versatile: Whether you enjoy it as a breakfast treat, a sandwich base, or just with a little butter, this bread is incredibly versatile and goes with anything.
- Minimal Cleanup: Unlike traditional oven baking, the air fryer simplifies cleanup—just pop the basket out and you’re done!
- No Kneading Required: This recipe doesn’t require any kneading, making it perfect for beginners or anyone who wants an effortless bread-making experience without sacrificing flavor.
Ingredients Needed
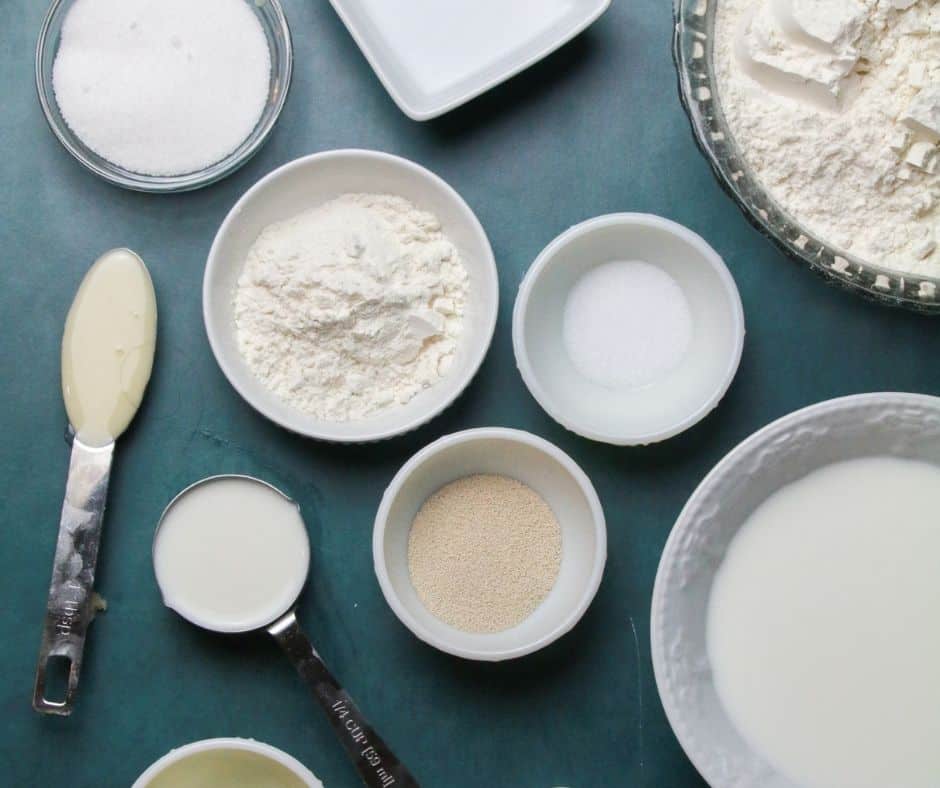
- All-Purpose Flour: It is essential to sift the flour so that you can have light, lump-free, and well-mixed ingredients. Although this isn’t necessary, it does help with mixing success!
- Milk: The critical ingredient to this recipe, you can use either whole milk or a milk substitute. See suggestions below.
- Water: Lukewarm water between 105 to 110 degrees F for the yeast to rise.
- Yeast: Today, I used active dry yeast. The dough is essential to have the dough rise.
- Granulated Sugar: You can also use a sugar substitute if you want a diabetic-friendly recipe.
- Salt: For added flavor.
- Sweetened Condensed Milk: make sure that this is sweetened; otherwise, your bread will have a tangy taste to it.
- Butter: use either unsalted or omit the salt in this recipe.
- Egg: Eggs help bind the dough together.
How To Make Air Fryer Milk Bread
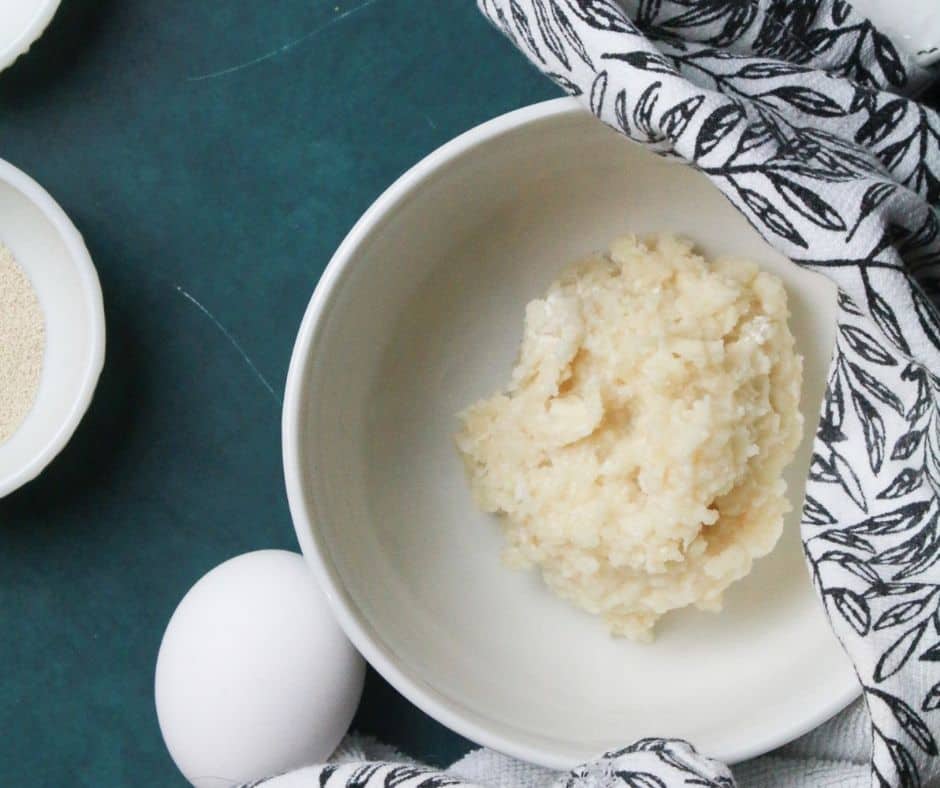
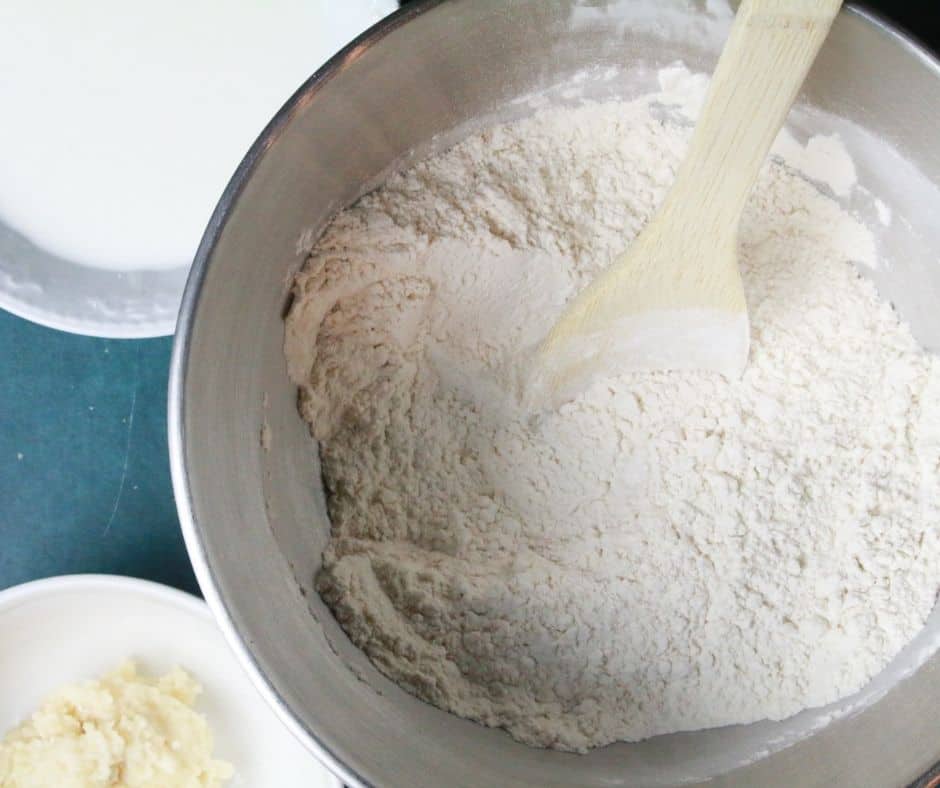
Step One: Add your Hokkaido bread starter to a small pan on low to medium heat. Stir until thickened and transfer to a bowl and cover with a dishtowel. Allow it to sit until cooled. Add dough ingredients in a stand mixer bowl: flour, yeast, condensed milk, sugar, and salt. Whisk until well combined.
Step Two: With the stand mixer spinning on low, add the flour, milk, a beaten egg, and the cooled-off dough starter from before. Mix on a medium setting until a dough has formed in the center and pulled from the sides to form a ball. Move the ball of dough to a large bowl that has been sprayed with cooking spray. You can also lightly spray the top of the dough to prevent any drying. Cover the bowl with a dish towel or plastic wrap. Allow sitting for one hour until it is twice its original size.
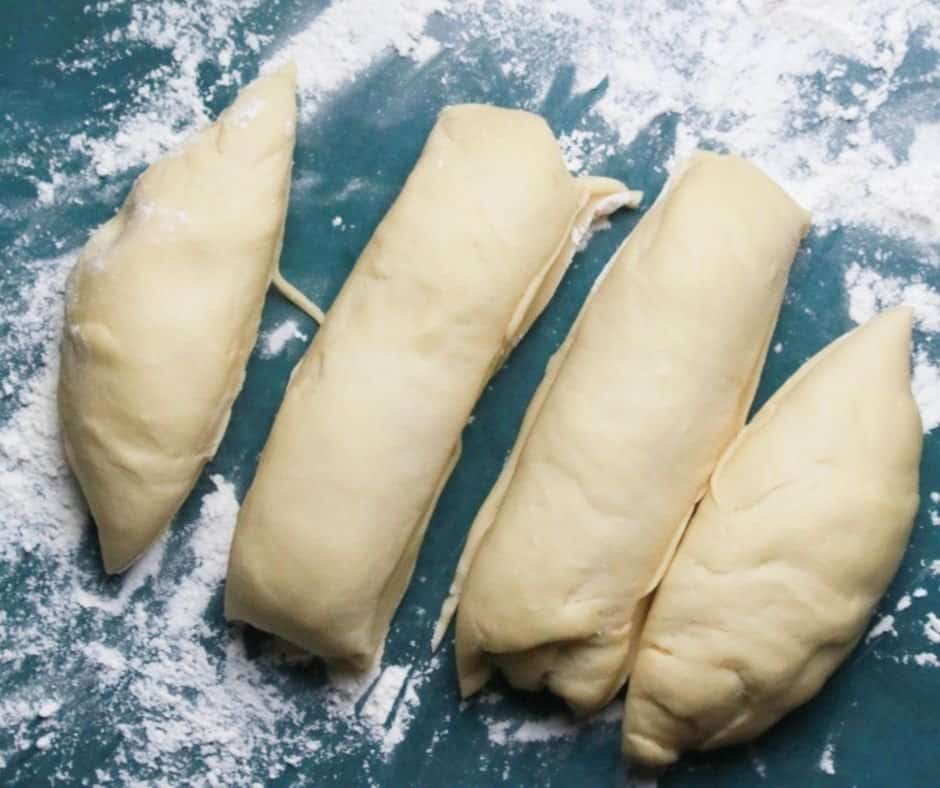
Step Three: Once the dough has sat for an hour, please remove it from the bowl onto a floured surface and cut it into fourths. Roll out each dough ball to create a rectangle and then slightly fold in the sides. With the sides folded in a roll from the short side. Repeat with all the dough.
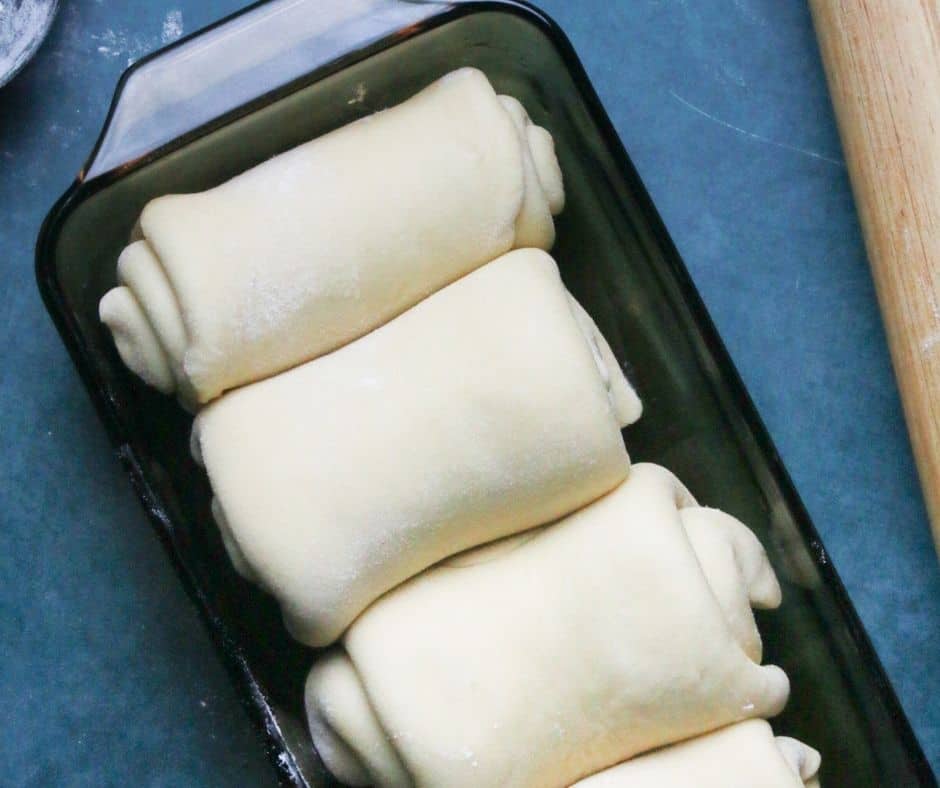
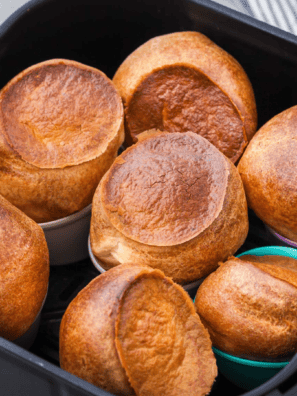
Step Four: Place the rolled sections of dough into the air fryer pan, cover, and allow to rise for another hour. Once the dough has finished rising for the second time, preheat the air fryer to 350 degrees F. Brush the top of the bread with melted butter and set cook time for 15-20 minutes or until well browned. Allow cooling on a rack before serving.
Air Fryer Milk Bread Recipe Tips
- Use Room Temperature Ingredients: Make sure your milk, egg, and any other ingredients are at room temperature before mixing. This helps the dough come together more easily and rise better.
- Don’t Overcrowd the Air Fryer: Depending on the size of your air fryer, make sure the dough has enough space to rise and bake evenly. If necessary, bake the bread in batches.
- Check the Temperature: Every air fryer is different, so be sure to monitor your bread as it cooks. If it’s browning too quickly, reduce the temperature slightly and extend the cooking time.
- Brush with Butter for a Golden Finish: For a soft, golden crust, brush the top of the dough with melted butter right before cooking. This will help give it that perfect color and rich flavor.
- Let It Cool: Allow the bread to cool slightly on a rack after baking. This will help it set properly, making it easier to slice without losing its soft texture.
- Adjust Consistency with Flour: If your dough feels too sticky or too dry during mixing, add a little more flour or milk, a tablespoon at a time, to get the right consistency. It should be soft and slightly tacky, not overly sticky.
- Use a Non-Stick Air Fryer Basket: If your air fryer basket isn’t non-stick, lightly grease it or line it with parchment paper to prevent the bread from sticking.
Storing
- Storing: Store Air Fryer Milk Bread in an airtight container or a resealable plastic bag at room temperature for up to 3 days to keep it fresh. For longer shelf life, you can refrigerate it for up to a week, though it may lose some of its softness.
- Freezing: To freeze Air Fryer Milk Bread, wrap it tightly in plastic wrap or aluminum foil and place it in a freezer-safe bag or container. It can be stored in the freezer for up to 3 months, and you can thaw it at room temperature or in the microwave.
- Reheating: Reheat slices of Air Fryer Milk Bread in the air fryer at 300°F for 3-5 minutes to bring back its soft, fluffy texture. Alternatively, you can warm it up in the microwave for about 15-20 seconds for a quicker option.
Air Fryer Milk Bread Recipe Faqs
Can I use regular flour instead of bread flour? Yes, you can use all-purpose flour if you don’t have bread flour. The bread may be slightly less airy, but it will still turn out soft and delicious.
Can I make this recipe without condensed milk? Condensed milk adds sweetness and moisture to the bread, but if you don’t have it, you can substitute with regular milk and a tablespoon of sugar.
Can I make this recipe without an air fryer? Yes, you can bake this bread in a conventional oven at 350°F for about 20-25 minutes, or until golden brown on top.
How can I make my Air Fryer Milk Bread sweeter? To make the bread sweeter, you can add a bit more sugar or honey to the dough. You can also brush the top with a sugar syrup after baking for extra sweetness.
Why is my Air Fryer Milk Bread dense? If your bread turns out dense, it could be due to overmixing the dough or not allowing enough rise time. Make sure the dough is well-rested during the rising process, and avoid overworking it.
Can I add flavors or fillings to this bread? Absolutely! You can add chocolate chips, cinnamon, or fruit fillings like raisins or berries before rolling the dough to make it more flavorful.
How long can I store Air Fryer Milk Bread? Store the bread in an airtight container at room temperature for 3 days, or freeze it for up to 3 months for longer storage.
Can I double the recipe? Yes, you can double the recipe, but make sure to adjust the cooking time as needed, especially if you’re using a larger air fryer. You may need to cook in batches if necessary.
Equipment Used
Amazon Basics Nonstick Baking Bread Loaf Pan, 9.5 x 5 Inch, Set of 2
More Easy Air Fryer Recipes
- AIR FRYER CHOCOLATE BRIOCHE
- AIR FRYER HOT CROSS BUNS
- EASY AIR FRYER CREAM CHEESE-STUFFED BAGEL BITES
- AIR FRYER EVERYTHING BAGEL BREAD
- EASY AIR FRYER EVERYTHING BAGELS
Don’t Forget To Pin!

The Best Air Fryer Milk Bread (Extra Fluffy & Easy!)
Description
Ingredients
Starter:
- 1/4 cup all-purpose flour
- 1/4 cup milk
- 1/4 cup water, room temperature
Bread:
- 2 1/2 cup all-purpose flour
- 2 1/4 teaspoons active Instant yeast
- 1/4 cup granulated sugar
- 1 teaspoon salt
- 1 tablespoon sweetened condensed milk
- 1/2 cup milk, whole & room temperature
- 1/4 cup butter, unsalted & room temperature
- 1 large egg
- melted butter for brushing
Instructions
- Add your Hokkaido bread starter to a small pan on low to medium heat. Stir until thickened, transfer to a bowl, and cover with a dishtowel. Allow it to sit until cooled
- Add dough ingredients in a stand mixer bowl: flour, yeast, condensed milk, sugar, and salt. Whisk until well combined.
- With the stand mixer spinning on low, add the flour, milk, a beaten egg, and the cooled-off dough starter from before. Mix on a medium setting until a dough has formed in the center and pulled from the sides to form a ball.
- Move the ball of dough to a large bowl that has been sprayed with cooking spray. You can also lightly spray the top of the dough to prevent any drying. Cover the bowl with a dish towel or plastic wrap. Allow sitting for one hour until it is twice its original size.
- Once the dough has sat for an hour, remove it from the bowl and onto a floured surface and cut the dough into fourths.
- Roll out each ball of dough to create a rectangle and then slightly fold in the sides. With the sides folded in roll from the short side. Repeat with all the dough.
- Place the rolled sections of dough into the air fryer pan, cover, and allow to rise for another hour.
- Once the dough has finished rising for the second time, preheat the air fryer to 350F. Brush the top of the bread with melted butter and allow to cook for 15-20 minutes or until well browned.
- Allow to cool on a rack before serving.
Equipment
- Mini Loaf Pan, see post for suggestions
Nutrition
Share this recipe
We can’t wait to see what you’ve made! Mention @forktospoon or tag #forktospoon!