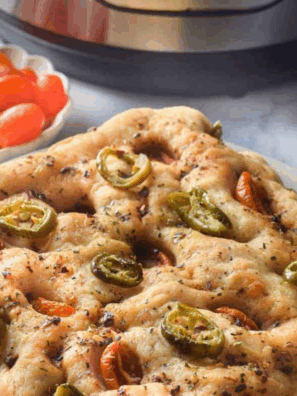
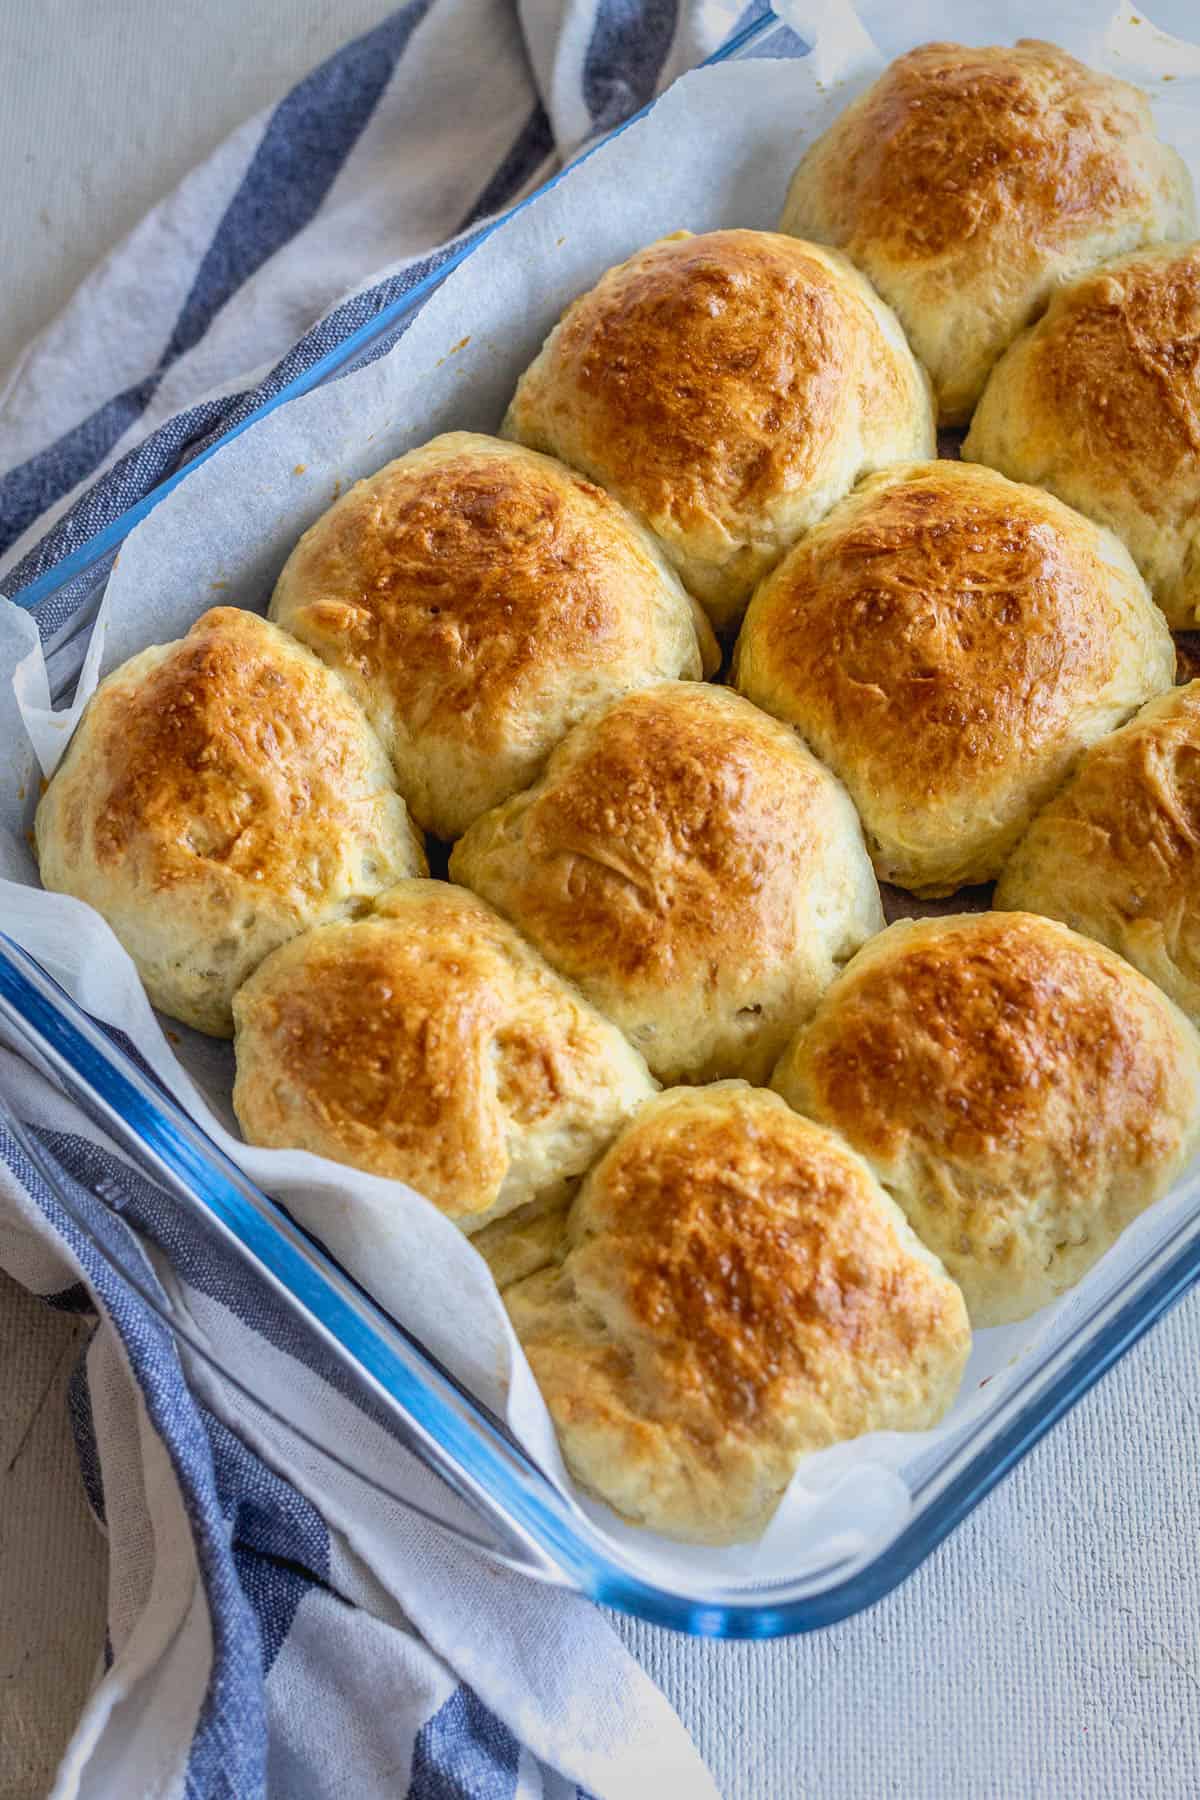
Proofing Bread in Instant Pot — Do you love the smell of freshly baked bread in your kitchen but don’t have time to make it? If so, proofing bread in an Instant Pot may be just what you need!

With a few simple steps and ingredients, you can make delicious homemade bread with minimal effort and save yourself some much-needed time. From kneading to rising to baking—we’ll show you how easy it is to create your very own tasty loaf of bread using your trusty Instant Pot.
Can you proof dough in Instant Pot?
Yes, you can proof dough in an Instant Pot. The Instant Pot’s “Yogurt” function provides a warm, controlled environment for dough proofing. The “Yogurt” setting maintains a consistently low heat, usually around 100°F (38°C), which is perfect for encouraging yeast fermentation and allowing the dough to rise.
Why Use Instant Pot To Proof Dough
Using an Instant Pot to proof dough offers several advantages and benefits, making it a convenient and reliable method for home bakers. Here are some reasons why using an Instant Pot for dough proofing is a great idea:
- Consistent Warm Environment: The Instant Pot’s “Yogurt” function provides consistent and gentle heat, usually around 100°F (38°C), ideal for encouraging yeast fermentation and helping the dough rise. Unlike other methods where the proofing temperature varies, the Instant Pot ensures a controlled and warm environment.
- Time-Saving: Proofing dough in an Instant Pot can be faster than traditional room-temperature proofing. The controlled warmth accelerates the yeast activity, allowing the dough to rise more quickly.
- No Drafts or Temperature Fluctuations: Proofing dough on the countertop might be affected by drafts or changes in room temperature, which can impact the consistency and quality of the dough rise. The Instant Pot eliminates these issues, providing a stable and draft-free environment.
- Year-Round Proofing: In colder months or cooler kitchens, getting the ideal proofing temperature can be challenging. The Instant Pot ensures that you can consistently proof dough regardless of the weather or season.
- Space-Saving Alternative: If you have limited oven space or don’t want to use the oven just for proofing, the Instant Pot offers a practical and space-saving alternative.
- Customizable Proofing Times: The Instant Pot’s “Yogurt” function allows you to adjust the proofing time based on your recipe’s requirements. You can set it for 30 minutes, 1 hour, or more, depending on the type of dough you are working with.
- Convenience: Once you set up the dough in the Instant Pot, you can leave it to proof without worrying about monitoring or adjusting the temperature. It’s a hands-off method that simplifies the proofing process.
- Consistent Results: With the controlled environment and temperature, proofing dough in the Instant Pot results in consistent and reliable rises, leading to better baking outcomes.
Overall, using an Instant Pot to proof dough is a practical and efficient method that improves fermentation, saves time, and ensures consistent and excellent results in your baking endeavors.
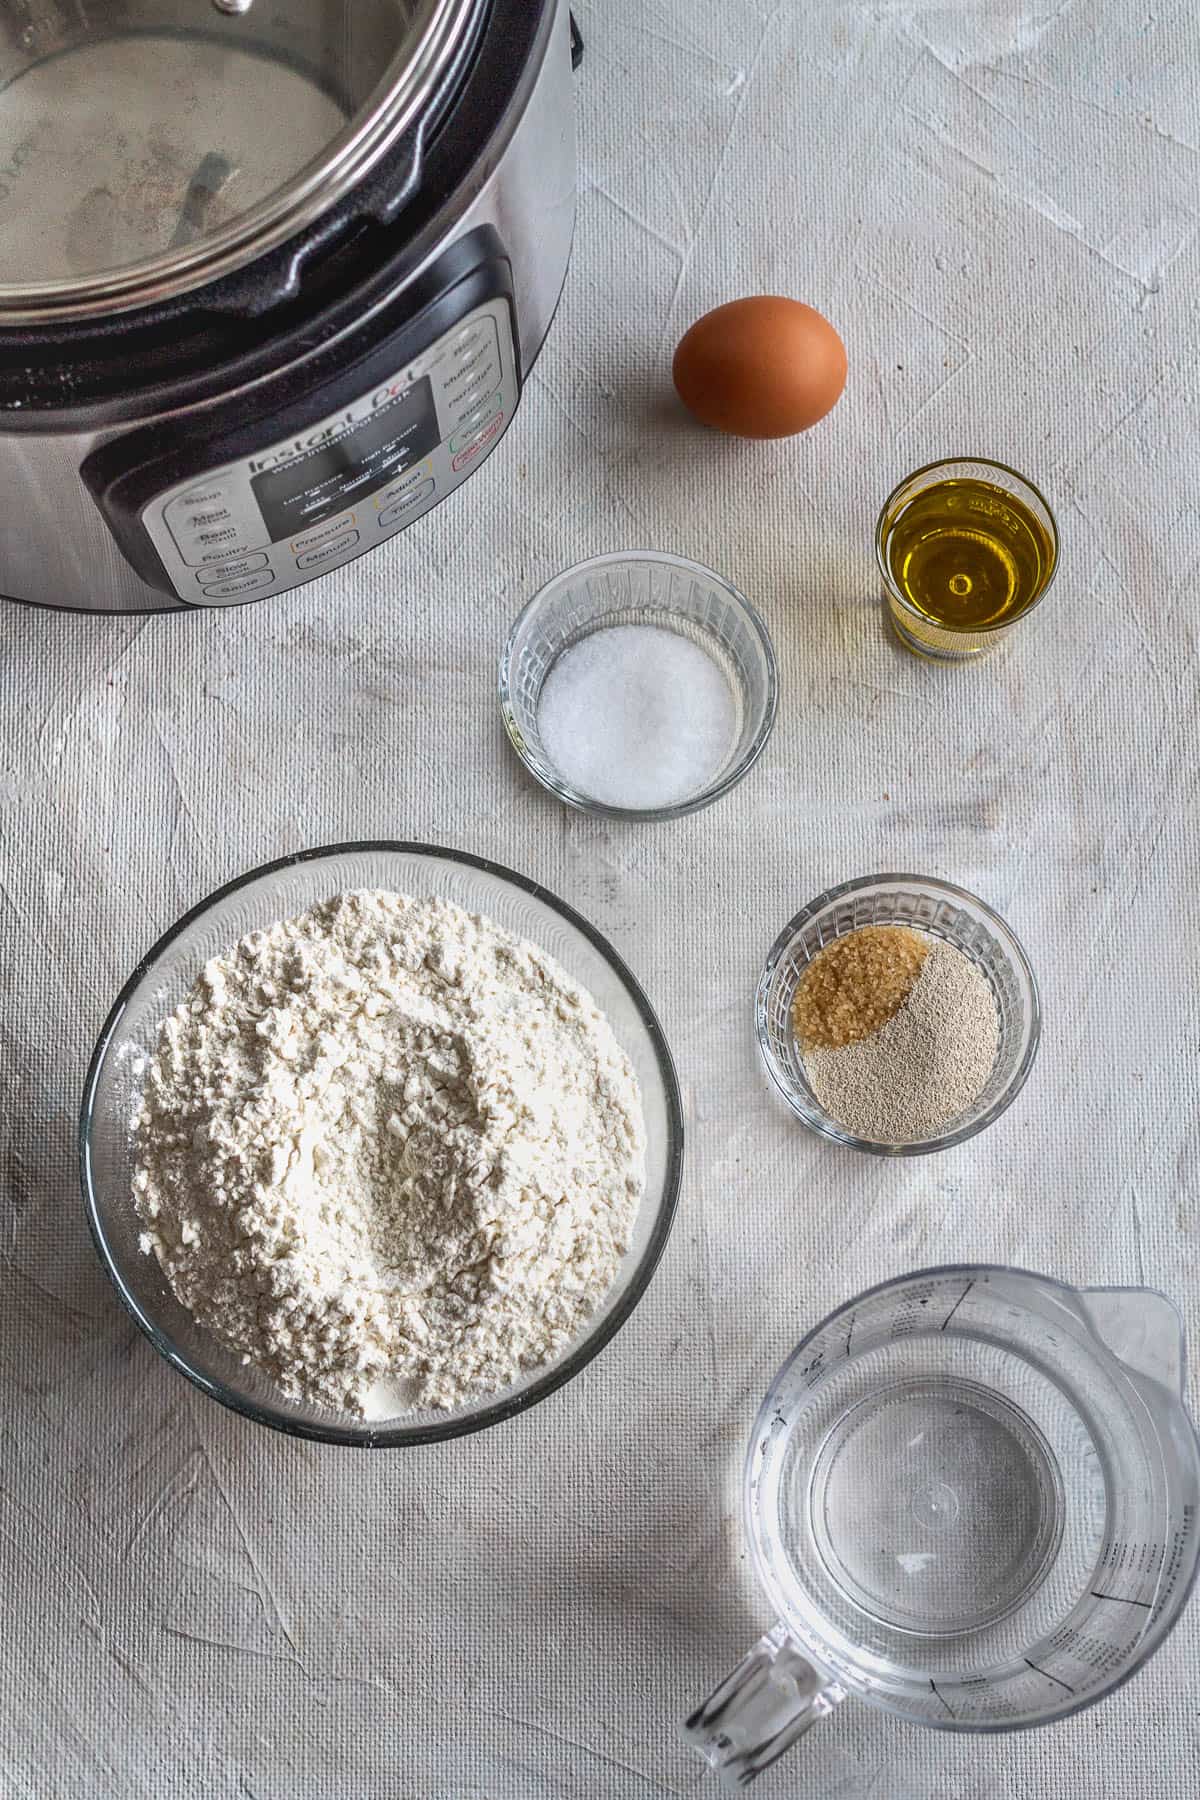
Ingredients Needed For Proofing Bread in Instant Pot
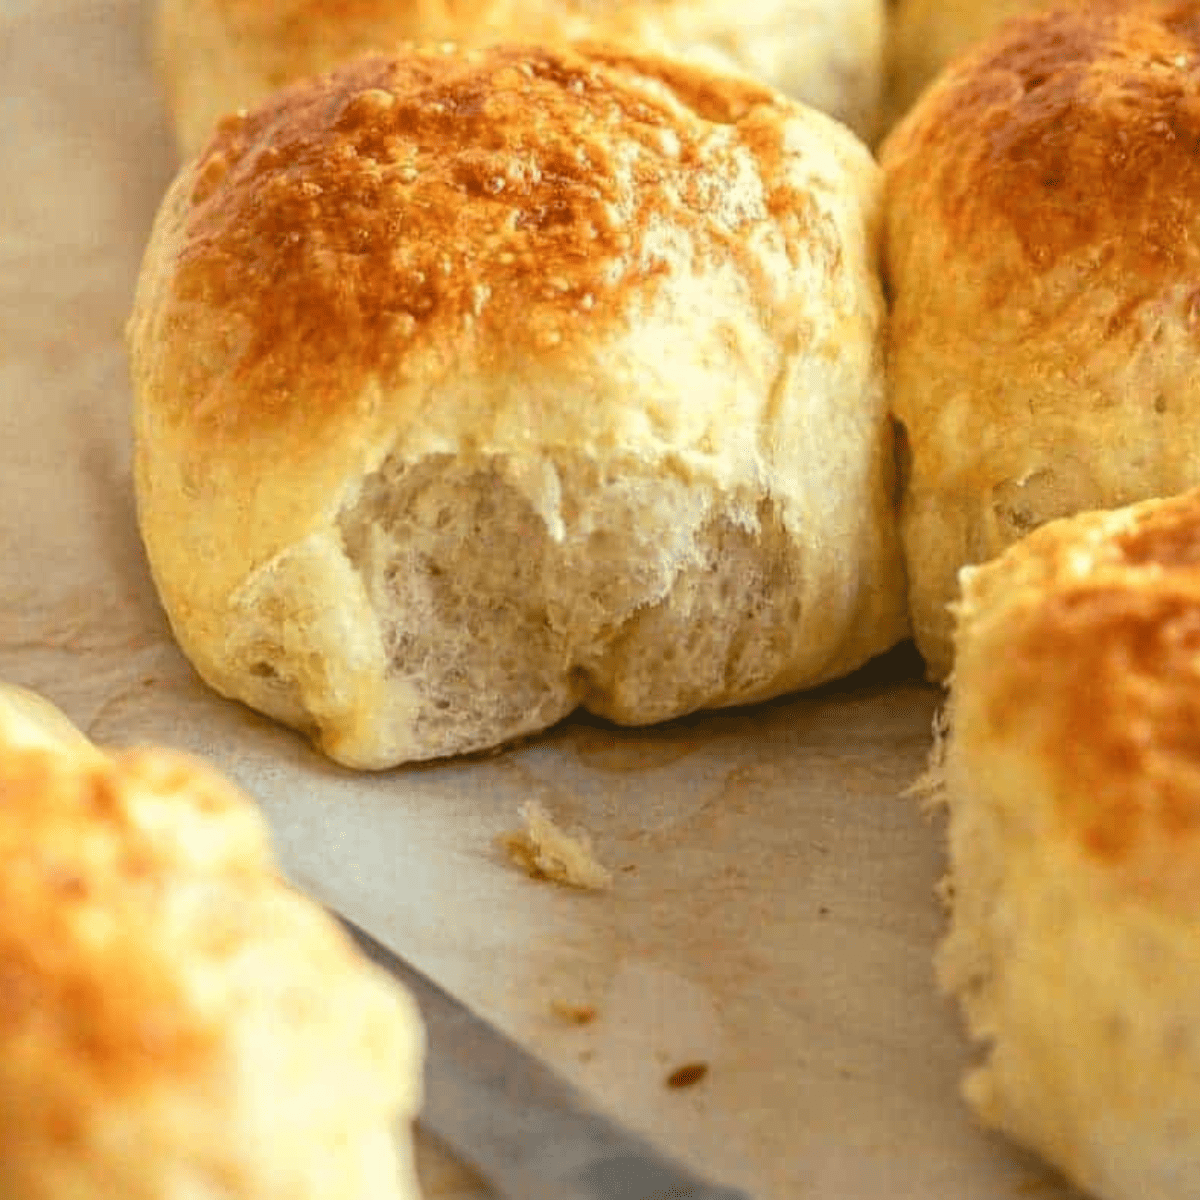
Have you ever been curious about making fresh, homemade bread using an Instant Pot? If so, you’re not alone. Proofing and baking bread in an Instant Pot is becoming increasingly popular due to its convenience and time-saving benefits. From fluffy rolls to crusty sourdough loaves, creating delicious baked goods with the help of your handy Instant Pot can be a fun and rewarding experience.
You only need the right ingredients and easy-to-follow instructions to start your inventive culinary journey. In today’s post, we will discuss everything from what kind of flour works best for each type of dough to which utensils are necessary to prepare your freshly made loaf inside your Instant Pot successfully.
Remember the step-by-step directions and detailed ingredient list are below in the printable recipe card at the bottom of the post, as well as the nutritional information.
- All-Purpose Flour: High-quality all-purpose flour is the main ingredient for making bread dough. It provides the structure and texture to the bread.
- Water: Water is essential for hydrating the flour and activating the yeast. It should be at a lukewarm temperature, around 105°F to 110°F (40°C to 43°C), to encourage yeast fermentation.
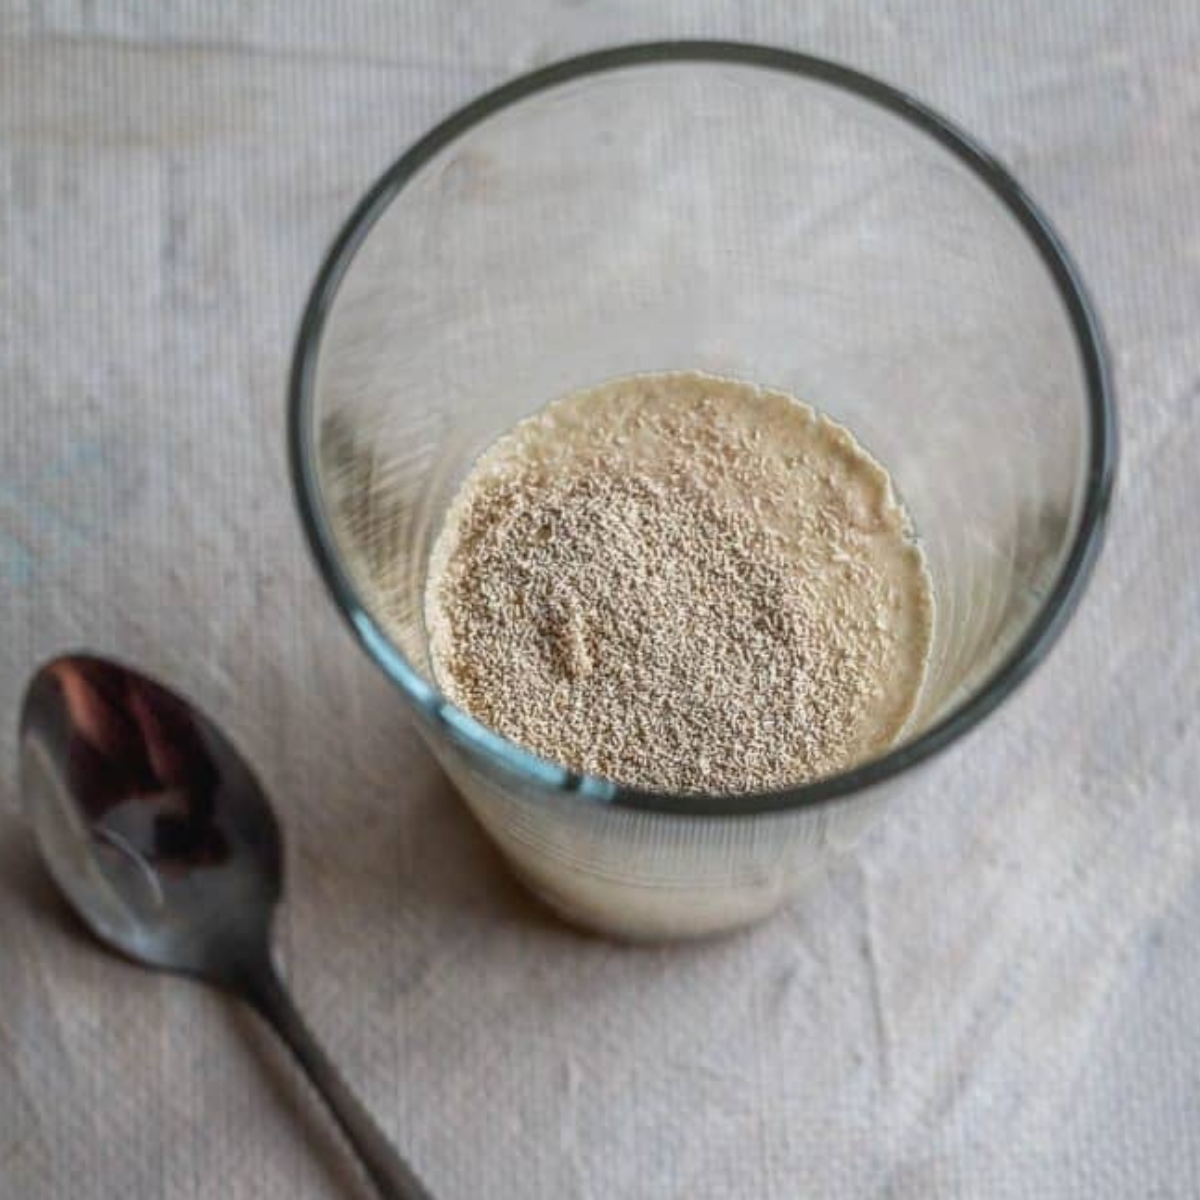
- Active Dry Yeast or Instant Yeast: Yeast is the leavening agent that helps the dough rise. Active dry yeast requires proofing in warm water before use, while instant yeast can be directly mixed with the dry ingredients.
- Kosher Salt: Salt enhances the flavor of the bread and regulates yeast activity during the proofing process.
- Sugar or Honey: Sugar or honey provides food for the yeast, aiding fermentation. It also adds a touch of sweetness to the bread.
How To Proof Dough In Instant Pot
Proofing using an Instant Pot is a fantastic way to make your favorite bread recipes quickly! Whether you are in the mood for delicious garlic-y breadsticks, or fluffy and light dinner rolls, proofing dough in an Instant Pot can help you make them faster than ever. Not only that, but several benefits come with this cooking method – it helps keep the yeast happy so your dough rises beautifully, keeps ingredients at steady temperatures so they don’t over-rise and become dense, and ensures uniformity throughout the entire batch of loaves. Below, we will cover all these topics plus more as we explore how to proof the dough in an Instant Pot. Ready? Let’s dive right in!
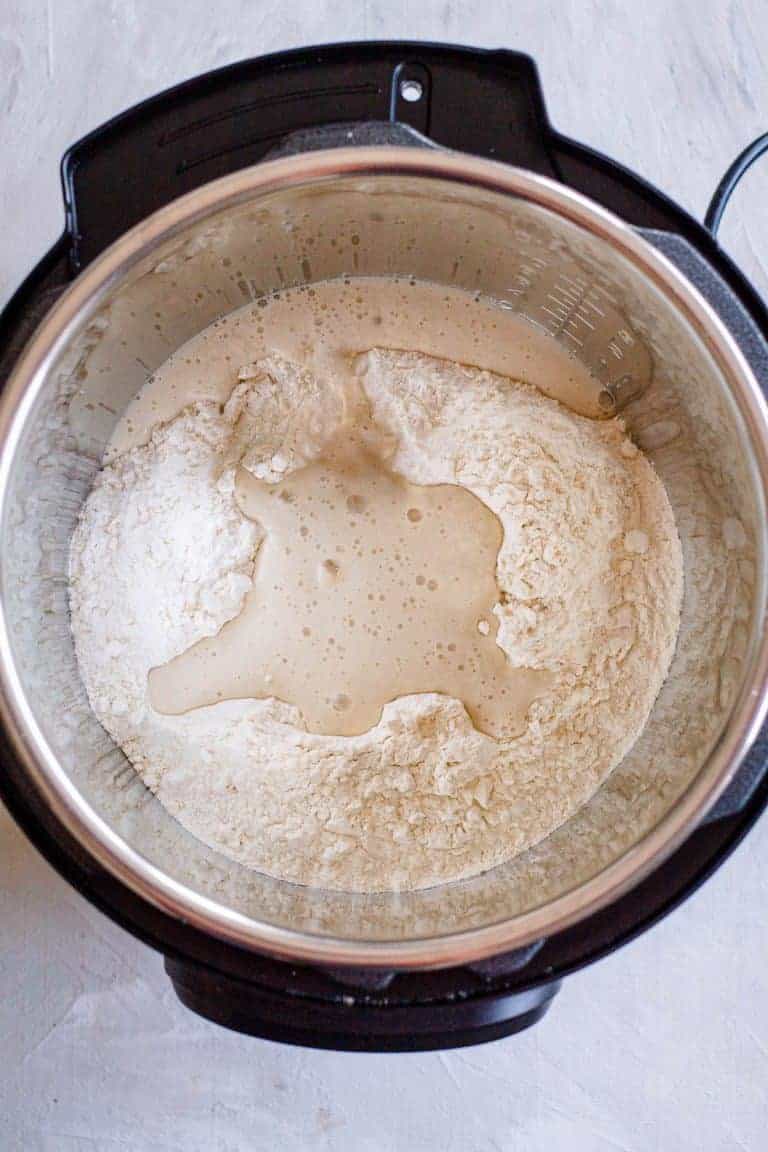
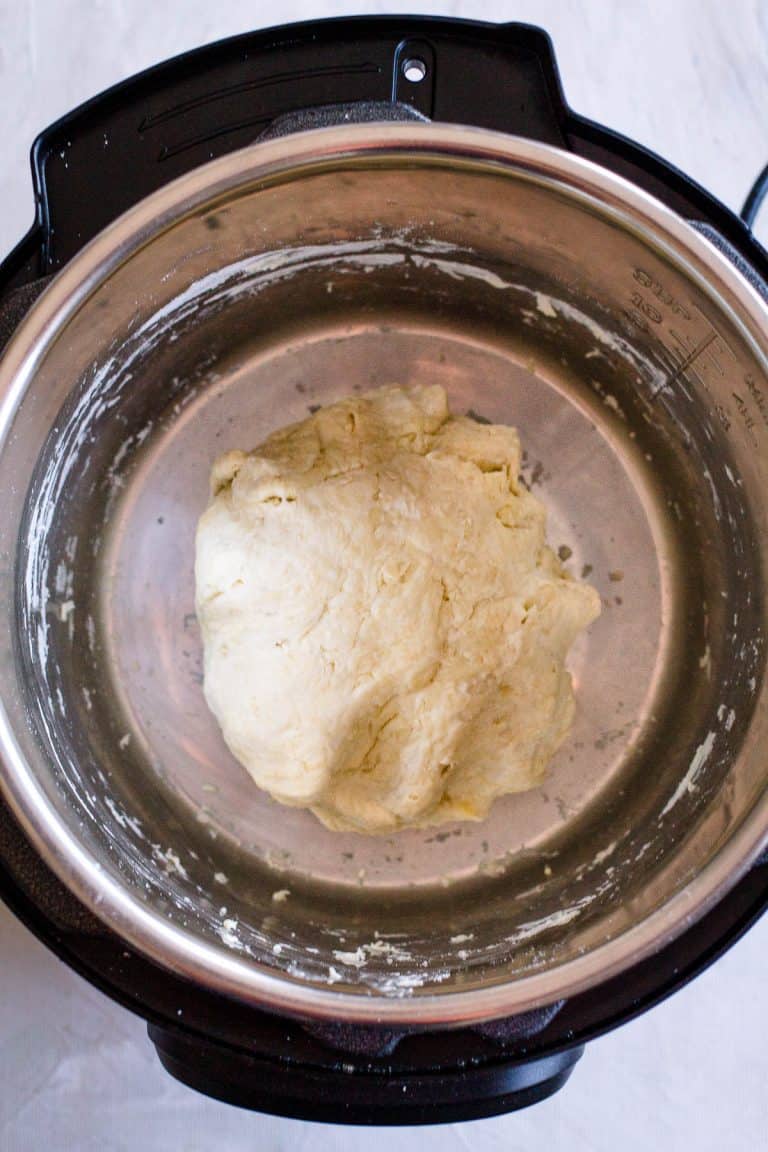
Make the Dough: Mix the all-purpose flour, water, yeast, salt, and sugar or honey in a bowl until combined. Knead the dough until it becomes smooth and elastic.
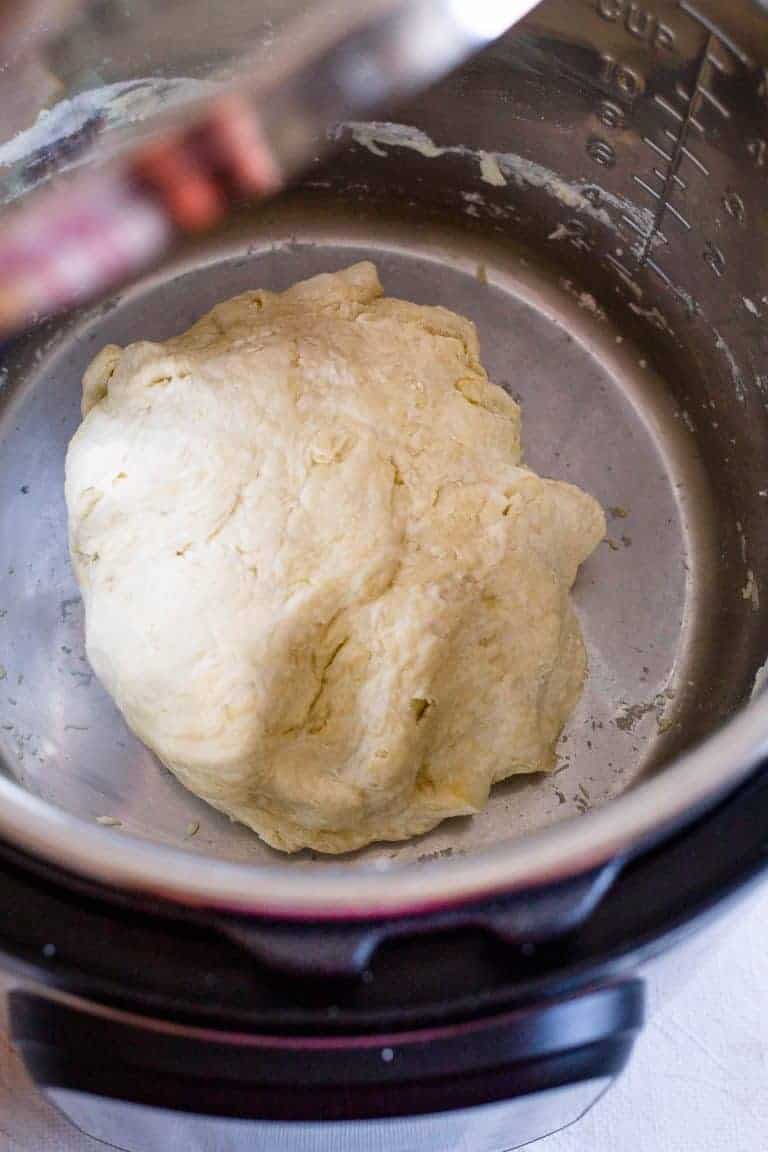
Shape the Dough: Form the dough into a ball and place it in a lightly greased bowl. Cover the bowl with a damp cloth or plastic wrap to prevent the dough from drying.
Prepare the Instant Pot: Lightly grease the Instant Pot insert to prevent the dough from sticking. If your Instant Pot has a “Yogurt” function, use it for proofing. If not, use the “Keep Warm” function or manually set the Instant Pot to a low temperature (around 100°F/38°C) for proofing.
Proof the Dough: Place the covered bowl with the dough inside the Instant Pot. Close the Instant Pot lid and let the dough proof for the specified time in your recipe. Typically, proofing takes around 1 to 2 hours, but it may vary depending on the type of bread and the room temperature.
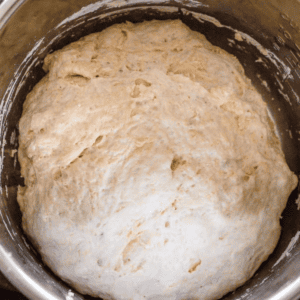
Check for Doubling: After the proofing time, check if the dough has doubled. If it hasn’t doubled yet, allow it to proof for a little longer.
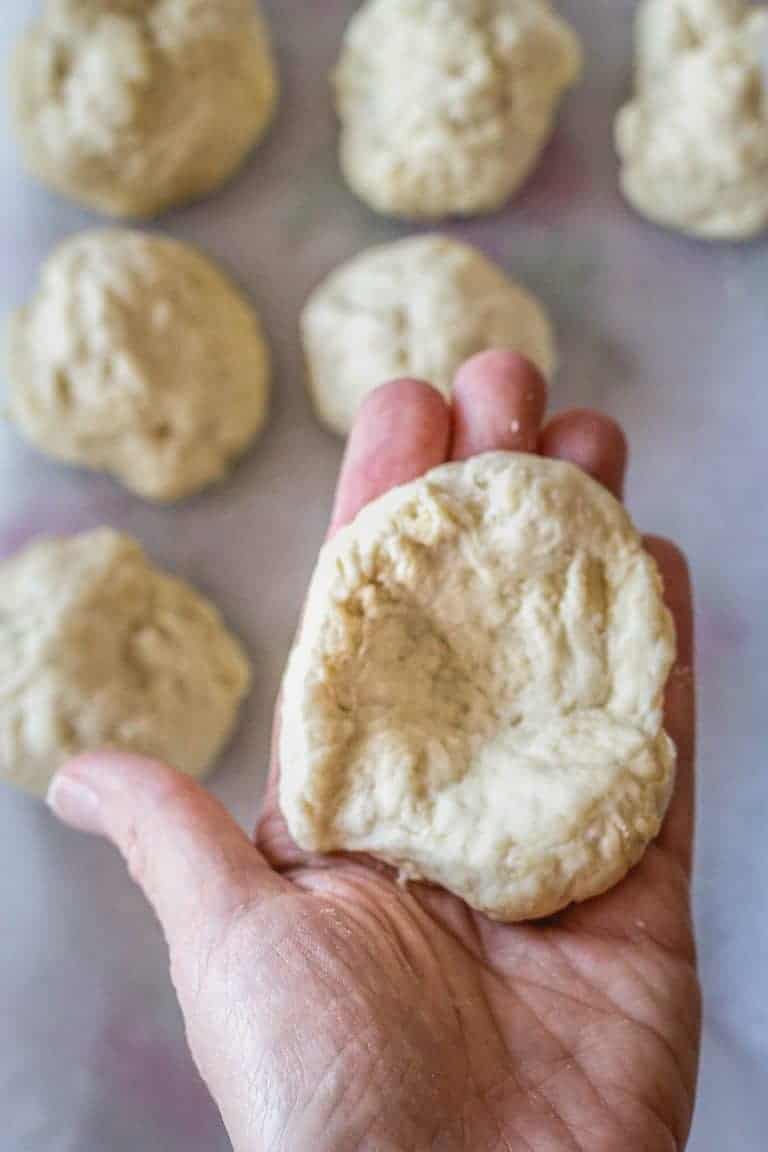
Remove the Dough: Once the dough has doubled in size, remove it from the Instant Pot and proceed with your bread recipe, such as shaping, baking, or further rising.
With these simple ingredients and instructions, you can successfully proof the bread in your Instant Pot, creating homemade, freshly baked bread with a soft and airy texture perfect for sandwiches, toasts, or simply enjoying on its own.
Pro Tips For Proofing Dough In Instant Pot Pressure Cooker
- Use Lukewarm Water: When mixing the dough, use lukewarm water (around 105°F to 110°F / 40°C to 43°C). Water at this temperature helps activate the yeast and promotes optimal fermentation.
- Proofing Time may vary: The proofing time may vary based on the type of bread, ambient temperature, and the yeast used. Keep an eye on the dough during proofing to ensure it doubles in size, but avoid over-proofing, as it can lead to over-fermented and collapsed bread.
- Grease the Instant Pot Insert: Lightly grease the Instant Pot insert before placing the dough inside. This prevents the dough from sticking and makes removing it easier after proofing.
- Cover the Dough: Cover the bowl containing the dough with a damp cloth or plastic wrap while proofing. This helps retain moisture, preventing the dough’s surface from drying and forming a crust.
- Use the Instant Pot’s Yogurt Function: If your Instant Pot has a “Yogurt” function, use it for proofing. The “Yogurt” function maintains a consistently low heat, ideal for encouraging yeast fermentation.
- Preheat the Instant Pot: For faster proofing, you can preheat the Instant Pot on the “Yogurt” function for a minute or two before placing the dough inside. Then turn off the Instant Pot and add the dough for proofing.
- Place the Dough on a Trivet: To avoid direct contact with the bottom of the Instant Pot, place the bowl containing the dough on a trivet or a heat-resistant platform inside the Instant Pot insert.
- Create a Warm Environment: For a warmer proofing environment, wrap the Instant Pot with a thick towel or use an insulated container cover to trap the heat.
- Avoid Pressure Cooking during Proofing: Ensure the Instant Pot is not set to pressure cook while proofing the dough. Choose the “Keep Warm” or “Yogurt” function for proofing, as they maintain a consistent low heat without building pressure.
- Keep the Lid Closed: Avoid opening the Instant Pot lid frequently during proofing, as it may cause temperature fluctuations and disrupt the proofing process.
- Check for the “Double in Size” Rule: A common indicator of well-proofed dough is that it should roughly double in size. However, the dough’s volume and consistency are more critical than a specific size measurement.
Following these pro tips will produce excellent results when proofing dough in your Instant Pot pressure cooker. Enjoy the convenience and efficiency of this method, which will lead to perfectly risen and fluffy bread for your culinary creations!
FAQs:
Can I use the Instant Pot’s “Warm” or “Slow Cook” function for proofing dough? Yes, if your Instant Pot doesn’t have a specific “Yogurt” function, you can use the “Warm” or “Slow Cook” setting for proofing. Ensure the temperature is set to low heat, around 100°F (38°C) for optimal proofing.
What is the ideal proofing time for dough in the Instant Pot? The proofing time may vary depending on the type of dough and the recipe. Generally, it takes around 1 to 2 hours for the dough to double. However, keep an eye on the dough during the process to avoid over-proofing.
Can I proof sourdough or whole wheat dough in the Instant Pot? Yes, you can proof various types of dough in the Instant Pot, including sourdough or whole wheat dough. Adjust the proofing time as needed, as different dough types may require longer or shorter fermentation periods.
Should I preheat the Instant Pot before proofing the dough? Preheating the Instant Pot for a minute or two on the “Yogurt” or “Warm” setting can create a warmer environment for faster proofing. However, it’s not mandatory; you can also proof the dough without preheating.
Can I proof dough in the Instant Pot with the lid off? Proofing the dough with the Instant Pot lid on is recommended to maintain a stable and warm environment. Keeping the lid off may lead to temperature fluctuations and affect the proofing process.
How do I know if the dough is proofed properly? The dough is properly proofed when it roughly doubles and becomes visibly puffy and airy. To test, gently press a finger into the dough, and if the indentation remains, the dough is ready for the next step.
Can I proof dough overnight in the Instant Pot? It’s not advisable to proof dough overnight in the Instant Pot, as prolonged proofing may lead to over-fermentation and negatively impact the bread’s texture and taste.
Can I proof multiple batches of dough in the Instant Pot simultaneously? Yes, you can proof multiple batches of dough in the Instant Pot simultaneously. However, leave enough space between the bowls to allow each batch to rise properly.
Can I proof dough in the Instant Pot without using a bowl? While placing the dough directly in the Instant Pot insert is possible, it’s better to use a greased bowl to prevent sticking and shape the dough more easily.
What should I do if my dough is not rising during proofing in the Instant Pot? If the dough is not rising, check the yeast’s freshness, ensure the water temperature is appropriate for yeast activation, and ensure the Instant Pot’s function and temperature settings are correct.

More Instant Pot Recipes
Proofing Bread in Instant Pot
Description
Ingredients
- 4 cups all-purpose flour
- 1 1/4 cup water , lukewarm
- 1 tablespoon active dry yeast
- 2 teaspoon kosher salt
- 1 teaspoon granulated sugar, or honey
Instructions
- Make the Dough: Mix the all-purpose flour, water, yeast, salt, and sugar or honey in a bowl until combined. Knead the dough until it becomes smooth and elastic.
- Shape the Dough: Form the dough into a ball and place it in a lightly greased bowl. Cover the bowl with a damp cloth or plastic wrap to prevent the dough from drying out.
- Prepare the Instant Pot: Lightly grease the Instant Pot insert to prevent the dough from sticking. If your Instant Pot has a “Yogurt” function, use it for proofing. If not, use the “Keep Warm” function or manually set the Instant Pot to a low temperature (around 100°F/38°C) for proofing.
- Proof the Dough: Place the covered bowl with the dough inside the Instant Pot. Close the Instant Pot lid and let the dough proof for the specified time in your recipe. Typically, proofing takes around 1 to 2 hours, but it may vary depending on the type of bread and the room temperature.
- Check for Doubling: After the proofing time, check if the dough has doubled in size. If it hasn’t doubled yet, allow it to proof for a little longer.
- Remove the Dough: Once the dough has doubled in size, remove it from the Instant Pot and proceed with your bread recipe, such as shaping, baking, or further rising.
Equipment
- Instant Pot
Nutrition
Share this recipe
We can’t wait to see what you’ve made! Mention @forktospoon or tag #forktospoon!