
Air fryer salt dough ornaments turn three pantry staples (flour, salt and water) into keepsakes your family will hang on the tree for years. Drying them in the air fryer takes a fraction of the time an oven needs, which makes this one of the easiest homemade Christmas crafts for kids.

My son and I made these salt dough ornaments in our basket-style air fryer one afternoon, using simple Christmas cookie cutters to create the shapes. I was surprised by how quickly they dried compared with baking them in the oven. The key was keeping them in a single layer and checking them often so the edges didn’t brown.
Important: salt dough ornaments are not edible. The dough is very high in salt and can be dangerous for dogs and other pets if eaten, so hang finished ornaments out of reach of curious pets.

Why make salt dough ornaments in the air fryer?
- Much faster drying. Traditional oven-dried salt dough can take hours. Small batches in the air fryer are done in about 30 minutes each.
- Three basic ingredients. You probably have flour, salt and water in your kitchen right now.
- Keeps the oven free. This is handy in December, when the oven is busy with holiday baking.
- Built to last. Once sealed, they can be brought out year after year.
- Endless designs. Use cookie cutters, handprints, pawprints, stamps, paint or glitter.
Ingredients
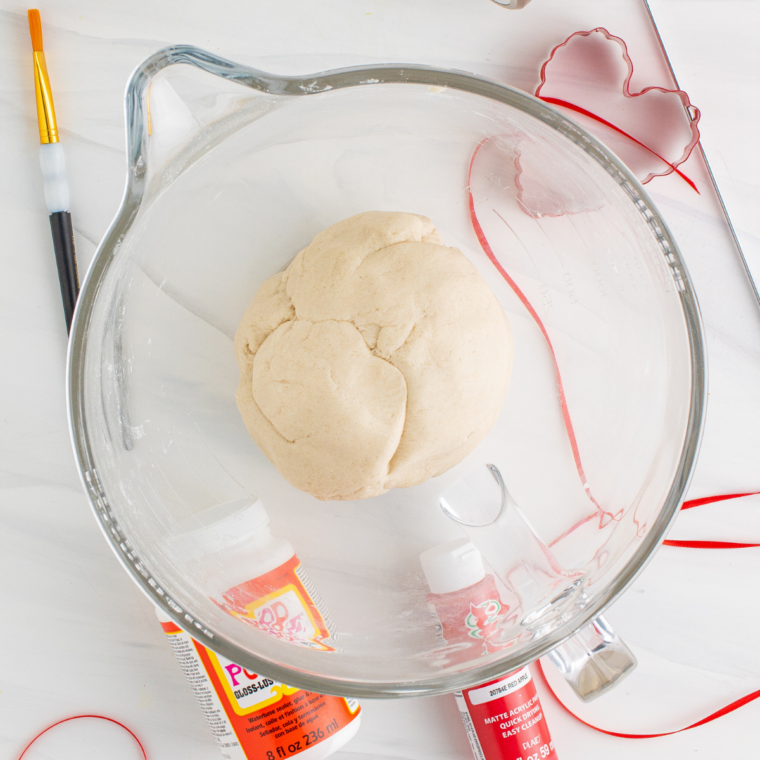
- All-purpose flour: the structure of the dough. Don’t use self-rising flour; the leavening makes ornaments puff and bubble.
- Table salt: firms up the dough and helps it dry hard.
- Warm water: brings the dough together. Add it gradually, because flour absorbs water differently from bag to bag.
Supplies
- Cookie cutters, 3–4 inches work well
- Rolling pin and parchment paper
- A drinking straw or skewer, for the hanging hole
- Acrylic paint and small paint brushes
- Mod Podge (gloss) or a clear sealer
- Thin ribbon or twine
Already pulling out the cookie cutters? The same gingerbread man cutter works for Air Fryer Gingerbread Man Cookies, so you can make a batch to eat alongside the batch to hang.
How to make air fryer salt dough ornaments
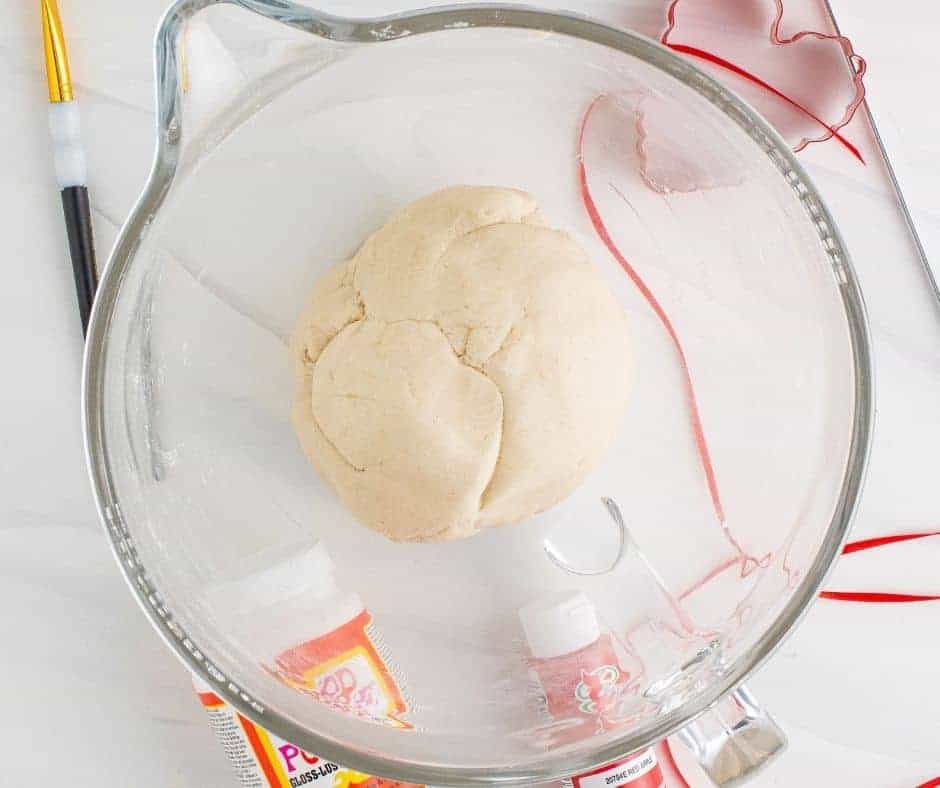
Step 1: Make the dough. Add the flour and salt to a large bowl or the bowl of a stand mixer fitted with the dough hook, and stir to combine. Slowly pour in the warm water while mixing. Once a dough forms, knead on medium speed (or by hand) for a few minutes until it’s smooth and no longer sticky. If it’s crumbly, add water a teaspoon at a time. If it’s tacky, add a little flour.
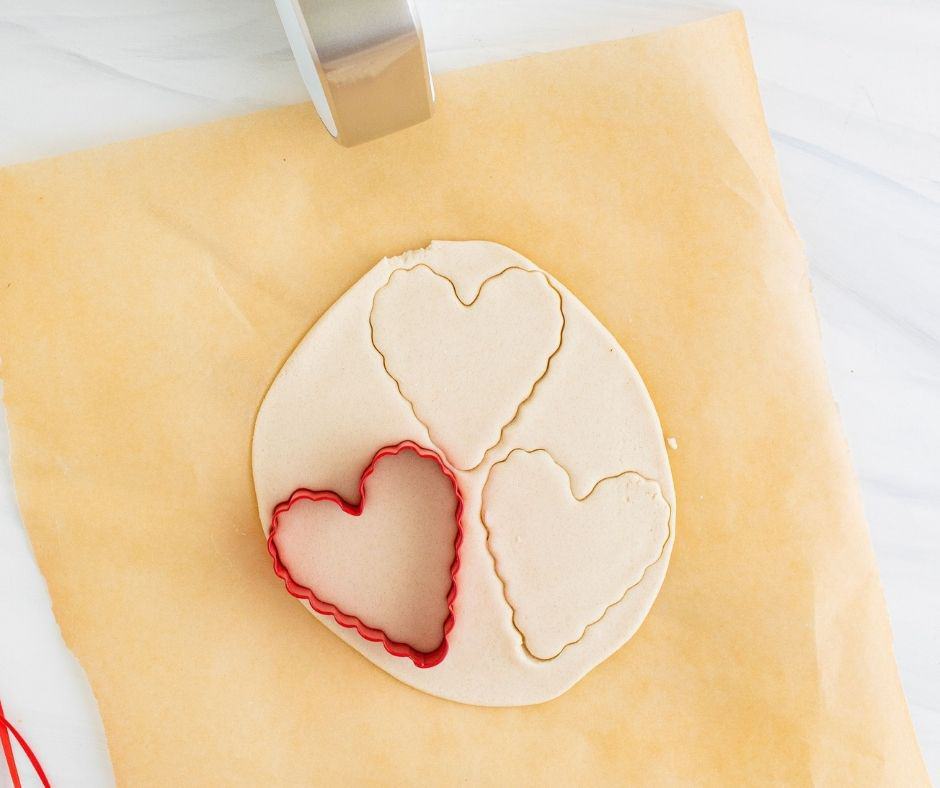
Step 2: Roll it out. Preheat the air fryer to 300°F. Divide the dough into four pieces. Working with one piece at a time, roll it out on parchment paper to an even 1/4-inch thickness. Even thickness is the key to even drying.
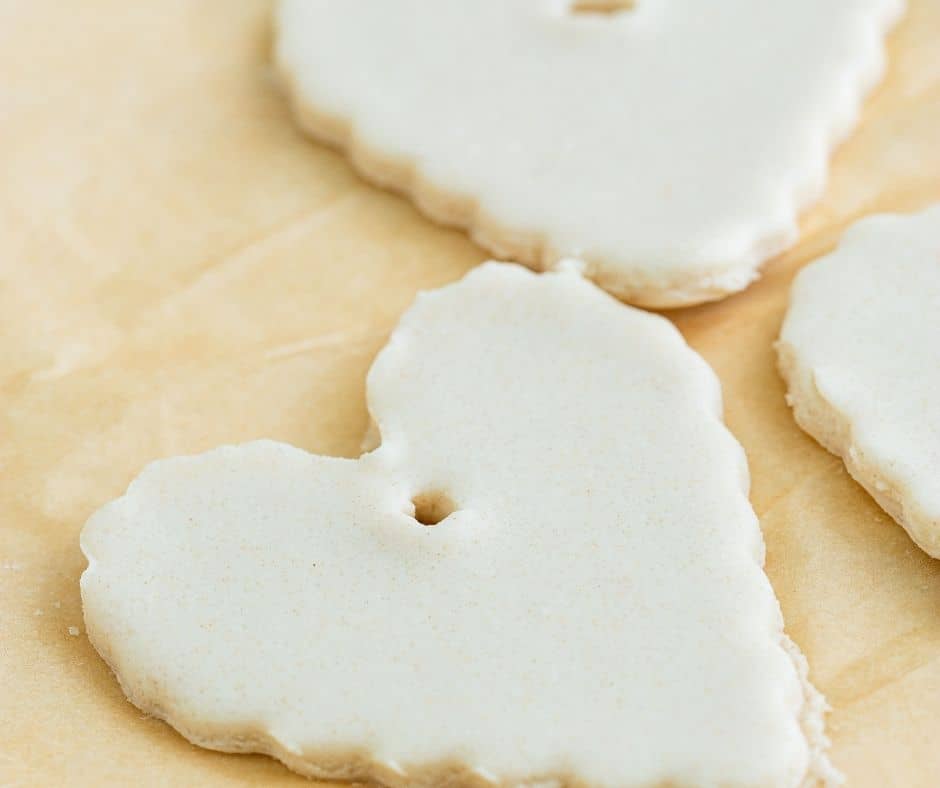
Step 3: Cut and poke. Cut out shapes with cookie cutters and peel away the excess dough. Re-roll the scraps for more ornaments. Use a straw or skewer to make a hole near the top of each ornament for the ribbon, making it slightly larger than you think you need, since it can shrink a little as it dries.
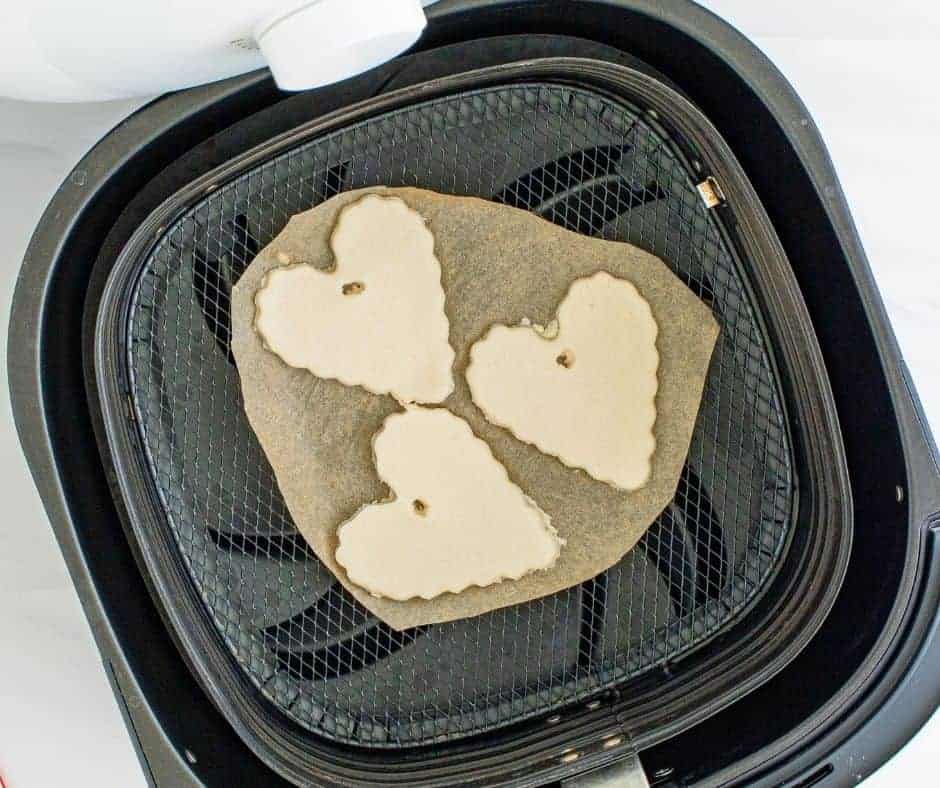
Step 4: Air fry. Place the ornaments in the basket in a single layer without touching, either directly in the basket or on a trimmed piece of parchment. Never put loose parchment in a preheated air fryer by itself. The fan can blow it into the heating element, so the ornaments must weigh it down. Air fry at 300°F for 30 minutes, flipping the ornaments halfway through. They’re done when they’re hard and sound hollow when tapped.
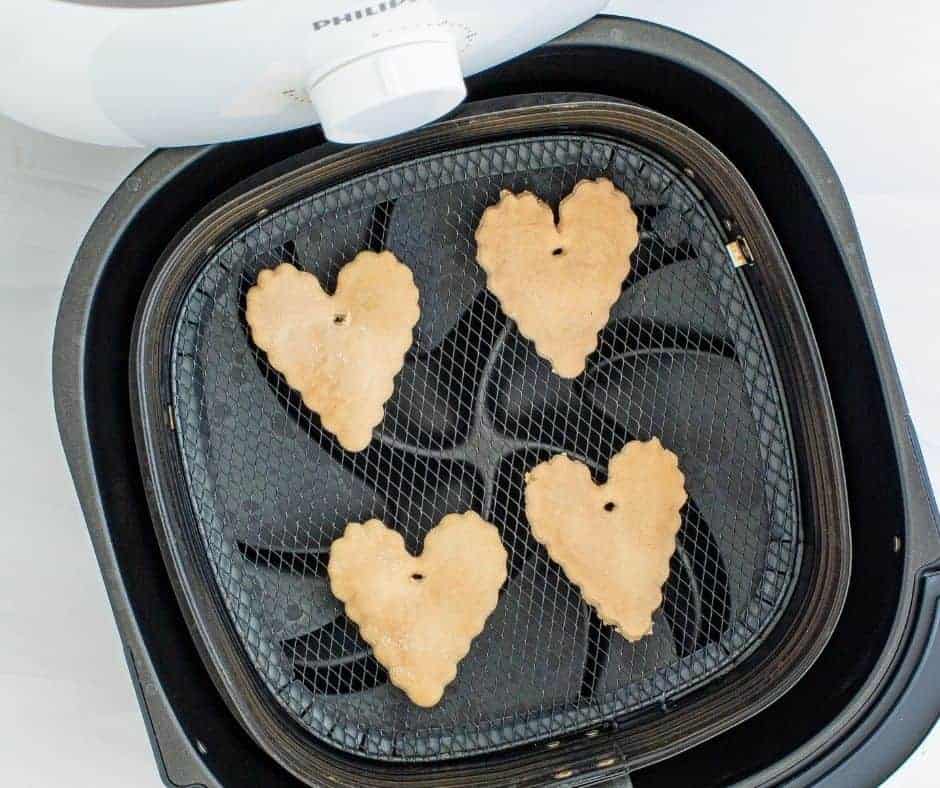
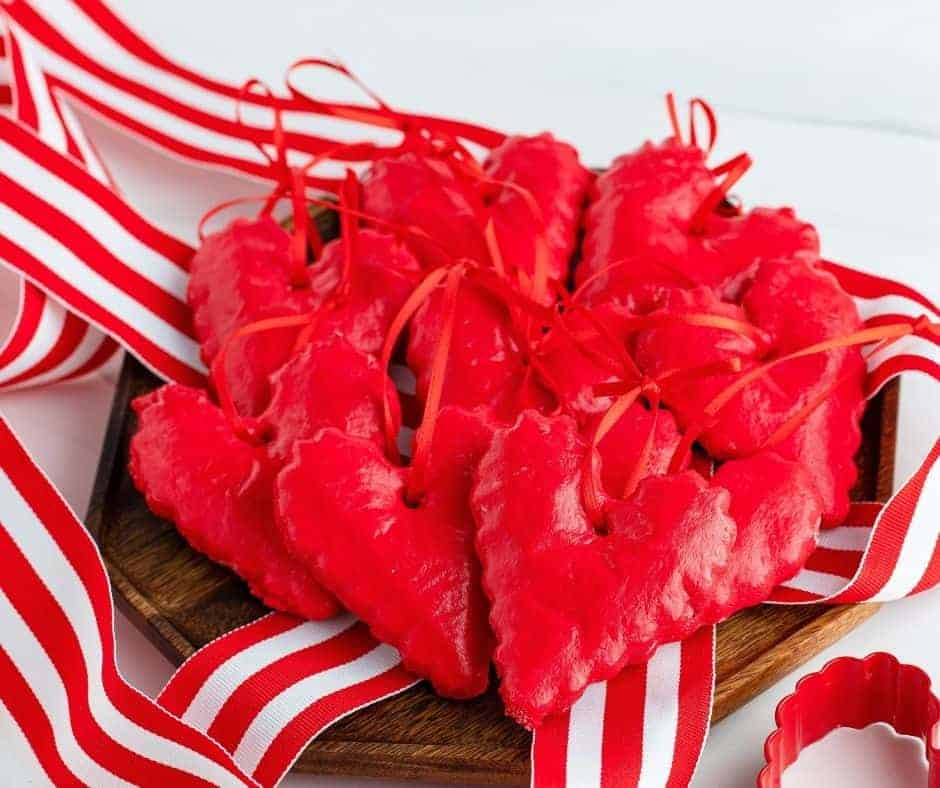
Step 5: Cool, paint and seal. Repeat with the remaining dough. Cool the ornaments completely on a wire rack before painting, since any warmth or leftover moisture will make the paint bubble. Paint with acrylics and let them dry fully. Brush on a thin coat of Mod Podge, let it dry, then seal the back and edges too. Thread a ribbon through the hole and tie a loop.
Want to turn this into a full holiday afternoon? Let the ornaments cool while a batch of Air Fryer Gingerbread Crinkle Cookies bakes. Just clear out any stray bits of salt dough from the basket first.
How to make salt dough handprint ornaments
Handprint and footprint ornaments are the most treasured version of this craft.
- Roll the dough slightly thicker, about 3/8 inch, so the print has depth.
- Press your child’s hand firmly and evenly into the dough, then lift straight up.
- Cut around the print with a large round cutter, a bowl, or a knife.
- Add the hanging hole and write the name and year with a toothpick.
Thicker ornaments need more time, so plan on extra air frying time and check every 10 minutes after the first 30. [VERIFY: add your actual time for handprint thickness.] Pawprints work the same way. Just wash your pet’s paw afterward, and keep them away from the dough.
Salt dough ornament tips
- Roll evenly. Thin edges and thick centers dry at different rates, which leads to browning on the outside and softness in the middle.
- Don’t crowd the basket. Air needs to circulate around every ornament.
- Check early. Air fryers vary a lot, so start checking at the 20-minute mark.
- Color the dough itself. Knead in gel food coloring before rolling for ornaments that need little or no paint. A little ground cinnamon adds a warm color and a cozy scent.
- Seal every side. Unsealed salt dough absorbs moisture from the air and can soften over time.
- Make gift tags. Stamp names into the dough before drying for reusable tags. They pair well with a tin of Air Fryer Dark Chocolate Peppermint Cookies as a homemade gift.

Troubleshooting
- Ornaments puffed up or bubbled. The heat was too high for your air fryer, or the dough had air pockets. Lower the temperature to 200–250°F and add time, and knead the dough well before rolling.
- Edges browned. Lower the temperature, or loosely cover the ornaments with a piece of foil weighed down so it can’t blow around. Browning won’t show under paint.
- Centers are still soft. They need more time. Return them to the air fryer in 5–10 minute increments, or let them air dry for a day.
- Cracks after drying. The dough was too dry, or the ornaments cooled too fast. Add a little more water next time and let them cool gradually.
- Paint bubbled. The ornaments were still warm or damp inside. Let them cool and dry completely before painting.
How to store salt dough ornaments
Wrap sealed ornaments in tissue paper and store them in an airtight container in a cool, dry place. Humidity is salt dough’s biggest enemy, so avoid damp basements and garages. Stored well, sealed ornaments can last for many years.
Frequently asked questions
Can I use self-rising flour?
No. Self-rising flour contains leavening that makes ornaments puff and bubble. Use plain all-purpose flour.
Can I make salt dough ornaments in the oven instead?
Yes. Dry them on a baking sheet in a low oven (200–250°F), flipping them halfway through. Depending on thickness, this takes about 1–3 hours. The air fryer is much faster for small batches.
Can I make the dough ahead of time?
Yes. Wrap it tightly or store it in an airtight container in the fridge for up to 2 days. Let it come to room temperature before rolling.
How do I know when the ornaments are done?
They should feel completely hard, with no give when pressed, and sound hollow when tapped. If the center feels soft, give them more time.
Are salt dough ornaments safe for pets?
Keep them away from pets. The high salt content can be dangerous if a dog chews or eats one, so hang them higher on the tree.
What paint works best?
Acrylic craft paint gives bright, opaque color and dries quickly. Seal it with Mod Podge or a clear spray sealer.
Can I add glitter?
Yes. Sprinkle it onto wet paint or the first coat of Mod Podge, then seal it with a second coat so it doesn’t shed.
More holiday baking with the kids
Once the ornaments are on the tree, keep the fun going in the kitchen with a few edible projects:
Air Fryer Pillsbury Sugar Cookie Dough is a shortcut for busy nights.
Cut-out Air Fryer Snowflake Sugar Cookies are perfect for little decorators.
Festive Air Fryer Christmas M&M Cookies let kids help scoop.

Air Fryer Salt Dough Ornaments
Description
Equipment
- Cookie Cutter
- Skewer or Straw
- Acrylic Paint
- Paint Brushes
- Glossy Modge Podge
- Thin Ribbon
Ingredients
- 2 cups all-purpose flour
- 1/2 cup table salt
- 3/4 cup warm water
Instructions
- In a large bowl or a stand mixer fitted with a dough hook, combine the flour and salt. Slowly add the warm water while mixing, then knead for a few minutes until the dough is smooth and not sticky.
- Preheat the air fryer to 300°F. Divide the dough into 4 pieces. Roll one piece at a time on parchment paper to 1/4-inch thickness.
- Cut out shapes with cookie cutters and re-roll the scraps. Use a straw or skewer to make a hanging hole in each ornament.
- Arrange the ornaments in a single layer, not touching, in the basket or on parchment weighed down by the ornaments. Air fry for 30 minutes, flipping halfway, until completely hard. Add time in 5–10 minute increments if needed.
- Repeat with the remaining dough. Cool the ornaments completely on a wire rack.
- Paint with acrylic paint and let dry. Seal all sides with Mod Podge, letting each coat dry.
- Thread ribbon through the holes to hang.
Notes
- Salt dough is not edible and can be harmful to pets.
- Air fryers vary. If ornaments puff or brown, lower the temperature to 200–250°F and increase the time.
- Handprint ornaments (3/8 inch thick) need extra time.
Nutrition
Share this recipe
We can’t wait to see what you’ve made! Mention @forktospoon or tag #forktospoon!