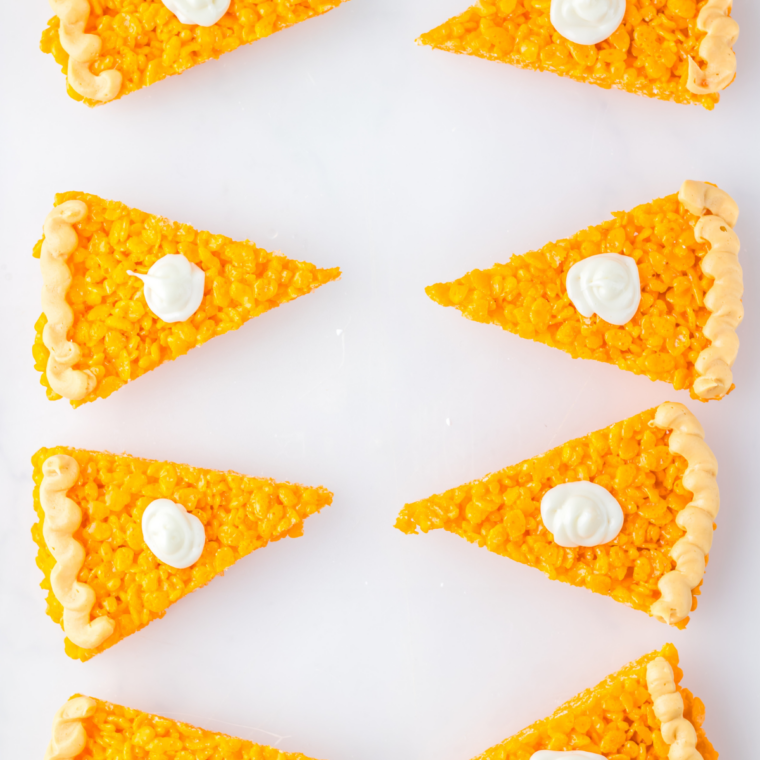
Pumpkin Pie Rice Krispie Treats are the fall dessert that stops people mid-conversation. They’re cut into little wedges, tinted a deep pumpkin-pie orange, and finished with a dollop of whipped cream cheese frosting and a piped peanut butter “crust.” From three feet away, they look exactly like miniature slices of pumpkin pie.
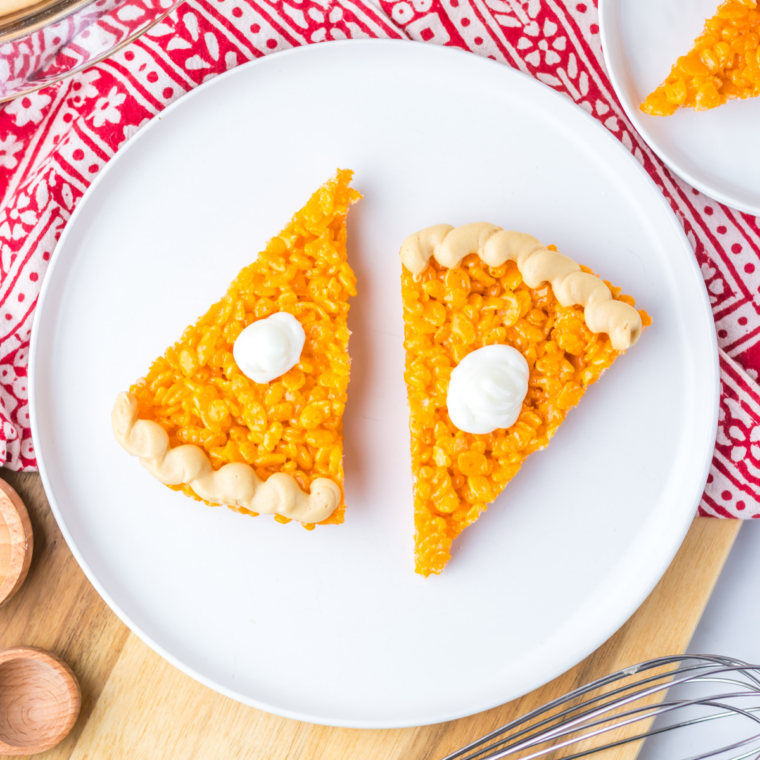
They are not pie. They’re gooey, buttery, marshmallow Rice Krispie treats in a very good disguise — no oven, no pumpkin puree, no blind-baked crust, no cracked filling. Twenty minutes of hands-on work and an hour of doing nothing while they set.
I bring these to every fall party, class snack day, and Friendsgiving, and they always go before the actual pie does.
Why These No-Bake Pumpkin Rice Krispie Treats Work
- Completely no-bake. The oven stays free for the turkey, which matters more on Thanksgiving than any other day of the year.
- 20 minutes of active time. Melt, stir, press, wait, pipe.
- Pantry ingredients. Butter, marshmallows, cereal, cream cheese, powdered sugar. Nothing you have to hunt down.
- Kids can help. Stirring the cereal and squeezing the piping bags are perfect jobs for small hands.
- They travel. No slicing at the party, no whipped cream melting in the car.
- Endlessly photogenic. These are the treats people photograph before they eat them.
If you love the no-bake cereal treat format, this is the same technique behind these Cinnamon Toast Crunch Rice Krispie Treats — melt, fold, press, set. Once you’ve got the method down, the seasonal variations are endless.
Ingredients for Pumpkin Pie Rice Krispie Treats
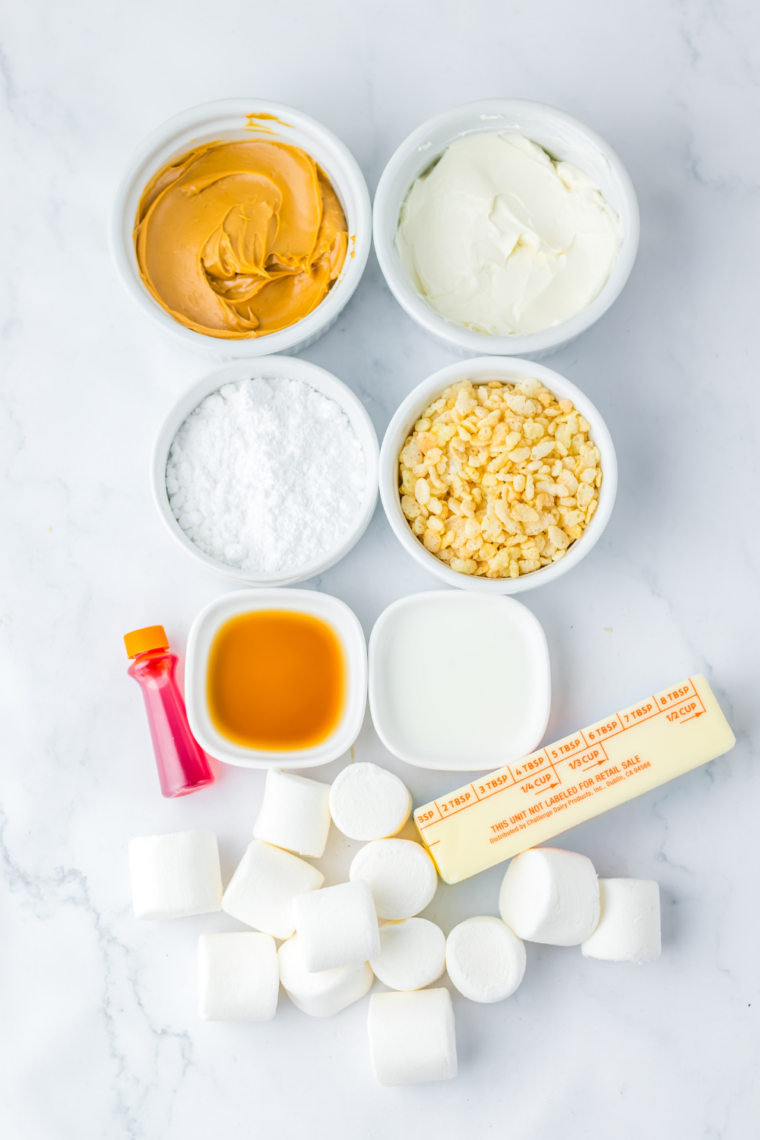
- Unsalted butter: Unsalted lets you control the salt; the browned bits from medium-low melting add a lot of flavor.
- Marshmallows: Regular or mini, both work. Mini melt slightly faster.
- Orange food coloring: Gel coloring gives a deeper color with less liquid.
- Rice Krispie cereal: Measure gently; packing the cup makes the treats dry.
- Cream Cheese: full-fat block style, not the whipped tub kind. Tub cream cheese has too much water and won’t hold a dollop.
- Powdered sugar: Added one cup at a time.
- Vanilla Extract
- Milk
- Peanut butter: Creamy, standard style. Natural peanut butter separates and can loosen the frosting.
Optional but highly recommended: 1 tsp pumpkin pie spice. See the flavor upgrade note below.
Equipment You’ll Need
- A large pot (bigger than you think — 6 cups of cereal needs room)
- Two 9-inch pie pans
- Nonstick cooking spray
- A hand mixer
- A dry measuring cup for pressing
- Two small zip-top bags for piping
- Parchment paper
How to Make Pumpkin Pie Rice Krispie Treats
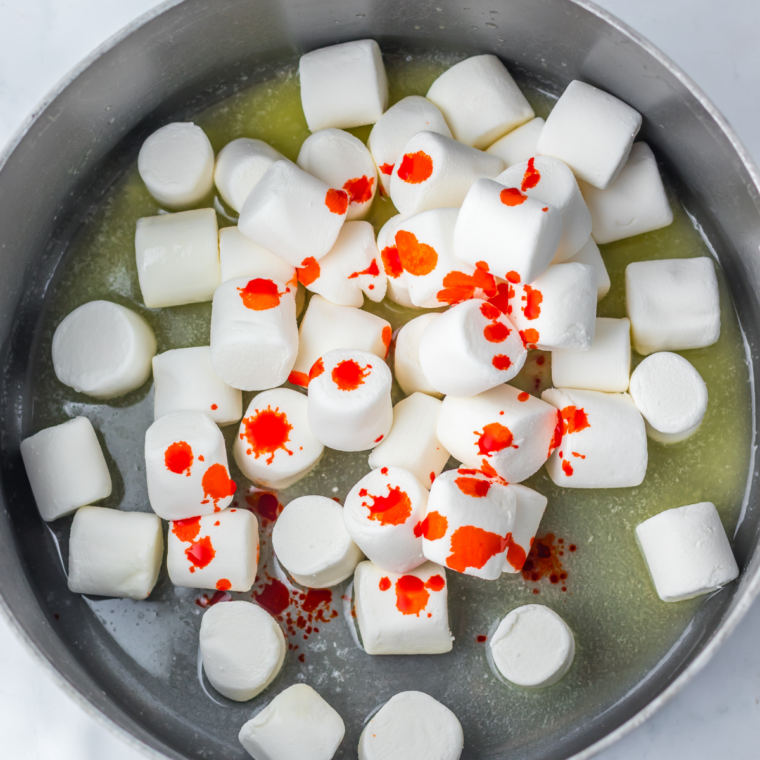
Step 1: Melt the butter, marshmallows, and food coloring
In a large pot, melt the butter over medium-low heat. Once it’s melted, add the marshmallows and 5 to 10 drops of orange food coloring. Stir until there’s no white left in the marshmallow and the color is completely even.
You’re aiming for the warm, slightly deep orange of a real pumpkin pie — not a bright traffic-cone orange. Start with 5 drops, stir, look at it, and add more from there. Turn the heat off.
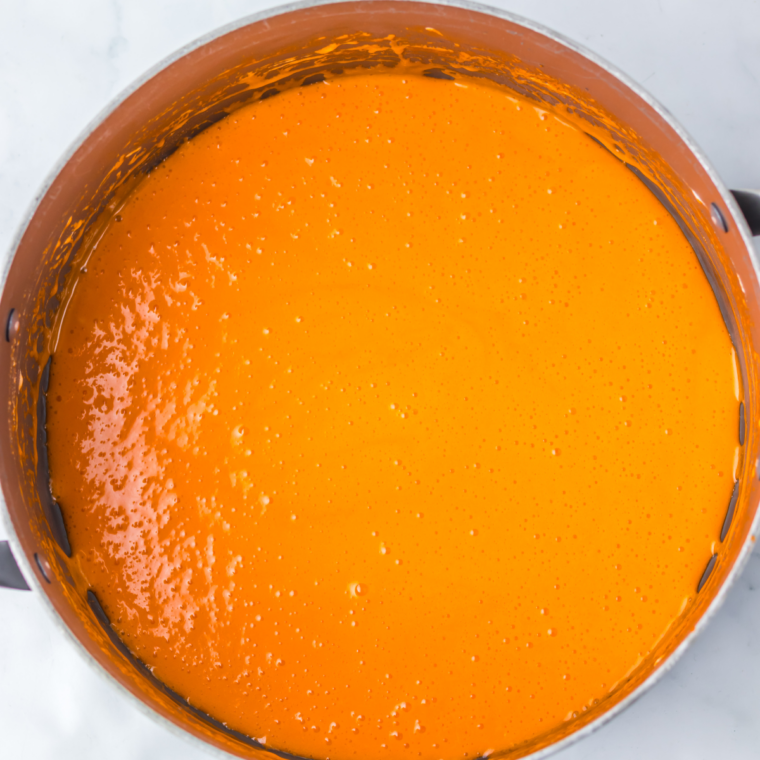
Step 2: Add the cereal and press into pie pans
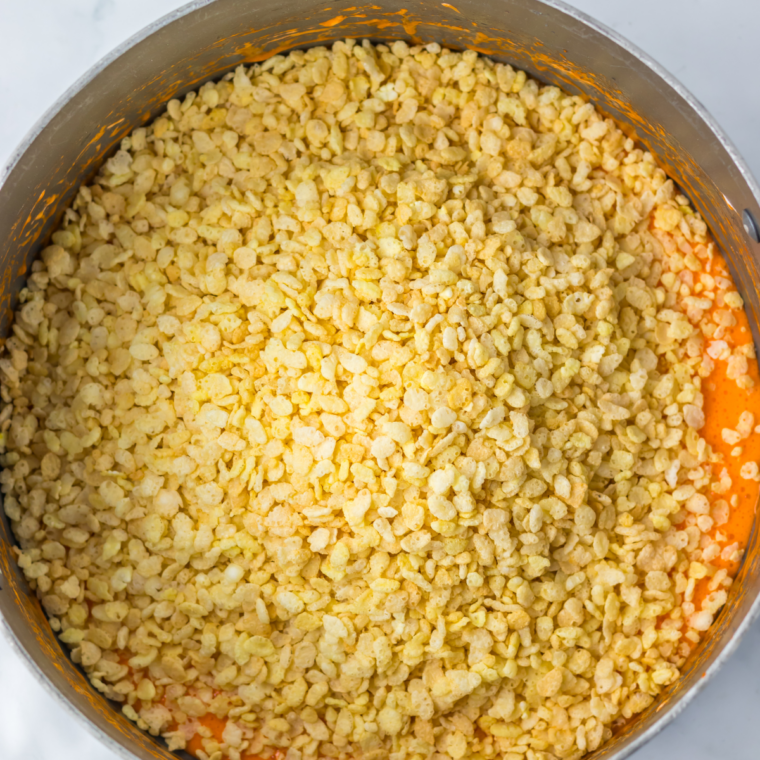
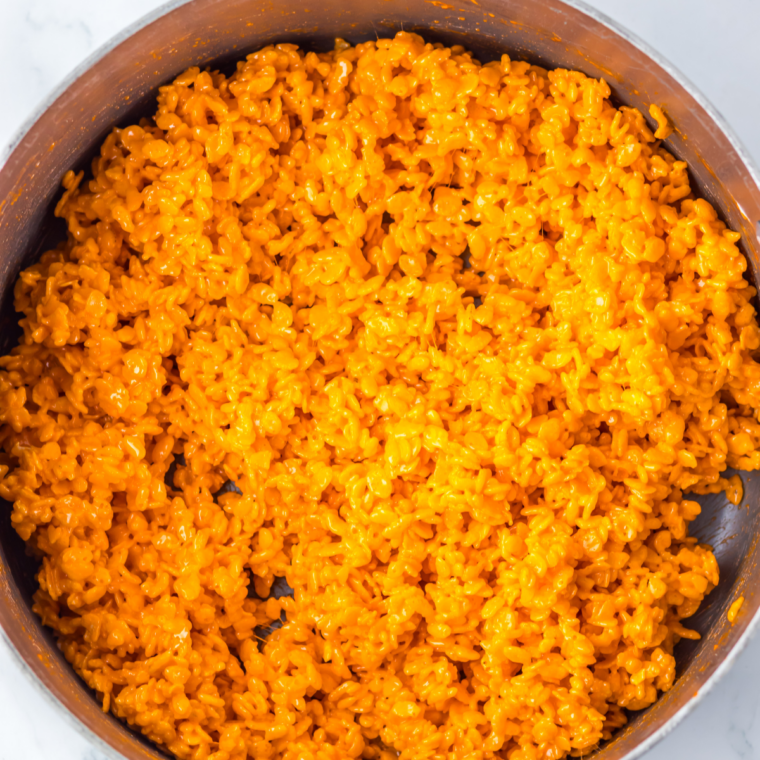
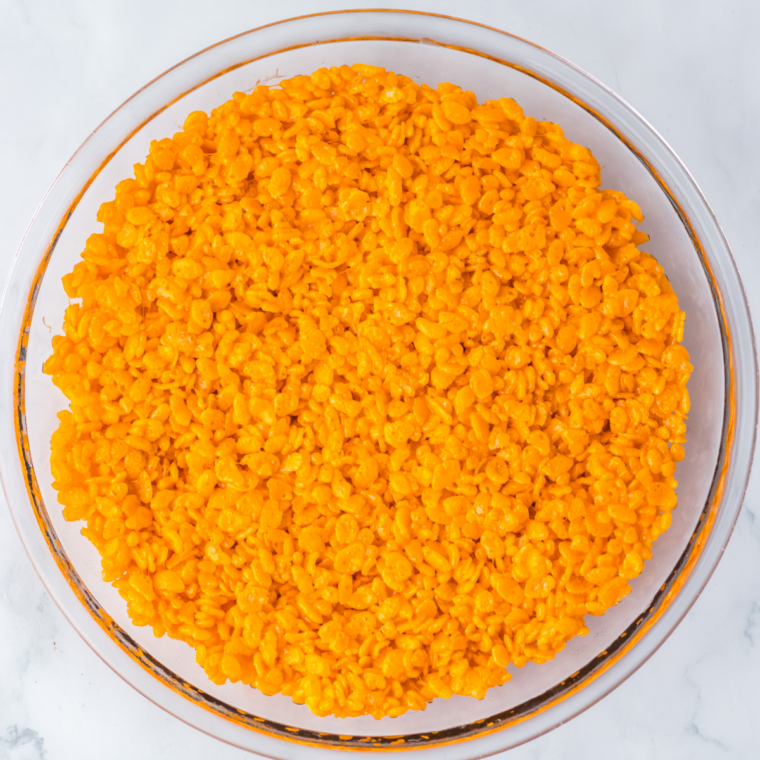
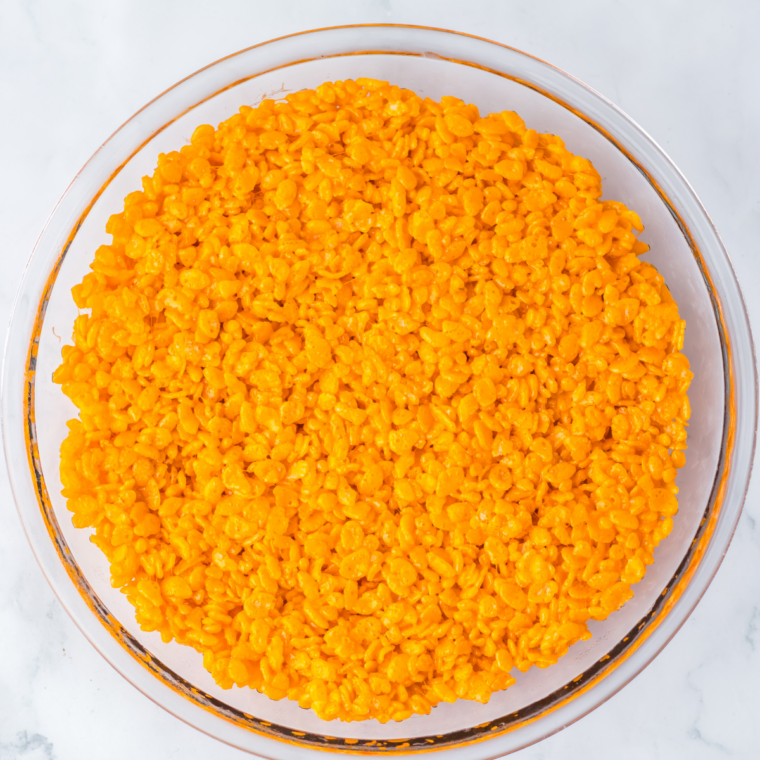
Add the cereal and stir fast. Marshmallow starts setting up the second the heat is off, so you want everything coated before it firms. Spray two 9-inch pie pans with nonstick cooking spray. Divide the mixture evenly between the pans, then spread and flatten.
The key technique: spray the bottom of a dry measuring cup with nonstick spray and use it to press the mixture into a flat, even layer. This is what gives you clean edges and slices that hold a crisp wedge shape instead of crumbling apart. Press firmly enough to compact it, but don’t crush it — over-compressed treats turn dense and hard.
Step 3: Let the treats set
Let the pans sit on the counter for 1 hour.
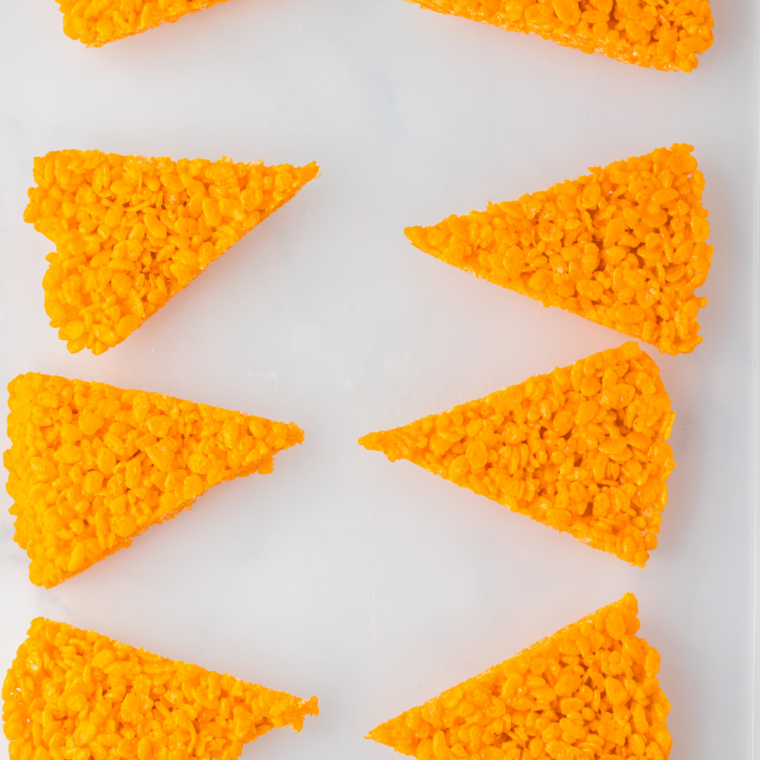
Once set, flip each pan upside down onto a baking sheet or tray lined with parchment paper. When the round releases, flip it right side up and slice into wedges — about 8 slices per pan, exactly like cutting a real pie.
Step 4: Make the cream cheese frosting
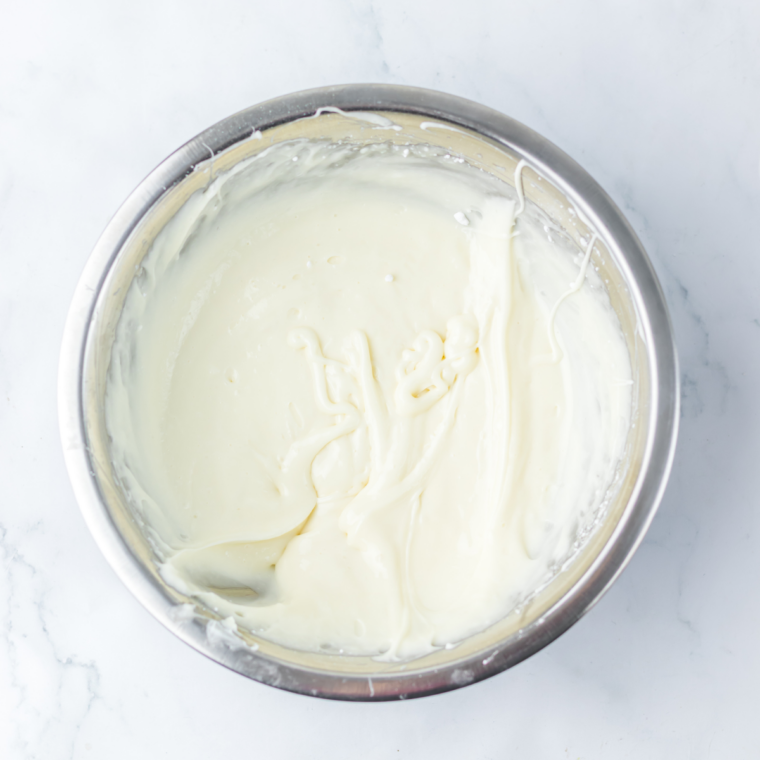
In a medium mixing bowl, beat the softened cream cheese with a hand mixer until light and fluffy. Add the vanilla, then the powdered sugar one cup at a time, then the milk. Beat until you have a thick, pipeable icing.
Scoop 1/3 cup of this frosting into a small zip-top bag and set it aside — that portion becomes the “whipped cream” dollop on top of each slice.
Step 5: Make the peanut butter crust frosting
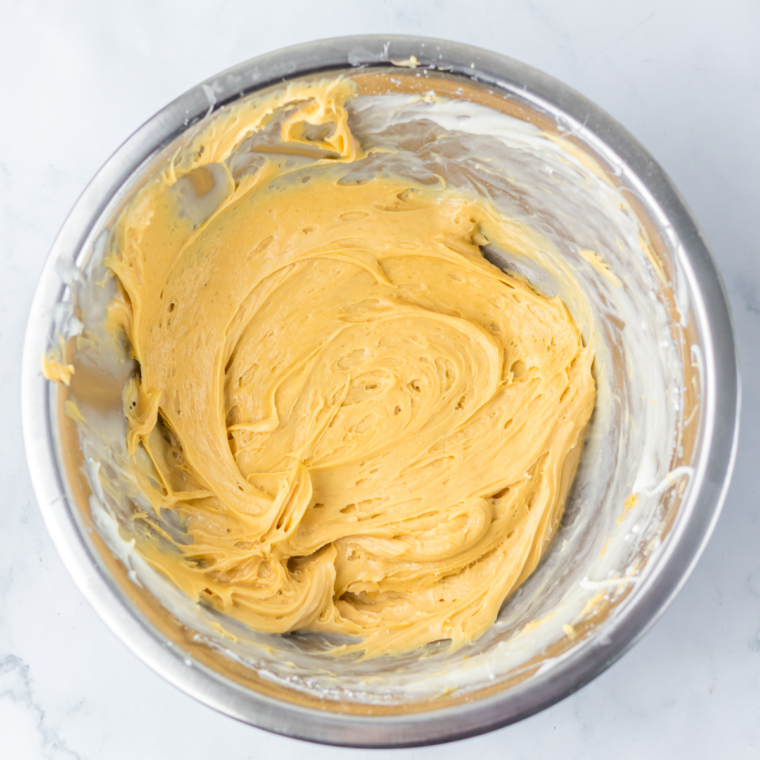
Add the peanut butter to the frosting remaining in the bowl and beat until fully combined and smooth. Transfer it to a second small zip-top bag. The peanut butter does two things: it turns the frosting a convincing golden-brown crust color, and it adds a salty edge that keeps these from being one-note sweet.
Step 6: Pipe and serve
Snip a small corner off the plain cream cheese bag and pipe a tiny dollop in the center of each wedge, right where the whipped cream would sit on a real slice of pie. Snip a small corner off the peanut butter bag and pipe a “crust” along the wide outer edge of each wedge. I do long little swirls, but a simple thick line reads as crust from across the room. There’s no wrong way to do this part.
Tips for the Best Pumpkin Pie Rice Krispie Treats
- Under-color, then adjust. Add a few drops, stir, and look. You can always add more before the cereal goes in — you can’t take it out.
- Speed up the set. Chill the pans in the fridge for 30 minutes instead of resting on the counter for an hour.
- Fix runny frosting with powdered sugar. You want an icing stiff enough to sit up in a dollop, not one that slumps and melts down the slice. Add more sugar a quarter cup at a time.
- Grease everything. The pie pans, the measuring cup, your hands. Marshmallow sticks to every surface you allow it to touch.
- Soften the cream cheese properly. Cold cream cheese gives you lumpy frosting no amount of beating will fix. Let it sit out 30 to 45 minutes.
- Keep the heat low. High heat makes the marshmallow tough, which makes the finished treats hard.
The Pumpkin Spice Upgrade
As written, this recipe tastes like an excellent Rice Krispie treat — the pumpkin pie part is visual. If you want the flavor to match the look, add 1 teaspoon of pumpkin pie spice to the melted marshmallow mixture before you add the cereal.
This is the version I’d steer most people toward. A homemade pumpkin pie spice blend tastes noticeably brighter than a jar that’s been sitting in the cabinet since last October, and it takes five minutes to mix up from spices you already own.
Storage and Make-Ahead
Store these in an airtight container in the refrigerator for 3 to 4 days. Because of the cream cheese frosting, they need to stay chilled — don’t leave them on the counter overnight.
Let them sit at room temperature for 10 to 15 minutes before serving. Straight from the fridge, the cereal is firmer than it should be; a few minutes out and the texture comes right back.
To make ahead: press and set the Rice Krispie rounds up to a day in advance, slice them, and store the wedges covered in the fridge. Pipe the frosting the day you’re serving so the decorations look freshly done.
Freezing: you can freeze the undecorated wedges for up to 6 weeks, wrapped well. Thaw at room temperature and pipe the frosting after thawing — frosting doesn’t survive the freezer gracefully.
Frequently Asked Questions
Do pumpkin pie Rice Krispie treats actually taste like pumpkin pie?
As written, no — the pumpkin pie element is the shape, the color, and the cream cheese topping. Add 1 teaspoon of pumpkin pie spice to the marshmallow mixture and you get real pumpkin spice flavor to match the appearance. If you want genuine pumpkin flavor, this is the change to make.
Can I use marshmallow fluff instead of marshmallows?
Not for this particular recipe. Fluff sets softer, and these wedges need enough structure to survive being flipped out of the pan and sliced. If you prefer working with fluff, use it for classic Rice Krispie treats made with marshmallow fluff pressed into a 9×13 pan, where a softer set is an advantage rather than a problem.
Why did my Rice Krispie treats turn out hard?
Almost always heat or pressure. Melting the marshmallows over heat that’s too high makes them tough as they cool, and packing the mixture into the pan too aggressively compresses the cereal. Keep the burner at medium-low, turn it off before the cereal goes in, and press firmly but gently.
Can I make these without peanut butter?
Yes. For a nut-free version, hold back a second portion of the plain cream cheese frosting and tint it with a little brown or tan food coloring, then pipe that as the crust. You’ll lose the salty contrast but keep the look completely.
How many treats does this recipe make?
About 16 slices — 8 wedges from each 9-inch pie pan. The recipe doubles cleanly for a crowd.
Can I use a different pan?
You can, but the pie-slice illusion is doing most of the work here. A round pan is what makes them read as pie. If you only have one 9-inch pie pan, make the recipe in two batches or press the second half into a cake pan of the same size.
What’s the difference between these and real pumpkin pie?
Time, mostly. These take about 20 minutes of hands-on work and no oven. If you’re after the real thing for the holiday table, Instant Pot pumpkin pie gets you a genuine custard pie in less than half the usual time — and there’s no rule against serving both.
Can I make these for Halloween instead of Thanksgiving?
Absolutely. The orange color and wedge shape work just as well for a Halloween party. Skip the pumpkin pie spice if you want them to read more as generic fall treats than specifically pie.
If you’re leaning into cream-cheese-and-pumpkin desserts this season, this copycat Cheesecake Factory pumpkin cheesecake hits the same flavor notes in a much more serious dessert. And if you want more no-bake ideas and seasonal recipes, you’ll find plenty at Fork To Spoon.
Made these? Leave a comment and a star rating below and let me know how they turned out — and tag @forktospoon if you share a photo. I never get tired of seeing these little pie slices show up on other people’s dessert tables.
Pumpkin Pie Rice Krispie Treats
Description
Ingredients
For the Rice Krispie Base
- ½ cup unsalted butter
- 10 oz marshmallows
- 5 drops orange food coloring
- 6 cups Rice Krispies cereal
- 1 tsp pumpkin pie spice, optional, see notes
For the Cream Cheese Frosting
- 8 oz cream cheese, softened
- 4 cups powdered sugar
- 1 tsp vanilla extract
- 2 tbsp milk
For the Peanut Butter Crust
- ½ cup creamy peanut butter
Instructions
- In a large pot, melt the butter over medium-low heat. Add the marshmallows and 5–10 drops of orange food coloring. Stir until no white remains and the color is even, aiming for a deep pumpkin-pie orange. Turn off the heat. (If using pumpkin pie spice, stir it in now.)
- Add the cereal and stir quickly until fully coated. Spray two 9-inch pie pans with nonstick cooking spray and divide the mixture evenly between them.
- Spray the bottom of a dry measuring cup with nonstick spray and press the mixture into a flat, even layer in each pan. Press firmly but do not compact it aggressively.
- Let the pans set on the counter for 1 hour, or refrigerate for 30 minutes.
- Flip each pan upside down onto a parchment-lined baking sheet. Once released, turn the round right side up and slice into 8 wedges.
- In a medium bowl, beat the softened cream cheese with a hand mixer until light and fluffy. Add the vanilla, then the powdered sugar one cup at a time, then the milk. Beat until thick and pipeable.
- Transfer ⅓ cup of the frosting to a small zip-top bag and set aside.
- Beat the peanut butter into the remaining frosting until smooth. Transfer to a second zip-top bag.
- Snip a small corner off the plain cream cheese bag and pipe a small dollop in the center of each wedge.
- Snip a small corner off the peanut butter bag and pipe a crust along the wide outer edge of each wedge. Serve.
Equipment
- Mixing Bowl
- Whisk
Notes
- For real pumpkin flavor, add 1 tsp pumpkin pie spice to the marshmallow mixture before adding the cereal. As written, the pumpkin pie element is visual.
- Add food coloring gradually. Start with 5 drops and build from there; you can’t remove color once it’s in.
- Use block-style cream cheese, not whipped tub cream cheese, which contains too much water to hold a piped dollop.
- If the frosting is too thin, add powdered sugar ¼ cup at a time until it holds its shape.
- Storage: airtight container in the refrigerator for 3–4 days. Rest at room temperature 10–15 minutes before serving.
- Freezing: freeze undecorated wedges up to 6 weeks, wrapped well. Thaw and pipe the frosting after thawing.
- Nutrition is an estimate calculated from standard ingredient values and will vary by brand and slice size.
Nutrition
Share this recipe
We can’t wait to see what you’ve made! Mention @forktospoon or tag #forktospoon!