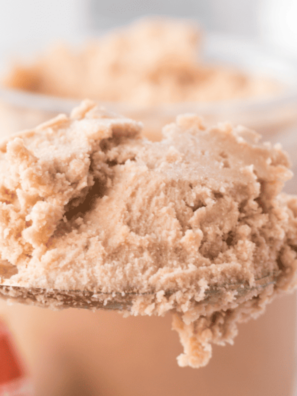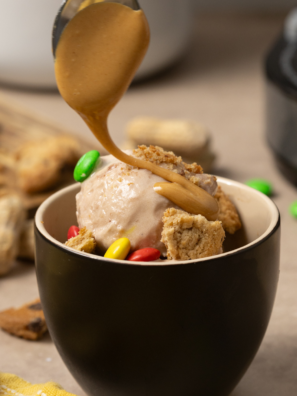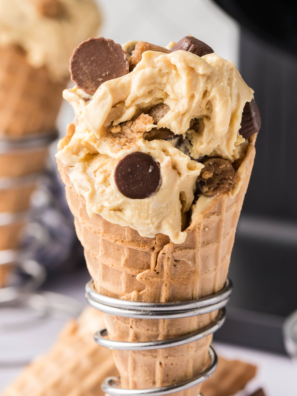
This Ninja Creami peanut butter ice cream is the smoothest, most scoopable pint you can make at home — a classic 5-ingredient recipe, a high-protein version, and the exact fixes for every “why is mine icy?” moment, all in one place.
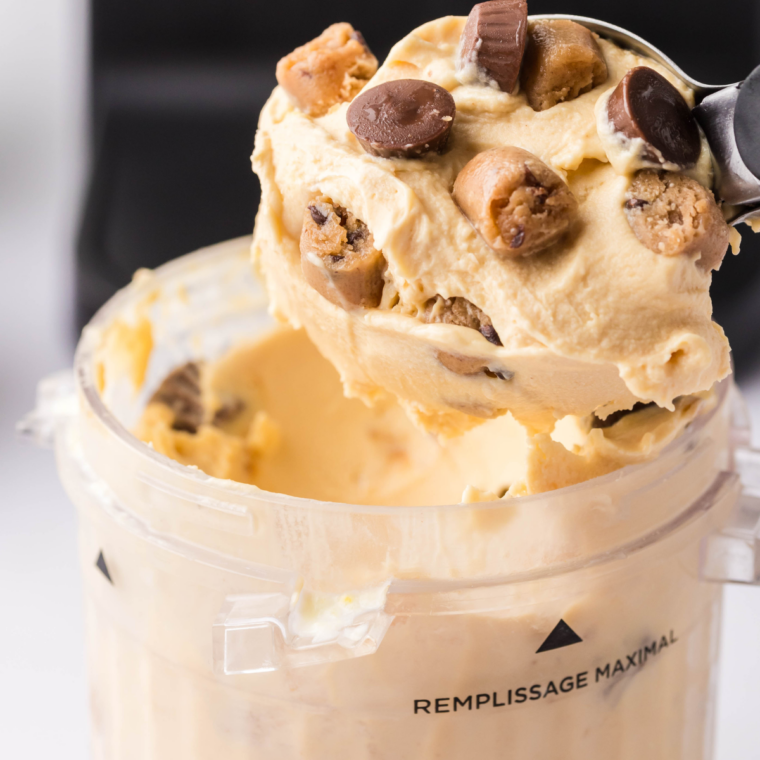
If you’ve ever paid $6 for a pint of peanut butter ice cream, this recipe is going to feel like a small act of rebellion. With five simple ingredients and a Ninja Creami, you get a dense, salty-sweet, genuinely creamy homemade ice cream for a fraction of the price — and you control exactly what goes in it.
This is the only Ninja Creami peanut butter ice cream guide you’ll need to bookmark, because it doesn’t stop at the basic recipe. Below you’ll find the classic version, a high-protein version (23g+ per pint), keto and dairy-free swaps, and a real troubleshooting section that explains why Creami pints turn out icy or crumbly — and exactly how to fix them.
Why You’ll Love This Recipe
- Just 5 ingredients, most of which are already in your kitchen.
- 5 minutes of hands-on time — the freezer and the machine do the rest.
- Endlessly customizable — classic, protein, keto, dairy-free, chunky, PB&J, chocolate.
- Cheaper and cleaner than store-bought, with no gums or stabilizers unless you want them.
- Reliably creamy once you understand the three things that actually control texture (more on that below).
What Actually Makes Ninja Creami Ice Cream Creamy
Most recipes just tell you to “add the respin.” That’s the fix, not the reason. Once you understand what’s happening inside the pint, you can rescue any batch — and you’ll stop guessing.
Iciness in ice cream is just big ice crystals. The entire goal is keeping those crystals small. Three things fight ice crystals: fat, sugar, and whipped-in air. Anything low in those three will freeze into a harder, icier block.
Here’s how each part of this recipe pulls its weight:
- Fat (from heavy cream and peanut butter) physically coats water droplets and blocks crystals from growing large. This is why a splash of cream transforms a thin, icy base.
- Sugar lowers the freezing point and keeps the base softer and more scoopable, which also means smaller crystals.
- Ultra-filtered milk (like Fairlife) has less water and more protein than regular milk, so there’s simply less water available to freeze into ice.
- The respin re-shaves the pint after the first cycle, breaking any remaining crystals into a smooth, dense texture. On the Creami, the first spin almost always looks crumbly — that’s normal, not a failure.
Keep those four levers in mind and you’ll never be at the mercy of a bad pint again.
Ingredients & Substitutions
(Full measurements are in the recipe card at the bottom.)
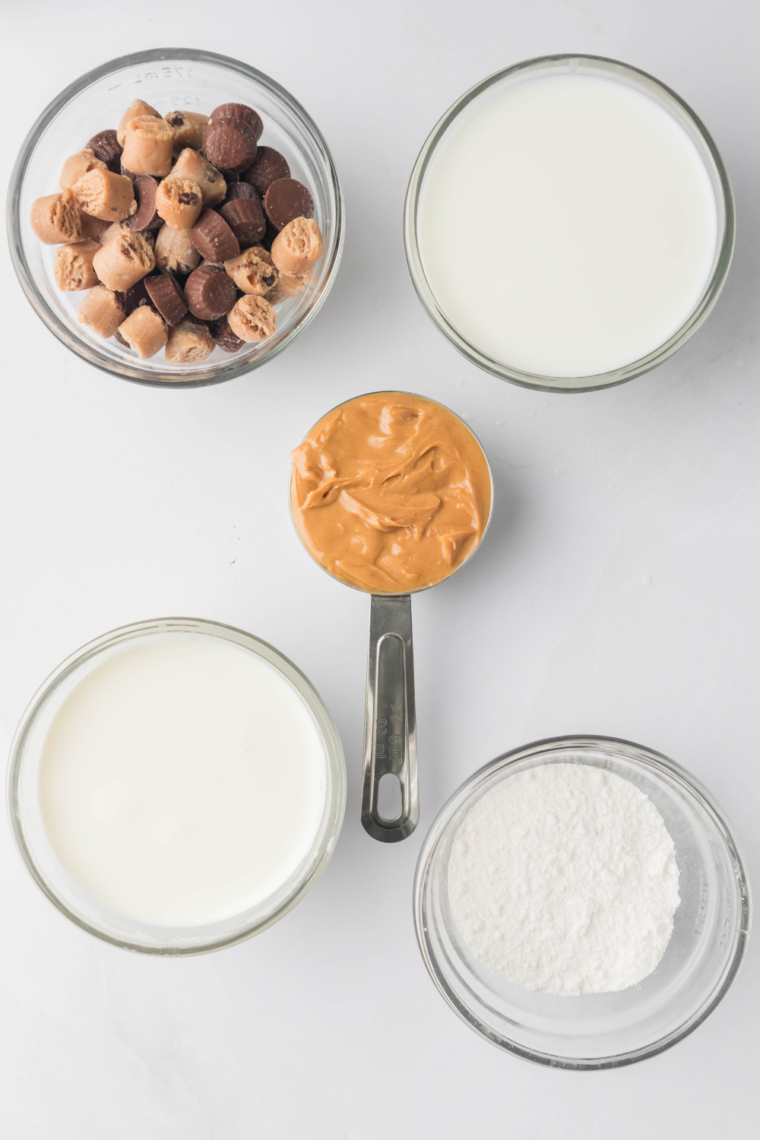
- Milk — 1¼ cups. Ultra-filtered milk like Fairlife 2% gives the creamiest result thanks to its lower water and higher protein content. Whole milk works well too. Don’t drop below 2% without adding fat elsewhere, or you’ll fight iciness.
- Heavy cream — ½ cup. Your main crystal-blocker. Half-and-half works in a pinch but the pint won’t be as dense. Canned coconut cream is the best dairy-free swap.
- Creamy peanut butter — ⅓ cup. A no-stir conventional peanut butter (Jif, Skippy) blends smoothest and adds reliable fat. Natural peanut butter (just peanuts + salt) tastes fantastic, but stir it very well and expect a slightly less uniform texture, since natural oils can separate as the base freezes.
- Granulated sugar — ⅓ cup. Regular sugar is ideal for texture. Reduce to ¼ cup for less sweetness, or use allulose for a sugar-free version (it stays soft and scoopable). Avoid erythritol on its own — it tends to freeze harder.
- Vanilla extract — 1 tsp. Rounds out and deepens the peanut butter flavor. A pinch of salt (⅛ tsp) is optional but makes the peanut butter pop.
Which Ninja Creami Are You Using?
The method is the same across models, but the details matter — especially the fill line and which button to press. As of 2026, there are three current models:
| Model | Pint Size | Programs | Best button for this recipe |
|---|---|---|---|
| Ninja Creami (Original) | 16 oz | 7 | Ice Cream |
| Ninja Creami Deluxe | 24 oz | 11 | Ice Cream (scale recipe up ~1.5x) |
| Ninja Swirl by Creami | 16 oz | 13 | Ice Cream, or Soft Serve for cones |
A few things that trip people up:
- Pints are not interchangeable between models — even when two models share the same 16 oz size. If you upgrade, you’re starting your pint collection over.
- Never fill past the MAX FILL line. Overfilling can damage the machine and gives an uneven spin. On the Deluxe’s larger 24 oz pint, scale this recipe up by about half.
- Use the Ice Cream setting for a dense, scoopable pint. Lite Ice Cream spins softer — great if you want closer to soft serve, but most people want the fuller Ice Cream mode here.
How to Make Ninja Creami Peanut Butter Ice Cream
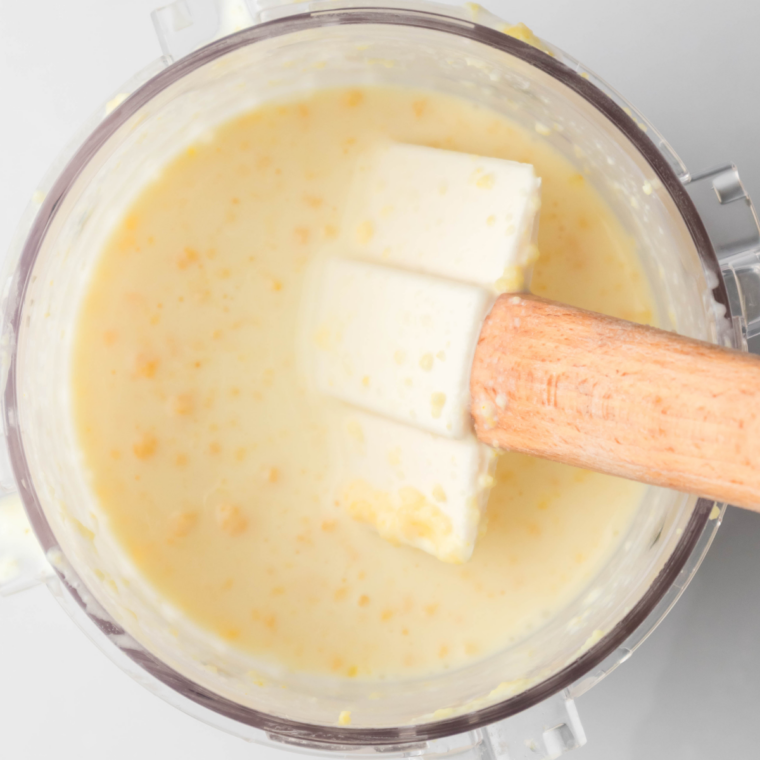
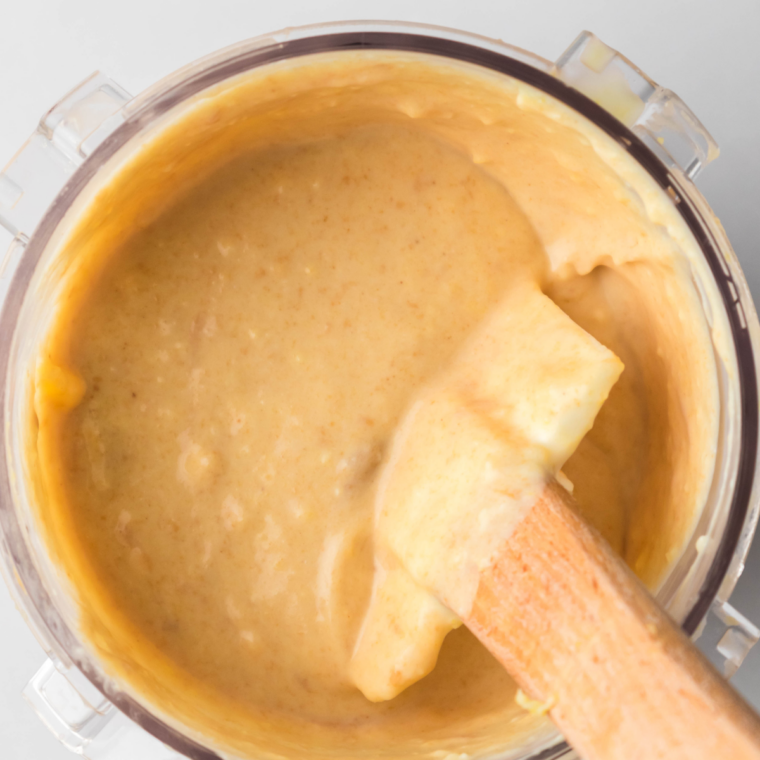
Step 1: Blend the base. Add the milk, heavy cream, peanut butter, sugar, and vanilla directly to your Creami pint. Blend with an immersion blender or milk frother for 30–45 seconds until completely smooth, with no peanut butter streaks. Tip: blend on low speed to avoid whipping in air — foamy bases trap bubbles that freeze into a funny texture. If your peanut butter is stiff, microwave it 10–15 seconds first so it fully incorporates.
Step 2: Freeze flat for 24 hours. Seal the lid and set the pint on a level shelf, ideally toward the back of the freezer where it’s coldest. A flat, fully frozen base spins far more evenly. Freeze for a minimum of 24 hours — no shortcuts here.
Step 3: Process. Remove the storage lid, place the pint in the outer bowl, lock the lid assembly, and press Ice Cream. When it finishes, the surface may look crumbly or powdery. This is completely normal.
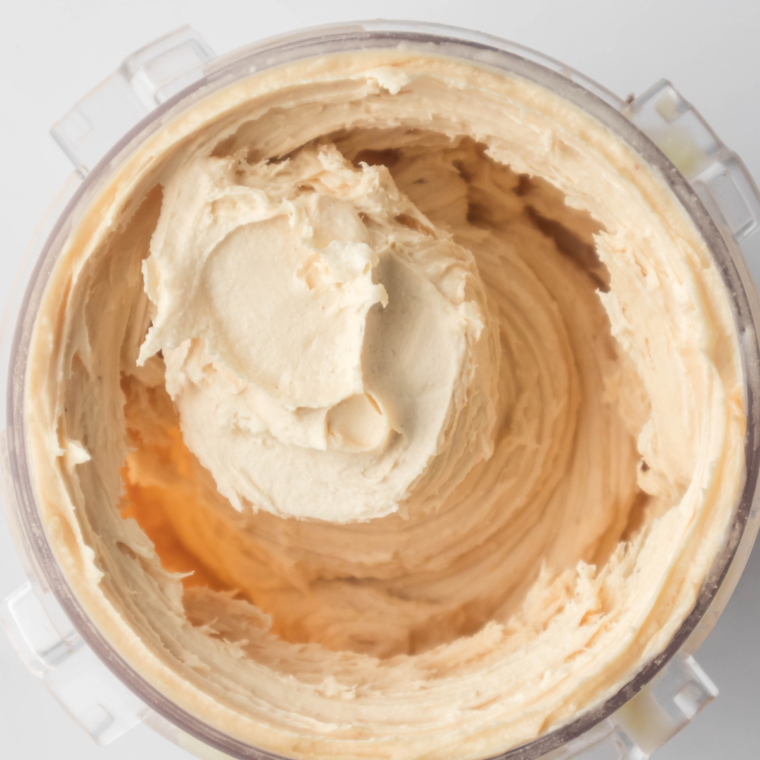
Step 4: Respin. Make a small well in the center with a spoon, add 1 tablespoon of milk, and run Respin. This is the step that turns a good pint into a great one. Repeat once more if it’s still not perfectly smooth.
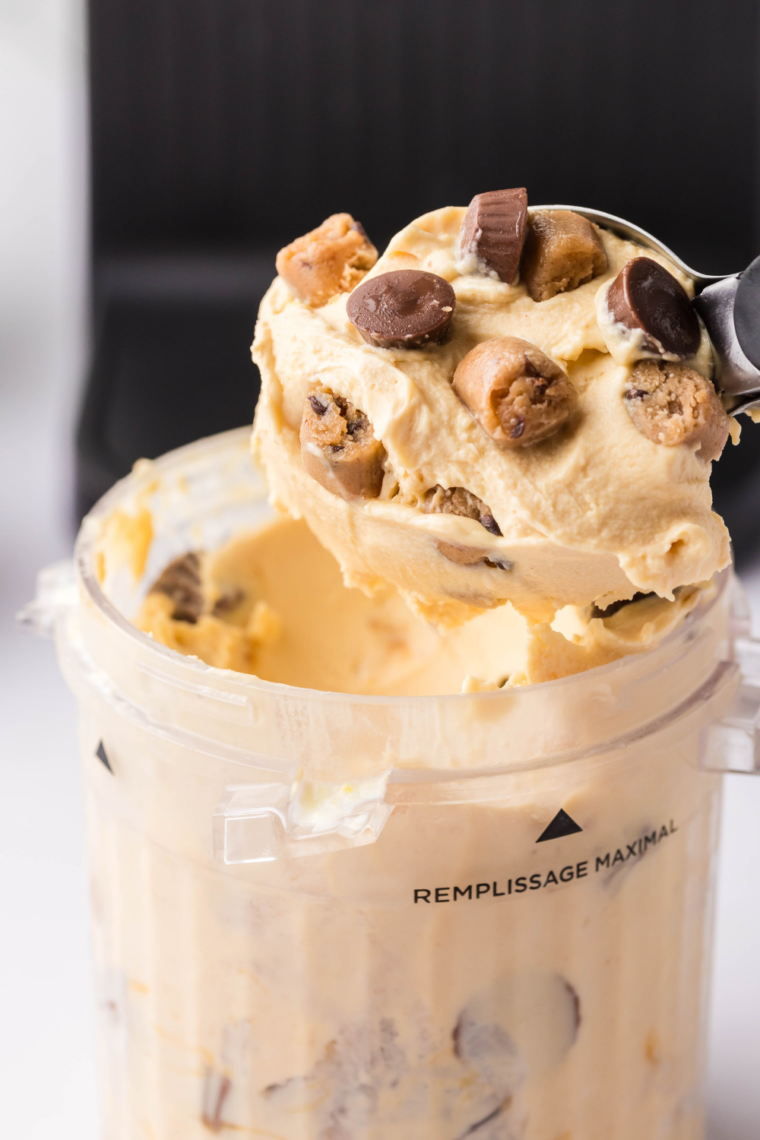
Step 5: Add mix-ins (optional) and serve. Make a well, add your mix-ins, and run the Mix-In program. Scoop and enjoy immediately for the best texture.
Pro Tips for the Creamiest Pint
- Temper the pint before spinning. The blade shaves from the center outward and can’t fully reach the frozen outer wall. Run the sides of the pint under hot water for 30–45 seconds, or let it sit on the counter 10–15 minutes, before the first spin. This is the single biggest upgrade to your texture, and almost no recipe mentions it.
- Blend low and slow to avoid foam. Bubbles whipped into the base freeze in place and leave a strangely airy, uneven texture.
- Don’t skip the respin. A crumbly first spin is expected. The respin (with a splash of milk) is where the magic happens.
- Serve fresh. Creami ice cream is at its peak right out of the machine. Leftovers firm up hard in the freezer and need a quick respin to revive.
High-Protein Peanut Butter Ice Cream Version
This is where homemade really wins: a whole pint of protein peanut butter ice cream with real macros — no $6 tub required. Expect roughly 23–30g protein per pint depending on your powder. If you want a candy-shop spin on the same idea, this base is the foundation for a Reese’s peanut butter protein ice cream too.
Swap the classic base for:
- 1 cup Fairlife fat-free or 2% milk (or unsweetened almond milk + a splash of cream)
- 1 scoop (~30g) vanilla or peanut butter protein powder
- 2 tbsp powdered peanut butter (PB2) or 2 tbsp regular peanut butter
- 1–2 tbsp allulose or sweetener of choice
- Optional: 1 tbsp instant sugar-free pudding mix, or ¼ tsp guar/xanthan gum, as a texture booster
Key adjustments for protein bases:
- Protein bases go icy faster because they’re naturally low in fat and sugar — the two biggest crystal-fighters. Build a little insurance back in with a splash of cream, a texture booster, or allulose (which stays soft).
- Whisk, don’t over-blend. Some protein powders foam aggressively. Whisk just until combined.
- Temper before spinning — this matters even more for low-fat bases.
- Expect to respin. Protein pints almost always need one or two respins with a small splash of milk to reach that creamy finish. That’s normal, not a mistake.
Love a protein-packed treat? A scoop of protein powder works beautifully in other flavors too, like this reader-favorite cookies and cream protein ice cream.
Sugar-Free / Keto Version
- Replace the sugar with an equal amount of allulose (best texture) or a 1:1 allulose blend.
- Use whole milk or a splash of extra cream to keep fat high, since sugar-free bases lose sugar’s softening effect.
- A pinch of xanthan gum (⅛ tsp) helps mimic the body sugar would normally provide.
- Choose a natural or no-sugar-added peanut butter to keep carbs down.
Dairy-Free Version
- Swap the milk for unsweetened oat or almond milk, and the heavy cream for canned coconut cream (the thick part) for richness.
- Full-fat soy milk works surprisingly well as an all-in-one swap and keeps costs down versus pricey vegan creams.
- Expect a slightly less dense result than the dairy version, and lean on the respin.
Variations & Mix-Ins
- Chocolate Peanut Butter: Whisk 2 tbsp cocoa powder into the base, or make it a dedicated batch of chocolate peanut butter ice cream for that frozen-Reese’s flavor.
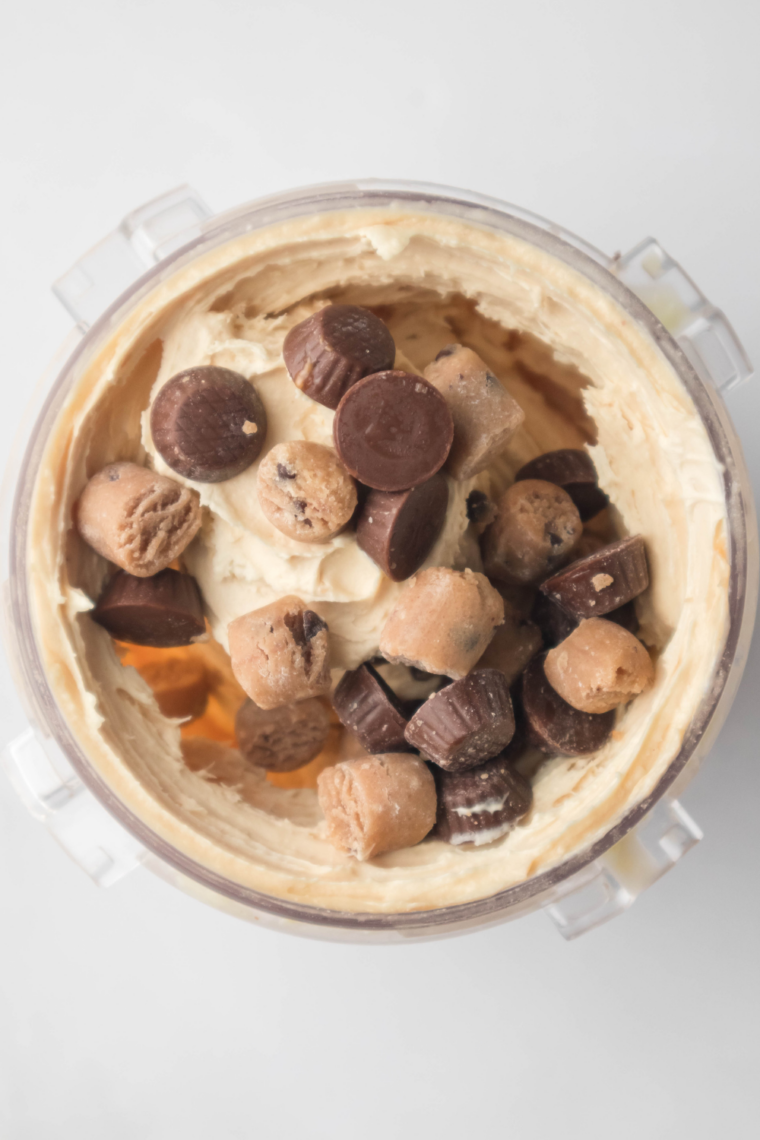
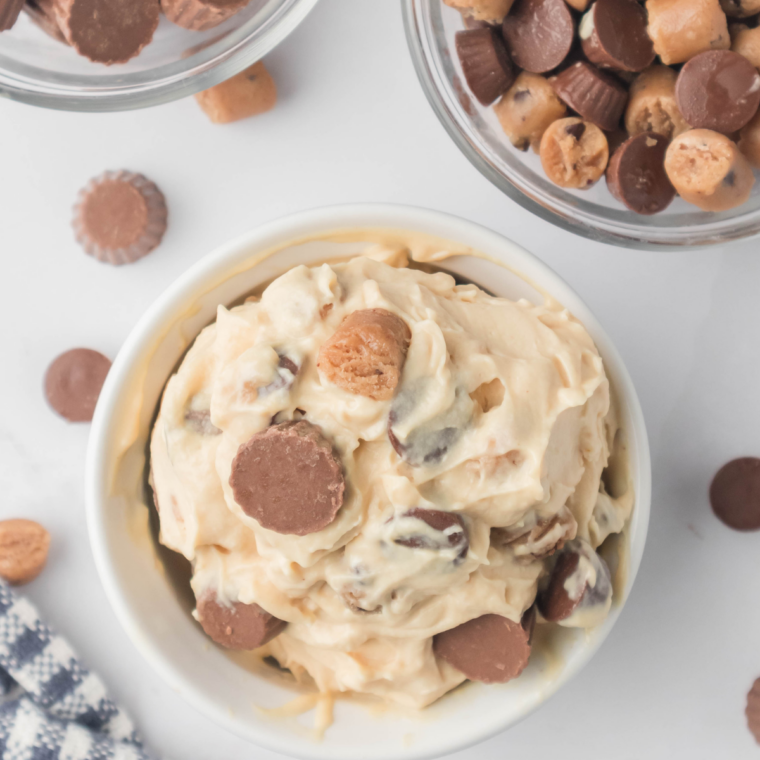
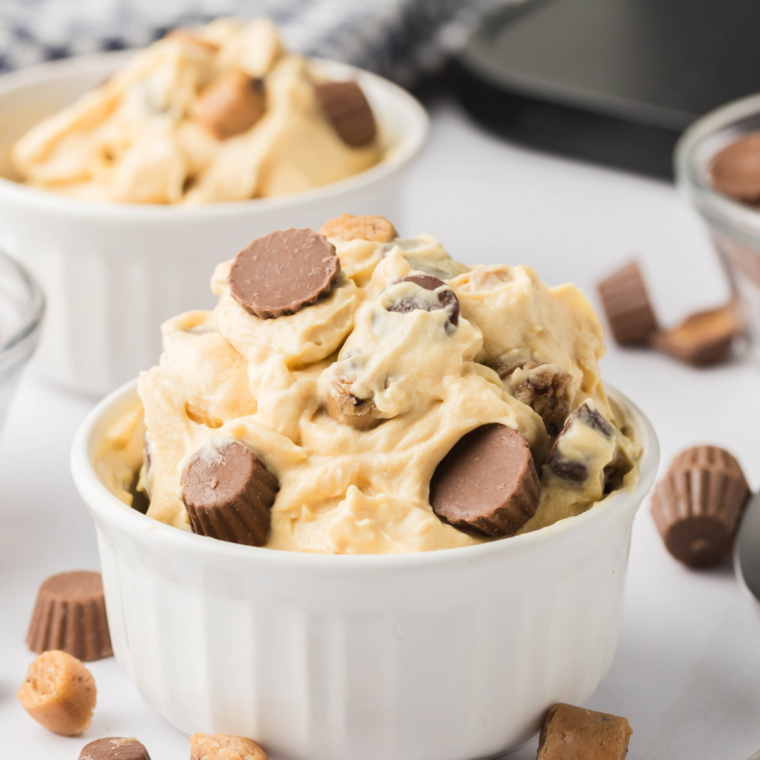
- Peanut Butter Cup Overload: Fold chopped peanut butter cups in with the Mix-In program — the same trick behind this peanut butter cup ice cream.
- PB&J: Swirl in your favorite jam after processing using the Mix-In setting.
- Crunchy: Use crunchy peanut butter, or fold in chopped roasted peanuts for texture.
- PB & Banana: Blend half a ripe banana into the base for natural sweetness and a softer freeze. (For the pudding-based version of that flavor, see this banana pudding ice cream, where instant pudding mix doubles as a stabilizer.)
- Salted Caramel PB: Add a pinch of flaky salt and a caramel swirl at the mix-in stage.
Troubleshooting: Why Your Pint Came Out Wrong (and How to Fix It)
Most Creami problems come down to four things: freeze time, fat/sugar level, blending, and skipping the respin. Here’s the real breakdown.
My ice cream is icy. Your base is low on fat or sugar, or the pint wasn’t tempered. Add a splash of cream to the base next time, temper the sides under hot water before spinning, and always respin. Scraping icy edges toward the center before respinning helps even it out.
My ice cream is crumbly or powdery. This is expected after the first spin. Make a well, add 1 tbsp of milk, and respin — usually once or twice fixes it. Persistent crumbliness means the base needs more fat or liquid, or your freezer is running very cold.
The texture is greasy or “buttery.” You over-processed a high-fat base — the cream started turning to butter. Use fewer respins next time, or reduce the cream slightly.
My base got foamy and the ice cream has a weird texture. Foam from an immersion blender on high speed traps bubbles that freeze into the pint. Blend on low, and let the base rest a few minutes so the bubbles settle before freezing.
It looks like the fat separated after spinning. This can happen with very high-fat bases, or if the base wasn’t fully emulsified. Blend the base thoroughly until uniform before freezing, don’t over-respin, and make sure you added a splash of milk (not more cream) at the respin.
The pint is rock-hard and won’t spin well. Let it sit at room temperature 5–10 minutes, or run the sides under warm water before processing.
How to Store & Make Ahead
Keep leftovers in the original Creami pint with the lid on, stored flat, for up to about two weeks (best within the first week). Because homemade ice cream has no commercial stabilizers, it freezes hard. To serve again, let it sit at room temperature for 5 minutes, then run the Respin function with a small splash of milk to bring back the creamy texture. This recipe is a great make-ahead: freeze several bases at once so a fresh pint is always 5 minutes away.
Recipe FAQs
Can I use natural peanut butter? Yes. Stir it very well first. The flavor is excellent; the texture may be marginally less uniform because natural oils can separate during freezing.
Do I have to use Fairlife milk? No, but ultra-filtered milk gives the creamiest result thanks to its lower water and higher protein content. Whole milk is the next best choice.
Can I make this without heavy cream? You can, but cream is your main defense against iciness. If you cut it, add a texture booster (a teaspoon of instant pudding mix or a pinch of xanthan gum) and expect a slightly less rich pint.
Why does my first spin always look crumbly? That’s how the Creami works — the first cycle shaves the frozen block, and it looks powdery until you respin. Always plan on at least one respin.
Can I make this in the Ninja Swirl or Deluxe? Yes. All three models handle this recipe. On the Deluxe, scale up about 1.5x for the larger 24 oz pint. On the Swirl, use Ice Cream for scoops or Soft Serve for cones.
Can I reduce the sugar? Yes — drop to ¼ cup, or use allulose for a sugar-free version that still stays soft and scoopable.
Ninja Creami Peanut Butter Ice Cream
Description
Ingredients
- 1 cup Fairlife fat-free, or 2% milk
- 30 grams vanilla protein powder, or peanut butter protein powder
- 2 tbsp peanut butter, powdered or regular peanut butter
- 1 tbsp allulose
- Optional: 1 tbsp sugar-free instant pudding mix or ¼ tsp guar/xanthan gum
Instructions
- Blend: Combine all base ingredients in the Creami pint and blend on low with an immersion blender or frother until fully smooth (30–45 sec). Don’t exceed the MAX FILL line.
- Freeze: Seal and freeze flat for at least 24 hours.
- Temper: Run the pint sides under hot water 30–45 seconds before spinning.
- Process: Place in the outer bowl and press Ice Cream.
- Respin: Add 1 tbsp milk to a well in the center and run Respin (repeat once if needed).
- Mix-in & serve: Add mix-ins with the Mix-In program if desired. Serve immediately.
Equipment
- Ninja Creami Ice Cream Machine
- Ninja Creami Pint Container
- Ninja Creami Pint Container Lid
Notes
- Ultra-filtered milk gives the creamiest base.
- The temper step and the respin are the two keys to smooth texture.
- Protein and sugar-free bases go icy more easily — lean on a splash of cream, allulose, and the respin.
- Store up to ~2 weeks; respin with a splash of milk to refresh.
Nutrition
Share this recipe
We can’t wait to see what you’ve made! Mention @forktospoon or tag #forktospoon!