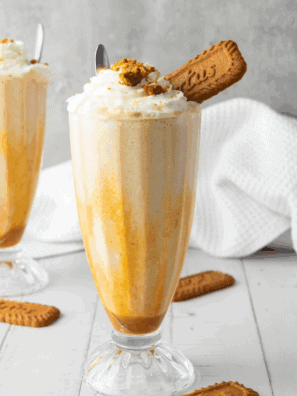
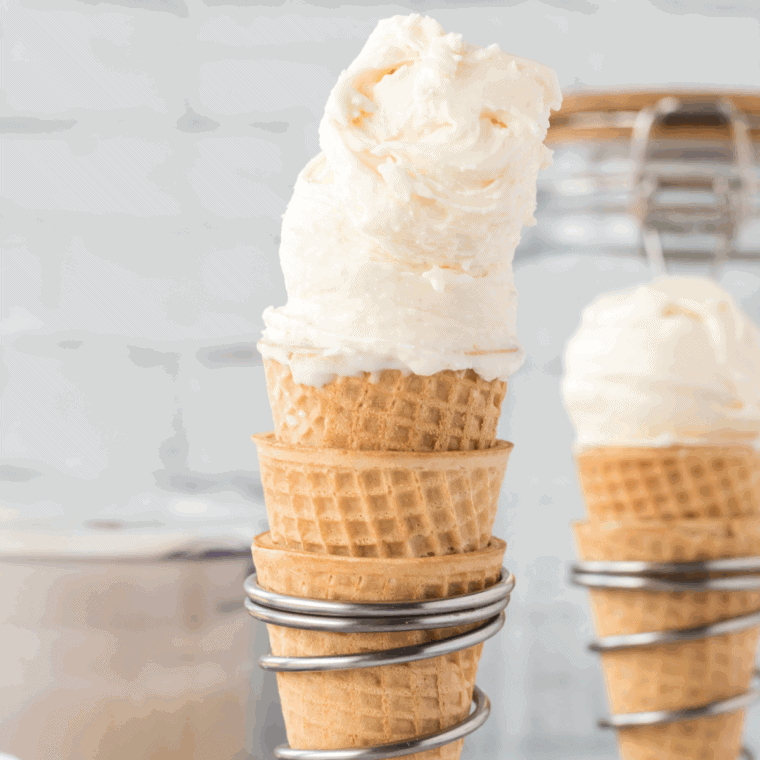
This Dairy Queen Ice Cream Copycat Recipe in the Ninja Creami is the perfect way to enjoy your favorite frozen treat without leaving the house. It’s creamy, customizable, and so easy to make. Whether you love it plain or loaded with mix-ins, this recipe is sure to satisfy your DQ cravings.
So grab your Ninja Creami, whip up a batch, and enjoy Dairy Queen ice cream anytime you want—homemade style!
If you’ve ever craved the smooth, creamy texture of Dairy Queen ice cream but wanted to make it at home, this Dairy Queen Ice Cream Copycat Recipe is just what you need!
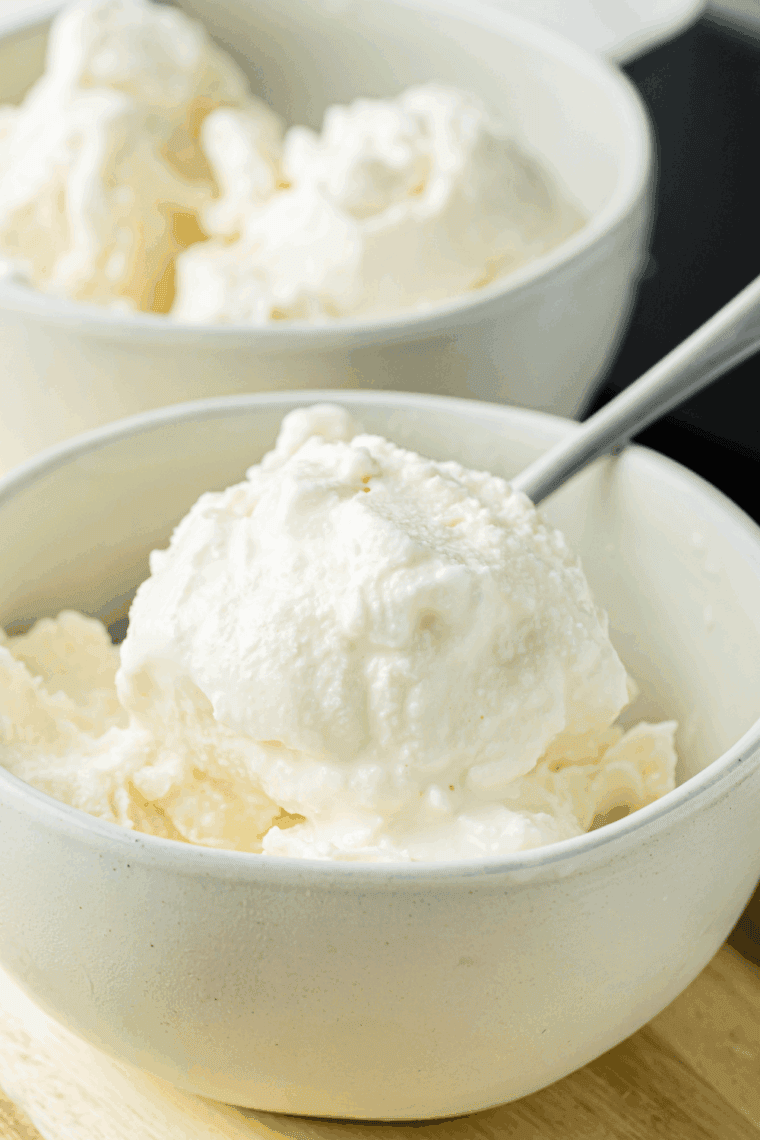
Using the Ninja Creami, you can recreate that iconic soft-serve-style ice cream in your own kitchen with just a few simple ingredients. It’s rich, velvety, and oh-so-delicious—perfect for sundaes, cones, or mix-ins just like DQ.
Whether you love a classic vanilla, a swirl with chocolate, or want to toss in candy for a Blizzard-style treat, this homemade version has you covered. Best of all, the Ninja Creami does the hard work for you, making it a breeze to enjoy Dairy Queen at home.
Why You’ll Love This Recipe!
- Dairy Queen flavor at home – No need to head to the drive-thru.
- Ninja Creami magic – Creates the perfect soft-serve texture every time.
- Endless mix-in options – Candy, cookies, or fruit for your own Blizzard-style creation.
- Budget-friendly treat – Enjoy DQ flavor for a fraction of the cost.
Ingredients You’ll Need
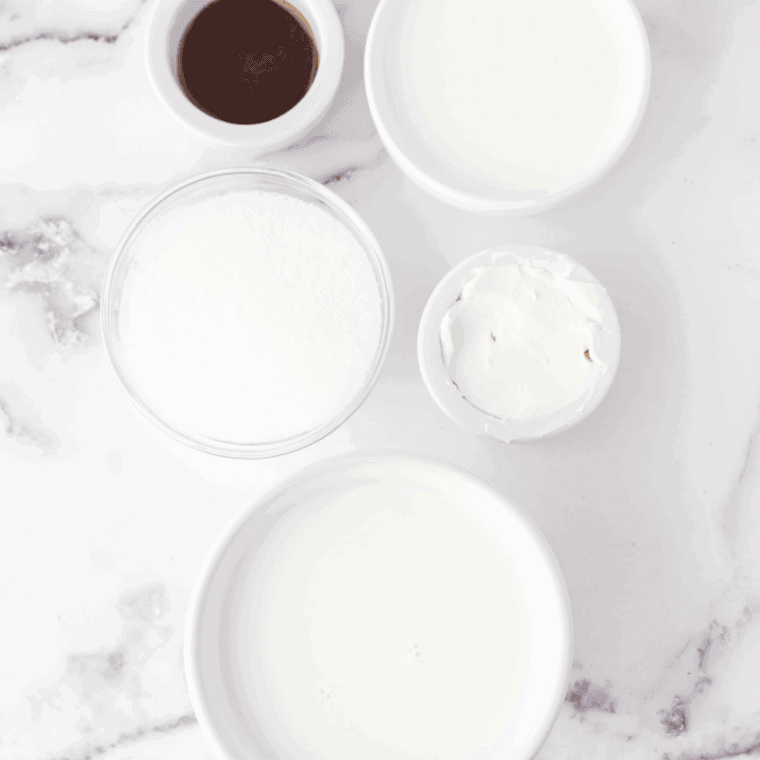
- Whole milk (for a creamy base)
- Heavy cream (adds richness)
- Granulated sugar (for sweetness)
- Vanilla extract (for classic flavor)
How To Make Dairy Queen Ice Cream Copycat Recipe in the Ninja Creami
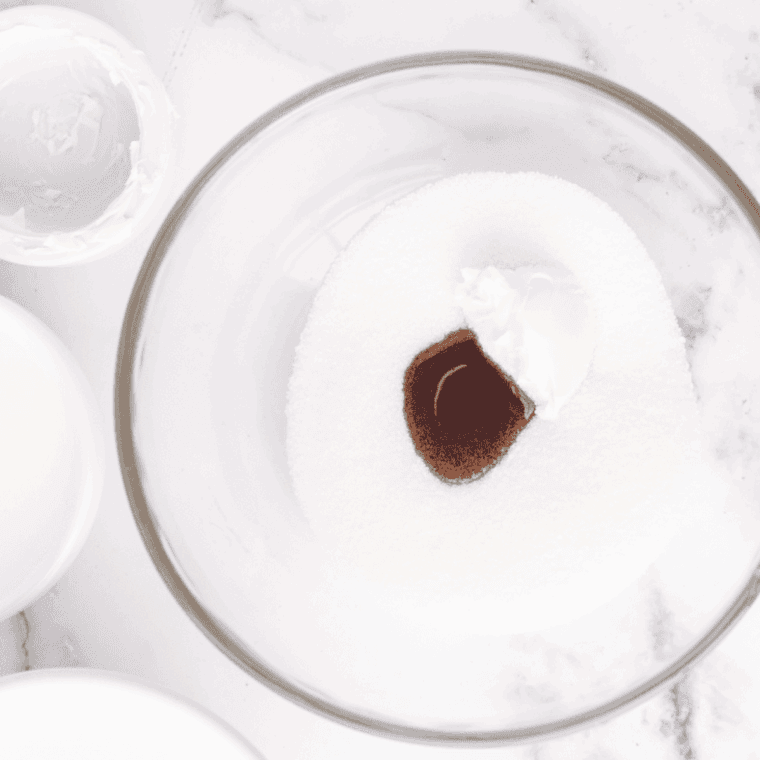
Step One: In a bowl, whisk together milk, cream, sugar, and vanilla extract until the sugar dissolves.
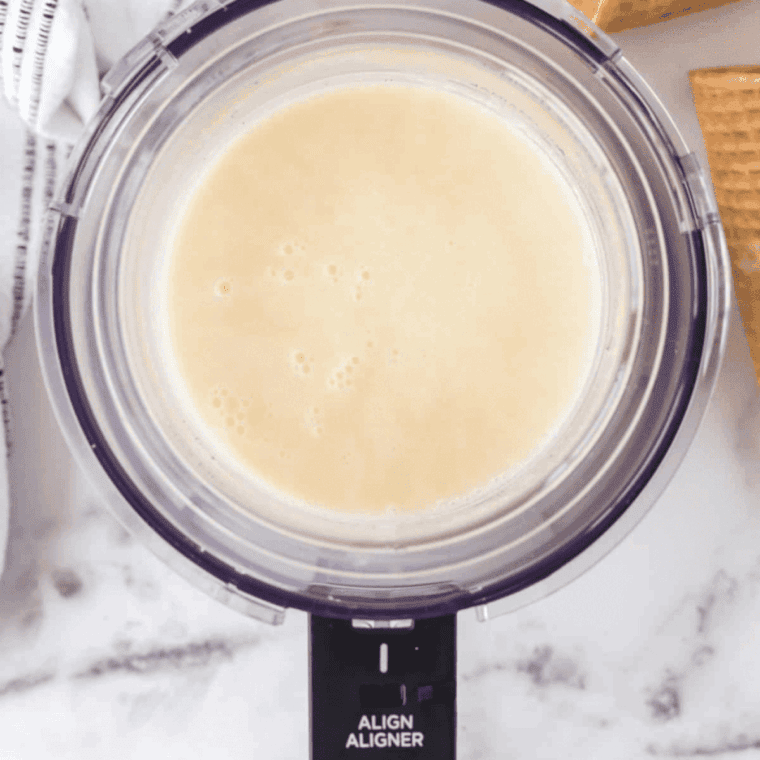
Step Two: Pour the mixture into a Ninja Creami pint container. Freeze for at least 24 hours for best results.
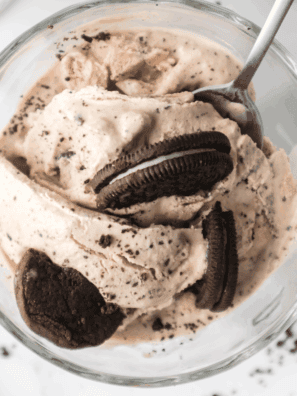
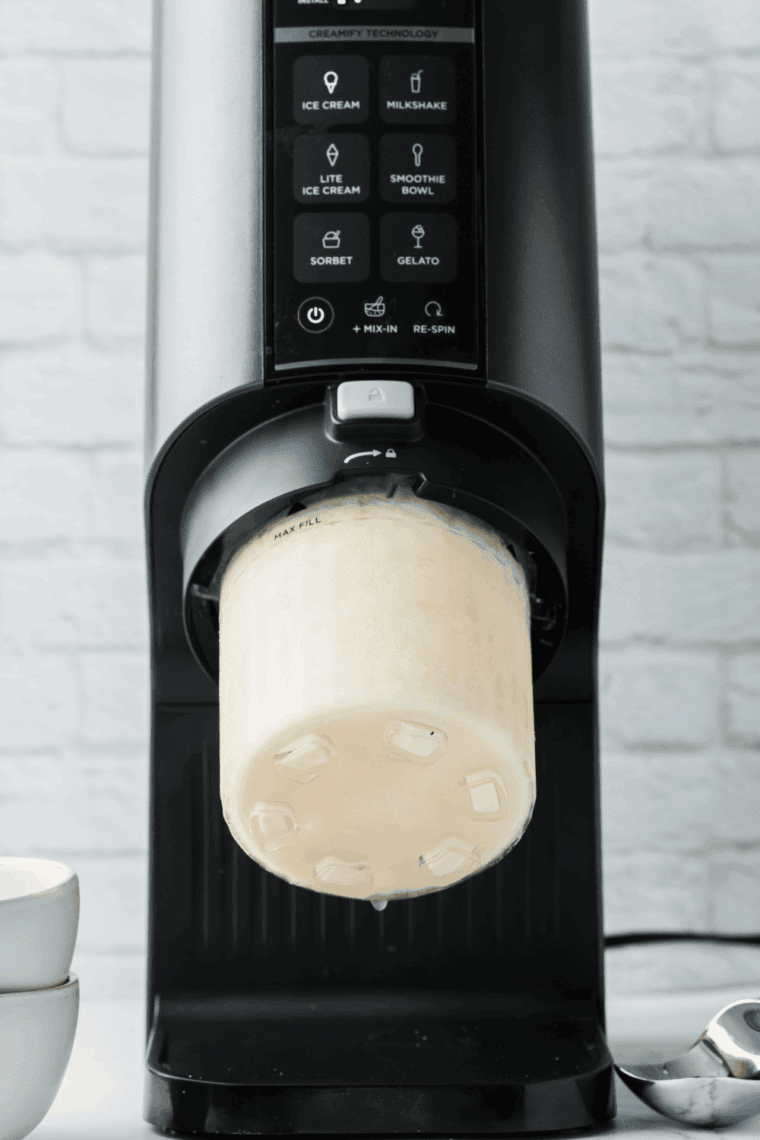
Step Three: Once frozen, place the container into your Ninja Creami machine. Use the Ice Cream function to churn it into a smooth, creamy texture. For Blizzard-style ice cream, create a well in the center of the pint and add your favorite mix-ins like Oreos or candy pieces. Run the Mix-In function to combine.
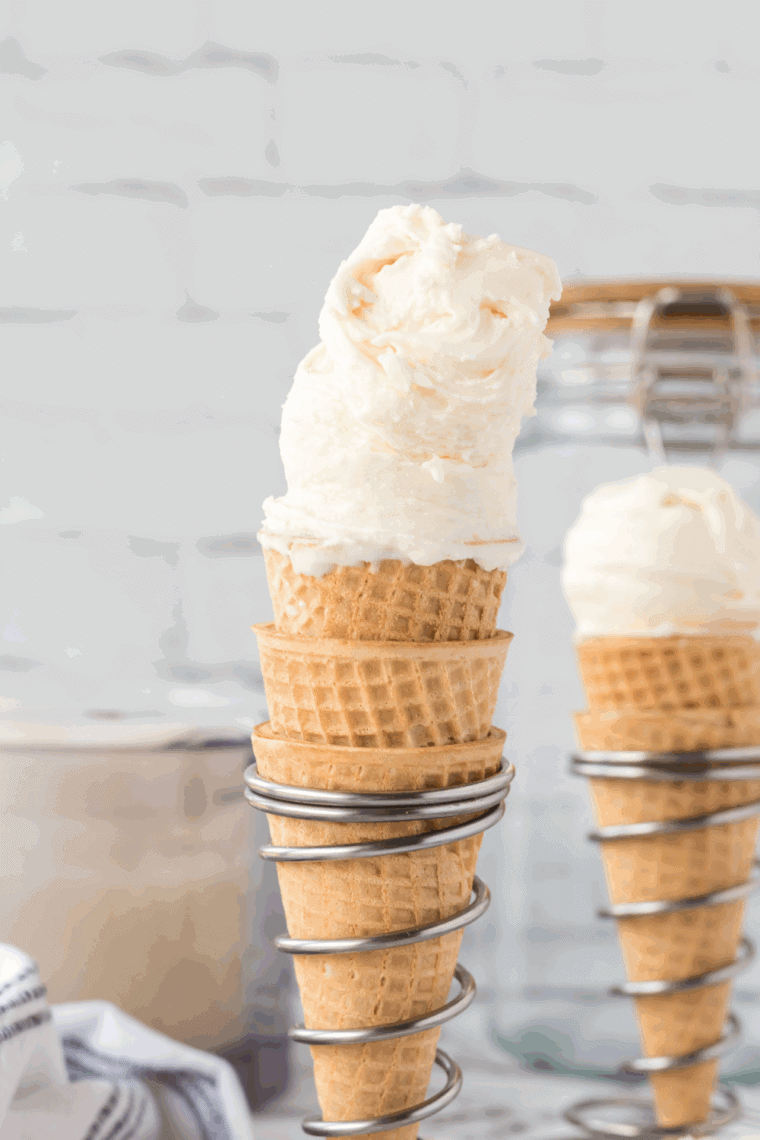
Step Four: Scoop into a cone, cup, or make a sundae with your favorite toppings.
Tips for Success
- Use whole milk and heavy cream for the creamiest texture.
- Don’t skip the overnight freeze—it’s key for the Ninja Creami to work properly.
- Add mix-ins after the first churn for best results.
- For chocolate soft serve, stir in chocolate syrup before freezing.
Storing Your Ice Cream
Keep your homemade Dairy Queen copycat ice cream in the Ninja Creami pint container with the lid tightly sealed. It will stay fresh for up to 2 weeks in the freezer. Simply re-spin in the Creami before serving to restore its creamy texture.

Ninja Creami Dairy Queen Ice Cream Copycat Recipe Faqs
Can I use low-fat milk instead of whole milk? For the creamiest texture, whole milk and heavy cream are recommended. Low-fat milk will result in a slightly less rich and softer ice cream.
How long should I freeze the ice cream base? Freeze the mixture for at least 24 hours in the Ninja Creami pint container. This ensures it’s firm enough for the machine to churn properly.
Can I make this recipe without the Ninja Creami? Yes, you can freeze the mixture in a regular container and stir every 30–60 minutes to reduce ice crystals, but the Ninja Creami creates a smoother, soft-serve-style texture more easily.
Can I use flavored extracts? Absolutely! Vanilla is classic, but feel free to experiment with peppermint, almond, or coconut extracts for unique flavors.
How can I make it more like a Dairy Queen Blizzard? After the first churn in the Ninja Creami, create a well in the center of the ice cream and add your favorite mix-ins (Oreos, M&Ms, candy pieces). Use the Mix-In function to evenly incorporate them.
More Copycat Dairy Queen Recipes
Ninja Creami Dairy Queen Snickers Blizzard Copycat Recipe
Dairy Queen Zesty Queso Recipe
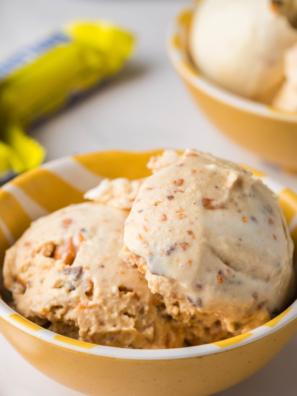
Ninja Creami Copycat Dairy Queen Butterfinger Blizzard
Ninja Creami Mint Oreo Blizzard
Flamethrower Sauce Copycat Recipe
Ninja Creami Heath Blizzard (Copycat Recipe)
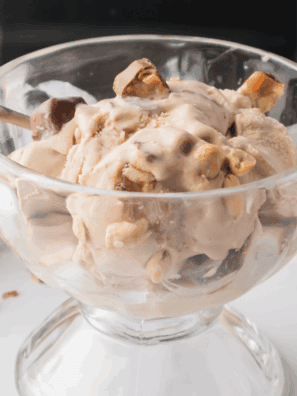
Ninja Creami Turtle Pecan Cluster Blizzard
Don’t Forget To Pin!
Share Your Creations! Are you active on Facebook? Join our Air Fryer Recipes Group, where hundreds of thousands of Air Fryer enthusiasts gather and share your photos! I’m always thrilled to see what you’ve made. For those on Instagram, don’t forget to tag me @forktospoon – I can’t wait to admire your culinary adventures!
Ninja Creami Dairy Queen Ice Cream Copycat
Description
Ingredients
- 1 1/2 cups Whole milk
- 1 1/2 cups Heavy cream
- 3/4 cup Granulated sugar
- 2 teaspoons Vanilla extract
Instructions
- In a bowl, whisk together 1 1/2 cups Whole milk, 1 1/2 cups Heavy cream , 3/4 cup Granulated sugar , and 2 teaspoons Vanilla extract until the sugar dissolves.
- Pour the mixture into a Ninja Creami pint container. Freeze for at least 24 hours for best results.
- Once frozen, place the container into your Ninja Creami machine. Use the Ice Cream function to churn it into a smooth, creamy texture.
- For Blizzard-style ice cream, create a well in the center of the pint and add your favorite mix-ins like Oreos or candy pieces. Run the Mix-In function to combine.
- Scoop into a cone, cup, or make a sundae with your favorite toppings.
Equipment
- NInja Creami Machine
- Ninja Creami Pint Container
- Ninja Creami Pint Container Lid
Nutrition
Share this recipe
We can’t wait to see what you’ve made! Mention @forktospoon or tag #forktospoon!