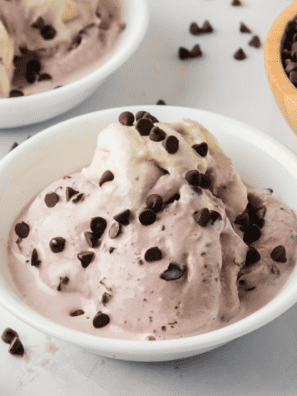
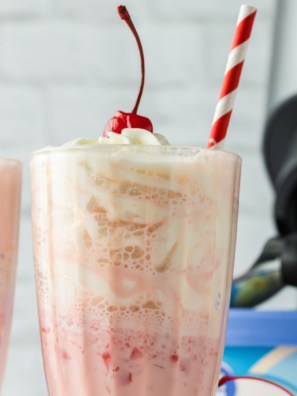
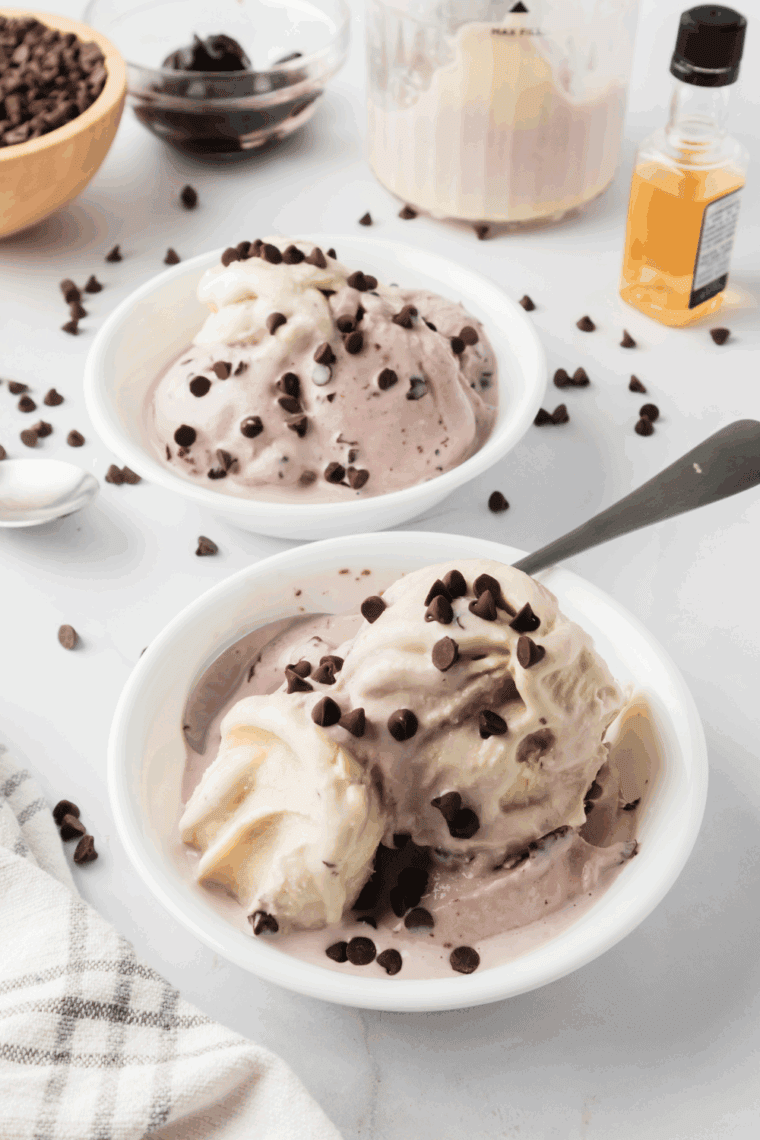
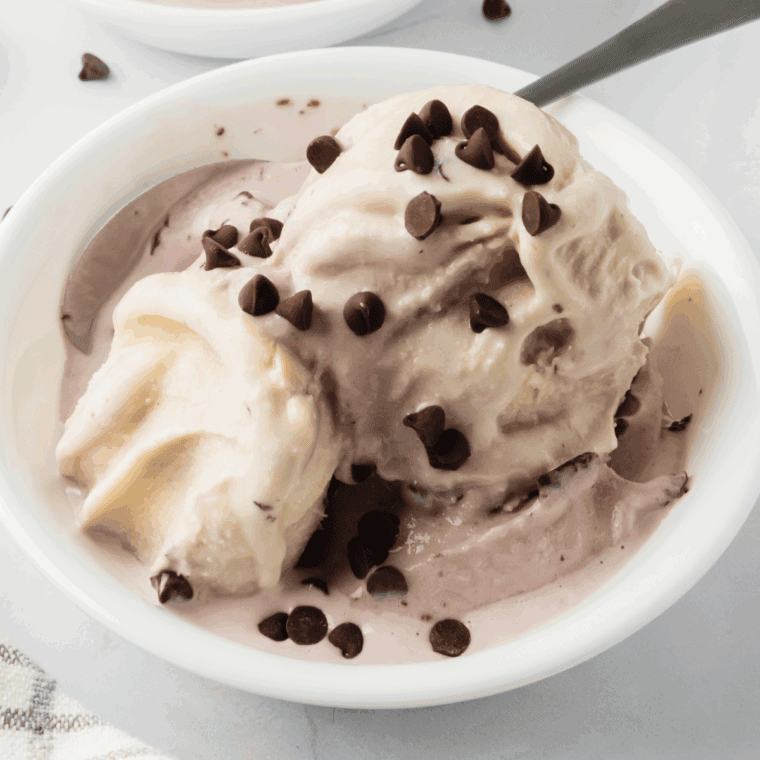
If you love a great recipe for Ninja Creami Cherry Garcia Ice Cream, try this one, it’s amazing, and bursting with flavor! Drizzle with fudge, or add some whipped cream, and more maraschino cherries!

My son went to college in Vermont, and when we went to visit him, we would always go to the Ben & Jerry Factory, and after the tour, I would grab a bowl of Cherry Garcia Ice Cream, it’s amazing, and my favorite!
If you love easy Ninja Creami Recipes, try all of my favorites, and of course, we are making all of the Ben & Jerry’s Flavors, right in our Ninja Cream Machine, because there is no better ice cream.
Why You Will Love Cherry Garcia Ice Cream!
If you have a Ninja Creami Machine, this is the perfect recipe for you. But, if you don’t, don’t worry, I am going to give you a recipe to make it without an ice cream maker, which will be in the comments.
- Rich & Creamy Texture – Perfectly smooth, indulgent ice cream every time.
- Loaded with Cherries & Fudge – Bursting with flavor in every bite. This is perfect for anyone who loves that iconic flavor!
- Easy to Make at Home – Simple ingredients and straightforward instructions. For both the Ninja Creami and for those without a Ninja Cream Machine.
- Customizable Treat – Add extra chocolate or cherries to suit your taste.
- Perfect Anytime Dessert – Great for family gatherings, parties, or a sweet snack.
Ben And Jerry’s Cherry Garcia Ingredients
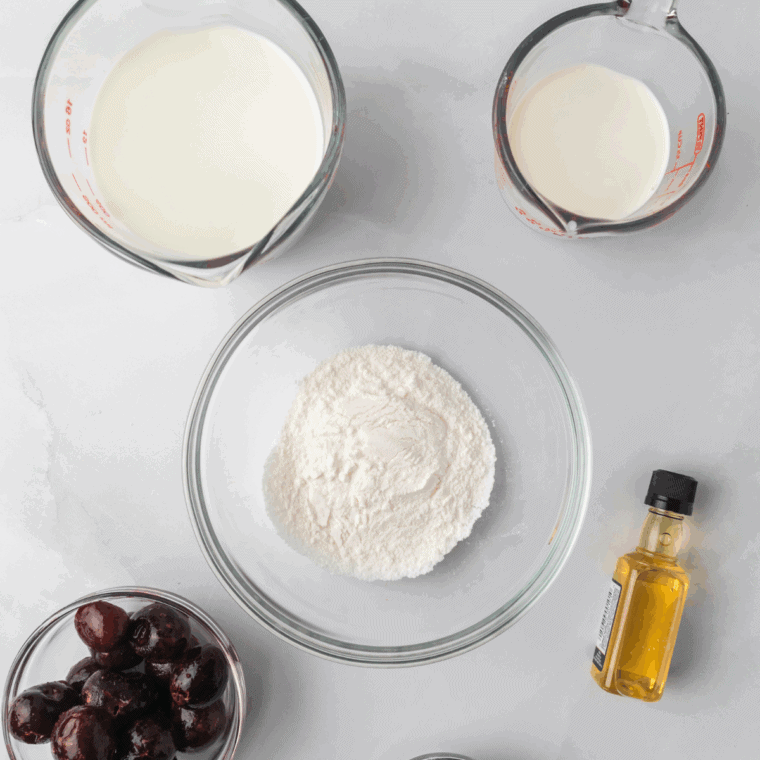
- Heavy Cream: Rich, velvety cream that creates smooth ice cream.
- Whole Milk: Adds creaminess and helps achieve perfect texture.
- Granulated Sugar: Sweetens the ice cream and balances flavors.
- Vanilla Extract: Natural flavoring that enhances overall ice cream taste.
- Dark Cherries: Juicy cherries for sweet-tart bursts in every bite.
- Chocolate Chunks: Semi-sweet chocolate pieces adding rich, indulgent flavor.
- Cherry Syrup (Optional): Adds extra fruity sweetness and syrupy texture.
How To Make Ben & Jerrry’s Ninja Creami Cherry Garcia
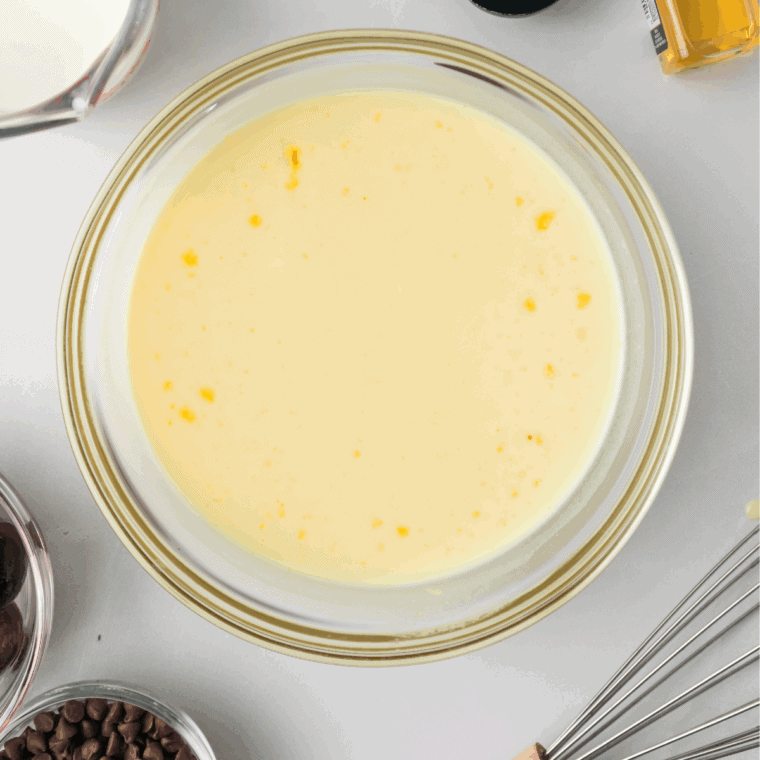
Step One: In a large mixing bowl, combine heavy cream, whole milk, granulated sugar, and vanilla extract. Whisk until the sugar is completely dissolved.
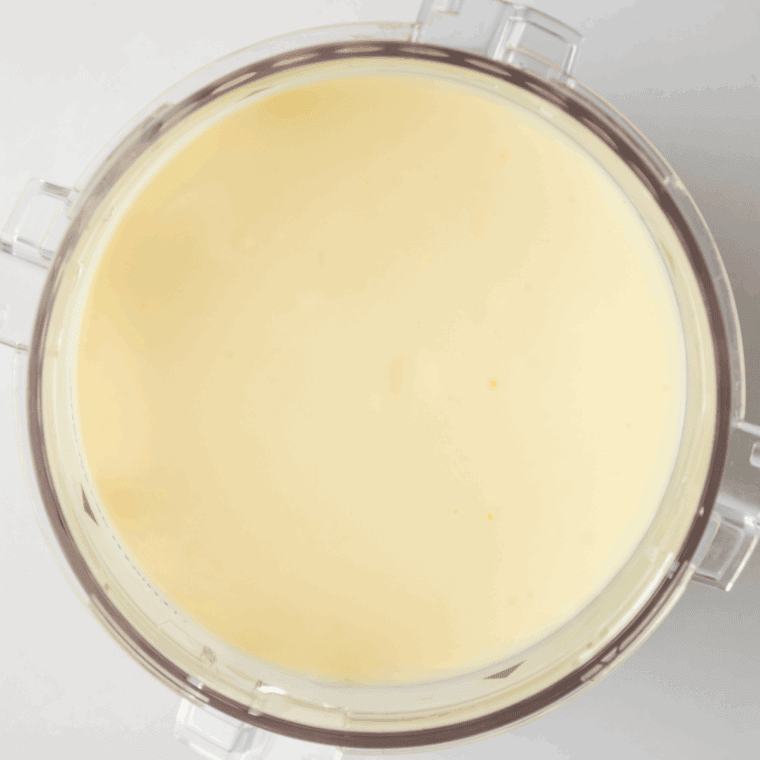
Step Two: Pour the mixture into a Ninja Creami pint container, leaving about 1/2 inch of headspace. Cover with the lid and freeze upright for 24 hours.
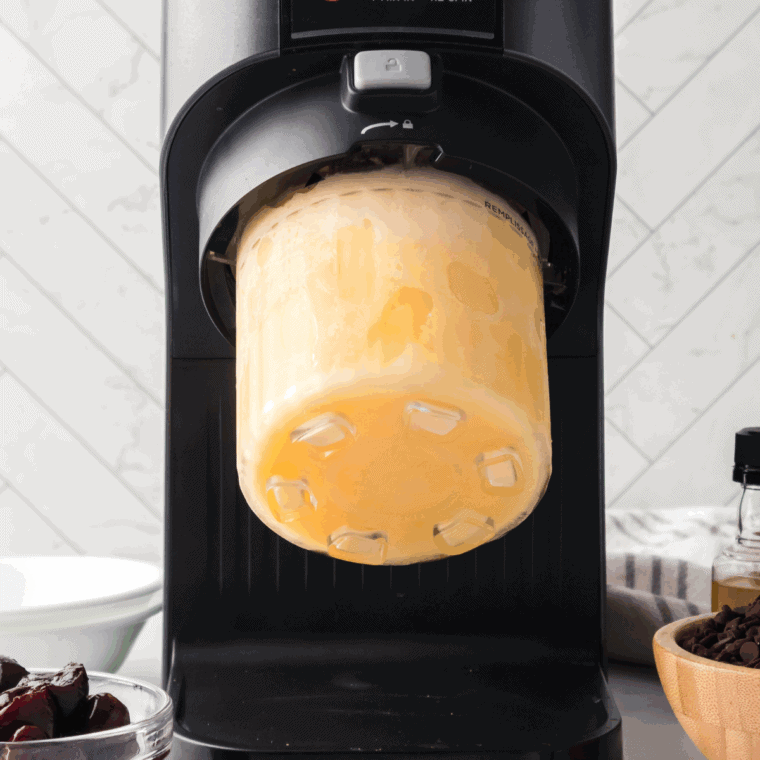
Step Three: Add the frozen pint to the Ninja Creami machine and select the “Ice Cream” setting. Check the texture and repeat the process if needed for a smooth, creamy consistency.
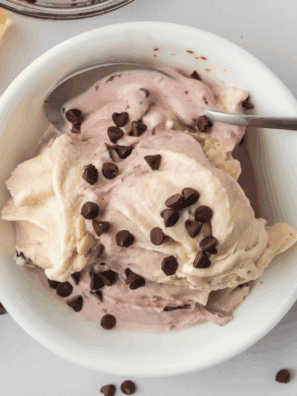
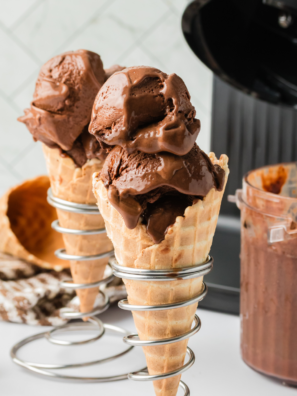
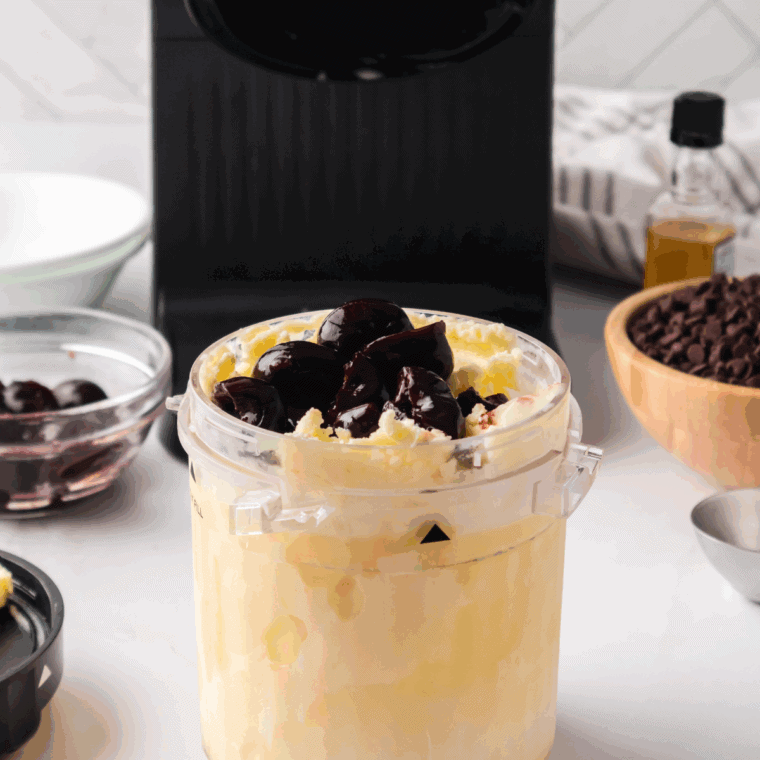
Step Four: Remove the pint container and use a spoon to create a hole down to the bottom of the ice cream. Add 1/2 cup chocolate chunks and 1 cup dark cherries into the hole. Place the container back in the Ninja Creami machine and process using the “Mix-In” setting. Scoop into bowls or cones and serve immediately. Garnish with extra chopped chocolate or a drizzle of chocolate chunks for an extra indulgent touch.
Ninja Creami Cherry Garcia Recipe Tips
- Use Fresh or Frozen Cherries: Either works; just pit and halve for best texture.
- Chill the Base Thoroughly: Freeze the pint upright for a full 24 hours for ideal consistency.
- Add Mix-Ins Last: Chocolate chunks and cherries should go in after initial processing to prevent breaking apart.
- Adjust Sweetness: Taste the base before freezing and add extra sugar if you prefer sweeter ice cream.
- Repeat Processing if Needed: If the texture isn’t creamy enough, run the Ice Cream setting again.
Storing Instructions
Keep your Cherry Garcia ice cream in an airtight container in the freezer to maintain freshness. Consume within one week for the best texture and flavor.
Ninja Creami Cherry Garcia Recipe Faqs
Can I use fresh cherries instead of frozen? Yes! Fresh cherries work perfectly; just pit and halve them before adding as mix-ins.
Can I make this recipe dairy-free or vegan? You can substitute heavy cream and milk with plant-based alternatives, like coconut or almond milk, and use dairy-free chocolate chunks.
How long should the ice cream base freeze?: Freeze the pint upright for at least 24 hours to ensure proper consistency when processed in the Ninja Creami.
Can I add more chocolate or cherries? Absolutely! Adjust the mix-ins to your preference, but add them after the initial processing to maintain texture.
How long can I store the ice cream? Keep it in an airtight container in the freezer and enjoy within a week for the best flavor and creaminess.
Can I reprocess ice cream if it’s too icy? Yes! Run the Ice Cream setting again to achieve a smoother, creamier texture.
More Easy Ninja Creami Recipes
Ninja Creami Dairy Queen Snickers Blizzard Copycat Recipe
Ninja Creami Copycat Dairy Queen Butterfinger Blizzard
Ninja Creami Mint Oreo Blizzard
Ninja Creami Heath Blizzard (Copycat Recipe)
Ninja Creami Turtle Pecan Cluster Blizzard
Ninja Creami Dairy Queen Ice Cream Copycat
Ninja Creami Caramel Toffee Cookie Blizzard Recipe
Don’t Forget To Pin!
Share Your Creations! Are you active on Facebook? Join our Air Fryer Recipes Group, where hundreds of thousands of Air Fryer enthusiasts gather and share your photos! I’m always thrilled to see what you’ve made. For those on Instagram, don’t forget to tag me @forktospoon – I can’t wait to admire your culinary adventures!
Ninja Creami Cherry Garcia
Description
Ingredients
Ice Cream Base:
- 2 cups heavy cream
- 1 cup whole milk
- 3/4 cup granulated sugar
- 1 teaspoon vanilla extract
Mix-Ins:
- 1 cup dark cherries, fresh, or frozen, cut in half
- 1/2 cup chocolate chunks, semi-sweet
- 2 tablespoons cherry syrup, optional
Instructions
- In a large bowl, whisk together 2 cups heavy cream, 1 cup whole milk, 3/4 cup granulated sugar and 1 teaspoon vanilla extract until the sugar is fully dissolved.
- Transfer the mixture into a Ninja Creami pint container, leaving about 1/2 inch of space at the top. Secure the lid and freeze upright for 24 hours.
- Place the frozen pint into the Ninja Creami machine and run on the “Ice Cream” setting. If the texture isn’t creamy enough, repeat the cycle until smooth.
- Use a spoon to make a hole down the center of the ice cream. Fill with 1/2 cup chocolate chunks and 1 cup dark cherries, then return the pint to the machine and run on the “Mix-In” setting.
- Scoop into cones or bowls and serve right away. For extra indulgence, top with more chocolate or a drizzle of 2 tablespoons cherry syrup.
Equipment
- Ninja Creami Ice Cream Machine
- Ninja Creami Pint Container
- Ninja Creami Pint Lid
Nutrition
Share this recipe
We can’t wait to see what you’ve made! Mention @forktospoon or tag #forktospoon!