
If you bought a Ninja Crispi and immediately wondered whether you could cook bacon in a glass container without turning your kitchen into a grease scene — yes, you can. The crisper plate does the heavy lifting, lifting the strips above the rendered fat so they crisp instead of fry.
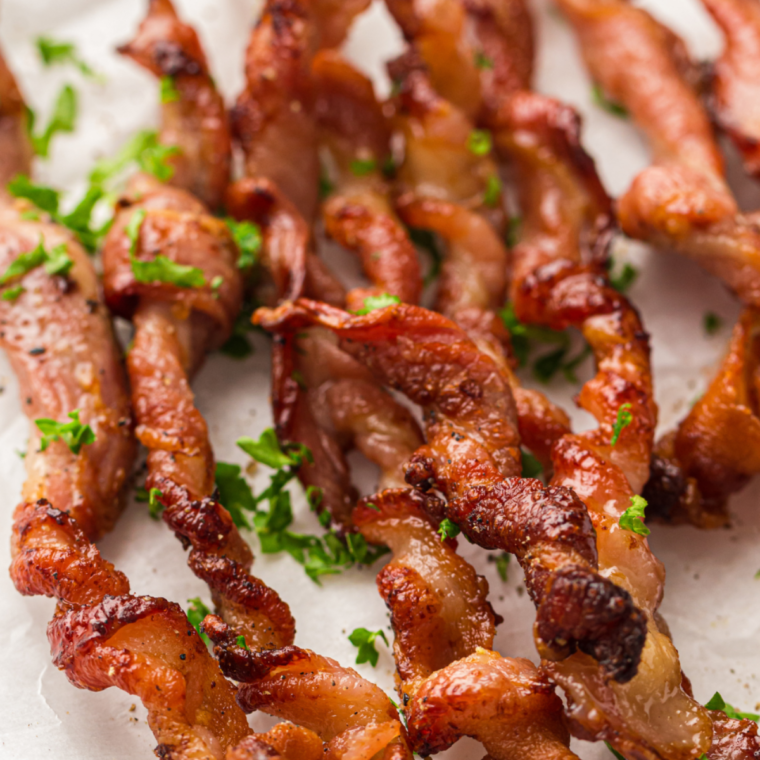
This is the method I’d hand to someone who just unboxed theirs: which container to use, which mode to press, how long thin-cut vs. thick-cut actually needs, and the one mistake that makes cleanup miserable.
Why the Ninja Crispi Is Good at Bacon
The Crispi’s whole design happens to suit bacon well.
- The crisper plate elevates the strips. Fat drips through and pools in the glass below. The bacon never sits in it, which is the difference between crisp and greasy.
- Borosilicate glass takes the heat. No coated basket to scratch, no worrying about what a 400°F grease slick is doing to a nonstick surface.
- You can see it happening. This is underrated. Bacon goes from perfect to carbon in about ninety seconds, and with a glass container you can watch the color instead of guessing.
- Cleanup is a dishwasher run. Pour the fat off, load the glass and plate, done.
What You Need
Ingredients
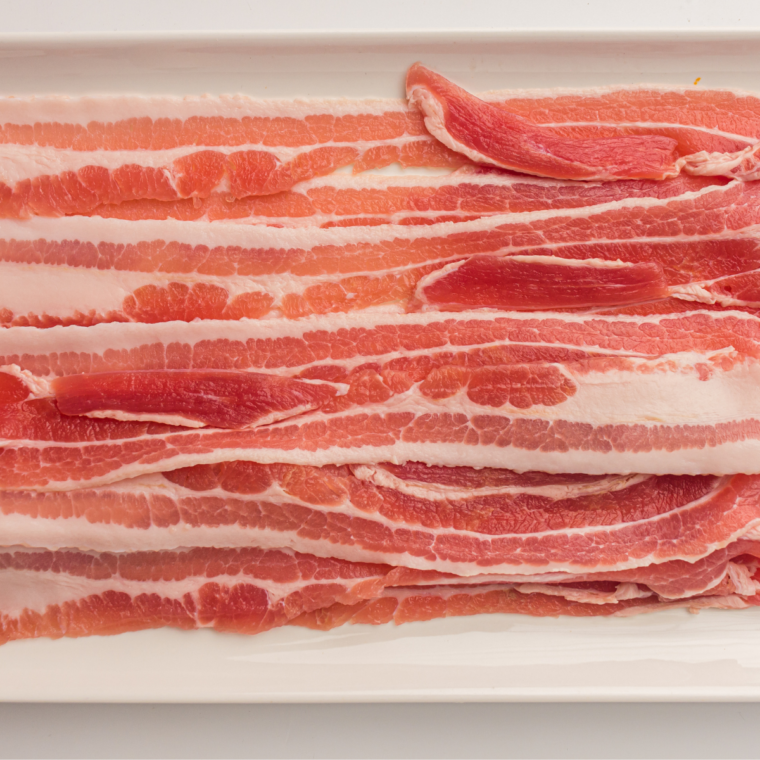
- 4–6 strips bacon (thin-cut or thick-cut, center-cut works great)
- Optional: coarse black pepper, brown sugar, or maple syrup for a glaze
Equipment
- Ninja Crispi PowerPod
- 6-cup container (1–3 strips) or 4-qt container + adapter (4–6 strips)
- Crisper plate — non-negotiable for this recipe
- Tongs
- Paper towels
How to Cook Bacon in the Ninja Crispi
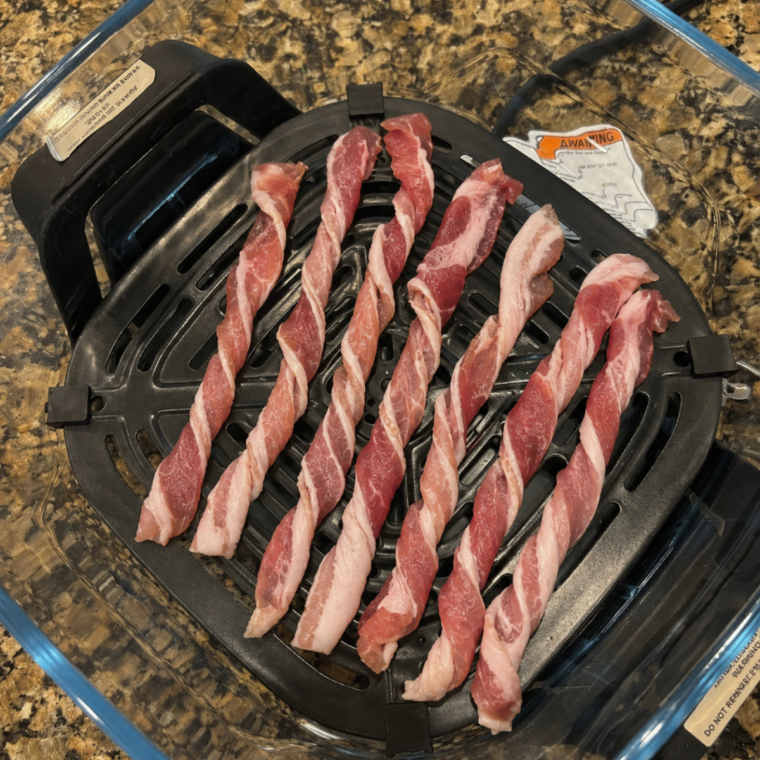
Step 1: Drop the crisper plate into the container, flat side down. If you’re using the 4-qt, seat the adapter on top and lock the PowerPod into it.
Step 2: This is where most people go wrong. Full-length strips don’t lie flat in a 6-cup container, and bacon that curls up the wall hits the heating element and burns. Cut strips in half crosswise. In the 4-qt container you can leave them whole if you arrange them in a loose S-curve.
Step 3: Lay the pieces on the crisper plate with a little space between them. Overlapping bacon steams. If you’re cooking more than the plate holds, do two batches — the second one takes about a minute less because the container is already hot.
Step 4: Snap on the PowerPod, select Air Fry, and set the timer:
| Bacon type | Container | Time | Flip? |
|---|---|---|---|
| Thin-cut | 6-cup | 6–8 min | Not needed |
| Regular-cut | 6-cup | 8–10 min | Optional at 5 min |
| Thick-cut | 4-qt | 10–13 min | Yes, at 6 min |
| Extra-thick / center-cut | 4-qt | 12–15 min | Yes, at 7 min |
Start checking at the low end of the range. The PowerPod pauses when you lift it off, so peeking costs you nothing but a few seconds.
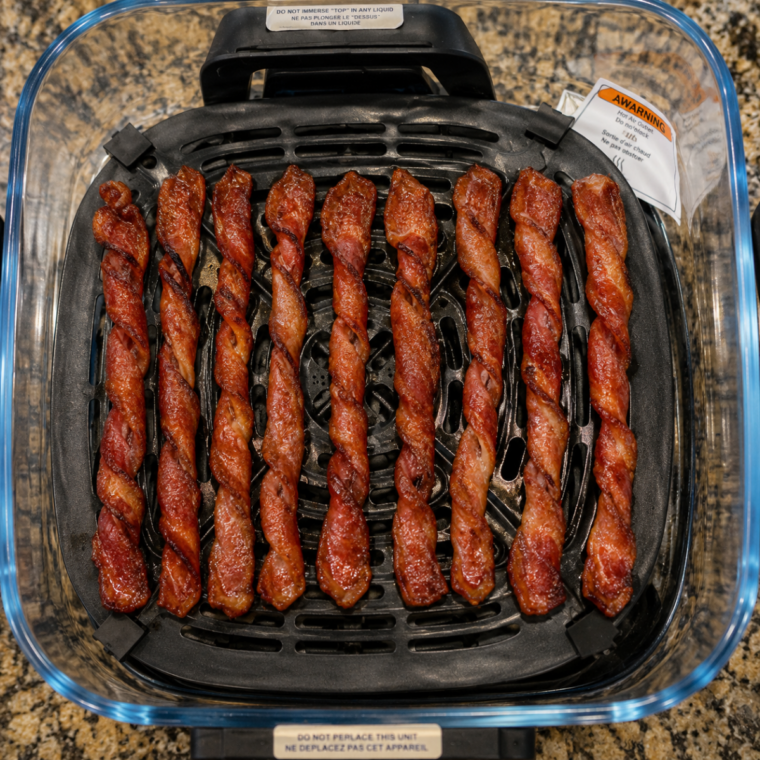
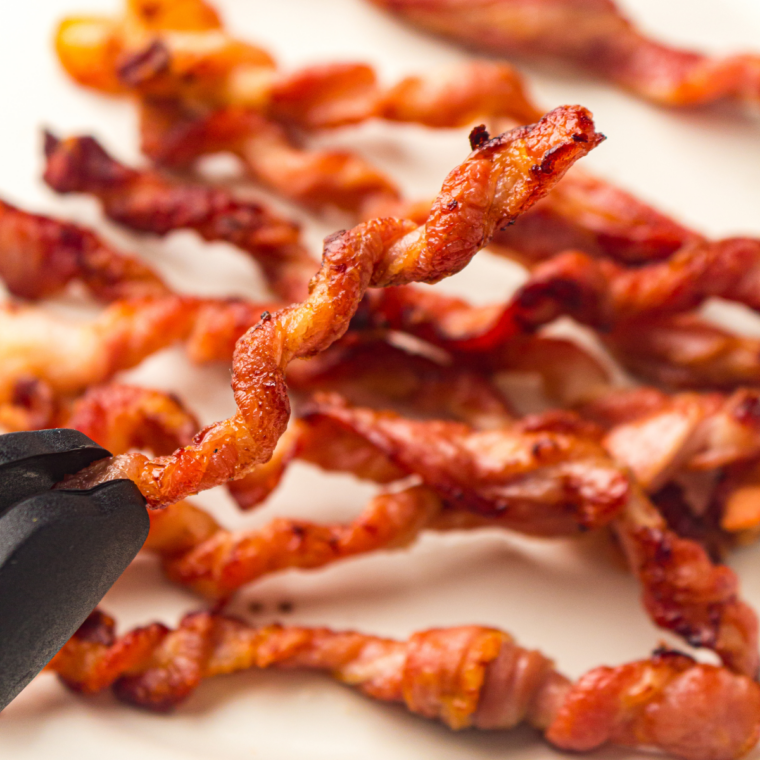
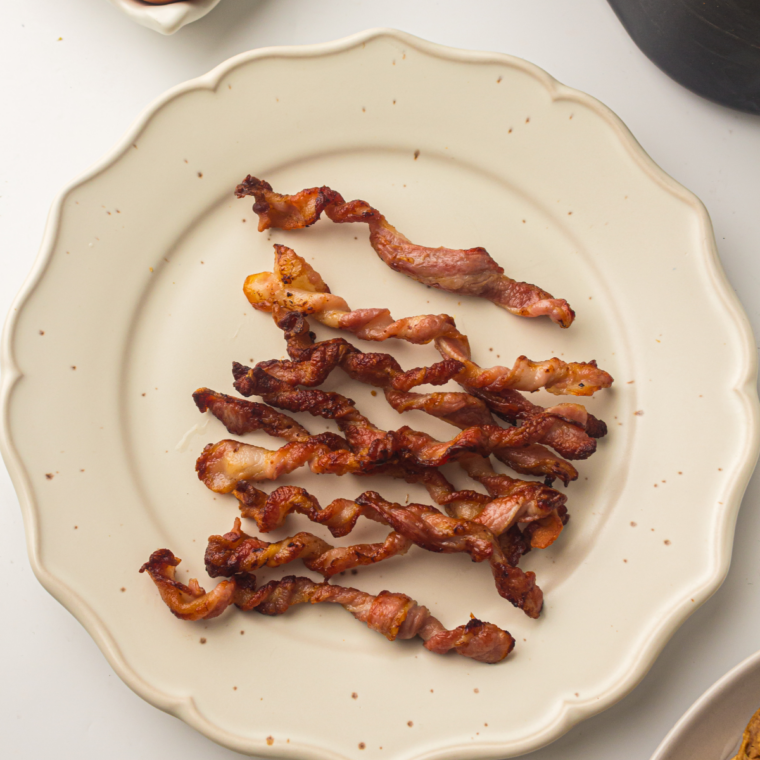
Step 5: Move the strips to a paper-towel-lined plate. They firm up as they cool — bacon that looks slightly underdone coming out of the Crispi usually lands exactly right after two minutes on the counter.
The Grease Question (Everyone Asks This)
Bacon renders a lot of fat, and the Crispi is a small vessel. Two things keep it manageable:
Don’t overcrowd. More bacon means more fat means more smoke. Four strips in the 6-cup container is the ceiling.
Let the fat cool before pouring. Hot bacon fat and a sink drain are a bad combination. Let the container sit five minutes, pour the fat into a jar (save it — it’s cooking gold), then wipe with a paper towel before the dishwasher.
If you see wisps of smoke, that’s rendered fat hitting the hot glass wall, not a malfunction. Cook a smaller batch next time.
Flavor Variations Worth Trying
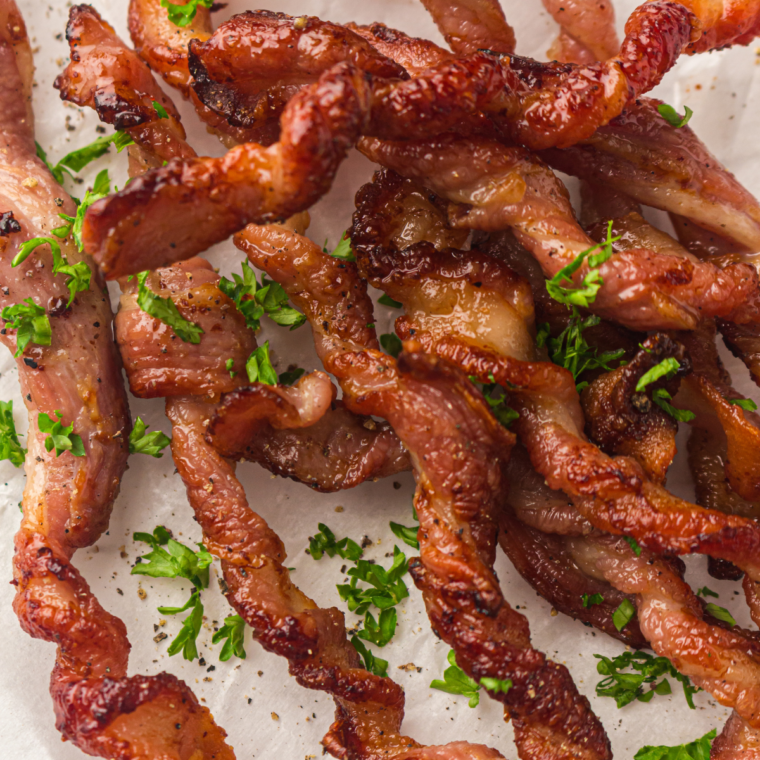
- Black pepper bacon. Press coarse cracked pepper into both sides before cooking. The dry heat toasts it.
- Candied bacon. Cook plain for 6 minutes, brush with maple syrup or sprinkle brown sugar, then finish for 2–3 more minutes on Air Fry. Watch it — sugar goes from caramel to burnt fast. Line the crisper plate with a small piece of parchment for this one, cut smaller than the plate so air still circulates.
- Bacon-wrapped anything. Wrap dates, jalapeño poppers, or asparagus spears. Use the 4-qt container and add 2–3 minutes to your usual bacon time.
Reheating Bacon in the Crispi
This is what Recrisp exists for. Two minutes on Recrisp brings day-old bacon back to genuine crispness — better than a microwave by a wide margin, which just makes it chewy and sad.
Common Mistakes
- Skipping the crisper plate. The bacon sits in its own fat and comes out limp and greasy.
- Using Max Crisp. It’s tempting. It’s too aggressive for a fat-heavy food and produces smoke and burnt edges. Air Fry is the right mode.
- Cooking straight from frozen. Frozen strips fuse together. Thaw enough to separate them — 10 minutes on the counter is usually plenty.
- Walking away. The window between “perfect” and “ruined” is about 90 seconds. Stay in the kitchen.
Frequently Asked Questions
Can you cook bacon in the Ninja Crispi? Yes. Use the crisper plate, arrange strips in a single layer, and cook on Air Fry for 6–13 minutes depending on thickness. The crisper plate keeps the bacon out of the rendered fat, which is what gets you crisp rather than greasy.
How long does bacon take in the Ninja Crispi? Thin-cut takes 6–8 minutes, regular-cut 8–10 minutes, and thick-cut 10–13 minutes on Air Fry. Start checking two minutes before the low end.
Do you flip bacon in the Ninja Crispi? Thin and regular-cut don’t need it — the circulating air handles both sides. Thick-cut benefits from a flip about halfway through.
Does bacon make the Ninja Crispi smoke? It can if you overcrowd the container or use Max Crisp. Stick to a single layer, use Air Fry, and cook in batches.
Can you use parchment paper or liners? Yes, for glazed or sticky preparations. Cut it smaller than the crisper plate so air can move around the edges, and never preheat with an empty liner — it can lift into the heating element.
Which container should I use? The 6-cup container handles one to three strips (cut in half). For four or more, use the 4-qt container with the adapter.
How do you clean the container after bacon? Cool the fat, pour it into a jar, wipe the glass with a paper towel, then run the container, crisper plate, and adapter through the dishwasher. All three are dishwasher safe.
More Ninja Crispi Recipes
Breakfast
- Ninja Crispi Eggs — Soft-baked in a ramekin in the 6-cup container while your bacon rests.
- Air Fryer Breakfast Potatoes — Cook these first, hold on Recrisp while the bacon goes.
- Bacon, Egg & Cheese English Muffin — Assembles in the same container. Zero extra dishes.
- Cinnamon Sugar Air Fryer Donuts — Bake mode, canned biscuit dough, eight minutes.
Use That Saved Bacon Fat
- Ninja Crispi Smashed Potatoes — Same principle, more crunch.
Weeknight Mains
- Ninja Crispi Whole Chicken — A 4-lb bird plus vegetables fits the large container.
- Crispy Chicken Wings — The recipe that sold most people on this thing.
- Ninja Crispi Salmon — Ten minutes, skin crisps properly on the plate.
- Bacon-Wrapped Jalapeño Poppers — A direct follow-on from the variations above.
Ninja Crispi Bacon
Description
Ingredients
- 4 strips bacon, halved crosswise
- Optional: coarse black pepper, brown sugar, or maple syrup
Instructions
- Place the crisper plate flat inside the container. If using the 4-qt, seat the adapter and lock in the PowerPod.
- Cut bacon strips in half crosswise so they lie flat.
- Arrange in a single layer on the crisper plate, leaving space between pieces.
- Select Air Fry. Cook 6–8 minutes for thin-cut, 8–10 for regular, 10–13 for thick-cut.
- Check at the low end of the range. Lifting the PowerPod pauses cooking.
- Transfer to a paper-towel-lined plate. Bacon firms as it cools.
Equipment
- Ninja Crispi Air Fryer
- Tongs
Notes
Nutrition
Share this recipe
We can’t wait to see what you’ve made! Mention @forktospoon or tag #forktospoon!




Ole
Instead of Black Pepper, you should use White Pepper, it goes so much better with Bacon 🙂 Others than that, it’s good 🙂