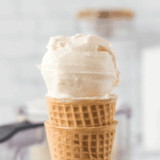
Enjoy the rich taste of vanilla bean ice cream, with my Ninja Creami Vanilla Bean Ice Cream! This simple recipe for homemade vanilla ice cream easily satisfies the craving for real, old-fashioned vanilla ice cream using fresh vanilla beans to flavor the smoothest, best-tasting icy treat you’ll ever savor.
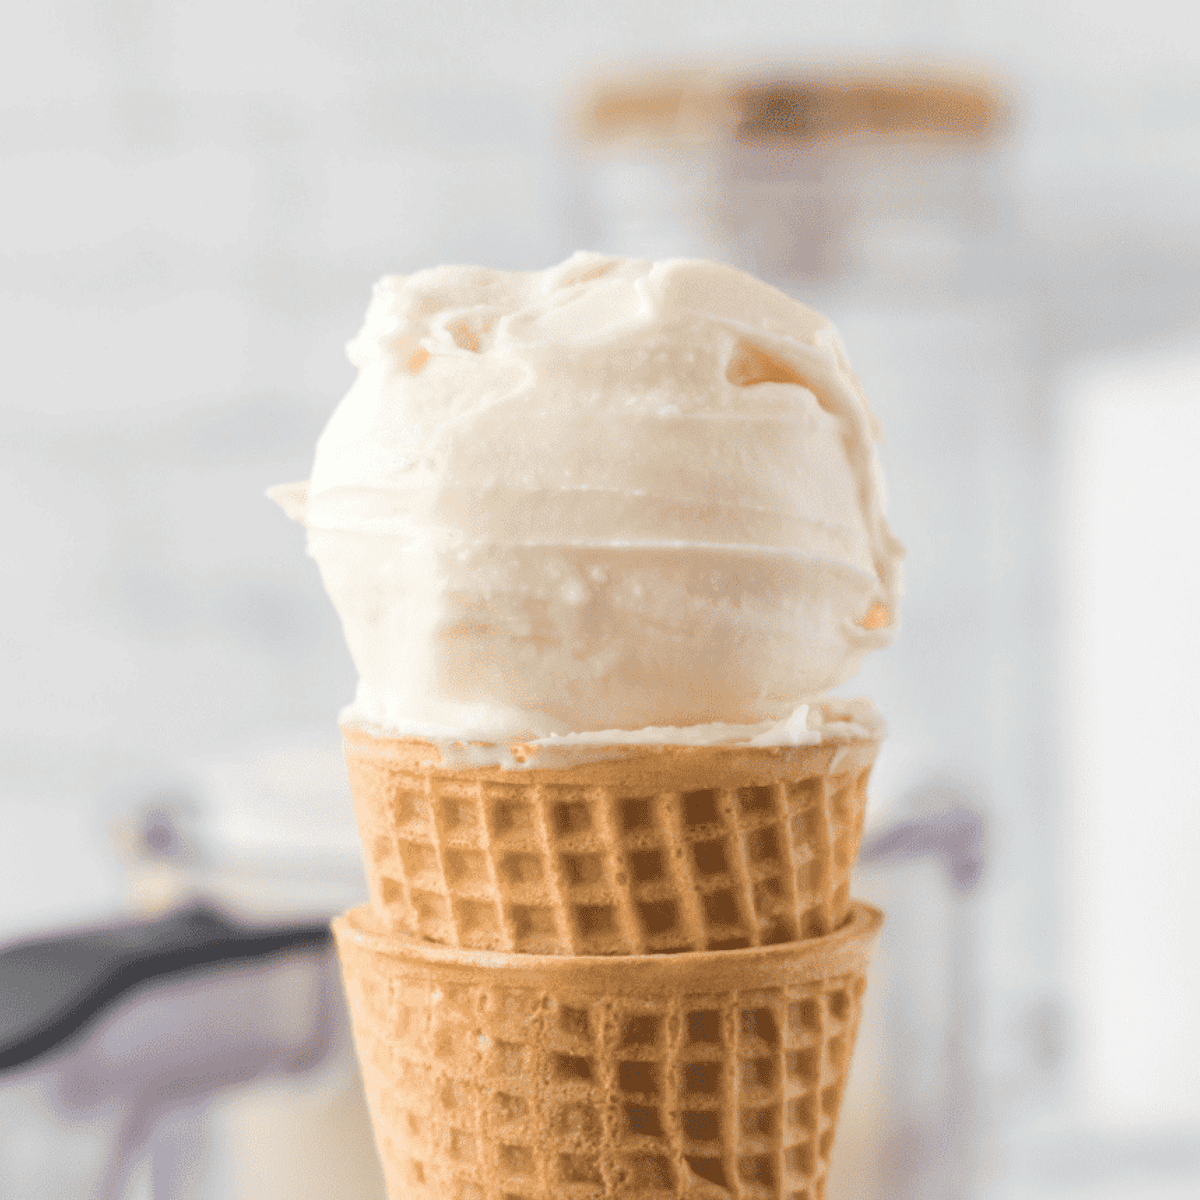
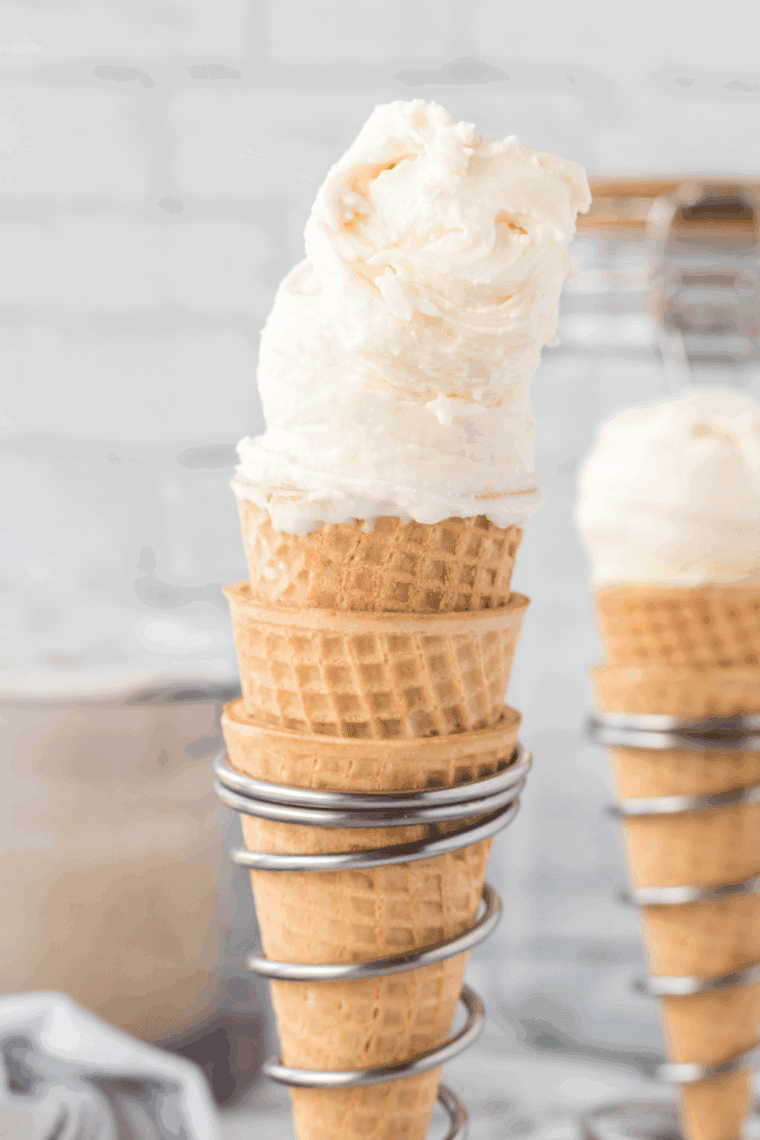
There’s nothing better than delicious homemade vanilla ice cream, and with the Ninja Creami, you can make it in a snap right at home.
This recipe features vanilla beans for a full, natural flavor and the perfect silky, creamy texture of your favorite store bought alternative.
Great for anyone with a sweet tooth, it is simple to make, quick, and will satisfy your cravings for something sweet every single time.
Why You Will Love This Recipe!
- Pure Vanilla Bean Flavor – Using all natural vanilla beans gives the ice cream its tantalizing aroma and rich bold flavor.
- Fast and simple – Minimal ingredients plus the Ninja Creami make this an easy homemade dessert.
- Adjustable Sweetness – With the sweet cream base, you can reduce sugar levels or even add favorites like chocolate chips and fruit for a customized treat.
- Dreamy After Dinner Indulgent – Weeknight special or dinner party dessert, this ice cream is one everyone loves.
Ingredients Needed
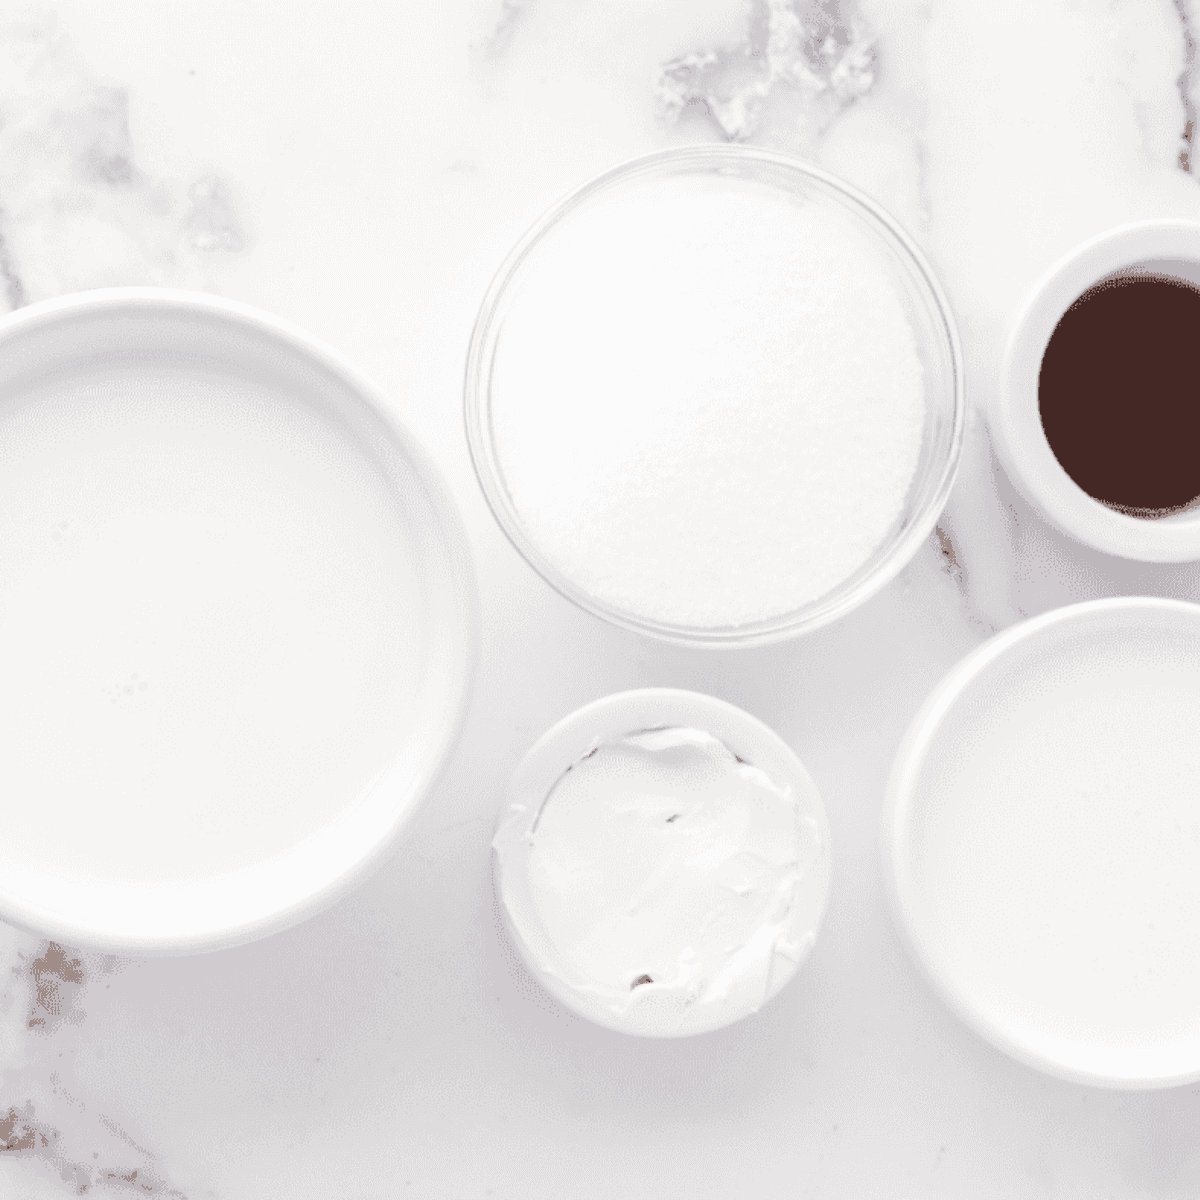
- Cream Cheese: Use regular or low-fat cream cheese
- Granulated Sugar: Use regular white sugar
- Vanilla Bean Paste or Pure Vanilla Extract: One of my favorites is Heilala Pure Vanilla Paste.
- Milk and Heavy Cream: I have not used almond or coconut milk, but they are a great alternative source.
How To Make Ninja Creami Vanilla Bean Ice Cream
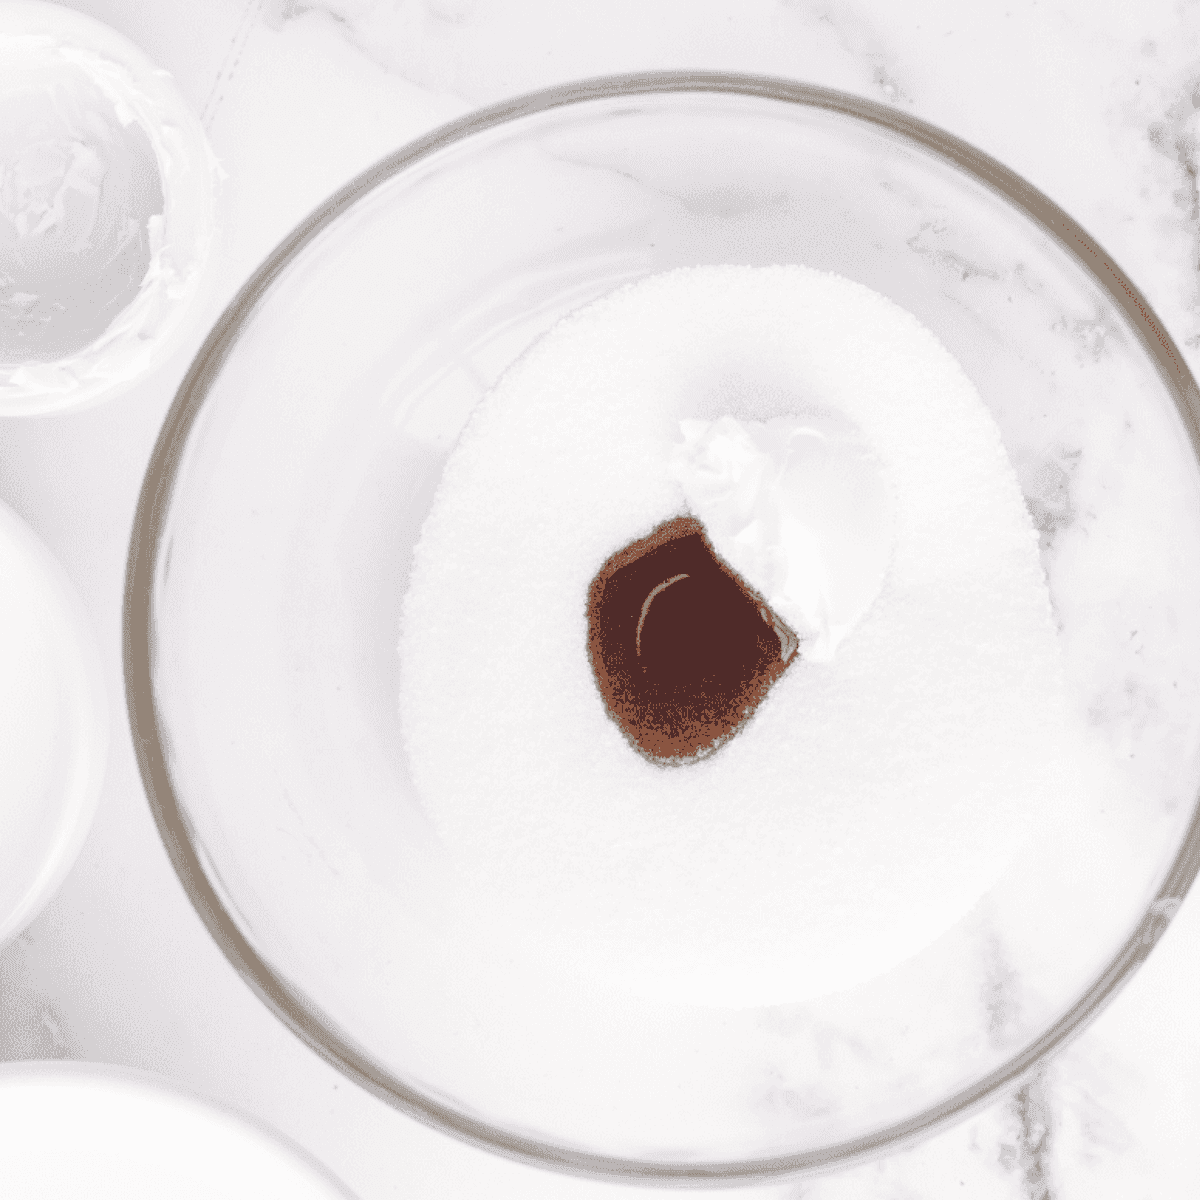
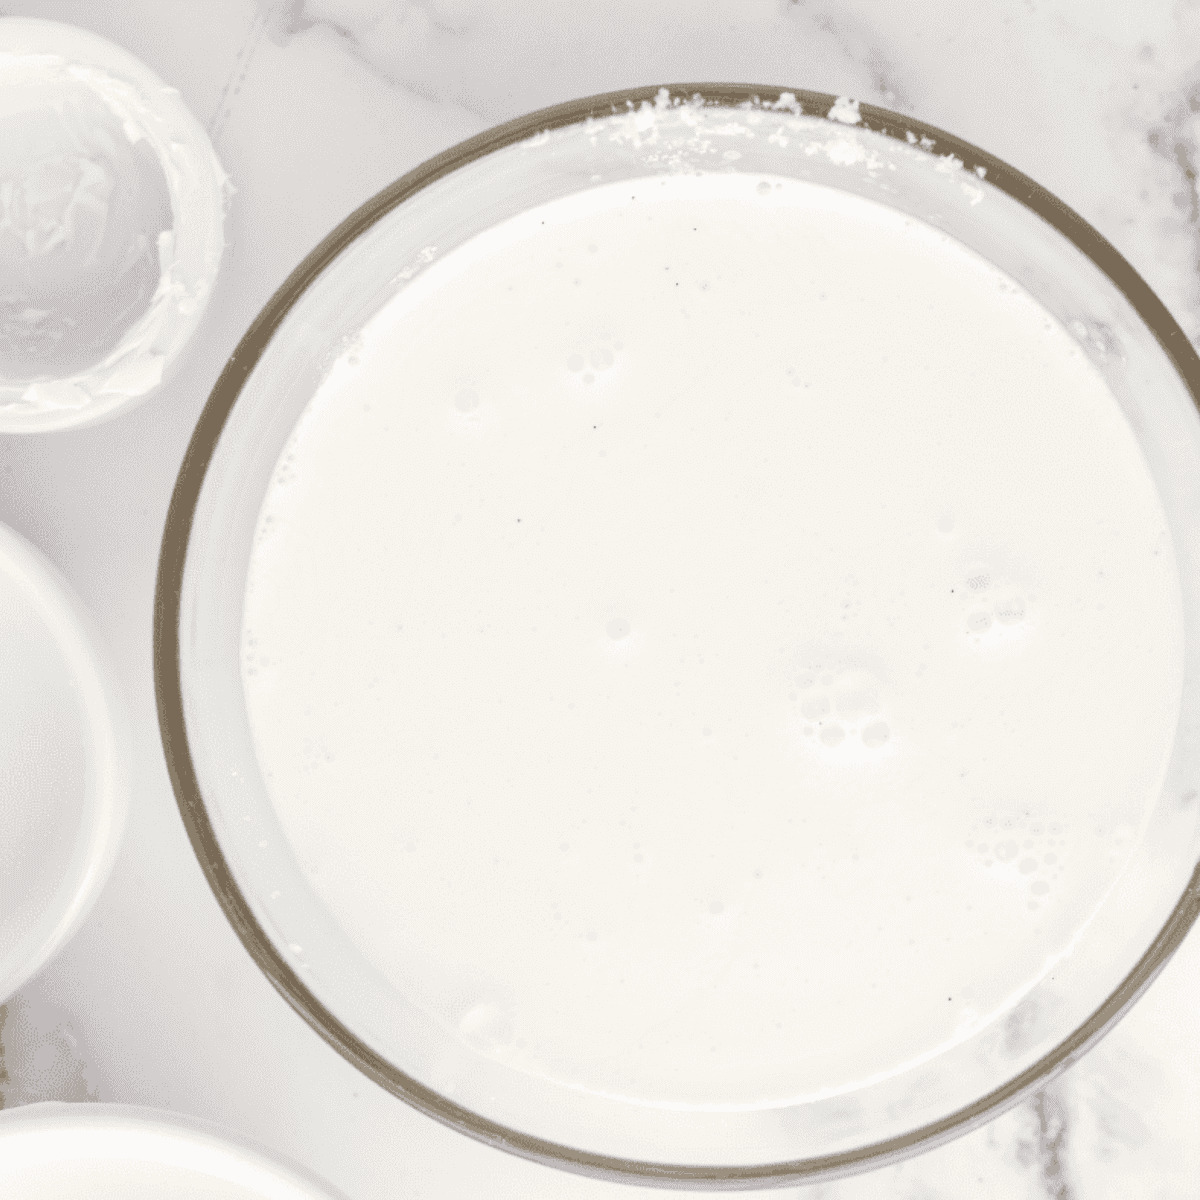
Step One: Add the cream cheese, sugar, and vanilla bean paste in a large mixing bowl. Mix together until the granulated sugar is dissolved. Fold in the heavy whipping cream and milk, and mix well until all ingredients are combined.
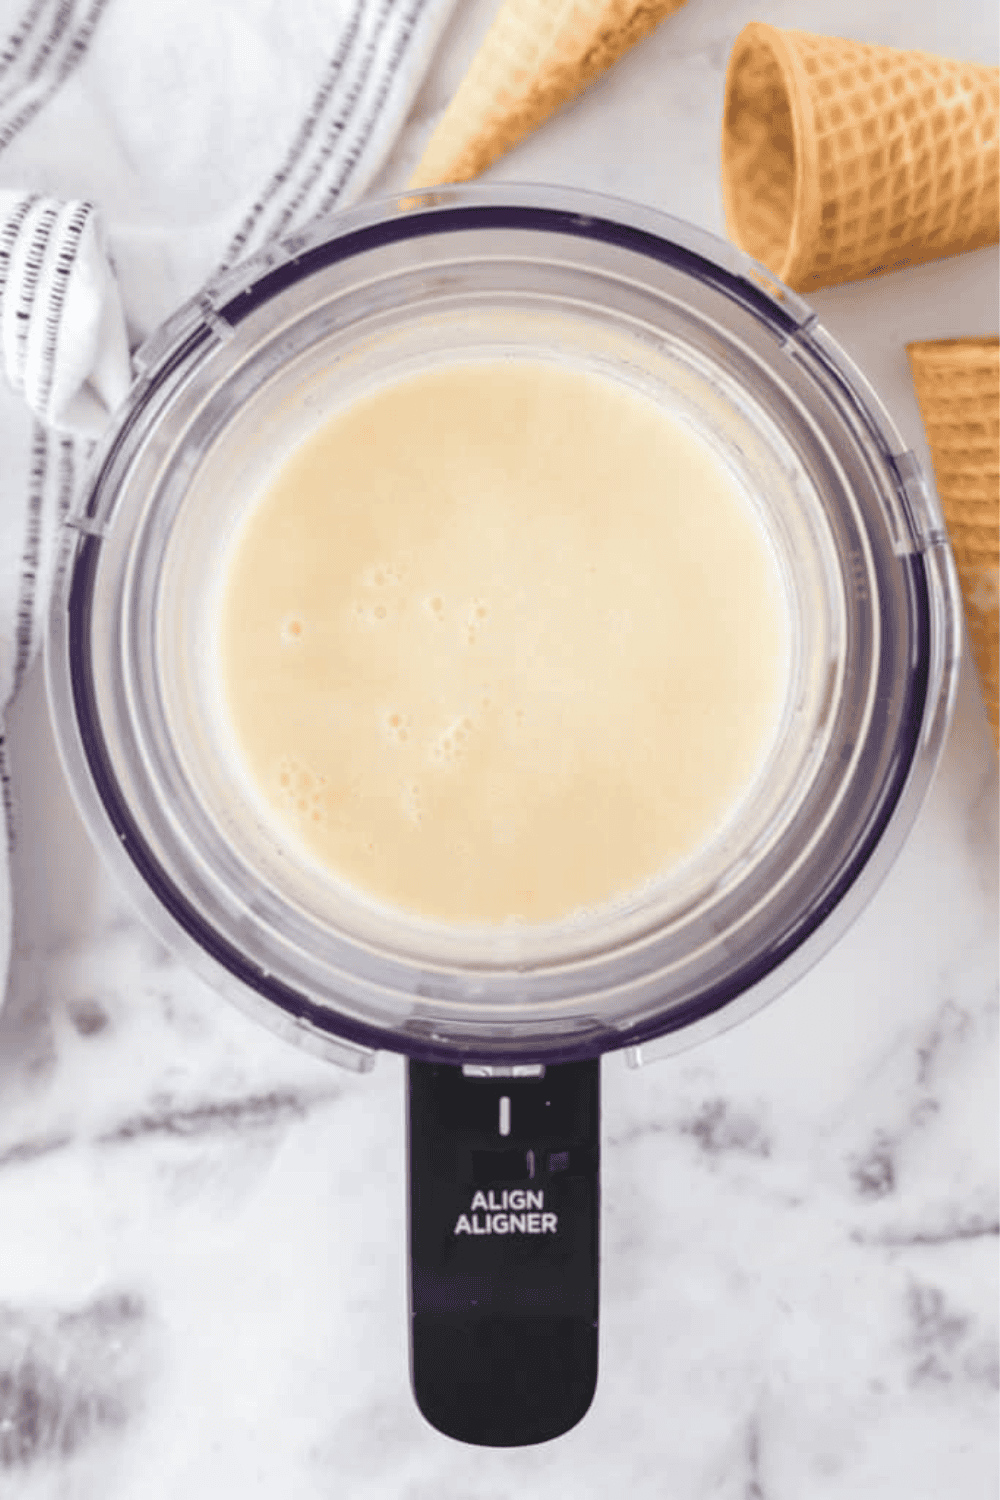
Step Two: Pour the Ice Cream Mixture into the Ninja Foodi Creami Pint Container and place it into the freezer for at least 24 hours.
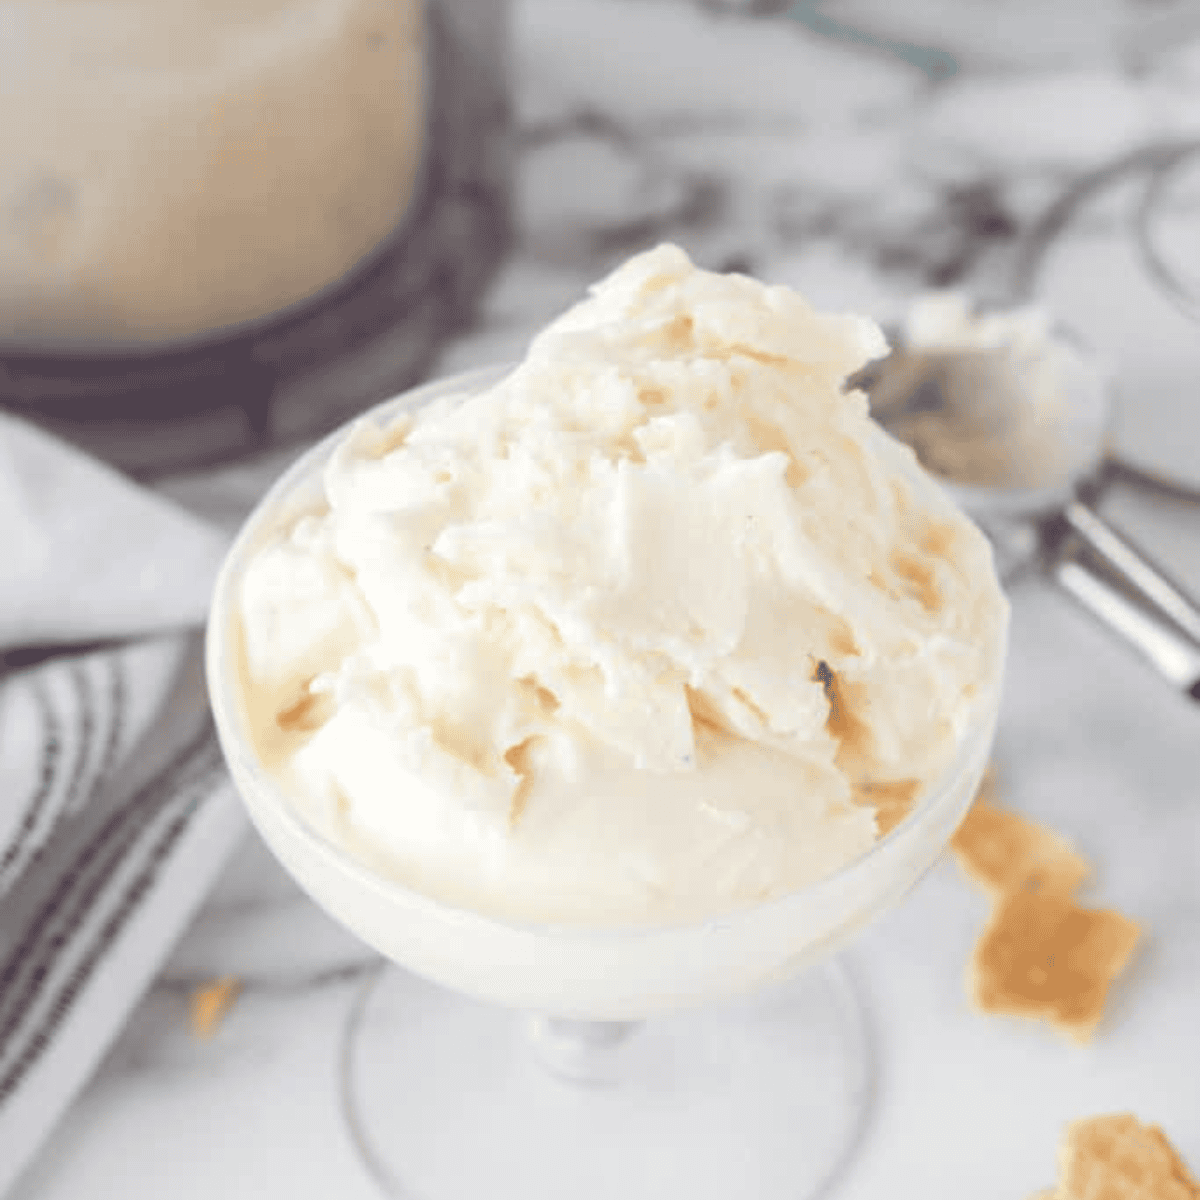
Step Three: Remove the ice cream mixture from the freezer, and place it into the Ninja Creami. Lock the container into place, and press the Ice Cream Button. When the process has ended, remove it from the machine. Mix well before serving.
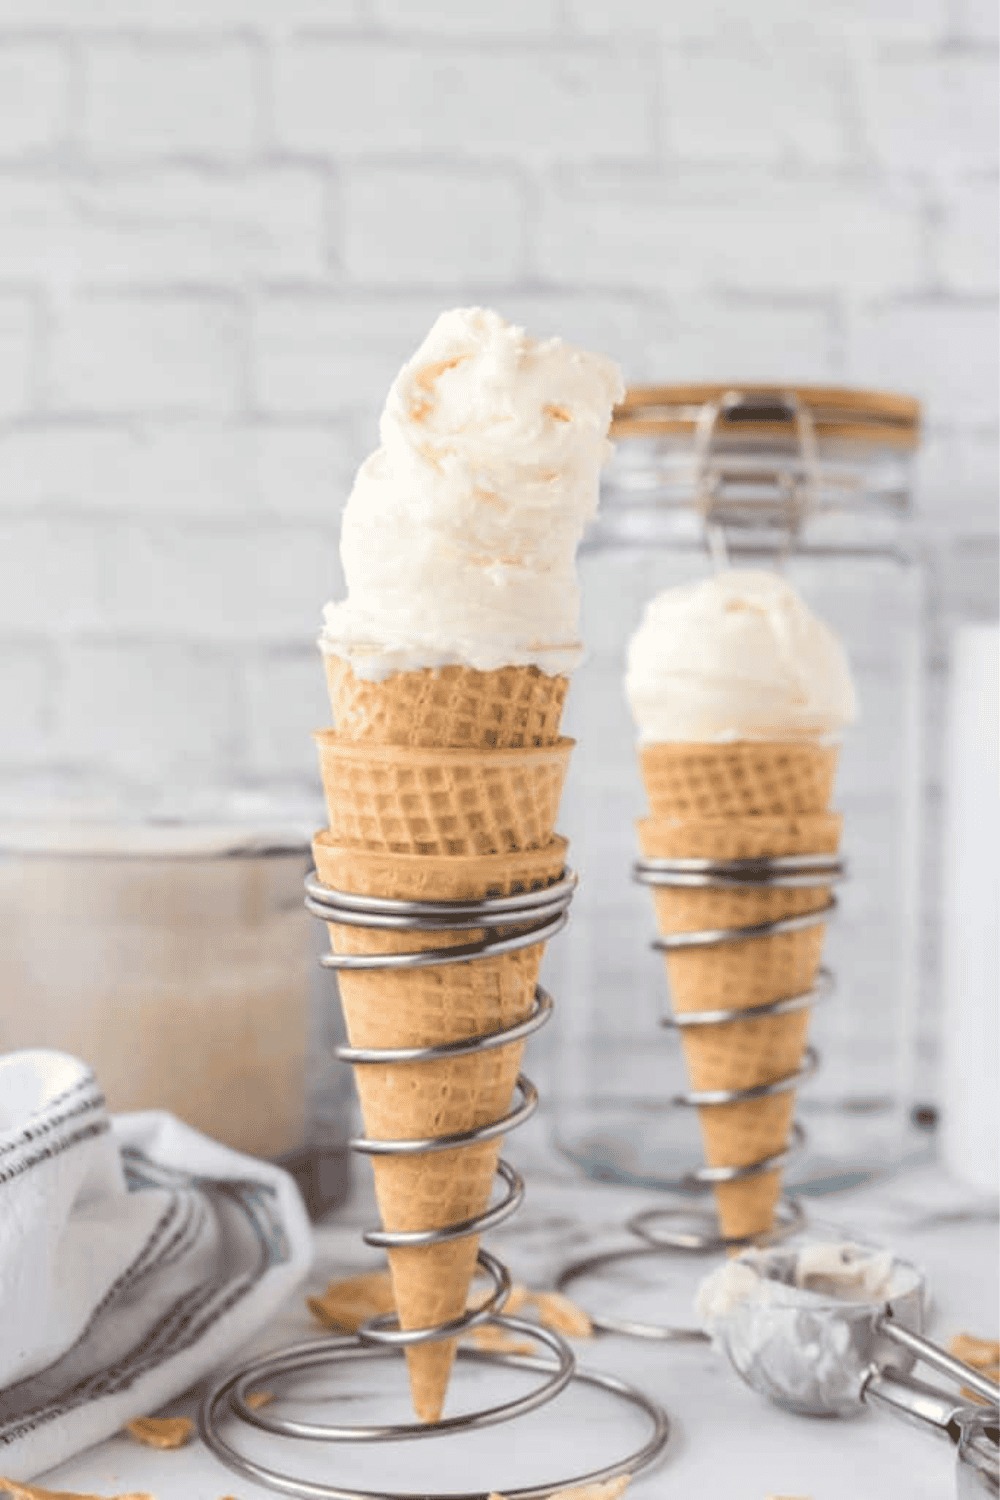
Step Four: Serve with your favorite toppings!
Ninja Creami Vanilla Bean Ice Cream Recipe Tips
- Room Temperature: For best results, use room temperature cream cheese, allowing it to be easily mixed. You can either leave the cream cheese out for about an hour before making this recipe or microwave it for a couple of seconds in the microwave.
- Vanilla Bean Paste: Use a good quality bean paste; you can usually find one in your baking aisle at your local grocery store or order some on Amazon. I love Heilala Pure Vanilla Bean Paste, but McCormick Vanilla Bean Paste is good too!
- Dairy Free: I you want to make this dairy-free, you can substitute the milk for oat milk or coconut cream.
- Re-Spin: If you find that your ice cream mixture did not come together, after spinning, re-spin it again so it’s well combined.
Storing Instructions
Keep your Ninja Creami Vanilla Bean Ice Cream in the freezer in an air tight container to keep it fresh and creamy. For optimal texture, let it sit at room temperature for a few minutes before scooping and serving.
Ninja Creami Vanilla Bean Ice Cream Recipe Faqs
How do I store the ice cream? Keep in an airtight container in the freezer. For the best texture, let it sit at room temperature a minute or two before scooping.
Can I add mix-ins, like chocolate chips or fruit? Yes! Once your ice cream base is ready, the Ninja Creami lets you mix in whatever flavor that you’d like.
How long does it take to process the ice cream? About 3-5 minutes.
Can I substitute anything for the dairy? Absolutely. Switching your dairy milk and cream out for coconut or almond milk will gives a creamy alternative that is also free of dairy.
Don’t Forget To Follow Us Along on Social Media; Instagram, Facebook, and TikTok, and Join Our Facebook Page and group for all your Air Fryer Recipes and Tips!
Ninja Creami Vanilla Bean Ice Cream
Description
Ingredients
- 1 tablespoon cream cheese, room tempeature
- 1 teaspoon pure vanilla extract, or vanilla bean paste
- 1/2 cup granulated sugar, adjust to taste
- 3/4 cup heavy whipping cream, for a creamier ice cream add 2 additional teaspoons
- 1 cup whole milk
Instructions
- Add the cream cheese, sugar, and vanilla bean paste in a large mixing bowl. Mix together until the granulated sugar is dissolved.
- Fold in the heavy whipping cream and milk, and mix well until all ingredients are combined.
- Pour the Ice Cream Mixture into the Ninja Foodi Creami Pint Container and place it into the freezer for at least 24 hours.
- Remove the ice cream mixture from the freezer, and place it into the Ninja Creami. Lock the container into place, and press the Ice Cream Button. When the process has ended, remove it from the machine. Mix well before serving.
- Serve with your favorite toppings!
Equipment
- Ninja Creami Ice Cream Maker
- Pint Bowl Ninja Creami
- Ninja Creami Pint Container Lid
Nutrition
Share this recipe
We can’t wait to see what you’ve made! Mention @forktospoon or tag #forktospoon!
