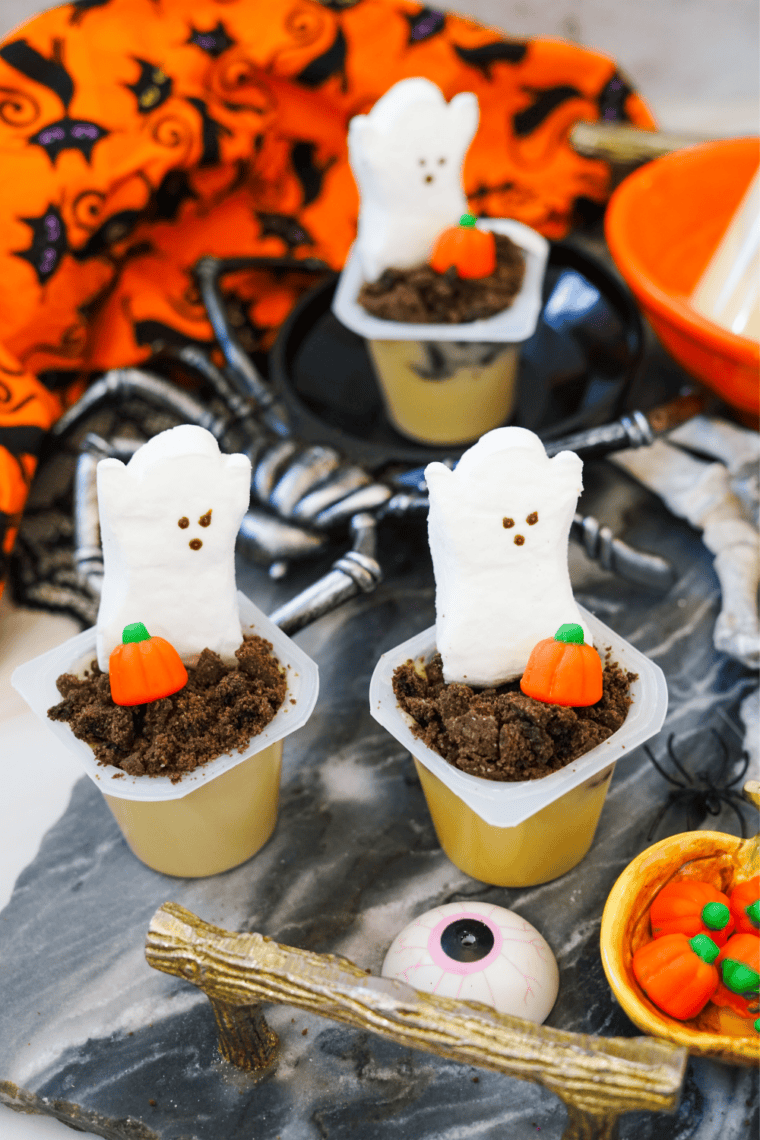
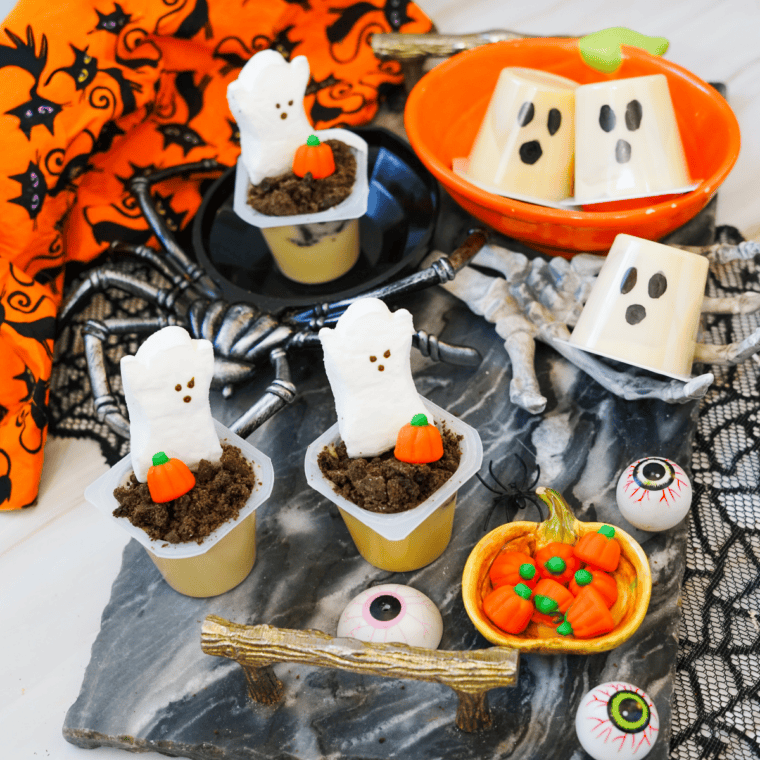
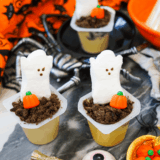
An adorable, no-bake Halloween treat that kids can help make. These Halloween pudding cups turn store-bought pudding into spooky “dirt cups” topped with candy pumpkins, ghost Peeps, and crushed chocolate cookies. They’re ready in about 10 minutes, require zero baking, and are perfect for class parties, potlucks, or a fun weeknight dessert in October.

Why You’ll Love These Halloween Pudding Cups
- No baking required — no oven, no mess, no stress.
- Kid-friendly — little ones can crumble cookies, decorate, and draw ghost faces.
- Ready in 10 minutes — a lifesaver when you need a last-minute Halloween dessert.
- Customizable — swap candies, pudding flavors, and toppings to match your party.
- Perfect for crowds — individually portioned, so they’re great for class parties and potlucks.
Ingredients
Here’s everything you need to make spooky pudding cups. (Exact amounts depend on how many cups you’re serving — one of each topping per cup is a good rule of thumb.)
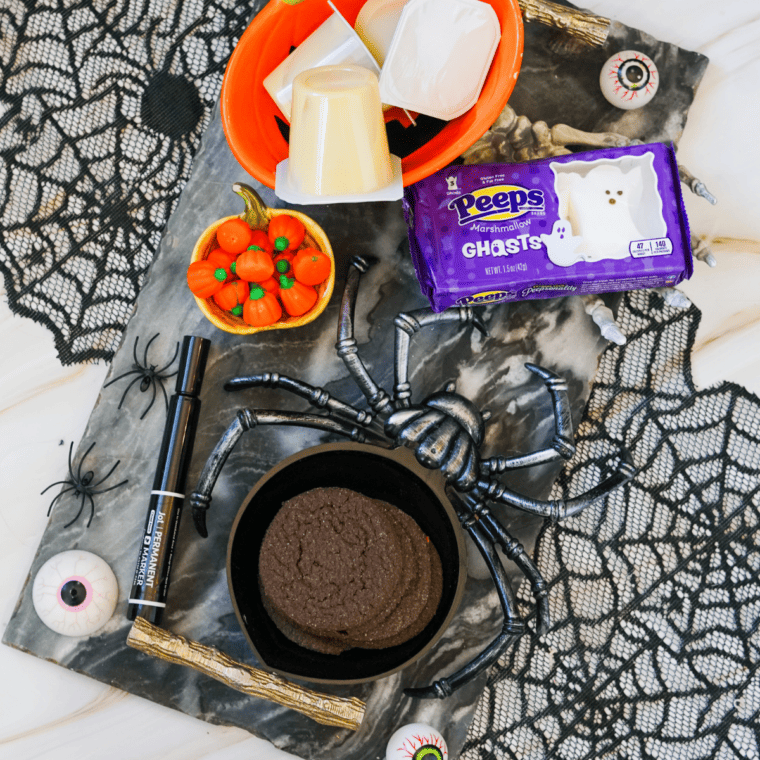
- Pudding cups — store-bought chocolate or vanilla pudding cups (the snack-size kind). Chocolate gives that classic “dirt” look.
- Chocolate cookies — chocolate sandwich cookies or chocolate wafers, crushed into crumbs for the dirt topping.
- Pumpkin candies — candy pumpkins (the mellowcreme kind) for a pop of orange.
- Ghost Peeps — marshmallow ghost Peeps to perch on top.
- Black marker — a food-safe edible marker for drawing ghost faces.
Ingredient tip: Use a food-safe edible marker, not a regular art marker, anywhere it might touch the candy or the rim of the cup.
Equipment
- A zip-top bag or food processor (for crushing cookies)
- A rolling pin or your hands (if crushing by hand)
- A small spoon
How to Make Halloween Pudding Cups
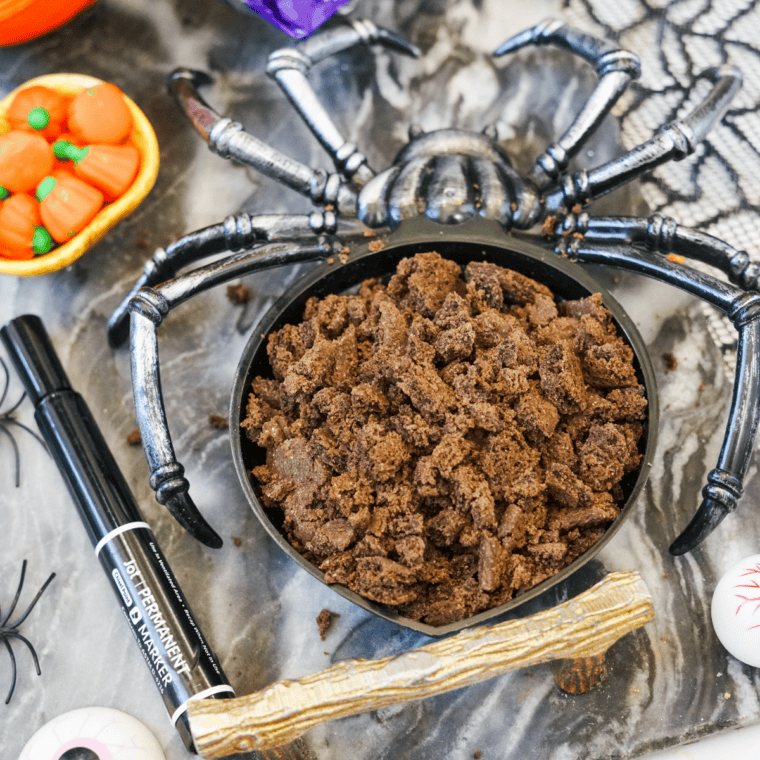
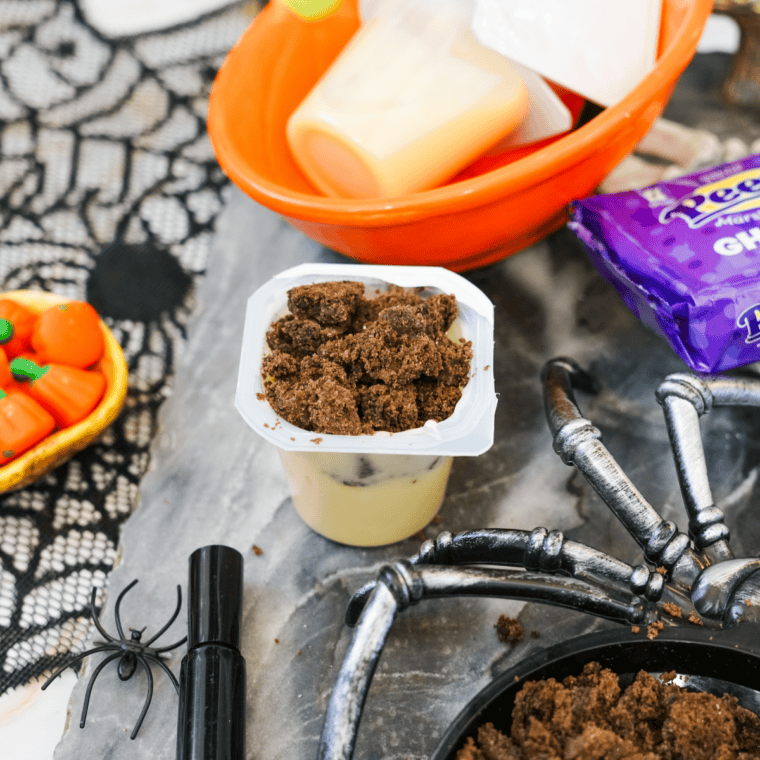
Step 1: Place the chocolate cookies in a zip-top bag and crush them with a rolling pin (or pulse in a food processor) until you have fine, dirt-like crumbs. Sprinkle the crumbs on top of half of the pudding cups.
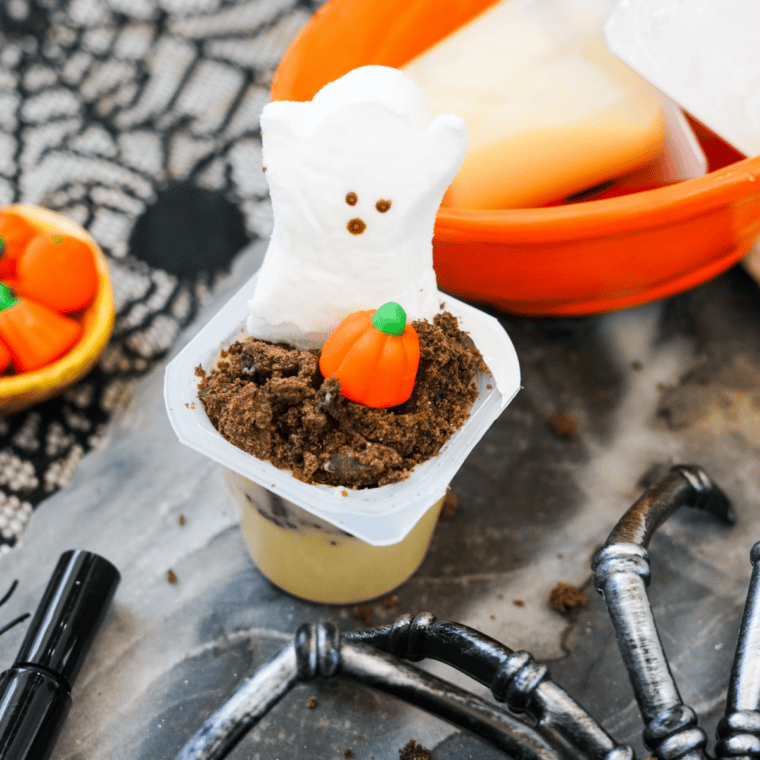
Step 2: Place one candy pumpkin and one ghost Peep on top of each cookie-topped cup. These are your “graveyard” cups.
Step 3: On the remaining pudding cups (the ones without cookie crumbs), use the food-safe black marker to draw little ghost faces — two dots for eyes and an open oval for a spooky “boo!” mouth. That’s it! Serve right away or chill until your party starts.
Tips for the Best Halloween Pudding Cups
- Crush cookies finely for the most realistic “dirt” texture — but leave a few bigger chunks for variety if you like.
- Decorate just before serving so the marshmallow Peeps stay soft and the cookie crumbs stay crunchy.
- Let kids lead. Drawing ghost faces and placing candy is the perfect job for little hands.
- Make it a bar. Set out toppings and let guests build their own cups.
Fun Variations
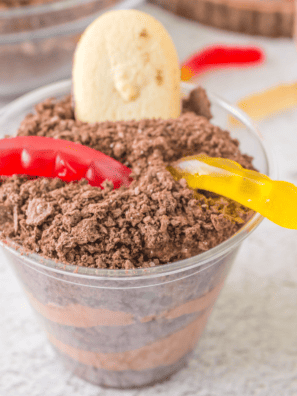
- Worm graveyard: Add gummy worms crawling out of the cookie “dirt.”
- Tombstone cups: Press a small rectangular cookie upright into the crumbs and draw “RIP” on it.
- Monster cups: Swap ghost Peeps for candy eyeballs and green-tinted whipped topping.
- Pumpkin patch: Skip the ghosts and pile on extra candy pumpkins.
- Spider cups: Top with a chocolate-covered candy and pretzel-stick legs.
Storage & Make-Ahead
- Refrigerate: Store undecorated pudding cups in the fridge. Add crumbs, candy, and ghost faces shortly before serving.
- Best fresh: These are best enjoyed the day they’re decorated, since the cookie crumbs soften over time.
- Make-ahead: You can crush the cookies a day or two in advance and keep them in a sealed bag at room temperature.
Frequently Asked Questions
Can I make these dairy-free or vegan? Yes — use dairy-free pudding cups and check that your cookies and candies are vegan-friendly. Most candy pumpkins contain gelatin, so look for a vegan alternative if needed.
What kind of marker should I use to draw the ghost faces? Always use a food-safe edible marker. Regular markers are not safe to use on food or anywhere they might transfer to what you’re eating.
Can I use homemade pudding instead of store-bought cups? Absolutely. Spoon homemade chocolate or vanilla pudding into small clear cups, then decorate the same way. Clear cups show off the layers nicely.
How far in advance can I make these? Decorate within a few hours of serving for the best texture. The pudding cups themselves can be refrigerated ahead of time.
Are these good for a class party? Yes! They’re individually portioned, no-bake, and easy for kids to help assemble — ideal for school Halloween parties.

More Easy Halloween Treats You’ll Love
Pumpkin Shaped Cheese Ball for Halloween or Thanksgiving
Easy Ninja Creami Pumpkin Cheesecake Ice Cream
Pumpkin Deviled Eggs – A Festive Twist for Halloween or Thanksgiving!
Copycat Cheesecake Factory Pumpkin Cheesecake Recipe
Sourdough Pumpkin Cinnamon Rolls Recipe
Share Your Creations! Are you active on Facebook? Join our Air Fryer Recipes Group, where hundreds of thousands of Air Fryer enthusiasts gather and share your photos! I’m always thrilled to see what you’ve made. For those on Instagram, don’t forget to tag me @forktospoon – I can’t wait to admire your culinary adventures!
Halloween Pudding Cups
Description
Ingredients
- 10 Pudding cups
- 1 cup Chocolate cookies
- 1/2 cup Candy pumpkins
- 10 Ghost Peeps
Instructions
- Crush the chocolate cookies into fine crumbs and sprinkle over half of the pudding cups.
- Top each crumb-covered cup with a candy pumpkin and a ghost Peep.
- Use the food-safe black marker to draw ghost faces on the remaining pudding cups.
Equipment
- Mixing Bowl
- Food-safe black marker
Notes
Nutrition
Share this recipe
We can’t wait to see what you’ve made! Mention @forktospoon or tag #forktospoon!