If you’re looking for a quick and easy weeknight meal, baking chicken breast at 400 degrees Fahrenheit is a great option. But how long should you bake it to ensure that it’s cooked through? This blog post will answer that question and give you some tips on how to make the perfect baked chicken breast every time. So read on to find out more!
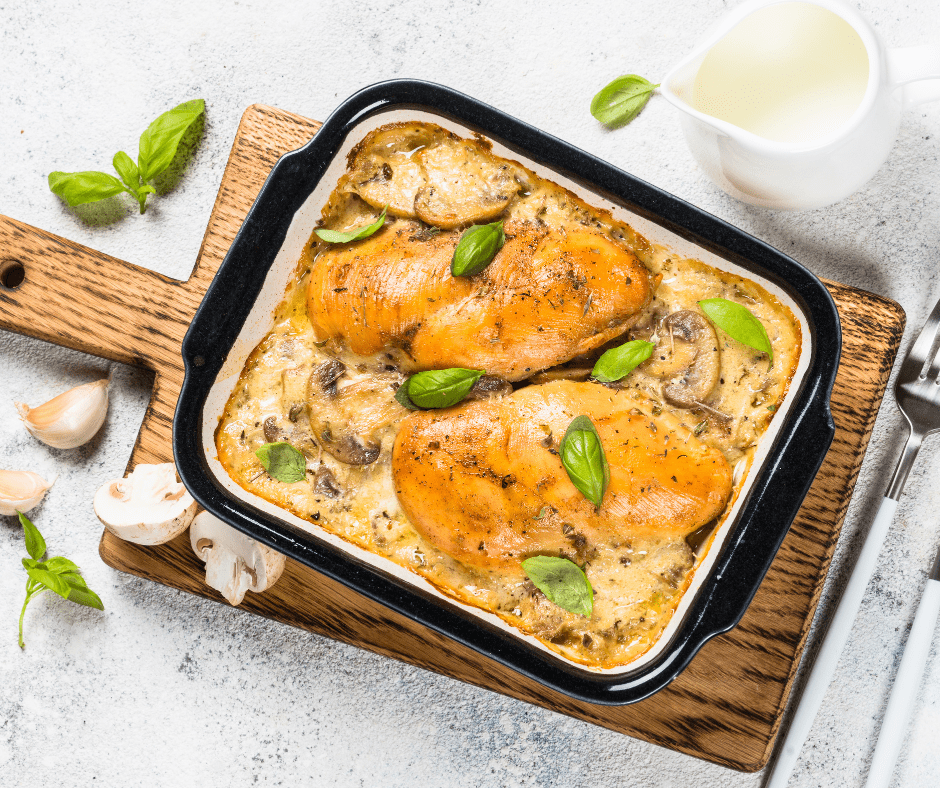
Why cook chicken breast at 400°F?
Cooking chicken breast at 400°F is a game-changer when it comes to achieving juicy and tender results. The high temperature helps to seal in the moisture and flavor, giving you a succulent piece of chicken that will leave you craving for more. Unlike lower temperatures, which can result in dry and overcooked chicken, cooking at 400°F ensures that the chicken breast cooks quickly and evenly, while still retaining its juiciness.
The science behind cooking chicken breast at 400°F
To understand why cooking chicken breast at 400°F yields such fantastic results, it’s essential to delve into the science behind it. When chicken breast is exposed to high heat, the proteins denature, causing them to unfold and bond together. This process helps to lock in the moisture, preventing it from escaping during the cooking process. Additionally, the high heat promotes the Maillard reaction, which is responsible for creating the delicious golden-brown crust on the chicken breast. This reaction enhances the flavor and adds depth to the overall dish.
Tips for preparing chicken breast before cooking
Before you start cooking your chicken breast at 400°F, it’s crucial to prepare it properly to ensure the best results. Begin by selecting high-quality chicken breasts that are fresh and free from any odors. It’s recommended to use boneless, skinless chicken breasts for this cooking method, as they cook more evenly and quickly. To enhance the tenderness and juiciness of the chicken breast, consider brining it for a few hours before cooking. Brining involves soaking the chicken in a saltwater solution, which helps to break down the proteins and infuse it with flavor. Once brined, rinse the chicken breasts thoroughly and pat them dry before proceeding with seasoning.
Seasoning options for flavorful chicken breast
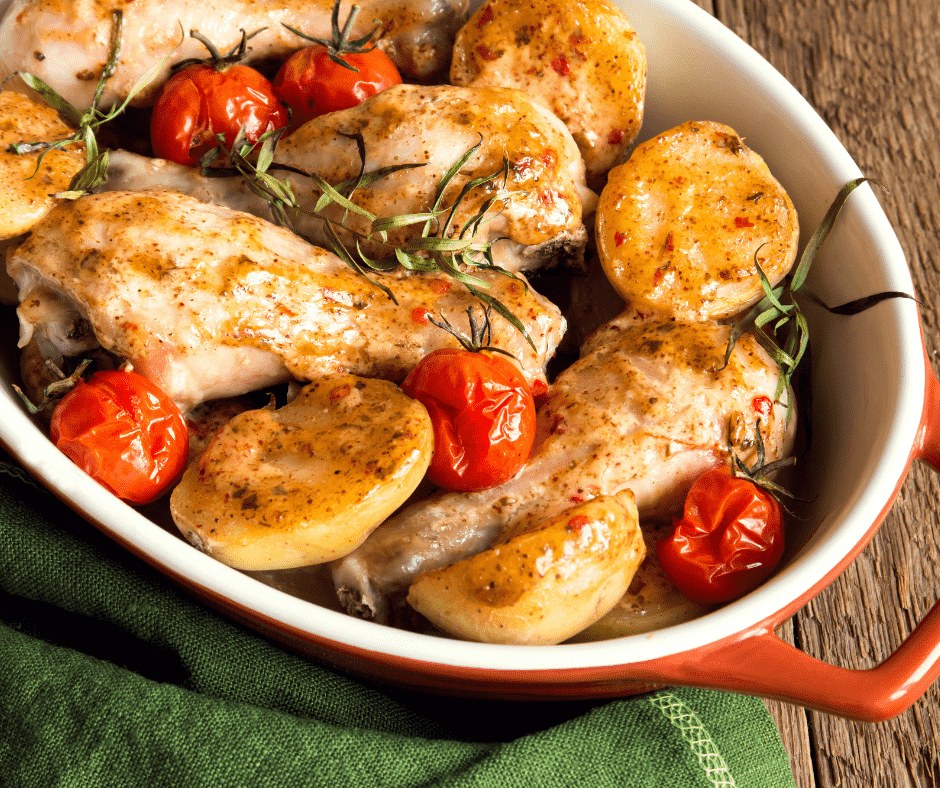
Seasoning is key to transforming ordinary chicken breast into a flavorful and mouthwatering dish. There are numerous options when it comes to seasoning your chicken breast cooked at 400°F. One popular choice is a simple blend of salt, pepper, and garlic powder, which adds a classic and savory flavor. If you’re feeling adventurous, you can experiment with different herbs and spices, such as rosemary, thyme, paprika, or cumin. Consider incorporating a bit of sweetness, like honey or brown sugar, for a delightful contrast. Whatever seasonings you choose, make sure to coat the chicken breasts evenly, allowing the flavors to penetrate the meat.
Cooking techniques for moist and tender chicken breast
Now that your chicken breasts are prepped and seasoned, it’s time to dive into the cooking techniques that will ensure moist and tender results. Preheat your oven to 400°F and place the seasoned chicken breasts on a baking sheet lined with parchment paper or a silicone baking mat. For additional flavor and moisture, you can drizzle a bit of olive oil over the chicken breasts. To prevent the chicken from drying out, you can cover it loosely with foil during the first part of the cooking process. This will help to trap the steam and create a moist environment. Once the chicken is in the oven, resist the urge to open the door frequently, as this can cause heat loss and affect the cooking time.
Recommended cooking times for different thicknesses of chicken breast
The cooking time for chicken breast at 400°F will depend on the thickness of the meat. As a general guideline, for chicken breasts that are approximately 1 inch thick, you can expect a cooking time of around 18-20 minutes. However, it’s essential to use a meat thermometer to ensure the chicken is cooked to perfection. Insert the thermometer into the thickest part of the chicken breast, avoiding contact with the bone. The internal temperature should reach 165°F to ensure that the chicken is safe to eat. Keep in mind that cooking times may vary slightly, so it’s best to rely on the thermometer for accuracy.
How to check the doneness of chicken breast cooked at 400°F
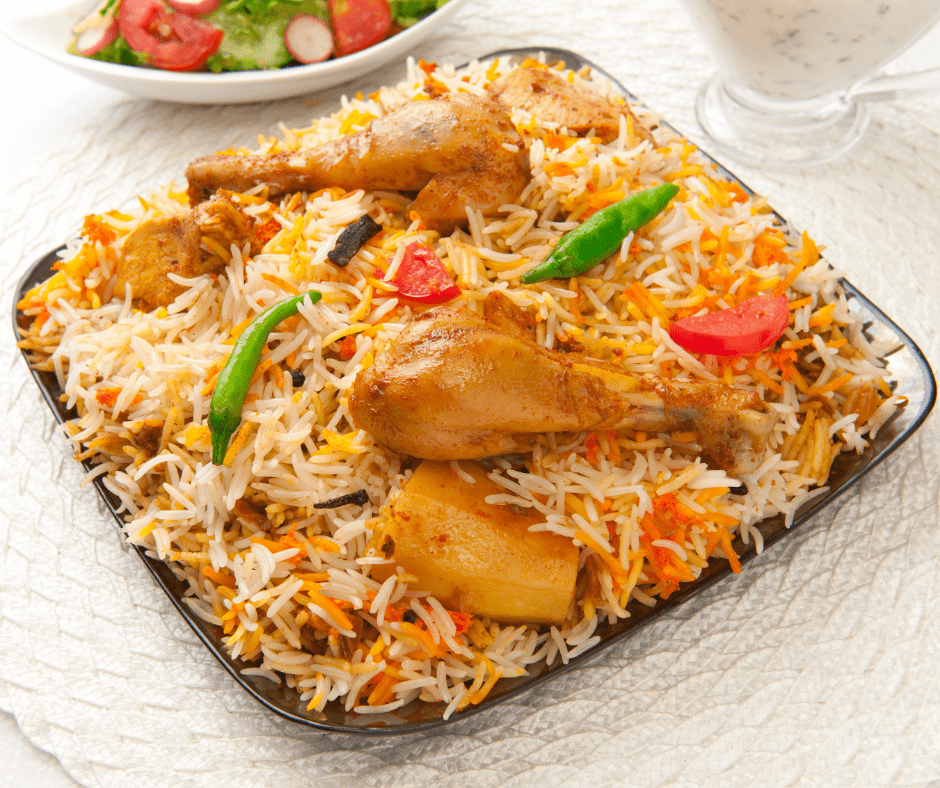
Checking the doneness of your chicken breast is crucial to avoid undercooking or overcooking. In addition to using a meat thermometer, there are a few visual and tactile cues that can help you determine if the chicken is cooked perfectly. The chicken breast should have a golden-brown crust on the outside, indicating that the Maillard reaction has occurred. When you press the chicken breast gently with your finger, it should feel firm yet springy. If it feels too soft or squishy, it may need more time in the oven. Remember to let the chicken rest for a few minutes after removing it from the oven, as this allows the juices to redistribute and ensures a moist and flavorful result.
Resting and serving chicken breast for optimal results
Resting the chicken breast after cooking is a crucial step that many home cooks overlook. Allow the chicken to rest for about 5 minutes before slicing or serving. This resting period allows the juices to redistribute throughout the meat, resulting in a more tender and flavorful chicken breast. If you cut into the chicken immediately after cooking, the juices will escape, leaving you with a drier and less enjoyable eating experience. Once the chicken has rested, you can slice it into thin strips or serve it whole, depending on your preference. Pair it with your favorite sides, such as roasted vegetables, mashed potatoes, or a fresh salad, for a complete and satisfying meal.
Delicious recipes to try using chicken breast cooked at 400°F
Now that you’ve mastered the art of cooking chicken breast at 400°F, it’s time to put your skills to the test with some delicious recipes. Here are a few ideas to inspire your culinary creativity:
- Lemon Herb Chicken Breast: Marinate the chicken breasts in a mixture of lemon juice, olive oil, minced garlic, and a blend of fresh herbs. Grill or bake the chicken at 400°F for a burst of refreshing citrus flavors.
- Spicy Honey Mustard Chicken Breast: Combine honey, Dijon mustard, Sriracha sauce, and a pinch of cayenne pepper to create a sweet and tangy glaze. Brush the glaze onto the chicken breasts and bake at 400°F until caramelized and golden.
- Caprese Stuffed Chicken Breast: Cut a slit in the side of each chicken breast and stuff it with slices of fresh mozzarella, cherry tomatoes, and basil leaves. Secure with toothpicks and bake at 400°F until the cheese is melted and bubbly.
How To Know Chicken Breast Is Cooked
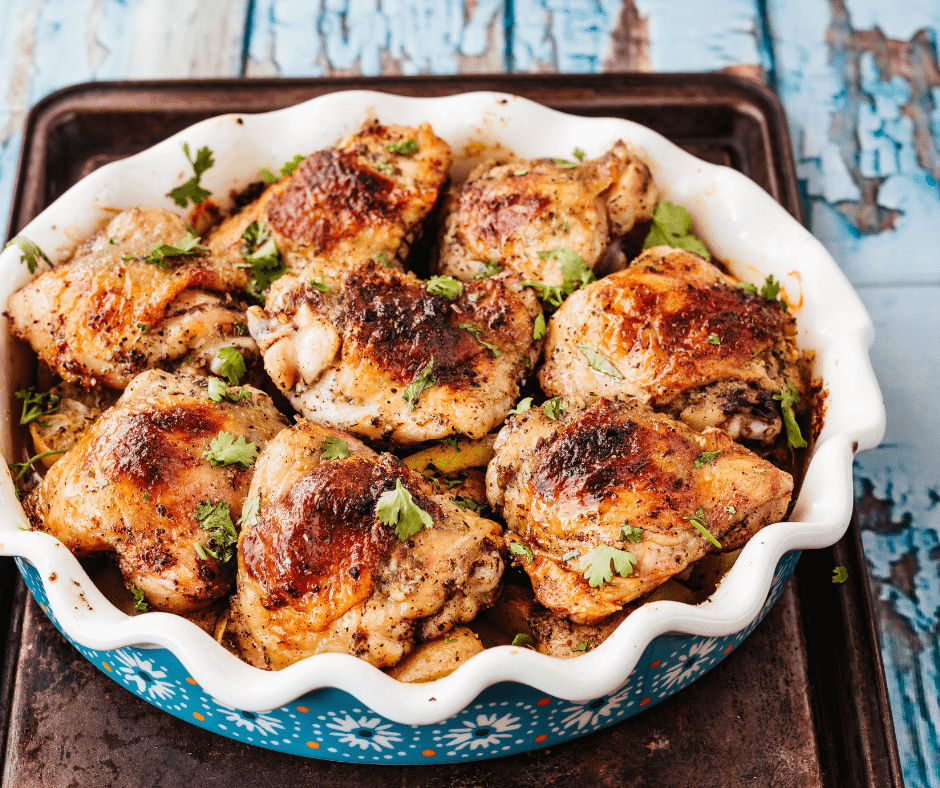
Summer is in full swing, and that means grilling out! A classic summer meal is chicken breast. Here are a few ways to know when your chicken breast is cooked evenly.
- Pierce the thickest part of the chicken with a fork and look at the juices. Clear or pale yellowish liquid means it’s not done yet. When the juice runs clear, it’s cooked through.
- Check using a thermometer probe; insert it into the center of the chicken and if it reads 165 degrees Fahrenheit or higher, it’s ready to go!
How To Know Chicken Breast Is Cooked Without A Thermometer
If you’re like most cooks, you probably don’t have a thermometer on hand every time you’re cooking chicken breast. And as we all know, it’s hard to tell if the chicken is cooked without a thermometer. Luckily, there are a few ways to tell if your chicken is cooked without one.
Remove the chicken when you cut through the chicken, and the juices run clear!
Baked Chicken Breast Nutrition Facts
Chicken breasts are always a good option whether to eat healthily or just looking for a quick and easy weeknight meal. But before you head to the grocery store, you may want to look more closely at the nutritional information. Some baked chicken breast recipes can be high in fat and calories, while others are much healthier. So which is the best option? Read on to find out.
According to Healthline, Chicken Breast:
- Calories: 284
- Protein: 53.4 grams
- Carbs: 0 grams
- Fat: 6.2 grams
Conclusion and final thoughts
Cooking chicken breast at 400°F is a foolproof method for achieving juicy and tender results that will impress even the most discerning palates. By following the tips and techniques outlined in this guide, you’ll be able to elevate your chicken cooking game to new heights. Remember to experiment with different seasonings and recipes to keep things exciting in the kitchen. With a little practice and a lot of flavor, you’ll soon become a master at cooking chicken breast at 400°F. So grab your apron, preheat your oven, and get ready to create mouthwatering dishes that will have everyone coming back for seconds.
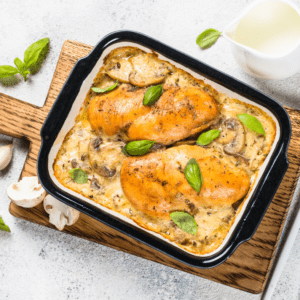
How Long To Bake Chicken Breast at 400 F
Description
Ingredients
- 4 pieces boneless, skinless chicken breast
- 1 teaspoon salt
- 1 teaspoon black pepper
- 1 teaspoon garlic powder
- 1/4 cup BBQ Sauce, or olive oil
Instructions
- Take your chicken out about 20 to 30 minutes before you want to cook it. protein cooks more evenly when the start at room temperature.
- Preheat your oven to 400 degrees F.
- Place your chicken onto a baking sheet.
- Spread either BBQ sauce on top, or use olive oil to coat your chicken breast
- Season your chicken breast, with salt, black pepper, and garlic powder.
- Bake the chicken for about 15 to 20 minutes, then check the internal temperature of the chicken, once it reaches 165 degrees, you can safely remove the chicken from the oven.
- Let your chicken rest for 5 minutes, this way the juices can run into the center, creating a juicy and tender piece of chicken!
Equipment
- Stove
- Baking Pan
Nutrition
Share this recipe
We can’t wait to see what you’ve made! Mention @forktospoon or tag #forktospoon!


Scott Davis
Thanks for the clear instructions! I often struggle with cooking chicken breast perfectly, but your tips on baking it at 400°F are super helpful. Can’t wait to try it out tonight!
sprunki
I tried the baking time suggested in your post, and my chicken breasts turned out perfectly juicy and tender! Thanks for the clear instructions and helpful tips. Can’t wait to experiment with different seasonings next time!
HDSTREAMZ APP
Great tips! I tried your timing suggestions for baking chicken breast at 400°F, and it turned out perfectly juicy. Can’t wait to explore more recipes on Fork To Spoon!
Y2MP3
Great tips! I tried baking my chicken breasts at 400 F for 20 minutes, and they came out perfectly juicy and flavorful. Thanks for the easy-to-follow guidelines!