Do you have an air fryer? If not, are you thinking about getting one? Air fryers are all the rage right now because they are a great way to cook food without oil. But, if you’re new to air frying, you might be wondering how to season your device correctly. Don’t worry; we’re here to help! In this blog post, we’ll teach you how to properly season your air fryer and give you some tips for getting the most out of it. Keep reading for more information!
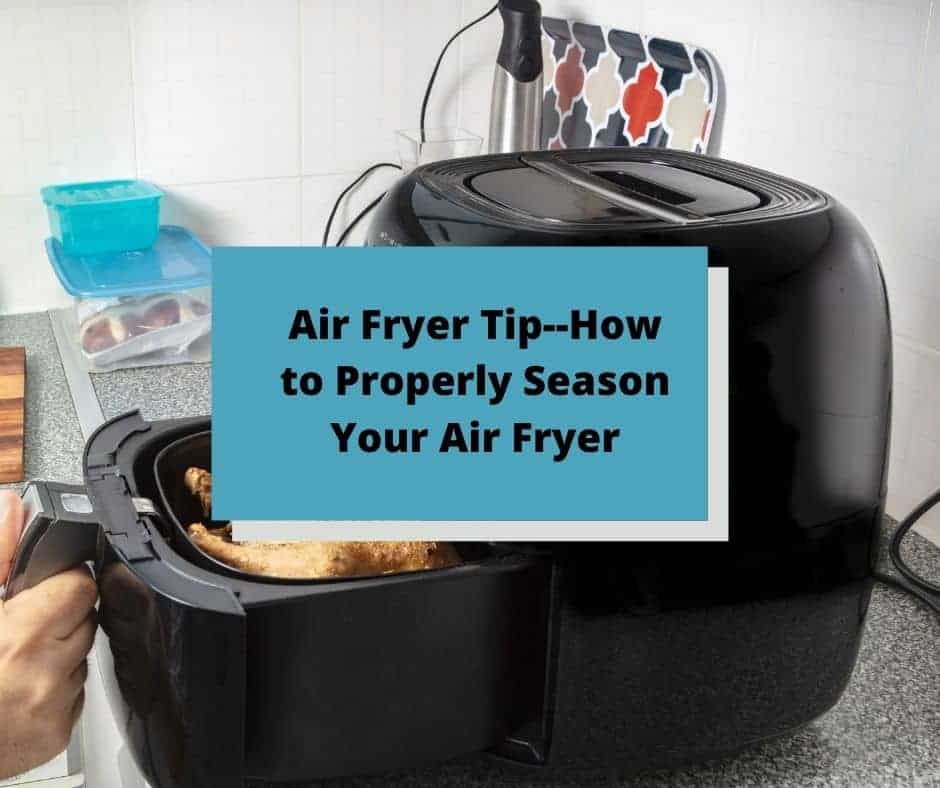
Air Fryer Tip–How to Properly Season Your Air Fryer—How would you like your food to come out better, not stick, and your basket is so easy to clean? Have you heard of seasoning your air fryer basket before you use it? Probably not. It’s one of the best-kept secrets of air frying Today; I will teach you how to Season Your Air Fryer.
Do you know anything about cast iron pans? If you do, you know that you need to season them. Same with the air fryer basket.
WARNING: Before you do anything, please check your owner’s manual about this. Since everyone’s air fryer is different slightly, you need to make sure this process will not damage your air fryer.
This is one of the most common questions often asked in my Air Fryer Group
Why Season Your Air Fryer?
Depending on what air fyrer you need, you will probably need to season your air fryer. Most air fryers are coated with a non-stick cooking.
A non-stick cooking will help prevent your food from sticking to the air fryer, basetk. So, even if you ahve been using yoru air fryer for years, it’s never to late to season your air fryer, and it’s relatiely simple to do so.
How to Properly Season Your Air Fryer
You actually need very little to accomplish this task–
ForkToSpoon.com may earn a small commission via affiliate links in this post. Please read our full disclosure policy here
 Preparing Your Air Fryer For The First Use–
Remove all packing material from the air fryer, check the top, and make sure that no packing (plastic) pieces are lodged in there. Sometimes people do not remove everything, resulting in a melting plastic smell. Even leaving a small plastic piece will cause a burning smell that will smell like burning plastic.
Wash your basket. Always wash the basket, just with a soft sponge and some water and soap. Please do not use any harsh abrasive sponges or Brillo as they will remove the finish of your air fryer.
After you wash the air fryer basket and liner, please put it in at 400 degrees F, air fryer setting, for it to dry.
Using coconut oil and a soft sponge, rub the coconut oil around the basket, coating both the bottom and the sides.
Return the baskets to the air fryer.
Air fry for another 4 minutes at 400 degrees F.
Let cool before using.
Common Questions:
How Often Do You Do This?
I recommend that you do this every 2 months.
I Already Used My Basket And Did Not Season It. Is It Too Late?
No, it’s not too late; just do it before the next use. It will keep your basket from peeling and corroding. The baked grease will come out.
Can You Use Aluminum Foil On The Basket?
Yes, but you can not restrict the airflow. Otherwise, the air fryer will not function well.
Can You Use Parchment Paper In the Air Fryer?
Yes, it’s a great way to keep your basket clean, and it is great for easy cleanup!
Do I Have To Use Coconut Oil?
NO, you can use any other high heat oil, some of my favorites at grapeseed oil and avocado oil.
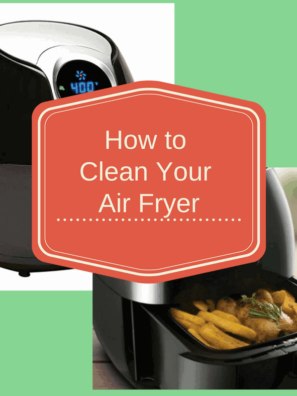
What Are The Easiest Ways To Clean An Air Fryer Basket?
I find that Dawn Powerwash works amazingly.
Some Helpful Products Used in My Air Fryer Adventures-
ForkToSpoon.com may earn a small commission via affiliate links in this post. Please read our full disclosure policy here.

![]()
EVOO Oil Sprayer, this is something that you shouldn’t even start air frying until you purchase one. You will always need to “glaze” your food with a touch of olive oil, and you can’t use the PAM sprays in your air fryer, read about that here.

![]()
An air fryer accessory kit, everyone needs at least one. You will say, no, I have the same size pans already, but pretty soon, you will want the set because it’s awesome to have the perfect plan when you go to make something.
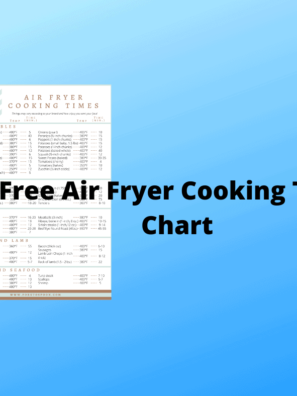
 Some Helpful Charts & Information For Your Air Fryer Journey—
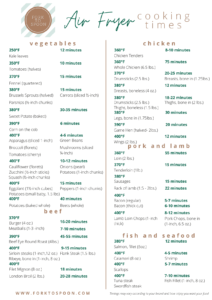
UPDATED AIR FRYER COOKING CHART

FROZEN FOODS, AIR FRYER CHART
Don’t Forget To Share & Pin—

Margaret McElhenie
Thank you for this I have use mine for over a years and the teflon is going off so I will do the oil and can I use Avocado oil